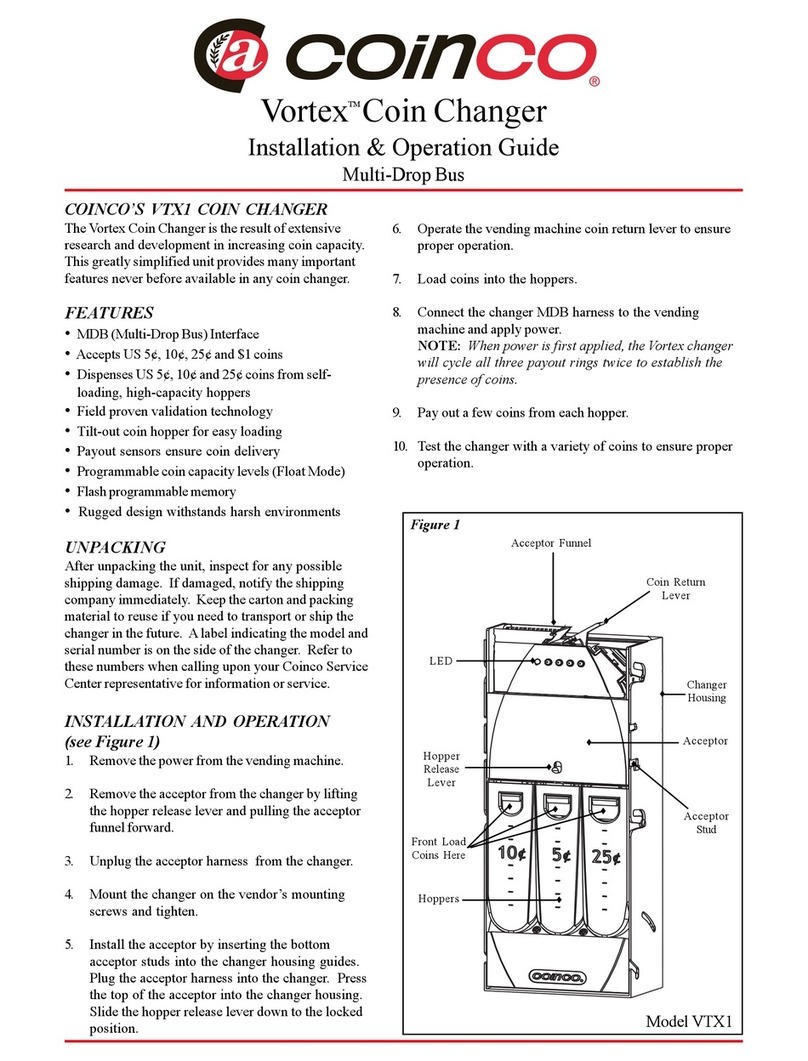
Seaga CM1250 User manual

1
$250 Capacity ChangeMaker
Operator’s Manual

2
INTRODUCTION
Congratulations on the purchase of your new ChangeMaker. This ChangeMaker has been designed to give you many years of
dependable service. It requires little maintenance and is easy to set up and operate.
READ THIS MANUAL COMPLETELY
Your ChangeMaker is designed to operate simply and reliably, but to take full advantage of your vendor, please read this owner’s
manual thoroughly. It contains important information regarding installation and operations, as well as a brief trouble-shooting guide.
EQUIPMENT INSPECTION
After you have received your machine and have it out of the box, place it on a secure surface for further inspection. Note: Any
damages that may have occurred during shipping must be reported to the delivery carrier immediately. Reporting damages and the
seeking of restitution is the responsibility of the equipment owner. The factory is willing to assist you in this process in any way
possible. Feel free to contact our Customer Care Department with questions you may have on this process. It is important that you
keep the original packaging for your vending machine at least through the warranty period. If your machine needs to be returned for
repair, you may have to purchase this packaging if it is not retained.
Once your have your vendor located, we suggest that you keep this manual for future reference, or you can view this manual online
at www.seagamfg.com. Should any problems occur, refer to the section entitled “COMMON QUESTIONS AND ANSWERS”. It is
designed to help you quickly identify a problem and correct it.
MANUFACTURER’S WARRANTY
WHAT IS COVERED:
Manufacturer warrants TO THE ORIGINAL PURCHASER ONLY that each item of equipment manufactured is free from defects in
material and workmanship under normal use and service. Manufacturer’s obligation under warranty shall be limited to repair or
replacement, at our plant, of any parts of the equipment, which shall, within one year of the date of shipment to the original
purchase, be demonstrated to be defective. The original purchaser may obtain repair or replacement of the equipment under
warranty by returning the defective item or entire vendor to the Manufacturer, freight prepaid.
WHAT IS NOT COVERED:
Manufacturer’s warranty obligations DO NOT EXTEND TO OR INCLUDE installation expenses, vandalism, or difficulties resulting
from failure to operate equipment in accordance with Manufacturer’s instructions under competent supervision and difficulties due to
changes in vended products, which are beyond the control of manufacturer.
SPECIAL NOTE: Manufacturer is not responsible for any loss of income due to a vending machine being out of service due to a
warrantable item.
This warranty is in lieu of all the other warranties, expressed or implied, including the warranty of merchantability and fitness or use,
and of all other obligations or liabilities on Manufacturer’s part. Manufacturer neither assumes, nor authorizes any other person to
assume for it, any other liability in connection with the sale of equipment manufactured by itself. This warranty shall not apply to
equipment manufactured or any part thereof which is subject to accident, negligence, alteration, abuse, misuse, or damage in
shipment. The term “original purchaser”, as used in this warranty, shall be deemed to mean that person for whom the equipment is
originally installed.
Manufacturer is not liable for any incidental, consequential or other damages of any kind whatsoever, directly or indirectly, arising
from the use of the equipment whether based upon theories of contract negligence or tort.
700 Seaga Drive
Freeport, IL 61032 U.S.A.
seagamfg.com
For Service and Customer Care:
8:30 a.m. - 4:00 p.m. CST. Mon thru Fri
815.297.9500 ext 160
815.297.1758 Fax
email: customercare@seagamfg.com

3
LOCKS
Your ChangeMaker has two (2) Locks. To unlock the Front Door, turn left key counter-clockwise one-quarter turn and
the right key clockwise one-quarter turn. The Front Panel will now swing open. A Chain attaches the Front Door to the
Body for support.
MOUNTING
The ChangeMaker has three (3) plugged holes in the left-hand side of the Case for optional mounting. A drill, a ¼" drill
bit will be required along with sufficient hardware appropriate to your application and tools for this hardware. A
mounting template for drilling holes is provided.
1. To Mount:
a. Secure the template to the mounting surface once you have made sure that nothing will obstruct the drilling
of holes or the placement of bolts.
Locks (2)
LED Readout
Validator Light
Bill Validator
Front Door
Coin Catcher
Serial Decal
Figure 1 - $250 Capacity ChangeMaker
V
iew with door open
Circuit Board Cover
Coin Hopper
Coin Hopper Assembly
Bill Validator
Bill Tray
Diagnostic Button
Programming Button

4
b. Drill holes. Discard Template.
c. Unlock and open the Front Door.
d. Pull Coin Hopper Assembly forward.
e. Remove the three (3) Plugs by pushing them out from inside the Body.
f. Attach the ChangeMaker to surface with hardware appropriate to your application.
g. Slide Coin Hopper Assembly back in and reconnect cable.
SETTING SERVICE
Your $250 Capacity ChangeMaker is factory preset to validate $1 and $5 bills. Note: it is not necessary to program
your ChangeMaker for $1 and $5 bills! You may also set your ChangeMaker to validate $10 and $20 as well. To
change the setting of your Bill Validator, a programming card must be fed through the bill validator opening as you
would a bill. This programming card has areas darkened that instruct the bill validator which bills to accept and how
many coins to give per dollar. An actual size programming card has been included at the end of this manual. This card
may be photocopied but remember that it must remain the required size given. Do not reduce or enlarge.
To reprogram your ChangeMaker to accept $1, $5 and $10 bills, cut out the programming card provided for this
configuration on the dotted lines (another card adding $20 bills to the configuration is also provided). Unlock and open
the front door. The Programming Mode Button is recessed; you may need an object with a tip to press the button.
Press the Programming Mode Button (Figure 2) quickly – DO NOT HOLD DOWN THE PROGRAMMING MODE
BUTTON! The Bill Validator Light will then flash slowly. Insert the programming card face up, following the arrows and
“Insert this end first” instruction. The card will cycle through the Bill Validator and return back to you.
Figure 2 – Programming Mode Button
Your ChangeMaker is now programmed. It is recommended that you perform a few tests with all denominations
programmed to verify that the programming has been successful.
If the programming was not successful – Did you feed the correct card through? Was the card fed through the correct
end first and face up? Did you remember to press the Programming Mode Button first? If you are not successful on
your subsequent attempts, please contact Seaga Customer Care.
DELIVERY SYSTEM
The ChangeMaker Delivery System consists of the Bill Validator and the Coin Hopper Assembly. The Coin Hopper
Assembly is made up of the Coin Hopper, Base, Coin Plate, and the Drive Motor.
The Coin Hopper holds quarters in bulk, the Bill Validator accepts bills and cycles the Coin Plate dispensing the coins
through the Coin Counter until the correct amount of coins are dispensed.
To Remove Coin Hopper Assembly:
a. Unlock and open the Front Door. You will want the ChangeMaker to the edge of a counter if it is not mounted
to a wall or vending machine; so the Front Door opens as far as possible.
b. Slide the Coin Hopper Assembly forward until it stops. Press the latches, located on each side rail, up on the
left and down on the right (Fig. 3) to release rails. Slide forward.
c. Disconnect the cable from the Coin Hopper Assembly to the Circuit Board.
Programming
Mode Button
Press quickly!
DO NOT HOLD
DOWN!
Front Door
shown open
and horizontal.

5
Figure 3 – Rails
LOADING CURRENCY
CAUTION: Turn off and unplug your ChangeMaker before loading or you could damage
your hopper and void your warranty!
The Coin Hopper holds your quarters (or tokens) in bulk. To load, pour quarters into the Coin Hopper until full. When
full and ready to accept bills, the green light on the lower left front of the Coin Hopper is lit and the LED Display shows
“Insert Bill”.
CAPACITY
Your ChangeMaker has a change capacity of $250.
BILL RETRIEVAL
Accepted bills are stored in the Bill Tray over the hopper assembly. The bill tray can be removed by sliding it forward.
Be aware that bills will land in different positions and may pile up. You will want to be familiar with your location and
service the machine to remove bills before they create jams.
LED MESSAGES
The “NO COINS” message will be displayed when there are approximately 20 quarters or less in the Coin Hopper. If
your Coin Hopper has plenty of quarters and the No Coins message is displayed, unplug the ChangeMaker for about
one (1) minute to reset.
Your ChangeMaker also shows messages when dispensing coins, for example, $1 = 4 Qtrs when changing a $1 bill.
When in full operational mode and ready to make change, the message displayed is “Insert Bill”.
CLEANING
The Coin Hopper may need to be cleaned periodically. To clean, you may either blow out the hopper with canned air,
which can be found in office and computer supply stores or remove the hopper assembly and shaking any dust or
debris out. Do not use liquids or chemicals on the Coin Hopper or on any part of the Bill Validator!
REMOVING THE BILL VALIDATOR
In the event that you need to replace your Bill Validator, your ChangeMaker is designed for easy replacement.
To Remove the Bill Validator.
a. Unplug the ChangeMaker.
b. Unlock and open the Front Door.
c. Unplug the Wire Harness from the left side of the Bill Validator (Fig. 4)
d. Press the Release Lever on the Bill Validator and lift it toward the Coin Hopper
e. Slide the Bill Validator up to remove
Latch

6
Figure 4 – Removing the Bill Validator
CLEARING JAMS
Coins may become jammed in the Coin Hopper for many reasons, dirt, debris, deformed coins, etc. You will first need
to remove all the coins you can from the hopper. While there is a neater way to empty the hopper, in the case of a
jammed or deformed coin, you will need to remove the hopper assembly and turn it upside down to dump out the
coins.
To remove a jammed bill, open the Bill Validator per “Removing The Bill Validator” instructions in this manual and
remove the jam.
DIAGNOSTIC BUTTON
Located in the rear base of the Coin Hopper (Fig. 5), the Diagnostic button is useful for taking an inventory of coins,
cleaning and testing or moving the ChangeMaker.
Pressing and releasing the Diagnostic Button for one second or less will dispense 10 coins and is useful for testing the
machine. Pressing the Diagnostic Button for 3 seconds then releasing will empty the Coin Hopper completely, which
enables you to clean or move the machine.
The Hopper Assembly is equipped with an electronic controller which will reverse the coin wheel and make certain all
coins have been removed. You will hear the wheel reverse 3 to 4 times with pauses between after the hopper is
empty. This is the controller making certain all coins are removed.
Figure 5 – Diagnostic Button
GENERAL
It is suggested that a toolbox accompany you to each of your locations. Suggested items for this toolbox would include
a socket set, (up to a 1/2" socket size suggested) a wrench or pliers, a Phillips and a Standard screwdriver. Additional
items would be a soft rag and perhaps a Black Magic marker. The magic marker is useful in touching up light
scratches that may occur to your vendor.
Wire Harness
(When re-attaching, red
wire goes toward locks)
Release Lever
Diagnostic Button
Cable to Circuit
Board

7
COMMON QUESTIONS AND ANSWERS
Q: The Validator Lights is not green
A: Check the power source.
Unplug the ChangeMaker, then wait one (1) minute and plug in. (This action will "reset" the ChangeMaker.)
The bill validator will make a brief noise indicating it is running after reset.
Check the Wire Harness to make sure it is plugged in to the Bill Validator.
Check the level of coins in the Coin Hopper.
Check for jammed coin or bill. (See Clearing Jams)
Check the Wire Harness plug that connects the Coin Hopper.
Q: How do I remove a jammed bill?
A: Open the Bill Validator (see Removing The Bill Validator) and remove the jam.
Q: Bill will not feed into, or is not accepted by the Bill Validator.
A: Make sure that the bill is not soiled, damaged or defaced.
Check for a jammed bill (See Clearing Jams)
Clean the Bill Validator.
If green lights is off, unit may be low on coins.
Q: My ChangeMaker is dispensing the wrong amount of coins.
A: Make sure that the coins are not damaged, obstructed or stuck together.
Check to make sure your settings are correct, see Setting Service
Q: Validator runs constantly.
A: Contact Seaga Customer Care.

8
PROGRAMMING CARDS
Carefully cut straight along dotted lines to create a programming card to change your machine to accept other bills.
This page may be copied at 100% (no reduction or enlargement). Cards must remain size shown for proper
recognition in the Bill Validator.
To accept $1, $5 and $10 bills: To accept $1, $5, $10 and $20:
Table of contents