manuals.online logo
Brands
  1. Home
  2. •
  3. Brands
  4. •
  5. Sealey
  6. •
  7. Cables And Connectors
  8. •
  9. Sealey BC16403SR User manual

Sealey BC16403SR User manual

400A CCA BOOSTER CABLES 16MM² X 3M
WITH ELECTRONICS PROTECTION
MODEL NO: BC16403SR
Thank you for purchasing a Sealey product. Manufactured to a high standard, this product will, if used according to these
instructions, and properly maintained, give you years of trouble free performance.
IMPORTANT: PLEASE READ THESE INSTRUCTIONS CAREFULLY. NOTE THE SAFE OPERATIONAL REQUIREMENTS, WARNINGS & CAUTIONS. USE
THE PRODUCT CORRECTLY AND WITH CARE FOR THE PURPOSE FOR WHICH IT IS INTENDED. FAILURE TO DO SO MAY CAUSE DAMAGE AND/OR
PERSONAL INJURY AND WILL INVALIDATE THE WARRANTY. KEEP THESE INSTRUCTIONS SAFE FOR FUTURE USE.
1. SAFETY
1.1. PERSONAL PRECAUTIONS
9Ensure that Health & Safety, local authority, and general workshop practice regulations are adhered to when using this equipment
9Ensure that there is another person with you especially within hearing range of your voice, or close enough to come to your aid
should a problem arise when working near a lead-acid battery.
9Remove personal metallic items such as rings, bracelets, necklaces and watches. A lead-acid battery can produce a short-circuit
current high enough to weld a ring or the like to metal, which may cause severe burns.
9Ensure that hands and clothing (especially belts) are clear of fan blades and other moving or hot parts of engine, remove ties and
contain long hair.
9Wear safety eye protection and protective clothing. Avoid touching eyes while working near battery.
8DO NOT smoke or allow a spark or flame in the vicinity of battery or engine.
8DO NOT drop any metal tool onto the battery as It may spark or short circuit the battery which could cause an explosion.
8DO NOT use whilst under the influence of drugs, alcohol or intoxicating medication.
1.2. GENERAL SAFETY INSTRUCTIONS
WARNING! Modern vehicles contain extensive electronic systems.
 YouarerequiredtocheckwiththevehicleManufacturer,foranyspecicinstructionsregardingtheuseofthistypeofequipmenton
each vehicle.
9Familiarise yourself with the application, limitations and potential hazards relating to this product. Also, refer to the vehicle
manufacturer`s handbook. IF IN ANY DOUBT CONSULT AN ELECTRICIAN.
9Ensure that the booster cables are in good order and condition before use. If in any doubt do not use the unit and contact an auto
electrician.
8DO NOT dis-assemble the Booster cables for any reason. The booster cables must be checked only by qualified service personnel.
8Only use recommended attachments and parts. To use unapproved items may be dangerous and will invalidate your warranty.
WARNING! Check that both vehicle batteries are the same voltage.
9Ensure that vehicles are not touching before attempting to use these leads.
9Keep tools and other items away from the engine, and ensure that you can see the battery and the working parts of the engine
clearly.
9Keep children and unauthorised persons away from the work area.
9Ensure that the jump leads are not tangled and are clear of moving or hot engine parts.
8DO NOT allow the clamps to touch each other or to make contact with the vehicle bodywork, as this may result in arcing.
8DO NOT cross connect the power leads to the battery. Ensure positive is to positive and negative is to negative.
8DO NOT pull the cables or clamps from the battery terminals.
8DO NOT operate in the vicinity of flammable liquids or gases.
8DO NOT try to jump start a frozen battery.
8DO NOT use or store the booster cables in damp or wet locations.
8DO NOT use this product to perform a task for which it is not designed.
9The cables may become hot with excessive use. If so, allow a few minutes for them to cool before attempting to re-use.
9If the surge protection unit receives a sharp knock or blow, the unit must be checked by a qualified service agent before next use
9When not in use, store the booster cables carefully, in the case provided, in a safe, dry, childproof location.
2. INTRODUCTION
PVCsheathedcoppercoatedaluminiumcablesgivemaximumpowertransferyetremainexible.Resistanttooil,greaseandmostacids.
Insulated heavy-duty clamps reduce the heating effect of power transfer. Features an LED display unit which shows the battery voltage and
includes a reverse polarity indicator and alarm. In-line surge protector helps to prevent electrical spikes occurring. Additional features also
include alternator charge check and battery condition check. Supplied in a storage case.
3. SPECIFICATIONS
Model No.:.......................................................... BC16403SR
Cable Section:.............................................................16mm2
Length:............................................................................. 3m.
Capacity:........................................................................400A
Suitable for:................................4-8 Cylinder Petrol Engines.
BC16403SR Issue 2 (HF) 04/11/20
Original Language Version
© Jack Sealey Limited
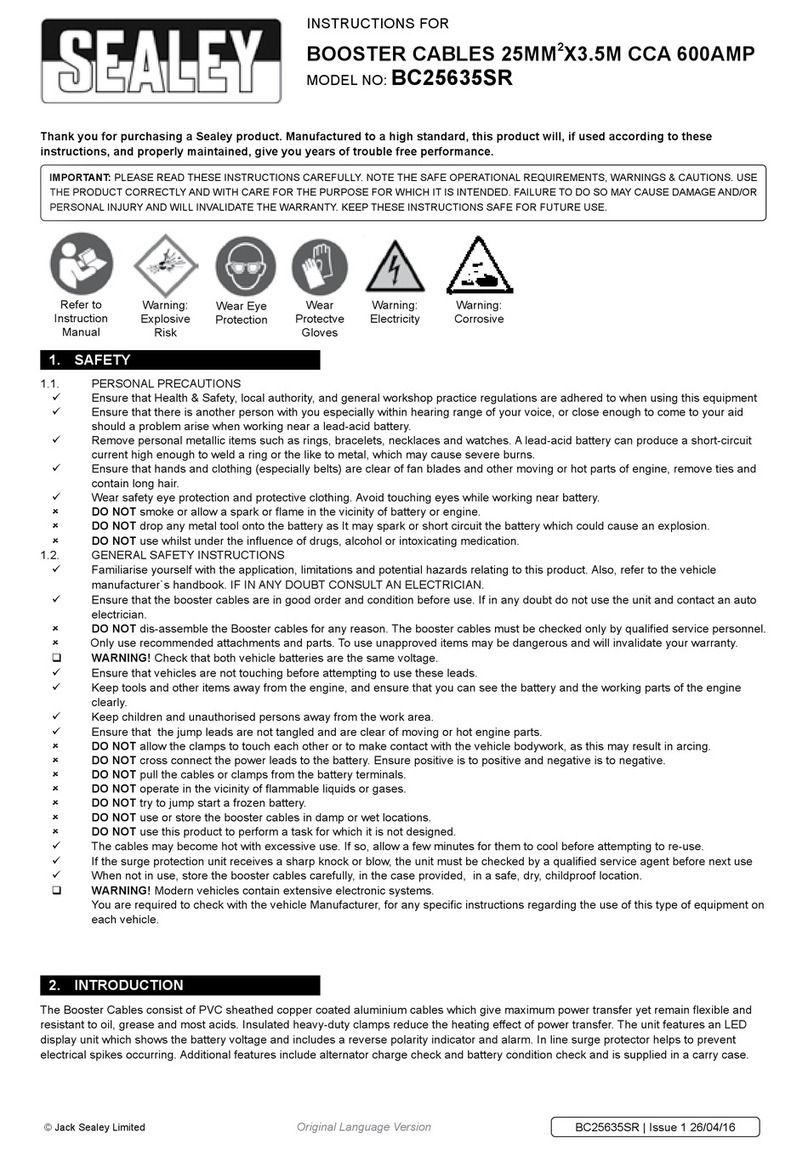
Refer to
Instruction
Manual
Wear Eye
Protection
Wear
Protecitve
Gloves
Warning:
Explosive
Risk
Warning!
Electricity
Warning!
Corrosive
4. OPERATION
4.1. CONNECTING BOOSTER CABLES
4.1.1. Starting with the clamps at the end nearest to the surge protector, attach the red (positive) clamp to the positive terminal of the
charged battery.
4.1.2. Connectingthesecondred(positive)clamptothepositivebatteryterminalofthevehicle’satbattery.
4.1.3. Connect Black (negative) clamp at the end nearest to the surge protector, to the negative terminal of the charged battery.
4.1.4. Finallyconnecttheblack(negative)clamptoanunpaintedpartofthechassisorengineonthevehiclewiththeatbattery.
WARNING! Ensurethattheconnectionpointisnotnearthebattery,carburettor,fuelorbrakepipestominimizeanyreriskthat 
could be caused by sparking.
4.2. STARTING THE VEHICLE
4.2.1. Ensure that all leads are clear of all moving or hot parts
4.2.2. Start engine of vehicle with charged battery and let run for a minute
4.2.3. Trytostartthevehiclewiththeatbatteryifitstartsrunforoneminutethenremovethecables.
4.2.4. If the cables become hot switch off both vehicles and allow to cool down before attempting to restart the vehicle.
4.3. DISCONNECTING THE BOOSTER CABLES
4.3.1. Turn off the engine with the charged battery
4.3.2. Then remove the cables in reverse order to that described in 4.1
WARNING! Take care to keep clear of all moving or hot parts.
4.4. BATTERY CONDITION INDICATOR
4.4.1. The Voltage indicator displays the voltage when the vehicle engine is not running.
4.4.2. A reading of 10.5Volts on a 12V battery or 22Volts on a 24V battery - indicates battery very low in charge may be damaged and not
be able to start vehicle.
4.4.3. A reading of 11.5Volts on a 12V battery or 23.5Volts on a 24V battery - indicates the battery needs charging or may be damaged.
4.4.4. A reading of 12.3Volts on a 12V battery or 24.3Volts on a 24V battery - indicates that the battery is fully charged and in good
condition.
4.5. TESTING THE BATTERY CONDITION
4.5.1. Insulate the positive and negative clamps nearest the voltage display by clamping to a non conductive material.
4.5.2. Connect the other positive clamp to the positive terminal of the vehicle battery, then connect the negative clamp to the negative
terminal of the battery.
4.5.3. When the booster cables are connected the voltage will be displayed on the LED indicator.
4.5.4. Havingconrmedthebatteryconditionremovethecablesinreverseorder.
4.6. ALTERNATOR CHARGING CHECK
4.6.1. The alternator function can be checked to see if it is charging the battery at the correct rate. Connect the clamps as described in
4.5 above.
4.6.2. Start the engine and monitor the voltage on the LED indicator.
4.6.3. In most cases the alternator will be functioning correctly if the display indicates 13.7-14+ Volts on a12V battery or 24.7-25+Volts
 ona24Vbattery.Checkmanufacturer’sspecicationsforrechargevoltagesaschargingabove14Voltsfor12Vbatteryandabove
25Volts for 24V battery indicates a possible fault in the alternator this should be checked by an auto electrician.
4.6.4. Remove clamps in reverse order.
4.7. REVERSE POLARITY LED INDICATOR
4.7.1. The LED indicator illuminates red and omits an audible tone when the booster cables are incorrectly connected to the charged
battery if this happens reverse the leads. If the LED is not illuminated and there is no audible tone continue to connect leads as
described above.
5. TROUBLESHOOTING
Problem Causes Solutions
Flat Battery vehicle will not turn over Insufcient/badboostercableclamp
connection
1. Reconnect the booster cables as in
instructions.
2. Check the battery terminals are
corrosion free if not clean and reconnect.
Booster cables connected incorrectly Check if the reverse polarity LED is
illuminated (red) and an audible tone can
beheard.Ifsodisconnectclampsandret
as instructions.
Booster Cable gets hot Incorrect booster cables being used Check the the vehicles battery AMP rating.
Change the cables to the correct AMP type
if incorrect
The vehicle’s management system may not
be working correctly and may be stopping
the vehicle from starting. Excessive
cranking of the engineer may cause cables
to get hot.
Stop trying to jump start the vehicle and
consult automotive electrician.
Original Language Version
© Jack Sealey Limited BC16403SR Issue 2 (HF) 04/11/20
Original Language Version
© Jack Sealey Limited
Sealey Group, Kempson Way, Suffolk Business Park, Bury St Edmunds, Suffolk. IP32 7AR
01284 757500 01284 703534 sales@sealey.co.uk www.sealey.co.uk
Note: It is our policy to continually improve products and as such we reserve the right to alter data, specifications and component parts without prior
notice.
Important: No Liability is accepted for incorrect use of this product.
Warranty: Guarantee is 12 months from purchase date, proof of which is required for any claim.
WEEE REGULATIONS
Dispose of this product at the end of its working life in compliance with the EU Directive on Waste Electrical and Electronic Equipment
(WEEE). When the product is no longer required, it must be disposed of in an environmentally protective way. Contact your local solid
waste authority for recycling information.
ENVIRONMENT PROTECTION
Recycle unwanted materials instead of disposing of them as waste. All tools, accessories and packaging should be sorted, taken to
a recycling centre and disposed of in a manner which is compatible with the environment. When the product becomes completely
unserviceable and requires disposal, drain any fluids (if applicable) into approved containers and dispose of the product and fluids
according to local regulations.
BC16403SR Issue 2 (HF) 04/11/20

Other Sealey Cables And Connectors manuals

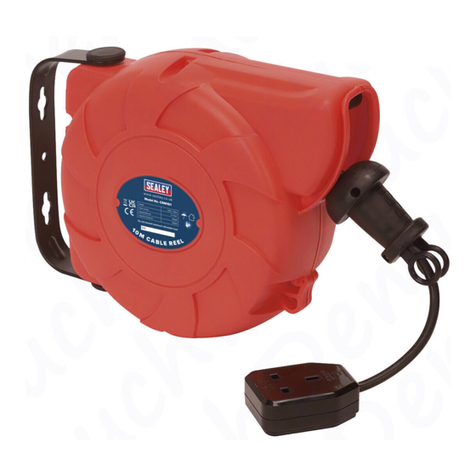
Sealey CRM10.V5 User manual

Sealey

Sealey CRM10.V5 User manual

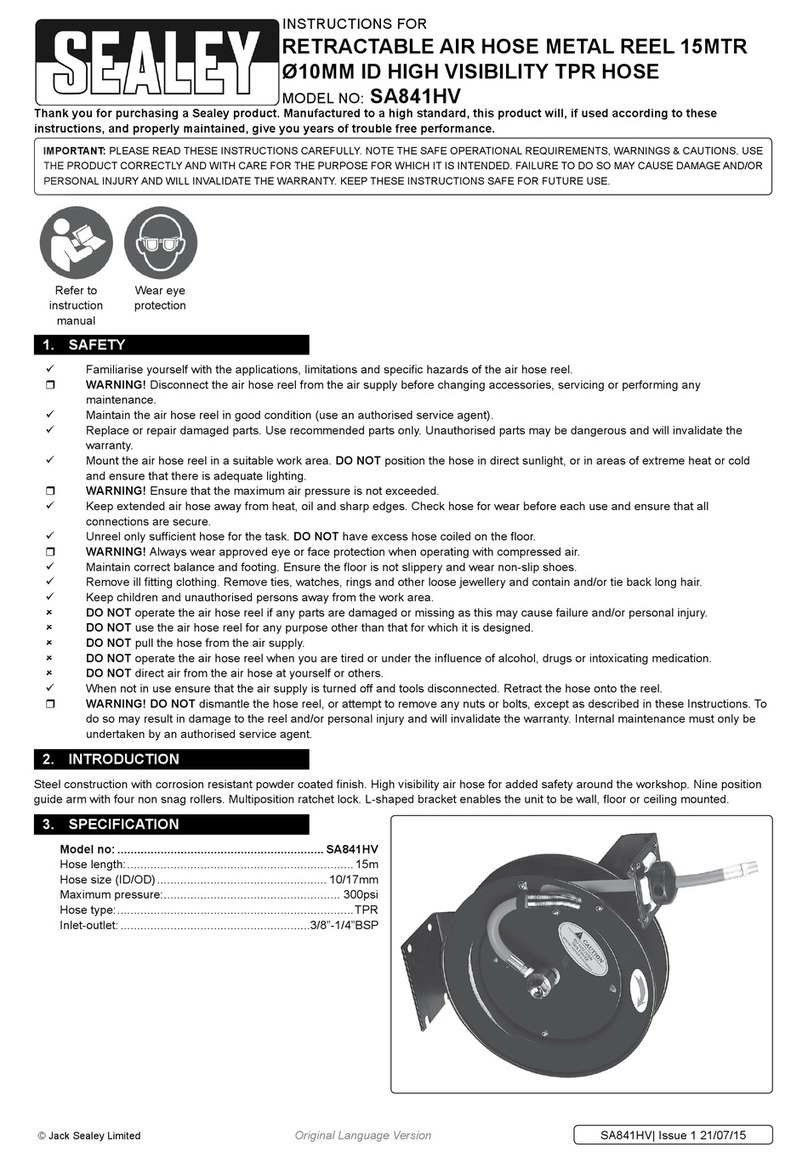
Sealey SA841HV User manual

Sealey

Sealey SA841HV User manual

Sealey POWER PRODUCTS PROJUMP PROJ12 User manual

Sealey

Sealey POWER PRODUCTS PROJUMP PROJ12 User manual

Sealey CRM10.V5 User manual

Sealey

Sealey CRM10.V5 User manual

Sealey CRM101 User manual

Sealey

Sealey CRM101 User manual

Sealey CRM101 User manual

Sealey

Sealey CRM101 User manual

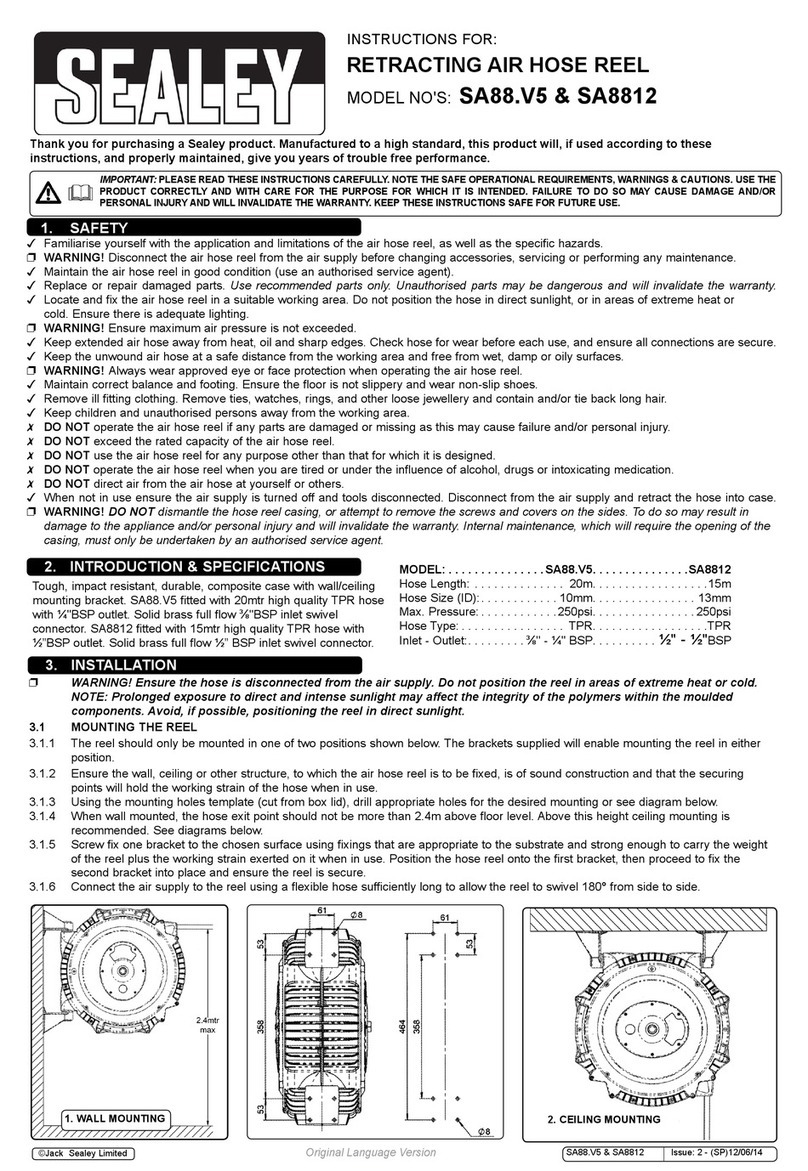
Sealey SA88.V5 User manual

Sealey

Sealey SA88.V5 User manual

Sealey CRM251 User manual

Sealey

Sealey CRM251 User manual

Sealey CRM251 User manual

Sealey

Sealey CRM251 User manual

Sealey CRM10.V3 User manual

Sealey

Sealey CRM10.V3 User manual

Sealey CRM251 User manual

Sealey

Sealey CRM251 User manual

Sealey MS025 User manual

Sealey

Sealey MS025 User manual

Sealey BC25635SR User manual

Sealey

Sealey BC25635SR User manual

Sealey CRM10 User manual

Sealey

Sealey CRM10 User manual

Sealey SeaLINK+232 User manual

Sealey

Sealey SeaLINK+232 User manual

Popular Cables And Connectors manuals by other brands

Titanium TT-FIL-20/6 manual

Titanium

Titanium TT-FIL-20/6 manual

US Conec MTP Series Loopback Casing Installation

US Conec

US Conec MTP Series Loopback Casing Installation

HQ AVSPLIT-27 manual

HQ

HQ AVSPLIT-27 manual

Techly IDATA HDMI-4K2 user manual

Techly

Techly IDATA HDMI-4K2 user manual

DTS SLICE6 DAS Assembly instructions

DTS

DTS SLICE6 DAS Assembly instructions

StarTech.com USB2SATAIDE instruction manual

StarTech.com

StarTech.com USB2SATAIDE instruction manual

ODU MINI-SNAP F Series Assembly instructions

ODU

ODU MINI-SNAP F Series Assembly instructions

Wavetronix 0375 quick start guide

Wavetronix

Wavetronix 0375 quick start guide

CommScope OmniReach FTTX instruction sheet

CommScope

CommScope OmniReach FTTX instruction sheet

solarwatt AZ-TM-PME-1125 installation guide

solarwatt

solarwatt AZ-TM-PME-1125 installation guide

Westfalia 80 33 90 instruction manual

Westfalia

Westfalia 80 33 90 instruction manual

Digitus DS-46304 Quick installation guide

Digitus

Digitus DS-46304 Quick installation guide

StarTech.com 1P3FPC-USB-SERIAL quick start guide

StarTech.com

StarTech.com 1P3FPC-USB-SERIAL quick start guide

Tektronix Keithley 2657A-PCT-KIT manual

Tektronix

Tektronix Keithley 2657A-PCT-KIT manual

Sanus Systems ELM420 instruction manual

Sanus Systems

Sanus Systems ELM420 instruction manual

Motorola NKN6498 manual

Motorola

Motorola NKN6498 manual

Retroactive UltraHDMI installation guide

Retroactive

Retroactive UltraHDMI installation guide

Philips SWV2432W Specifications

Philips

Philips SWV2432W Specifications

manuals.online logo
manuals.online logoBrands
  • About & Mission
  • Contact us
  • Privacy Policy
  • Terms and Conditions

Copyright 2025 Manuals.Online. All Rights Reserved.