5. OPERATION
WARNING! Ensure you read, understand and apply safety instructions before use.
5.1. Drill bit tting
WARNING! Unplug from the air supply before placing bit into chuck.
5.1.1. Regularly check the drill bit and always change if worn, cracked or otherwise damaged.
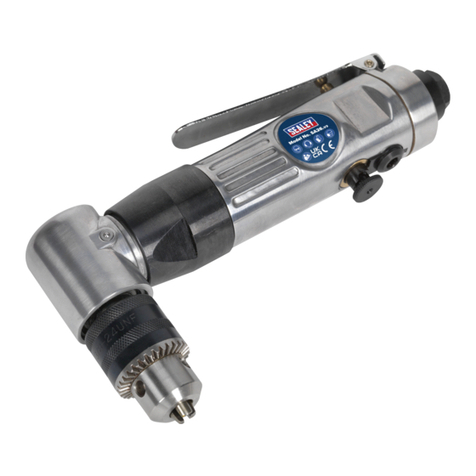
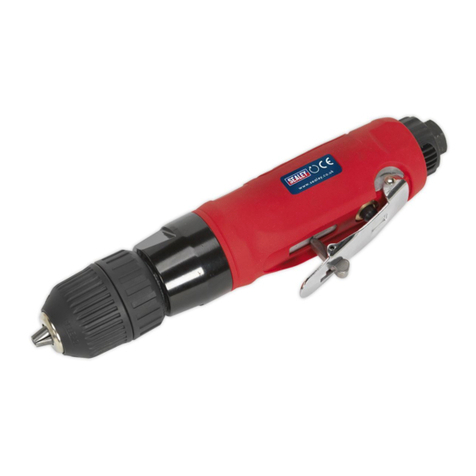
5.1.2. Openorclosethechuckjaws(g3.1)toapointwheretheopeningisslightlylargerthanthedrillortoolbittobeused.Insertthedrill
bitintothechuckasfarasitwillgo.Rotatetheforwardsectionofthechuck(g3.2)clockwise,inordertosecurethedrillbit.
5.1.3. Connectairsupplytodrill.Squeezethetrigger(g3.3)tocheckthatthedrillisworkingcorrectlybeforestartingwork.
8DO NOT allow drill to run freely for an extended period of time as this will shorten the life of bearings.
5.2. Drilling instructions.
WARNING!Ensureyouwearapprovedsafetygogglesandanyothersafetyitemrequiredforthejob.Ensurechuckislockedbefore
using the drill. Also ensure that all other safety requirements are followed.
5.2.1. Connect drill to air supply.
5.2.2. Fordrillingpurposesensurethedrillisturningintheforwarddirectionbycheckingthattheleveradjacenttothetriggerisnexttothe
forwardsymbol(F).Ifnot,iptheleverovertotheforwardposition.
5.2.3. Holdtoolrmlyandplacethebittiptothepointtobedrilled.
5.2.4. Depress the trigger to start drill. Move the drill bit into the work piece applying only enough pressure to keep the bit cutting. DO NOT
force or apply side pressure to elongate the hole.
5.2.5. If the material to be drilled is free standing it should be secured in a vice or with clamps to keep it from turning as the drill bit rotates.
5.2.6. When drilling metals, use a light oil on the drill bit to keep it from overheating. Oil will prolong life of bit and improve the drilling action.
5.2.7. For hard smooth surfaces use a centre punch to mark desired hole location. This will prevent bit from slipping as your start to drill.
5.2.8. Apilotholemaybenecessarytoassistthenaldrillsizethroughtheworkpiece.Lockapilotdrill(smallersizedrillthanthenished
holesize)intothechuck.Followsteps4.3.1.to4.3.3.aboveanddrillapilotholeinthemiddleofthecentrepunchmarkwherenal
holeistobedrilled.Insertthenalsizedbitinchuck.Holddrillrmlyandplacethebitattheentranceofthepilotholeanddepressthe
trigger.
WARNING! Be prepared for drill binding on break through. When these situations occur the drill has a tendency to grab and kick in the
oppositedirectionwhichcouldcauselossofcontrol.Ifyouarenotprepared,thislossofcontrolcanresultindamageand/orpersonal
injury.
5.2.9. Ifthebitjamsintheworkpieceorifthedrillstalls,releasethetriggerswitchimmediately.Removethebitfromtheworkpieceand
determinethereasonforjamming.Itmaybenecessarytoreversethedirectionofrotationbymovingtheleveradjacenttothetrigger
tothereverse(R)position(thereverseactionisalsousefulforundoingxings).
6. MAINTENANCE
WARNING! Disconnect drill from air supply before changing drill bit, servicing or performing maintenance. Replace or repair damaged
parts. Use genuine parts only. Unauthorised parts may be dangerous and will invalidate the warranty.
6.1. Lubricatethedrilldailywithafewdropsofgoodgradeairtooloil,suchasSealeyATO/500orATO/1000,drippedintotheairinlet
beforeuseordispensedautomaticallythroughanairsystemoiler,suchasSealeymodelSA100LorSA1/L.
6.2. Loss of power or erratic action may be due to the following:
a) Excessive drain on the air supply. Moisture or restriction in the air line. Incorrect size or type of hose connectors. To remedy check
the air supply and follow instructions in Section 4.
b) Grit or gum deposits in the drill may also reduce performance. Flush the grinder with gum solvent oil or an equal mixture of SAE No
10 oil and kerosene. Allow to dry before use.
6.3. If you continue to experience problems, contact your local Sealey service agent.
6.4. For a full service contact your local Sealey service agent.
6.5. When not in use, disconnect from air supply, clean drill and store in a safe, dry, childproof location.
SA27.V2|Issue:6(L)06/10/17
Original Language Version
© Jack Sealey Limited
Sealey Group, Kempson Way, Suffolk Business Park, Bury St Edmunds, Suffolk. IP32 7AR
01284 757500 01284 703534 sales@sealey.co.uk www.sealey.co.uk
Note: It is our policy to continually improve products and as such we reserve the right to alter data, specifications and component parts without prior
notice.
Important: No Liability is accepted for incorrect use of this product.
Warranty: Guarantee is 12 months from purchase date, proof of which is required for any claim.
ENVIRONMENT PROTECTION
Recycle unwanted materials instead of disposing of them as waste. All tools, accessories and packaging should be sorted, taken to
a recycling centre and disposed of in a manner which is compatible with the environment. When the product becomes completely
unserviceable and requires disposal, drain any fluids (if applicable) into approved containers and dispose of the product and fluids
according to local regulations.
