manuals.online logo
Brands
  1. Home
  2. •
  3. Brands
  4. •
  5. Sealey
  6. •
  7. Outdoor Storage
  8. •
  9. Sealey GSS150815 User manual

Sealey GSS150815 User manual

Other manuals for GSS150815

1

This manual suits for next models

1

Other Sealey Outdoor Storage manuals

Sealey GSS3030G User manual

Sealey

Sealey GSS3030G User manual

Sealey GSS3030.V2 User manual

Sealey

Sealey GSS3030.V2 User manual

Sealey GSS1515G User manual

Sealey

Sealey GSS1515G User manual

Sealey GSS1508G User manual

Sealey

Sealey GSS1508G User manual

Sealey SBSC01 User manual

Sealey

Sealey SBSC01 User manual

Sealey SBSC01.V2 User manual

Sealey

Sealey SBSC01.V2 User manual

Sealey GSS1508 User manual

Sealey

Sealey GSS1508 User manual

Sealey GSS2323G User manual

Sealey

Sealey GSS2323G User manual

Sealey GSS150815G User manual

Sealey

Sealey GSS150815G User manual

Sealey GSS150815G User manual

Sealey

Sealey GSS150815G User manual

Sealey GSS150819SDG User manual

Sealey

Sealey GSS150819SDG User manual

Sealey SC06 User manual

Sealey

Sealey SC06 User manual

Sealey GSS1508 User manual

Sealey

Sealey GSS1508 User manual

Popular Outdoor Storage manuals by other brands

LIVING AND HOME 0735940285711 user guide

LIVING AND HOME

LIVING AND HOME 0735940285711 user guide

USP DURAMAX 10 Ft x 8 Ft StoreMax Plus owner's manual

USP

USP DURAMAX 10 Ft x 8 Ft StoreMax Plus owner's manual

rollaway container ARPCA24 manual

rollaway container

rollaway container ARPCA24 manual

Duratuf GL105 Assembly instructions

Duratuf

Duratuf GL105 Assembly instructions

Viking SD5300SS Use & installation guide

Viking

Viking SD5300SS Use & installation guide

USP DURAMAX Apex Pro 10.5 Ft x 8 Ft 40116 owner's manual

USP

USP DURAMAX Apex Pro 10.5 Ft x 8 Ft 40116 owner's manual

ModuLaro Lojo WC202200 manual

ModuLaro

ModuLaro Lojo WC202200 manual

Outdoor Life Products FP2030 F Assembly instructions

Outdoor Life Products

Outdoor Life Products FP2030 F Assembly instructions

Royalcraft Faro 295L Storage Box Assembly instructions

Royalcraft

Royalcraft Faro 295L Storage Box Assembly instructions

TYGO Nyland Building Instruction

TYGO

TYGO Nyland Building Instruction

Riverlea Duratuf KIWI KS3 Assembly instructions

Riverlea

Riverlea Duratuf KIWI KS3 Assembly instructions

Rubbermaid 5L45 manual

Rubbermaid

Rubbermaid 5L45 manual

garofalo TUSCANY EVO user manual

garofalo

garofalo TUSCANY EVO user manual

OLT GS84D-FJ-Plywood Assembly manual

OLT

OLT GS84D-FJ-Plywood Assembly manual

Lifetime 6418 owner's manual

Lifetime

Lifetime 6418 owner's manual

Palram CANOPIA RUBICON 6x10 How to assemble

Palram

Palram CANOPIA RUBICON 6x10 How to assemble

Duratuf Havelock Assembly instructions

Duratuf

Duratuf Havelock Assembly instructions

Keter DUOTECH HIGH-STORE+ user manual

Keter

Keter DUOTECH HIGH-STORE+ user manual

manuals.online logo
manuals.online logoBrands
  • About & Mission
  • Contact us
  • Privacy Policy
  • Terms and Conditions

Copyright 2025 Manuals.Online. All Rights Reserved.

INSTRUCTIONS FOR
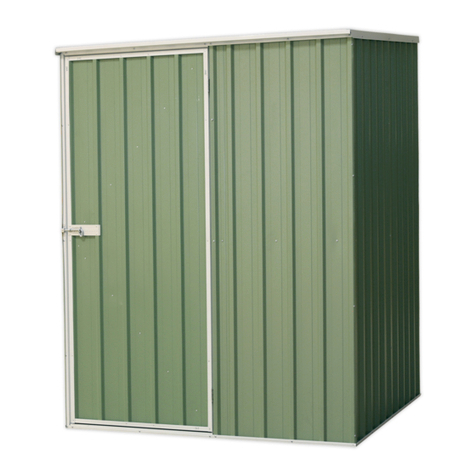
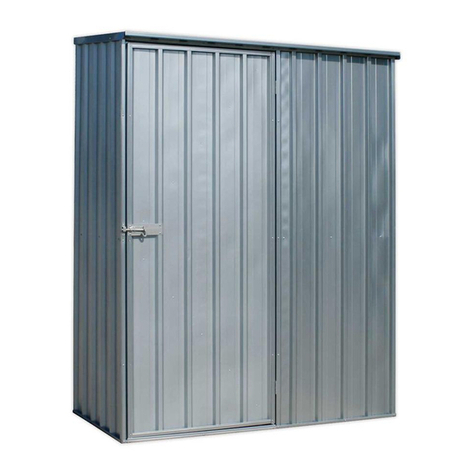
GALVANIZED STEEL SHED
1.5 x 0.8 x 1.5M
MODEL NO: GSS150815 & GSS150815G
Thank you for purchasing a Sealey product. Manufactured to a high standard, this product will, if used according to these instructions,
and properly maintained, give you years of trouble free performance.
IMPORTANT: PLEASE READ THESE INSTRUCTIONS CAREFULLY. NOTE THE SAFE OPERATIONAL REQUIREMENTS, WARNINGS & CAUTIONS. USE
THE PRODUCT CORRECTLY AND WITH CARE FOR THE PURPOSE FOR WHICH IT IS INTENDED. FAILURE TO DO SO MAY CAUSE DAMAGE AND/OR
PERSONAL INJURY AND WILL INVALIDATE THE WARRANTY. KEEP THESE INSTRUCTIONS SAFE FOR FUTURE USE.
1. SAFETY
WARNING! Ensure Health & Safety, local authority, and general workshop practice regulations are adhered to when building this shed.
9Keep the work area clean, uncluttered and ensure there is adequate lighting.
9Keep children and unauthorised persons away from the working area.
8DO NOT use the shed for any purpose other than that for which it is designed.
9Use appropriate safety clothing including eye protection.
8DO NOT attempt to assemble in windy weather.
Note: The assembly of this product will require assistance.
2. INTRODUCTION
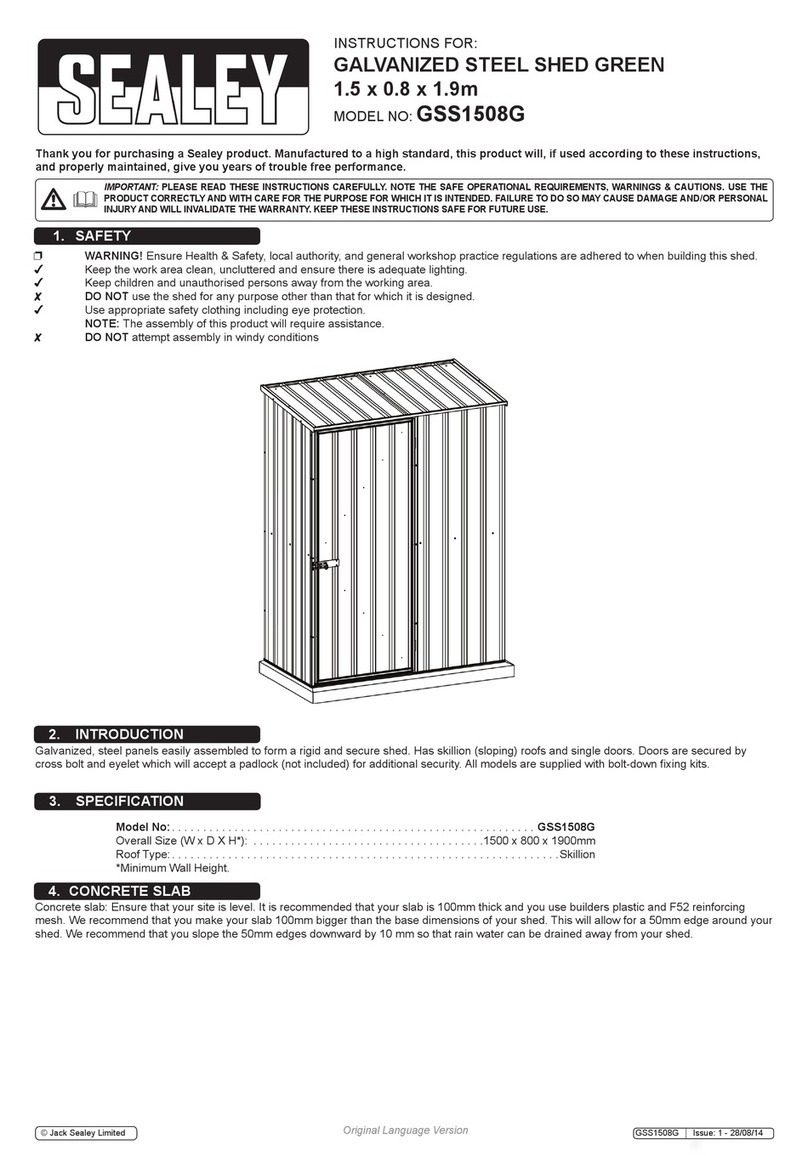
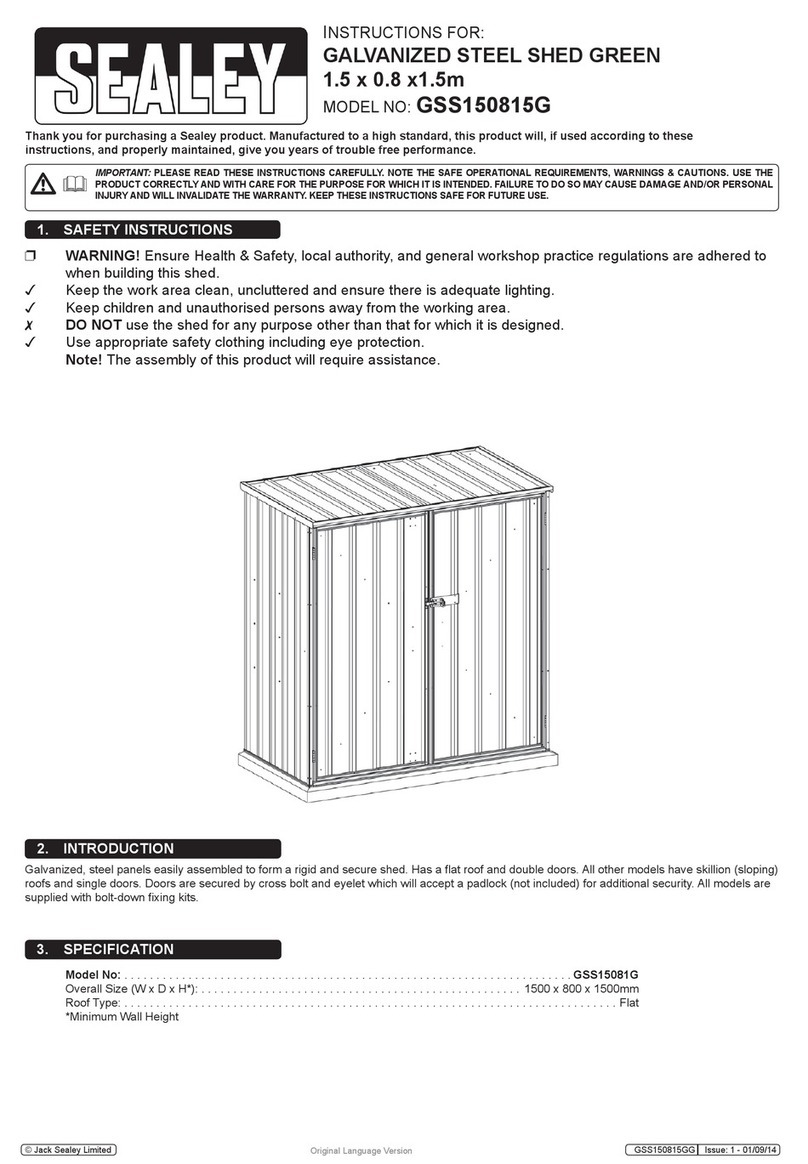
Galvanized steel panels easily assembled to form rigid and secure structure. Flat roof and double doors, secured by cross bolt and eyelet which
will accept a padlock (not included) for additional security. Supplied with bolt down xing kits.
3. SPECIFICATION
Model no: ......................................................... GSS150815G
Colour: ..........................................................................green
Roof type:.......................................................................... at
Doors: ..................................................................................2
Overall size (W x D x H*): ...................1500 x 800 x 1500mm
Note: *minimum wall height
4. CONCRETE PLINTH
Please ensure that your site is level. It is recommended that your slab is 100mm thick and you use builders plastic and F52 reinforcing mesh.
We recommend that you make your slab 100mm bigger than the base dimensions of your shed. This will allow for a 50mm edge around your
shed. We recommend that you slope the 50mm edges downward by 10 mm so that rain water will drain away from your shed.
GSS150815/G| Issue 2 (I) 21/04/17
Original Language Version
© Jack Sealey Limited
Refer to
instruction
manual
Wear eye
protection
Wear safety
footwear
Wear
gloves
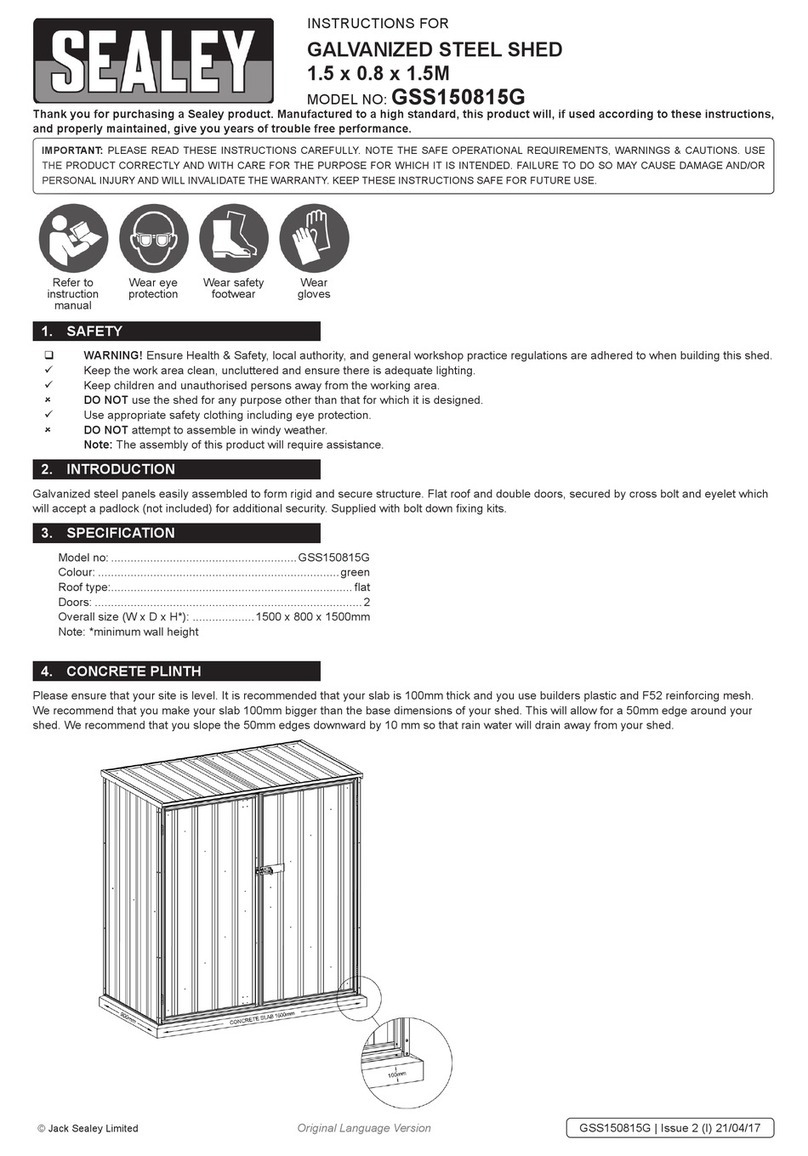
Tools Required:
GSS150815/G | Issue 2 (I) 21/04/17
Original Language Version
© Jack Sealey Limited
Step 1:Check all parts against the component list
Lay out all parts with number facing outwards and check off against parts list
Picture Description Component Location
Part
No.
QTY Check
Sheet Sheet 1500x770 rear wall 14N 1
Sheet Sheet 1500x735 rear wall 11U 1
Sheet Sheet 1500x770 side wall 14M 2
Sheet Sheet 855x770 roof 3A 1
Sheet Sheet 855x735 roof 11B 1
Door Sheet Sheet 1443x710 door 5M 1
Door Sheet Sheet 1443x710 door 5N 1
Channel channel 1477 roof 39A 1
Channel channel 1477 roof 39B 1
Channel channel 1477 rear wall 39C 1
Channel channel 1477 rear wall 39D 1
5. ASSEMBLY
GSS150815/G | Issue 2 (I) 21/04/17
Original Language Version
© Jack Sealey Limited
Channel channel 1477 front 39E 1
Channel channel 1477 front 39F 1
Channel channel 768 side wall 21B 2
Channel channel 768 side wall 21F 2
Channel channel 1431 front B3 1
Channel channel 1427 rear wall B5 1
Channel channel 718 side wall 32E 2
Jamb jamb 1498 front 45L 1
Jamb jamb 1498 front 45R 1
Jamb jamb 1431 front D3 1
Jamb Jamb 1498 Z24 2
Jamb Jamb 1498 Z25 2
Lip lip 856 roof 50A 2
GSS150815/G | Issue 2 (I) 21/04/17
Original Language Version
© Jack Sealey Limited
FITTINGS PACK
Picture Component QTY Picture Component QTY
Self-tapping screws(10mm) 140 Self-tapping
screws(16mm) 20
φ4x10mm Rivet 22 φ3x10mm Rivet 6
Pad bolt (70) 1 Keeper (71) 2
65x65mm barrel bolt plate (75)
(75)
1 60mm barrel bolt (74) 2
Mid wall brace bracket (72) 2 Base bracket 6
5/16”x19mm Hexagonal bolt 6 5/16” Hexagonal nut 6
Self tapper safety cover 25 Channel safety cover
(L type) 1
Channel safety cover
(R type) 1 Sleeve anchor bolt 6
Qty checking date:
Qty checking personal badge number:
Signature:
In the unlikely event that you find you are missing a part, please contact Romak
at 1800 702 660 .
GSS150815/G | Issue 2 (I) 21/04/17
Original Language Version
© Jack Sealey Limited
Shed Overview
GSS150815/G | Issue 2 (I) 21/04/17
Original Language Version
© Jack Sealey Limited
Step 2: Assemble the rear wall panels.
You will find it easier to assemble your shed using sawhorses with timber studs attached
(timber needs to be the same length as the shed (1.5 M) or alternatively, a trestle table.
Place 14N and 11U the sheeting on your worktable and join together with the self-tapping
screws per the diagram.
Now fit 39C top channel and 39D bottom channel to the sheeting by tapping it in ( diagram
A ) or sliding it in. ( diagram B ) Be noted that the small lip of the channel is always facing
out. This is to ensure that rainwater cannot build up inside your shed.
GSS150815/G | Issue 2 (I) 21/04/17
Original Language Version
© Jack Sealey Limited
Now fit B5 mid wall channel to the sheeting and position it by the self-tapping screws.
Please note that the groove should face downwards. Position the top and bottom channels
by the self-tapping screws as well.
GSS150815/G | Issue 2 (I) 21/04/17
Original Language Version
© Jack Sealey Limited
Step 3: Assemble the side wall panels
Place 14M the sheeting on your worktable and tap or slide in 21F top channel and 21B
bottom channel. Fix and position the 32E mid wall channel by the self-tapping screws. Fix
21B the bottom channel by the self-tapping screws but not those depicted crossed in this
stage. Be noted that the small lip of the channel is always facing out. This is to ensure that
rainwater cannot build up inside your shed. Repeat the same steps for the other side wall.
GSS150815/G | Issue 2 (I) 21/04/17
Original Language Version
© Jack Sealey Limited
Step 4: Assemble the roof panel.
Place 11B and 3A the sheeting on your worktable and join together with the self-tapping
screws per the diagram.
Now tap or slide in 39A and 39B the channels to the sheeting and fix them by the
self-tapping screws.
GSS150815/G | Issue 2 (I) 21/04/17
Original Language Version
© Jack Sealey Limited