Sealey SM1311 User manual

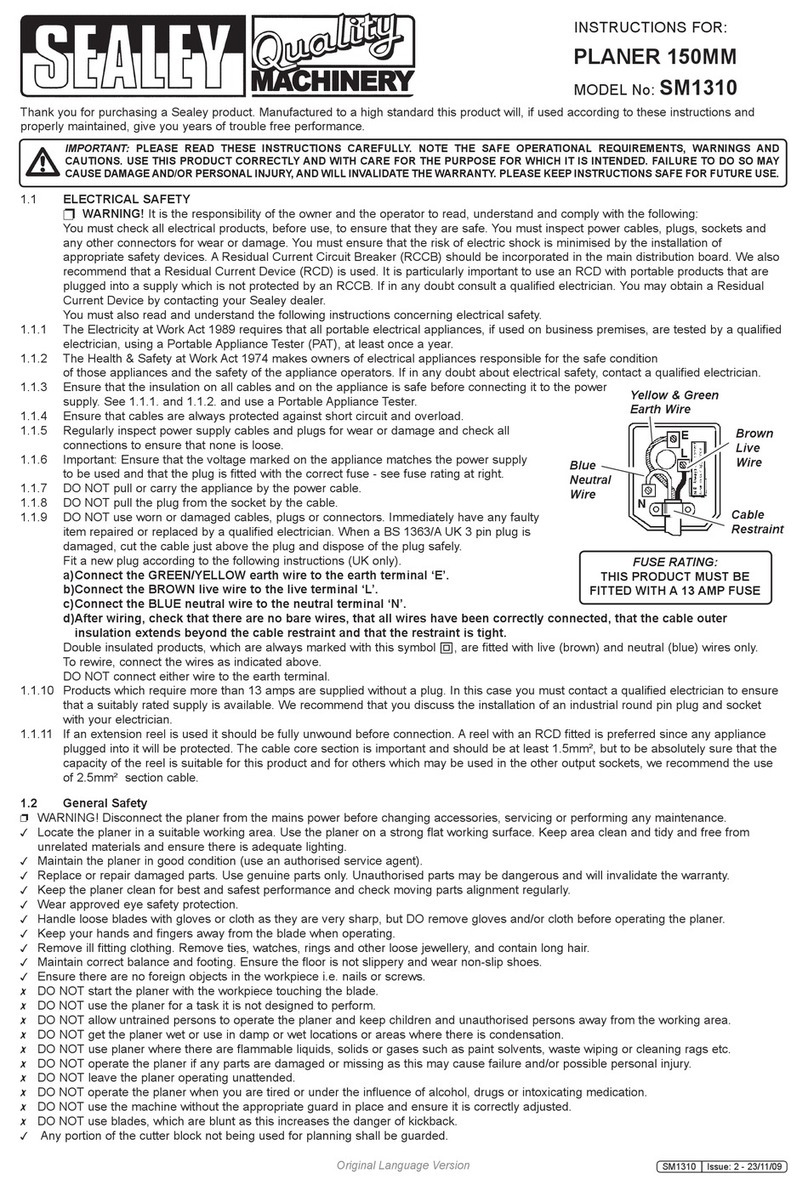
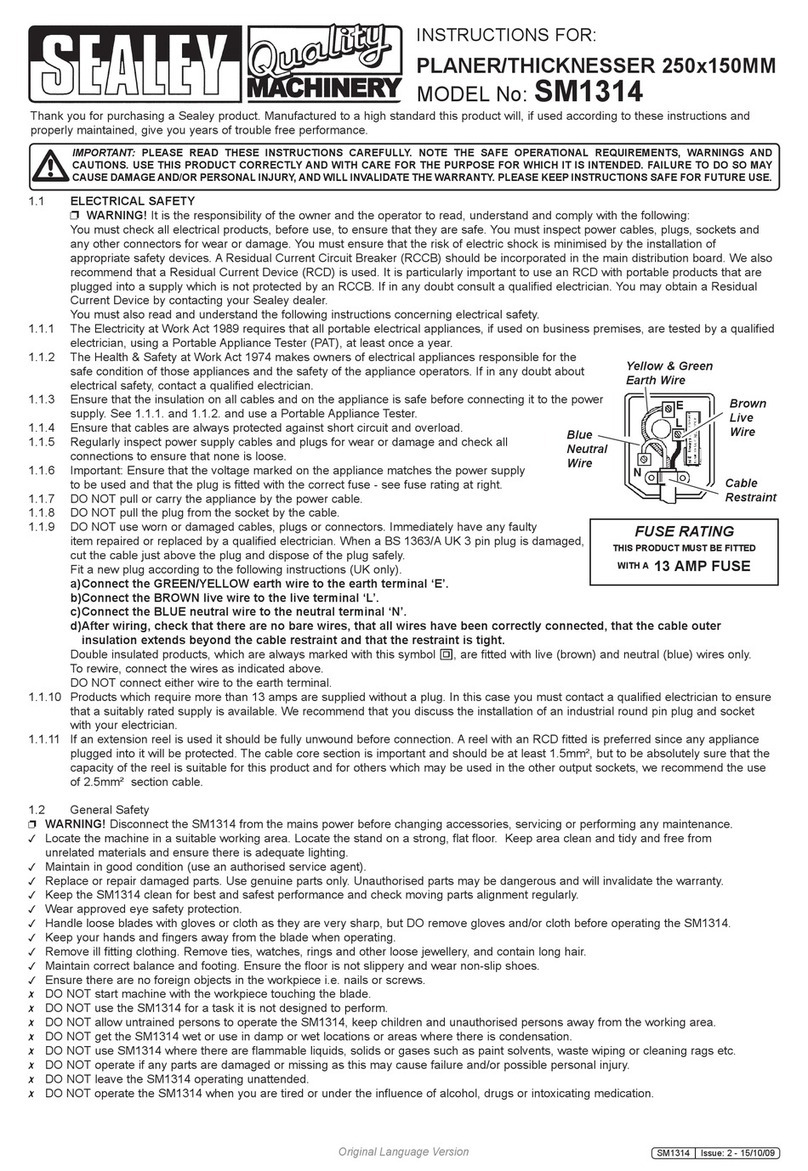
INSTRUCTIONS FOR:
PLANER/THICKNESSER 200x120MM
Model No: SM1311
Thank you for purchasing a Sealey product. Manufactured to a high standard this product will, if used according to these instructions and properly
maintained, give you years of trouble free performance.
IMPORTANT: PLEASE READ THESE INSTRUCTIONS CAREFULLY. NOTE THE SAFE OPERATIONAL REQUIREMENTS, WARNINGS AND
CAUTIONS. USE THIS PRODUCT CORRECTLY AND WITH CARE FOR THE PURPOSE FOR WHICH IT IS INTENDED. FAILURE TO DO SO MAY
CAUSE DAMAGE AND/OR PERSONAL INJURY, AND WILL INVALIDATE THE WARRANTY. PLEASE KEEP INSTRUCTIONS SAFE FOR FUTURE USE.
1.2 General Safety
!WARNING! Disconnect the SM1311 from the mains power before changing accessories, servicing or performing any maintenance.
"Locate the machine in a suitable working area. Use the planer on a strong flat working surface. Keep area clean and tidy and free from
unrelated materials and ensure there is adequate lighting.
"Maintain in good condition (use an authorised service agent).
"Replace or repair damaged parts. Use genuine parts only. Unauthorised parts may be dangerous and will invalidate the warranty.
"Keep the SM1311 clean for best and safest performance and check moving parts alignment regularly.
"Wear approved eye safety protection.
"Handle loose blades with gloves or cloth as they are very sharp, but DO remove gloves and/or cloth before operating the SM1311.
"Keep your hands and fingers away from the blade when operating.
"Remove ill fitting clothing. Remove ties, watches, rings and other loose jewellery, and contain long hair.
"Maintain correct balance and footing. Ensure the floor is not slippery and wear non-slip shoes.
"Ensure there are no foreign objects in the workpiece i.e. nails or screws.
#DO NOT start with the workpiece touching the blade.
#DO NOT use the SM1311 for a task it is not designed to perform.
#DO NOT allow untrained persons to operate the SM1311, keep children and unauthorised persons away from the working area.
#DO NOT get the SM1311 wet or use in damp or wet locations or areas where there is condensation.
#DO NOT use SM1311 where there are flammable liquids, solids or gases such as paint solvents, waste wiping or cleaning rags etc.
#DO NOT operate if any parts are damaged or missing as this may cause failure and/or possible personal injury.
#DO NOT leave the SM1311 operating unattended.
#DO NOT operate the SM1311 when you are tired or under the influence of alcohol, drugs or intoxicating medication.
#DO NOT use without the appropriate guard in place and ensure it is correctly adjusted.
#DO NOT use blades, which are blunt as this increases the danger of kickback.
"Any portion of the cutter block not being used for planning shall be guarded.
"When planing or thicknessing short workpieces, a push-stick should be used.
"Check for alignment of moving parts, binding of moving parts, mounting and any other conditions that may affect it's operation.
"If a guard or other part is damaged it should be properly repaired or replaced by an authorized service centre unless otherwise indicated in
this instruction manual.
"Stay alert - Watch what you are doing, use common sense and do not operate the tool when you are tired.
"When not in use switch off the SM1311 and remove plug from the power supply.
NOTE! Max. allowable blade projection over cutterblock 1.0mm/0.004 inch +10%.
1.1 ELECTRICAL SAFETY
!WARNING! It is the responsibility of the owner and the operator to read, understand and comply with the following:
You must check all electrical products, before use, to ensure that they are safe. You must inspect power cables, plugs, sockets and
any other connectors for wear or damage. You must ensure that the risk of electric shock is minimised by the installation of
appropriate safety devices. A Residual Current Circuit Breaker (RCCB) should be incorporated in the main distribution board. We also
recommend that a Residual Current Device (RCD) is used. It is particularly important to use an RCD with portable products that are
plugged into a supply which is not protected by an RCCB. If in any doubt consult a qualified electrician. You may obtain a Residual
Current Device by contacting your Sealey dealer.
You must also read and understand the following instructions concerning electrical safety.
1.1.1 The Electricity at Work Act 1989 requires that all portable electrical appliances, if used on business premises, are tested by a qualified
electrician, using a Portable Appliance Tester (PAT), at least once a year.
1.1.2 The Health & Safety at Work Act 1974 makes owners of electrical appliances responsible for the safe condition of those appliances
and the safety of the appliance operators. If in any doubt about electrical safety, contact a qualified electrician.
1.1.3 Ensure that the insulation on all cables and on the appliance is safe before connecting it to the power
supply. See 1.1.1. and 1.1.2. and use a Portable Appliance Tester.
1.1.4 Ensure that cables are always protected against short circuit and overload.
1.1.5 Regularly inspect power supply cables and plugs for wear or damage and check all connections to
ensure that none is loose.
1.1.6 Important: Ensure that the voltage marked on the appliance matches the power supply
to be used and that the plug is fitted with the correct fuse - see fuse rating at right.
1.1.7 DO NOT pull or carry the appliance by the power cable.
1.1.8 DO NOT pull the plug from the socket by the cable.
1.1.9 DO NOT use worn or damaged cables, plugs or connectors. Immediately have any faulty
item repaired or replaced by a qualified electrician. When a BS 1363/A UK 3 pin plug is
damaged, cut the cable just above the plug and dispose of the plug safely.
Fit a new plug according to the following instructions (UK only).
a)Connect the GREEN/YELLOW earth wire to the earth terminal ‘E’.
b)Connect the BROWN live wire to the live terminal ‘L’.
c)Connect the BLUE neutral wire to the neutral terminal ‘N’.
d)After wiring, check that there are no bare wires, that all wires have been correctly
connected, that the cable outer insulation extends beyond the cable restraint and that the
restraint is tight.
Double insulated products, which are always marked with this symbol , are fitted with live
(brown) and neutral (blue) wires only. To rewire, connect the wires as indicated above.
DO NOT connect either wire to the earth terminal.
1.1.10 Products which require more than 13 amps are supplied without a plug. In this case you must contact a qualified electrician to ensure
that a suitably rated supply is available. We recommend that you discuss the installation of an industrial round pin plug and socket
with your electrician.
1.1.11 If an extension reel is used it should be fully unwound before connection. A reel with an RCD fitted is preferred since any appliance
plugged into it will be protected. The cable core section is important and should be at least 1.5mm2, but to be absolutely sure that the
capacity of the reel is suitable for this product and for others which may be used in the other output sockets, we recommend the use
of 2.5mm2 section cable.
Blue
Neutral
Wire
Yellow & Green
Earth Wire
Cable
Restraint
FUSE RATING
THIS PRODUCT MUST BE FITTED
WITH A 13 AMP FUSE
Brown
Live
Wire
SM1311 - 1 - 150506

2. APPLICATION & SPECIFICATION
Compact and portable power planer/thicknesser with heavy-duty cast base
for accurate and smooth operation. Accurate fence tilts between 45° and
90°. Fitted with two blades capable of handling timber up to 200mm wide.
Easy conversion from planer to thicknesser. Thicknesser fitted with feed
rollers. No-volt release switch prevents uncontrolled re-start after power
interruption.
3.1 ASSEMBLY
!WARNING! DO NOT plug the planer into the mains power
supply until completely assembled.
The machine is shipped nearly complete in one carton. Additional
parts which need to be fastened to machine should be located and
accounted for before assembling. (fig. 1).
A. Planer and Thicknesser
B. Angle fence
C. 4mm Hex wrench
D. Handle assembly
E. Hex bolt
F. 5mm lock washer
G. 5mm flat washer
H. Dust chute
3.2 SETTING ANGLE FENCE (fig. 2)
3.2.1 Insert screw into the slot (A), then locate the fence on screw
(D). Securely tighten screw (A) first, then screw (D).
Angle adjustment is made by loosening knob (C) and
tilting fence to the desired angle using scale (B). Re-tighten
knob (C) fig. 2.
3.3 SETTING SAFETY GUARD (fig. 3)
3.3.1 To adjust the height of the guard, loosen knob A, raise
or lower the guard (B), until it is in firm sliding contact with the
workpiece. Tighten knob A.
3.3.2 After adjusting the guard height it can be adjusted sideways
to set the required stock width for jointing. (As in Fig.4)
Note! Make sure that the switch is in off position before adjusting
the cutting depth, replacing or adjusting blades. Make sure the blade
screws are securely tightened.
3. ASSEMBLY
4. CHIP EXTRACTION
SM1311 - 1 - 150506
FIG. 4
Motor . . . . . . . . . . . . . . . . . . . . . . . . . . . . . . . . .1250W, 230V 50Hz.
Maximum Thicknessing Capacity . . . . . . . . . . . . . . . . . . . . .120mm
Maximum Cut (Width x Depth) . . . . . . . . . . . . . . . . . . . . .200 x 2mm
Thicknesser Feed Rate . . . . . . . . . . . . . . . . . . . . . . . . . . . .7mtr/min
Cutter-head Speed . . . . . . . . . . . . . . . . . . . . . . . . . . . . . . .8000rpm
Fence Angle . . . . . . . . . . . . . . . . . . . . . . . . . . . . . . . . . . . . . .45-90°
Working Table Size . . . . . . . . . . . . . . . . . . . . . . . . . . .737 x 210mm
Weight . . . . . . . . . . . . . . . . . . . . . . . . . . . . . . . . . . . . . . . . . . .29kg
FIG. 1 A
H
GF
EDC
B
AC
D
B
FIG. 3
A
B
4.1 PLANING
4.1.1 Set the thicknessing table to the
lowest position.
4.1.4 Push the chute into position. 4.1.5 The chute should be positioned to
allow both the keys to align with
the cut-outs on the table
4.1.6 Insert the keys into the cut-outs,
locking the chute into place.
4.1.3 Pull the keys on either side of the
chute and align the chute with the
work table.
4.1.2 Insert the dust chute underneath
the planing work table.
FIG. 2

4.1.7 Ensure the keys are fully
inserted.
4.2.1 Remove the set bolt on
the fence seat.
4.2.2 Loosen the set screw. 4.2.3 Remove fence assembly.
4.2.4 Fasten the set screw. 4.2.5 Slide the guard away from
the table.
4.2.6 Set the safety guard at
its uppermost position
and fasten the set screw.
4.2.7 Remove chute from underneath
table and place on top over blade
4.2.8 Locate the two keys on the
chute and align with the
cut-outs on the table and
insert the keys.
4.2.9 Check the keys are fully
inserted.
4.1.8 Chute fully assembled for
planing operations.
4.2 THICKNESSING
5. OPERATING INSTRUCTIONS
WARNING! Ensure you read, understand and apply Section 1 safety instructions before use.
We recommend you check the alignment of cutting bladesbefore use. See section 6.3.7.
5.1 PLANING (Fig.A)
5.1.1 The cutting depth is set by handle (A). Use the front table plate (B) in conjunction with the scale (C) for the cutting depth.
A cutting depth of between 0.5 and 1.5 mm (1/64”~1/16”) will produce the best results.
WARNING: The part of the blades not used, must to be covered by the blade guard.
Note! Attach a suitable dust extractor to the dust chute. This reduces the amount of airborne dust and health risks associated with
inhalation of particles.
5.1.2 Take up a working position so that you are always on one side of the machine away from the area directly in front of or behind cutterhead.
5.1.3 Lift STOP cover and push the start button.
NOTE! The STOP button is also the Emergency Stop button. Incase of an emergency hit the STOP button, it will lock into place to prevent the
start button being activated again. The stop button will require unclipping in order to gain access to the start button.
5.1.4 Place both hands on the workpiece. Do not hold the workpiece with your fingers anywhere near the blades.
NOTE! Only plane workpieces which rest firmly on the planer and can be safely guided.
5.1.5 Introduce the workpiece from the feed side. Gently guide the workpiece over the blades. Do not force the workpiece but allow the machine
to do the work.
Fig.A
Note: Guard must cover blades
A
B
C
Note! The SM1311 is fitted with a safety
interlink which prevents the machine from
being used without the chip extractor in place
and the keys inserted.
SM1311 has a reset button in case of motor
overload. Should the machine stop due to
excessive demands you will need to press the
reset button, shown left.
Reset
Button

WARNING! Ensure you read, understand and apply Section 1 safety instructions before use.
5.2 Thicknessing
5.2.1 Set the desired height by turning the handle (Fig.B) using the graduated scale as a reference.
5.2.2 One complete turn of the handle is equal to 3mm as indicated on the scale next to the feed port.
It is better to use a cutting depth of between 0.5 and 1.5 mm (1/64”~1/16”) for best results. Trying to
remove excessive amounts on a single pass will result in motor overload and dull the blades.
Note! When thicknessing it is recommended to keep the feed table clean and free of sap. Apply a small
amount of penetration spray and wipe over with a cloth.
!WARNING! Do not remove chips or dust from the table while the machine is running, always disconnect from
the mains supply before attempting any kind of maintenance. Do not attempt to thickness short pieces of wood.
Fig.B
Height adjustment for
thicknesser table
!WARNING! Prior to doing any maintenance work, always disconnect from the mains. Any protective guards which have been removed must be
mounted again after the maintenance work.
6.1 MACHINE CARE
The SM1311 is designed with a low maintenance
requirement. The bearings are greased for life.
6.1.1 Grease threaded spindles for the height
adjustment of the thicknessing table.
6.1.2 The table surface should always be kept free of
resin.
6.1.3 In order to prevent the motor from overheating,
regularly check that no dust has accumulated on
the ventilation apertures of the motor.
After a prolonged period of operation, users are
recommended to have the machine checked by an
authorised service agent.
6.2 TOOL CARE
The cutter head, clamping devices, blade supports and
blades used on the machine must be kept free from resin
build up as a clean tool improves the cutting quality. This can
be done by soaking the blade supports and blades for 24
hours in paraffin, white spirit or commercially available resin
remover.
6.3 REPLACING BLADES
!WARNING! Disconnect from power before servicing!
6.3.1 Unplug the planer from power source.
6.3.2 Loosen and remove four blade lock screws
securing blade and blade clamp.
6.3.3 Lift blade and blade clamp from cutterhead.
6.3.4 Clean any sawdust and resin build up from cutterhead and blade clamp.
6.3.5 Place blade clamp against the replacement blade and replace in cutterhead.
6.3.6 Secure blade and blade clamp using four blade lock screws. Do not over-tighten.
NOTE! Check blade height and alignment.
6.3.7 To check blade alignment, set the table to the (0) position. Use a straight edge i.e metal ruler or set square and position it across the
two tables. The blade should almost make contact with the ruler, check at either end of the blade and in the middle to ensure the blade
is level. Loosen the blade lock screws and adjust height accordingly using the blade adjustment grub screws.
6.3.8 Repeat the procedure to replace the other blade.
6.3.9 Make sure all the blade lock screws are tight.
6. MAINTENANCE
Declaration of Conformity We, the sole importer into the UK, declare that the product listed below is in conformity with the following
standards and directives.
For Jack Sealey Ltd. Sole importer into the UK of Sealey Quality Machinery.
Signed by Steve Buckle
The construction file for this product is held by the Manufacturer and may
be inspected, by a national authority, upon request to Jack Sealey Ltd.
PLANER/THICKNESSER 200x120mm
Model SM1311
73/23/EEC Low Voltage Directive
89/336/EEC EMC Directive
98/37/EC Machinery Directive
93/68/EEC CE Marking Directive
7. DECLARATION
1st May 2006
SM1311 - 1 - 150506
01284 757500
01284 703534 sales@sealey.co.uk
Sole UK Distributor
Sealey Group,
Bury St. Edmunds, Suffolk.
www.sealey.co.uk
Web
email
NOTE: It is our policy to continually improve products and as such we reserve the right to alter data, specifications and component parts without prior notice.
IMPORTANT: No liability is accepted for incorrect use of this product.
WARRANTY: Guarantee is 12 months from purchase date, proof of which will be required for any claim.
INFORMATION: For a copy of our catalogue and latest promotions call us on 01284 757525 and leave your full name, address and postcode.
Other Sealey Planer manuals