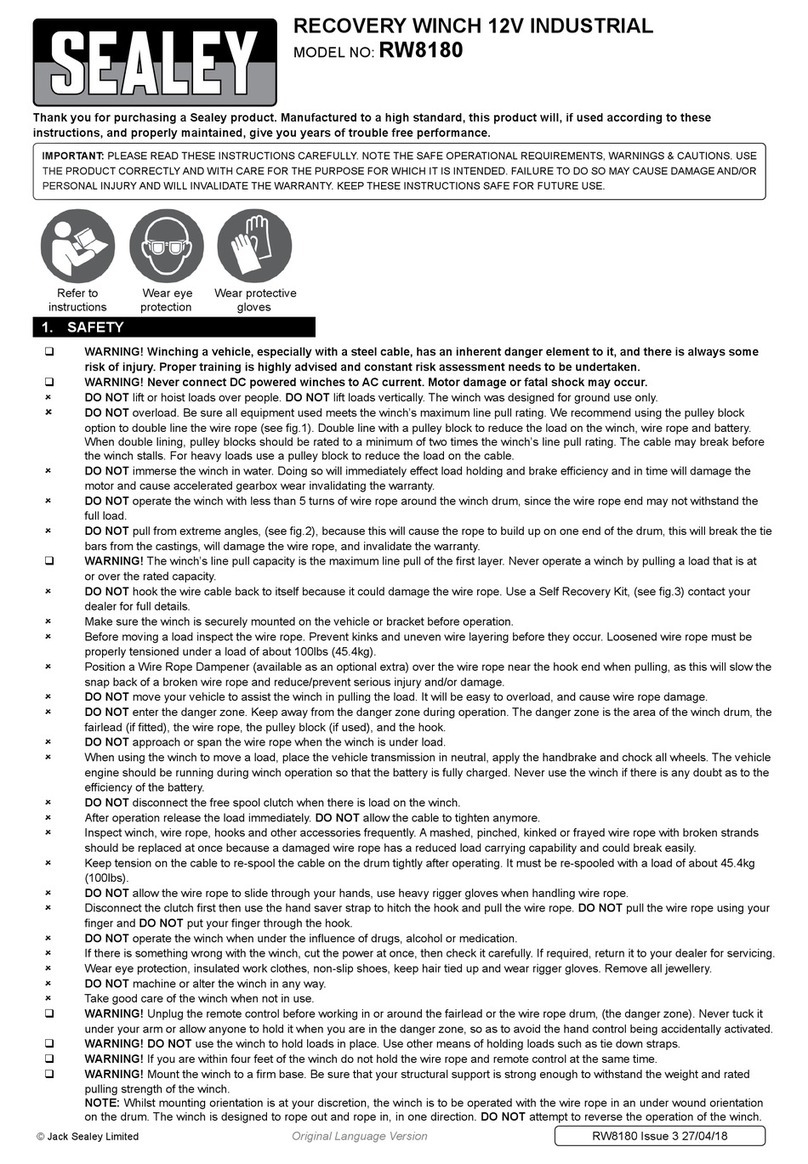
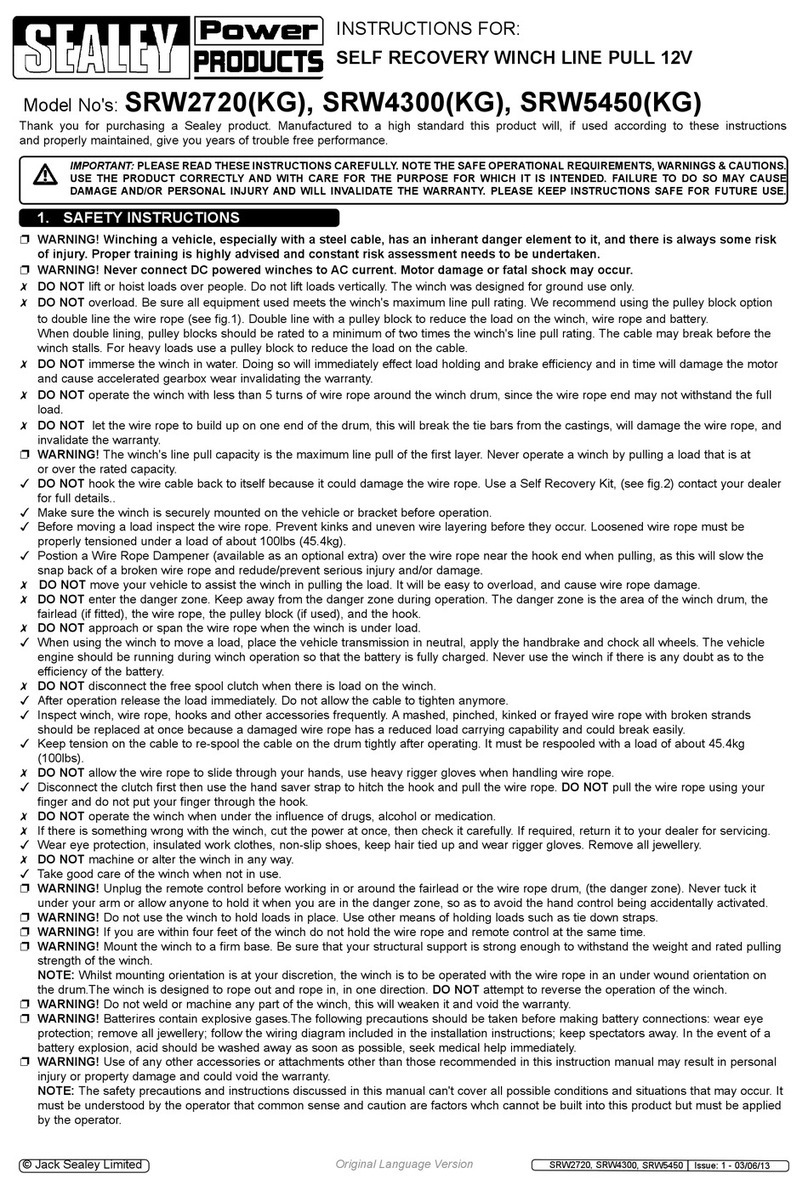
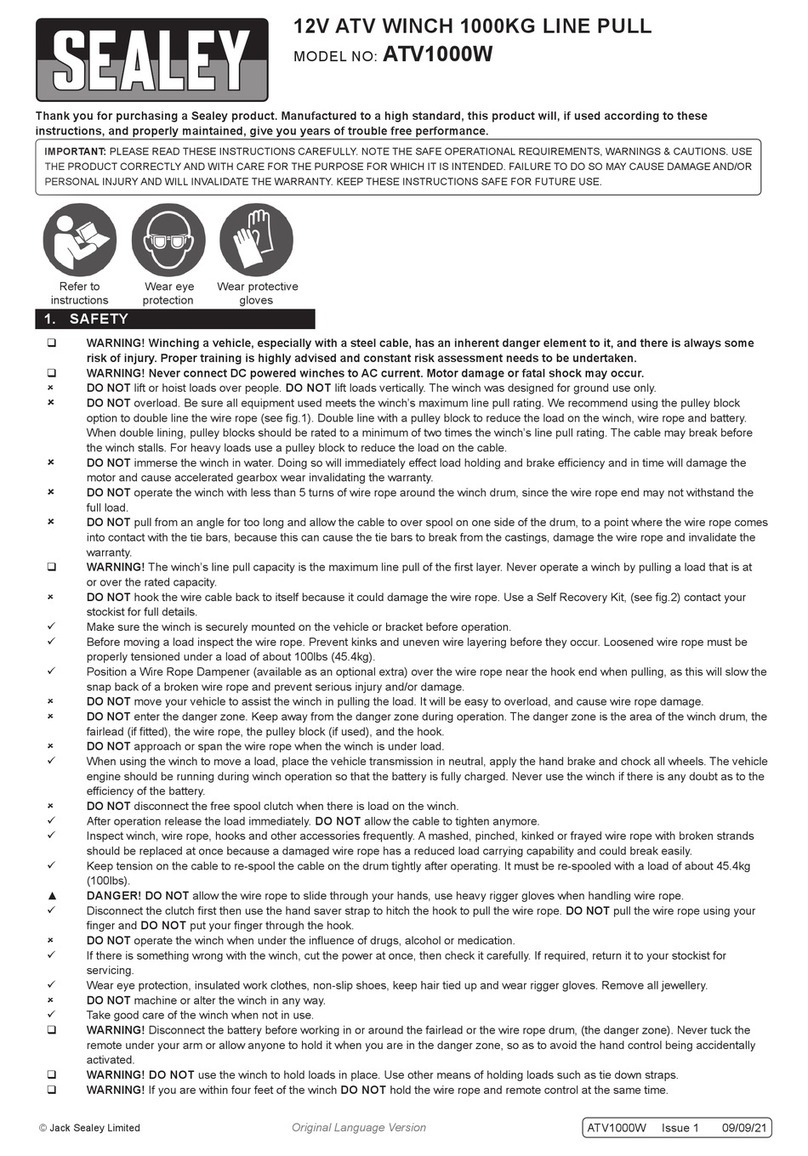
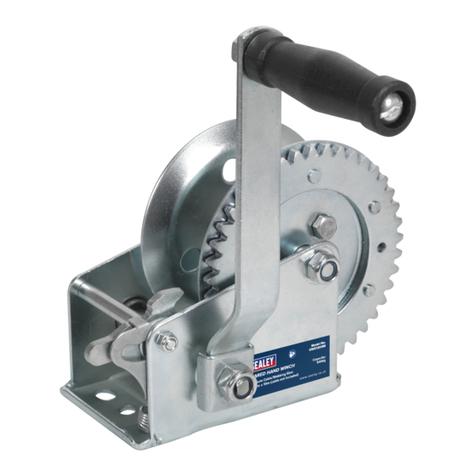
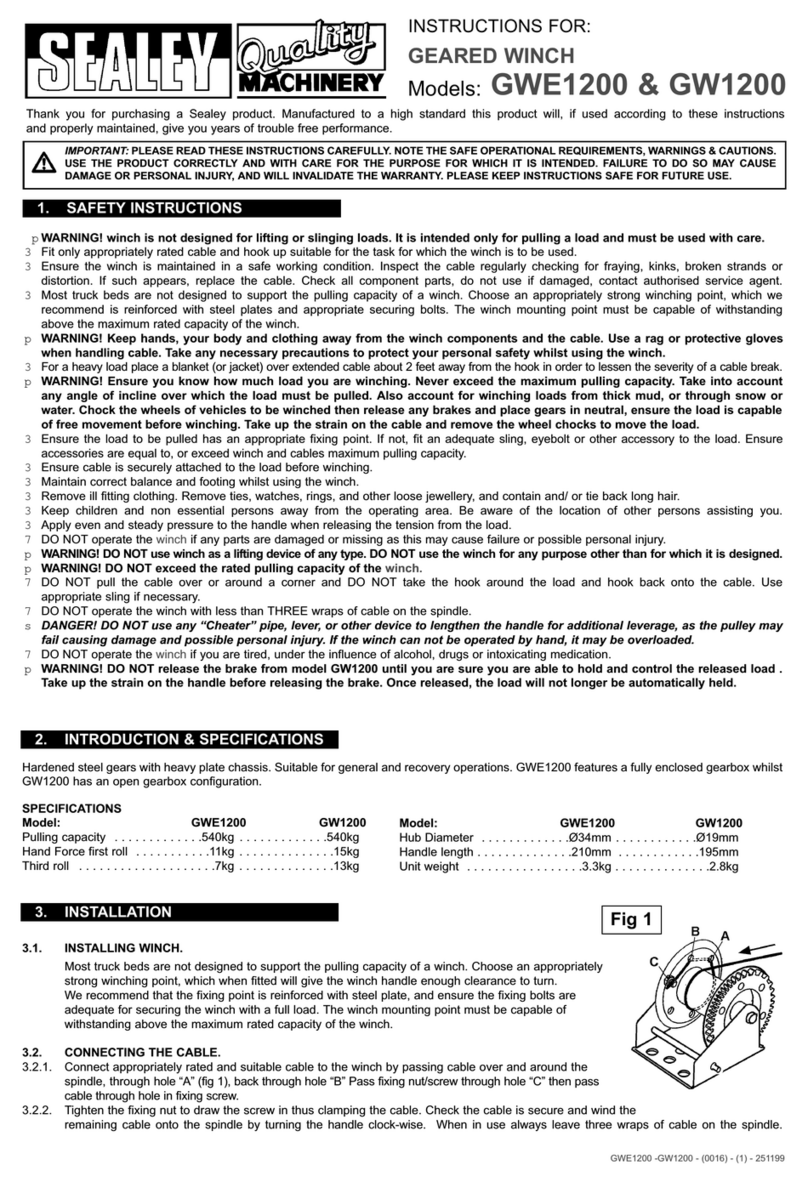
Sealey RW2500/12 User manual

INSTRUCTIONS FOR:
12 & 24V ELECTRIC POWER WINCHES
Thank you for purchasing a Sealey product. Manufactured to a high standard this product will, if used according to these instructions
and properly maintained, give you years of trouble free performance.
1. SAFETY INSTRUCTIONS
IMPORTANT: PLEASE READ THESE INSTRUCTIONS CAREFULLY. NOTE THE SAFE OPERATIONAL REQUIREMENTS, WARNINGS & CAUTIONS.
USE THE PRODUCT CORRECTLY AND WITH CARE FOR THE PURPOSE FOR WHICH IT IS INTENDED. FAILURE TO DO SO MAY CAUSE
DAMAGE AND/OR PERSONAL INJURY AND WILL INVALIDATE THE WARRANTY. PLEASE KEEP INSTRUCTIONS SAFE FOR FUTURE USE.
p
p
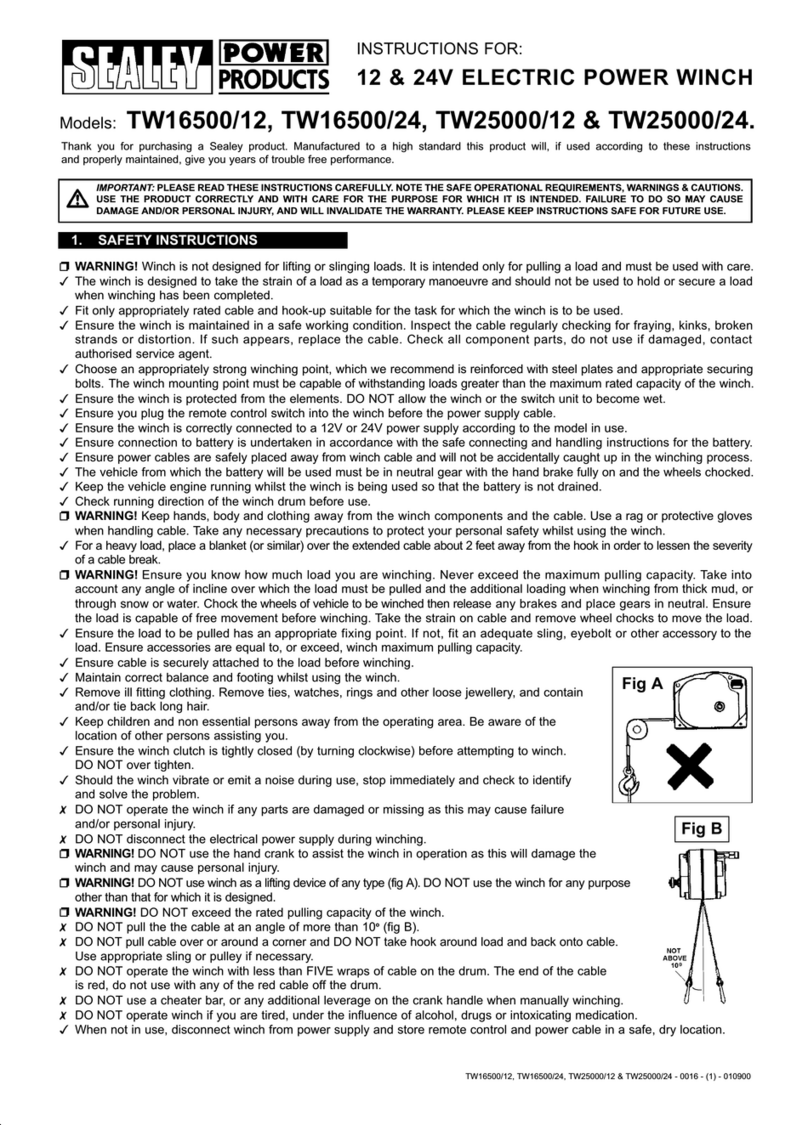
IMPORTANT WARNING! DO NOT pull the the cable at an angle of more than 10o(fig A). Pulling angles greater than 10o
will put excessive pressure on cable drum and will result in damage to winch and invalidate the warranty.
p
p
WARNING! Your winch is NOT designed for lifting or slinging loads. It is intended only for pulling a load and must be used with care.
3The winch is designed to take the strain of a load as a temporary manoeuvre and should not be used to hold or secure a load
when winching has been completed. Maximum operating time should not exceed two minutes. If the load fails to move, or
stops, switch off winch within thirty seconds to prevent winch damage.
3Fit only appropriately rated cable and hook-up suitable for the task for which the winch is to be used.
3Ensure the winch is maintained in a safe working condition. Inspect the cable regularly checking for fraying, kinks, broken
strands or distortion. If such appears, replace the cable. Check all component parts, do not use if damaged, contact
authorised service agent. USE ONLY GENUINE PARTS SUPPLIED BY SEALEY.
3Choose an appropriately strong winching point, which we recommend is reinforced with steel plates and appropriate securing
bolts. The winch mounting point must be capable of withstanding loads greater than the maximum rated capacity of the winch.
3Ensure the winch is protected from the elements. DO NOT allow the winch or the switch unit to become wet.
3Ensure you plug the remote control switch cable into the winch before connecting the power supply cable.
3Ensure the winch is correctly connected to a 12V, or 24V, power supply, according to the model in use.
3Ensure connection to battery is undertaken in accordance with the safe connecting and handling instructions for the battery.
3Ensure power cables are safely placed away from winch cable and will not be accidentally caught up in the winching process.
3The vehicle from which the battery will be used must be in neutral gear with the hand brake fully on and the wheels chocked.
3Keep the vehicle engine running whilst the winch is being used so that the battery is not drained.
3Check running direction of the winch drum before use.
p
p
WARNING! Keep hands, body and clothing away from the winch components and the cable. Use a rag or protective gloves
when handling cable. Take any necessary precautions to protect your personal safety whilst using the winch.
3For a heavy load, place a blanket (or similar) over extended cable about two feet away from hook to lessen the severity of a cable break.
p
p
WARNING! Ensure you know how much load you are winching. Never exceed the maximum pulling capacity. Take into
account any angle of incline over which the load must be pulled and the additional loading when winching from thick mud, or
through snow or water. Chock the wheels of vehicle to be winched, then release any brakes and place gears in neutral. Ensure
the load is capable of free movement before winching. Take the strain on cable and remove wheel chocks to move the load.
3Ensure the load to be pulled has an appropriate fixing point. If not, fit an adequate sling, eyebolt or other accessory to the
load. Ensure accessories are equal to, or exceed, winch maximum pulling capacity.
3Ensure cable is securely attached to the load before winching.
3Maintain correct balance and footing whilst using the winch.
3Remove ill fitting clothing. Remove ties, watches, rings and other loose jewellery and contain and/or tie
back long hair.
3Keep children and non-essential persons away from the operating area. Be aware of the location of other
persons assisting you.
3Should the winch vibrate or emit a noise during use, stop immediately and check to identify and solve the
problem.
7DO NOT operate the winch if any parts are damaged or missing as this may cause failure and/or personal
injury.
7DO NOT disconnect the electrical power supply during winching.
p
p
WARNING! DO NOT use the hand crank to assist the winch in operation as this will damage the winch
and may cause personal injury.
p
p
WARNING! DO NOT use winch as a lifting device of any type (fig B). DO NOT use the winch for any
purpose other than that for which it is designed.
p
p
WARNING! DO NOT exceed the rated pulling capacity of the winch.
7DO NOT pull cable over or around a corner and DO NOT take hook around load and back onto cable.
Use appropriate sling or pulley if necessary.
7DO NOT operate the winch with less than FIVE wraps of cable on the drum. The end of the
cable is red, do not use with any of the red cable off the drum.
7DO NOT use a cheater bar, or any additional leverage on the crank handle when manually winching.
7DO NOT operate winch if you are tired, under the influence of alcohol, drugs or intoxicating
medication.
3When not in use, place the clutch in engaged position. Disconnect winch from power supply and
store remote control and power cable in a safe, dry location.
Models: RW2500/12, RW3500/12, RW4500/12,
RW2500/24, RW3500/24, RW4500/24.
RW2500/12, RW3500/12, RW4500/12, RW2500/24, RW3500/24, RW4500/24 - 3 - 230703
Fig B
Fig A
2. SPECIFICATIONS & PERFORMANCE
LINE PULL AND LINE SPEED vary according to how much cable is
on the drum. The winch is rated at the first layer of cable on the drum.
The maximum line pull force will be reduced by subsequent layers of
cable on the drum. Chart 1 illustrates the maximum line force at
increasing cable layers. Your could experience a loss of 13% pulling
power per layer of cable. Also check any incline on which you are
pulling as an incline will further reduce the line pulling capacity,
see Chart 6.
COMPONENTS
Check that you have the equipment as shown below. If any item is
missing or damaged contact your supplier immediately.
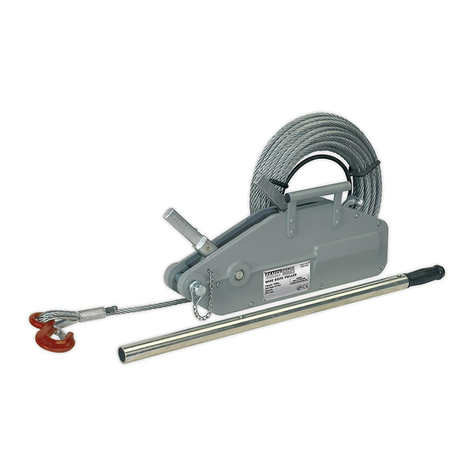
1. Winch
2. Remote switch
3. Battery cable
4. Circuit breaker assembly
5. Hand saver bar
6. Nuts, bolts and washers
RW2500/12, RW3500/12, RW4500/12, RW2500/24, RW3500/24, RW4500/24 - 3 - 230703
LINE SPEED
AMP DRAW
CHART 1.
CHART 2.
CHART 3.
CHART 4.

Fig C
The rolling weight performance shown includes a 12% rolling friction factor, and is based upon a hard level smooth surface. A 10% incline
means a rise of 1m in 10m (fig C).
ROLLING LOAD CAPACITY AT DIFFERENT ANGLES ON FIRST LAYER OF CABLE.
CABLE WINDING CUMULATIVE LENGTH ON DRUM
RW2500/12, RW3500/12, RW4500/12, RW2500/24, RW3500/24, RW4500/24 - 3 - 230703
p
p
WARNING! Ensure you read and understand the safety instructions before installation.
3.1. MOUNTING THE WINCH.
3.1.1. Mounting.
1. Choose the winch mounting location with care as it may not be designed to support the pulling capacity of a winch (especially if
mounting on a vehicle). The mounting point must be capable of withstanding loads above the maximum rated capacity of the winch.
Ensure the mounting point is protected from deterioration or corrosion over the lifetime of the winch use. We recommend the
mounting point is reinforced with steel plates and appropriate securing bolts.
2. Before fixing, ensure the power supply cables will easily reach the battery.
3. Use the washers, bolts and nuts to fix the winch to the mounting plate (see fig.1). The motor, drum and gear housing must be correctly aligned.
4. Once fixed in place, the winch must be protected against the elements at all times.
5. Ensure there is an appropriate safe, dry, childproof location for the storage of the power cables and switches when not in use.
3. INSTALLATION
3.2. POWER SUPPLY CONNECTION.
3.2.1. Battery cable connection.
1. Ensure connection to the battery is undertaken in accordance with the safe connecting and handling instructions for the battery.
2. Ensure the power cables are safely routed away from the winch cable and will not be accidentally caught up in the winching process.
CHART 5.
CHART 6.
Fig 1

4. OPERATING INSTRUCTIONS
3. Attach the free end of RED cable (positive +) tightly to
the end of the circuit breaker marked AUX and
connect the copper plate to the end marked BAT.
4. Connect the copper plate tightly to the positive (+)
terminal of the supply battery (fig 4.A).
5. Connect BLACK cable (negative -) to a suitable
earthing point on the vehicle frame (fig 4.B).
p
p
WARNING! Ensure you read and understand the safety instructions before use.
4.1. FREE WHEEL FUNCTION.
Note: The cable may be unwound under power by engaging the clutch and following steps in 4.2. below.
The cable may also be free wheeled and unwound by hand as follows:
The speed of unwinding the winch cable is controlled by a clutch.
For rapid unwinding proceed as follows:
1. Disconnect the winch from the electrical power supply.
2. Disengage the clutch by lifting the clutch lever (fig 5).
3. To unwind the cable, pull by hand using the hand saver bar and ensure that you wear appropriate safety gloves (fig 6).
Note: If the clutch lever will not lock into the Disengage position, rotate the drum until it does.
3.2.3. Switch connection.
WARNING! Always connect the remote control before connecting winch to
battery. Disconnect winch from battery before disconnecting remote control.
To fit remote control, lift dust cover on the side of the winch and insert remote plug.
Fig 4
A
B
RW2500/12, RW3500/12, RW4500/12, RW2500/24, RW3500/24, RW4500/24 - 3 - 230703
4.2. REMOTE SWITCH OPERATION.
WARNING! Always connect the remote control before connecting winch to
battery. Disconnect winch from battery before disconnecting remote control.
To use the electrical remote switch control the clutch must be engaged as follows:
1. Connect remote control to winch (para. 3.2.3.)
2. Connect the winch to the power supply.
3. Engage the clutch by pushing the lever down (fig 5).
4. To extend the cable, move the toggle switch (fig 7) to the Out position.
5. To winch the cable, move the toggle switch (fig 7) to the In position.
6. Stop the winch by releasing the switch. The internal brake will hold the load in place.
7. Before disengaging cable from load, disconnect winch from power supply.
Fig 5
4.3. USE OF A PULLEY.
Additional pulling power may be obtained by use of a pulley block assembly.
This almost doubles the effective pull and halves the pulling speed.
WARNING! When using a pulley, ensure the hook anchorage point (fig 8.C) will
be capable of withstanding loads greater than the capacity of the winch.
Note that if winch and hook anchorage are both mounted on the same
structure then this structure must be capable of withstanding at least
twice the winch capacity.
DO NOT attach hook back onto winch body as winch mounting may fail.
Always use a separate anchorage point.
C
Model RW2500 RW3500 RW4500
12 Volt 6AWG x 1.5m 6AWG x 1.5m 6AWG x 1.5m
24 Volt 8AWG x 1.5m 8AWG x 1.5m 6AWG x 1.5m
3.2.2. Cable specification.
Fig 7
Fig 8
Fig 6

Declaration of Conformity We, the sole importer into the UK, declare that the products listed below are in conformity with the following
standards and directives.
The construction files for these products are held by the Manufacturer
and may be inspected, by a national authority, upon request to
Jack Sealey Ltd.
For Jack Sealey Ltd. Sole importer into the UK of Sealey Power Products.
12 & 24V ELECTRIC POWER WINCH
Models: RW2500/12, RW3500/12, RW4500/12,
RW2500/24, RW3500/24, RW4500/24
98/37/EC Machinery Directive
89/336/EEC EMC Directive
93/68/EEC EC Marking Directive
23rd July 2003
Signed by Mark Sweetman
5.1. CHECK BEFORE EACH USE.
Before each use check the following to ensure all parts are sound and in good working order and condition:
Mounting/fixing bolts and nuts, motor for correct operation, steel winch cable for fraying, kinks, broken strands or distortion,
operating switches and cables, power supply cables, clutch and brake to ensure loads will hold when switch is released.
If any parts are broken or damaged, do not use the winch, but take immediate action to repair. With the exception of the items below,
all service and maintenance must be undertaken by fully qualified personnel.
5.2. LUBRICATION.
The winch is a sealed unit and has been fully lubricated at the time of manufacture. No additional lubrication should be necessary.
5.3. CABLE REPLACEMENT.
Only use a new cable of the same rating as the one supplied with the winch. DO NOT use a smaller or larger
cable and ensure the cable is made of steel wire.
1. Unwind the entire cable from the winch drum. Undo the retaining grub screw and remove cable from the drum.
2. Insert the replacement cable through outlet guides (fig 9. A) under and around drum securing with grub screw (B).
3. Attach the cable to the hook by returning it through the hook eye and tightly secure with 2 cable clamps.
4. Check that the cable winds smoothly and correctly before use.
Fig 9
5. MAINTENANCE
6. DECLARATION OF CONFORMITY
NOTE: It is our policy to continually improve products and as such we reserve the right to alter data, specifications and component parts without prior notice.
IMPORTANT: No liability is accepted for incorrect use of this equipment.
WARRANTY: Guarantee is 12 months from purchase date, proof of which will be required for any claim.
INFORMATION: For a copy of our latest catalogue and promotions call us on 01284 757525 and leave your full name and address, including postcode.
A
RW2500/12, RW3500/12, RW4500/12, RW2500/24, RW3500/24, RW4500/24 - 3 - 230703
B
Sole UK Distributor,
Sealey Group, Bury St. Edmunds, Suffolk.
01284 757500 sales@sealey.co.uk www.sealey.co.uk
01284 703534 Web
e-mail
This manual suits for next models
5
Table of contents
Other Sealey Winch manuals

Sealey
Sealey RW5675KG User manual

Sealey
Sealey ATV1135.V2 User manual

Sealey
Sealey GWE1200 User manual

Sealey
Sealey RW5675.V2 User manual

Sealey
Sealey GWE1200M User manual

Sealey
Sealey ATV1000W User manual

Sealey
Sealey SRW2720 User manual

Sealey
Sealey RW2500/12.V2 User manual

Sealey
Sealey GWE1200.V2 User manual

Sealey
Sealey TW16500/12 User manual
Popular Winch manuals by other brands

SuperATV
SuperATV WN-12000 Guide

HSS Hire
HSS Hire G Saver Operating & safety guide

BGU
BGU FSW 5.5 H Evolution Original user manual

haacon
haacon TANGO WV 300/500 operating instructions

Paccar Winch
Paccar Winch PA58VS INSTALLATION AND PARTS MANUAL

BRADEN
BRADEN HP35A Installation maintenance and service manual