manuals.online logo
Brands
  1. Home
  2. •
  3. Brands
  4. •
  5. SEASIDE CASUAL FURNITURE
  6. •
  7. Indoor Furnishing
  8. •
  9. SEASIDE CASUAL FURNITURE ENVIROWOOD Adirondack Classic Swing User manual

SEASIDE CASUAL FURNITURE ENVIROWOOD Adirondack Classic Swing User manual

1
Tools Required:
Phillip’s Head Screwdriver
7/16 Socket or Wrench
4MM Allen Wrench (Included)
(13) Adirondack Classic Swing rev. A
WOODENVIRO
SEASIDE CASUAL FURNITURE
Hardware:
(6) 3-1/2” Connector Bolts
(2) 2-3/4” Connector Bolts
(5) 1-3/4” Phillip’s Head Screws
(8) Flat Washers
(8) Lock Washers
(8) Nuts
(2) Legs
(1) Seat Assembly
(2) Arms
Parts List:
Assembly Instructions
Step One: Set Up
READ ENTIRE INSTRUCTIONS BEFORE BEGINNING! Carefully remove contents
from box. Make sure that all parts and hardware are included.
Place Leg on side of Seat Assembly on top
of the Front Rope Support, while aligning
pre-drilled holes on both Legs and Seat As-
sembly, also make sure Arm Support al-
ready attached to leg face inside of the
swing (Left Picture). Attached Leg with (2)
3-1/2” connector bolts (Right Picture). Fin-
ger tighten flat & lock washers and nuts.
Do not tighten at this time. Repeat process
got other side.
Step Two: Leg Assembly
WARRANTY QUESTIONS OR COMMENTS PLEASE CALL TOLL FREE AT 1-800-809-3114
Step Three: Back Assembly
Install the Back Assembly to the Seat As-
sembly aligning pre-drilled holes on both
assemblies together. Attach using (2) 1-
3/4” Phillips Head Screws (Left Picture).
Repeat process of other side. Attach middle
of the Back Assembly using (1) 1-3/4”
Phillips Head Screw (Right Picture).
(1) Back Assembly
(2) Rope
Instruction Revision: A
2
Tighten all connections. Do not over tighten!!! Over tightening of hardware can cause
damage to the item.
Step Four: Arm Assembly
Step Six: Tightening of Hardware
Step Five: Arm & Back Attachment
Arms should be installed with curve side on
the inside of the chair. (Left Picture). Place
Arm on top of Front Leg. Align pre-drilled
hole in arm with the pre-drilled hole lo-
cated at the top of the Front Leg (Right Pic-
ture). Install a 3-1/2” connector bolt
through pre-drilled hole in the Front Leg,
then through pre-drilled hole under arm.
Install flat washer, lock washer and nuts.
Do not tighten at this time. Repeat process
on other side.
Align pre-drilled screw hole and rope hole
on the Arm and Back Assembly’s Upper
Yoke (Left Picture). Install (1) 2-3/4” con-
nector bolt through pre-drilled hole through
arm and through upper back yoke (Right
Picture). Finger tighten flat & lock washers
and nuts. Do not tighten at this time. Re-
peat process for opposite side.
Step Seven: Rope Instructions
See following page for Rope Attachment Instructions.
3
(13) Adirondack Classic Swing Rope Instructions
WOODENVIRO
SEASIDE CASUAL FURNITURE
Assembly Instructions
Step One: Set Up
ROPE IS TO BE INSTALLED AFTER THE ASSEMBLY
OF THE REST OF THE SWING! There are two different
lengths of the same rope, from the looped knot there is a Long
side and a short side.(Right Picture).
Thread the short length of rope down through the outside hole on
the Front Swing Support and up though the inner hole on the
Front Swing Support. Tie the end in a knot (Left Picture). Repeat
process for other side.
Step Two: Front Swing Support Rope Connection
WARRANTY QUESTIONS OR COMMENTS PLEASE CALL TOLL FREE AT 1-800-809-3114
Step Three: Rear Swing Support Rope Connection
Thread long length of rope down through the holes in the back
of the Arm and Upper Back Yoke and through the Lower Back
Yoke and the Rear Swing Support. Thread the rope up through
the second hole in the Rear Swing Support and tie a knot at the
end (Right Picture). Repeat process on other side.
Step Three: Adjusting Rope Connections
Make any minor adjustments to the rope to allow Arms to be level with the ground, and check
knots to make sure that they are tied and secure. The knots need to be tight enough to hold
the weight of the Swing and those of who may be sitting on the Swing. For Safety reasons,
please make sure that all the knots are completely secure.

Other SEASIDE CASUAL FURNITURE Indoor Furnishing manuals

SEASIDE CASUAL FURNITURE COASTLINE MONTEREY ADIRONDACK 310 User manual
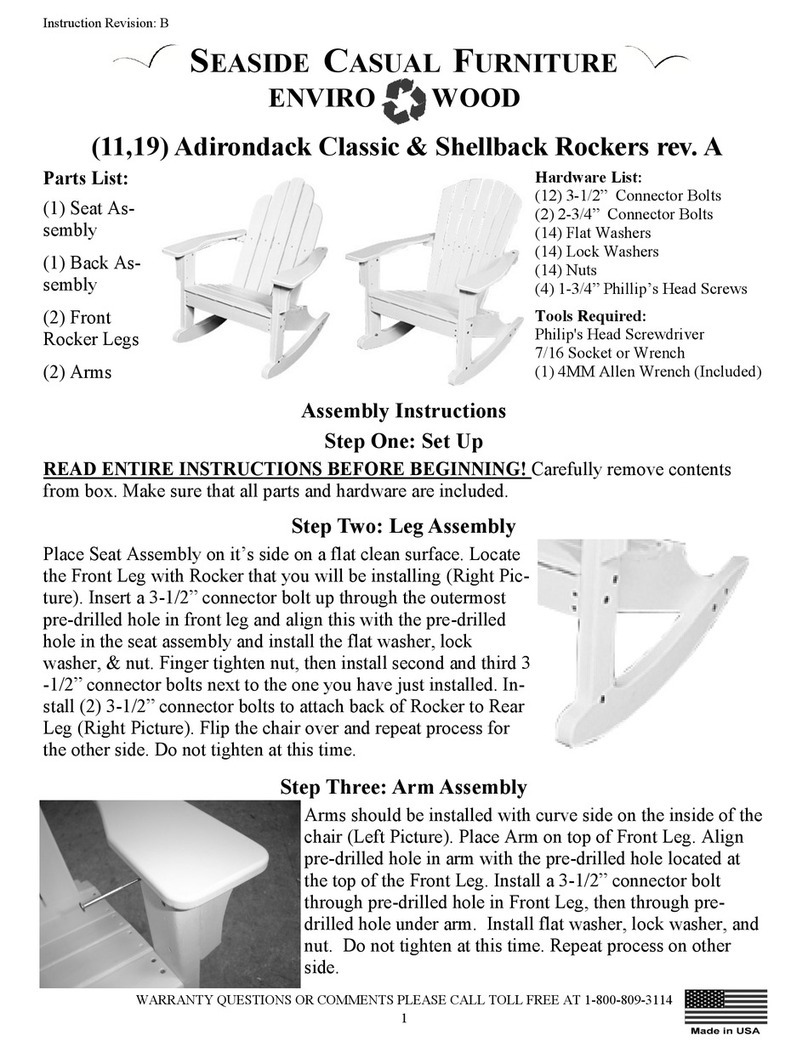
SEASIDE CASUAL FURNITURE

SEASIDE CASUAL FURNITURE COASTLINE MONTEREY ADIRONDACK 310 User manual

SEASIDE CASUAL FURNITURE Adirondack Classic User manual

SEASIDE CASUAL FURNITURE

SEASIDE CASUAL FURNITURE Adirondack Classic User manual

SEASIDE CASUAL FURNITURE ENVIRO WOOD 009 User manual
SEASIDE CASUAL FURNITURE

SEASIDE CASUAL FURNITURE ENVIRO WOOD 009 User manual

SEASIDE CASUAL FURNITURE ENVIRO WOOD 095 User manual
SEASIDE CASUAL FURNITURE

SEASIDE CASUAL FURNITURE ENVIRO WOOD 095 User manual

SEASIDE CASUAL FURNITURE ENVIRO WOOD Westport Bistro Tables User manual

SEASIDE CASUAL FURNITURE

SEASIDE CASUAL FURNITURE ENVIRO WOOD Westport Bistro Tables User manual
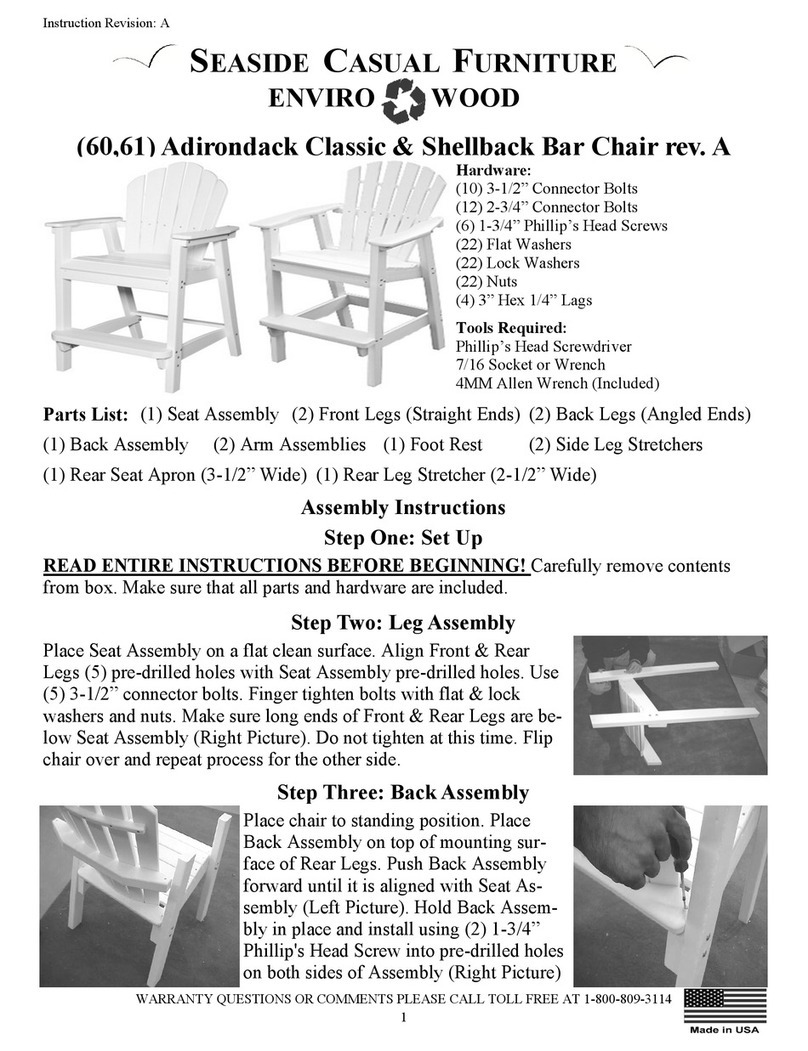
SEASIDE CASUAL FURNITURE 60 User manual

SEASIDE CASUAL FURNITURE

SEASIDE CASUAL FURNITURE 60 User manual

SEASIDE CASUAL FURNITURE Portsmouth Bar Table User manual

SEASIDE CASUAL FURNITURE

SEASIDE CASUAL FURNITURE Portsmouth Bar Table User manual

Popular Indoor Furnishing manuals by other brands

Regency LWMS3015 Assembly instructions

Regency

Regency LWMS3015 Assembly instructions

Furniture of America CM7751C Assembly instructions

Furniture of America

Furniture of America CM7751C Assembly instructions

Safavieh Furniture Estella CNS5731 manual

Safavieh Furniture

Safavieh Furniture Estella CNS5731 manual

PLACES OF STYLE Ovalfuss Assembly instruction

PLACES OF STYLE

PLACES OF STYLE Ovalfuss Assembly instruction

Trasman 1138 Bo1 Assembly manual

Trasman

Trasman 1138 Bo1 Assembly manual

Costway JV10856 manual

Costway

Costway JV10856 manual

moss DESIGN Caisson Credenza Assembly instructions

moss DESIGN

moss DESIGN Caisson Credenza Assembly instructions

Aquaglide FULL DECK 15.0 owner's manual

Aquaglide

Aquaglide FULL DECK 15.0 owner's manual

AREBOS AR-HE-SW30 user manual

AREBOS

AREBOS AR-HE-SW30 user manual

Till-Hilft Fulda 87005.330 Assembly instructions

Till-Hilft

Till-Hilft Fulda 87005.330 Assembly instructions

Twoey Outside 2010 quick start guide

Twoey Outside

Twoey Outside 2010 quick start guide

Hettich Easys 200 operating instructions

Hettich

Hettich Easys 200 operating instructions

The bedboss RELAX 404 Series owner's manual

The bedboss

The bedboss RELAX 404 Series owner's manual

Oeseder Möbelindustrie Bern 991 720 Assembly instructions

Oeseder Möbelindustrie

Oeseder Möbelindustrie Bern 991 720 Assembly instructions

Costway HW68469 user manual

Costway

Costway HW68469 user manual

Next ALIX A27743 Assembly instructions

Next

Next ALIX A27743 Assembly instructions

BROSA Hans Assembly guide

BROSA

BROSA Hans Assembly guide

Prodigg MINIKA PBA015T-FUR installation manual

Prodigg

Prodigg MINIKA PBA015T-FUR installation manual

manuals.online logo
manuals.online logoBrands
  • About & Mission
  • Contact us
  • Privacy Policy
  • Terms and Conditions

Copyright 2025 Manuals.Online. All Rights Reserved.