manuals.online logo
Brands
  1. Home
  2. •
  3. Brands
  4. •
  5. SeaSTAR
  6. •
  7. Auto-purger
  8. •
  9. SeaSTAR POWER PURGE JR HA5445 User manual

SeaSTAR POWER PURGE JR HA5445 User manual

www.seastarsolutions.com
®
SEASTAR POWER PURGE JR
APPLICATIONS
Bleeding tool for all SeaStar
and BayStar steering systems.
FEATURES
• Makes bleeding systems
simple, ensuring steering feel
is solid every time
• 100% portable
• Powered by 12v battery
• Fast and efcient set up
• Quick connect ttings
• Easy to operate
• Filter screens help keep
contamination out of your
steering system
• Complete Fill & Purge in 10
minutes or less
• Optional Dual Cylinder
Purging Kit HA5461 available
The EASY way to 100% purge air out of BayStar and SeaStar hydraulic steering systems.
The Power Purge Jr. reduces installation and warranty costs while enhancing the quality of the
boat to the end user. A typical manual ll and purge takes the average experienced installer
or service technician about 30 minutes per boat - by using the Power Purge Jr. this can be
reduced to 10 minutes or less.
Issue Date - Aug 2016
Issue Number - pas6
Page 1 / 3
ORDER INFORMATION
COMPONENTS PART No.
Power Purge Jr. HA5445-2
50 ft Hose Extension Kit HA5462
Dual Cylinder Purging Kit HA5461
SPARE PARTS
Motor Replacement Kit HP6116
Helm Adapter Kit HP6148
Quick Connect Hose Ends HP6170
Hose/Quick Connect Replacement Kit HP6171
Low Prole Hose Fitting Kit HP6149
Power Purge Service Kit HP6125
www.seastarsolutions.com
®
Issue Date - Aug 2016
Issue Number - pas6
Page 2 / 3
SEASTAR POWER PURGE JR
HA5445 POWER PURGING INSTRUCTIONS
NOTICE: Instructions shown below are for a single cylinder/single helm “manual” steering
system. For detailed instructions when using SeaStar Power Assist and/or Catamaran steering
systems, please refer to your Installation and Owner’s Manual
SINGLE CYLINDER - POWER PURGE OPERATION
Step 1. Connection
• Screw the quick coupling adapter into the helm ller port, and hand-tighten. See notes to the
side for dual helm application.
• Remove the blue hose from the Power Purge Box and connect both hoses to the quick
coupling adapter on the helm. Push the quick connects onto their male counterparts and
check to ensure they have locked in place.
• Remove the clear hose from the Power Purge Box and connect one end to each bleed tting
on the hydraulic cylinder. Check to see if they have locked in place.
• Open both cylinder bleeders 1/2 - 1 turn.
• Attach the electric cable to the boat battery by connecting the black alligator clip to the
negative terminal and the red alligator clip to the positive terminal.
Step 2. Purging
• Turn the Power Purge Jr. ON. Oil should ow into and out of the helm. Wait twenty seconds
for the helm to ll with oil.
• Quickly turn the steering wheel clockwise until the cylinder rod is fully extended (you may
have to manually move the cylinder). Slowly continue to turn the wheel to hold the cylinder in
this position for approximately 30 seconds. Ensure there are no air bubbles escaping through
the cylinder hoses.
• Quickly turn the steering wheel counter-clockwise until the cylinder rod is fully extended on
the opposite side of the cylinder. Slowly continue to turn the wheel to hold the cylinder in this
position for approximately 30 seconds. Ensure there are no air bubbles escaping through the
cylinder hoses.
• Turn off the Power Purge Jr.
• Tighten both of the bleeders on the cylinder.
NOTICE
For dual helm applications,
install non-vent plug in upper
helm and perform procedure
described above on lower helm
rst. Once complete, install
non-vent plug in lower helm
and repeat procedure with
upper helm.
CAUTION
Failure to install non-vent plugs
during this procedure will result
in oil leakage from other helm.
www.seastarsolutions.com
®
Step 3. Disconnection and Testing
• Disconnect all the hoses and place them back in the box. Remove the quick coupling adapter.
• Disconnect the Power Purge Jr. from the battery.
• Push on the cylinder to ensure that it does not move more than 1/4” in either direction.
• While turning the wheel to starboard and just before reaching the stop look at the oil level
in the pump. If no appreciable drop in the oil level occurs, the starboard side of the steering
system is free of air. Repeat the test by turning the wheel to port. If you turn past the stop
with the ller cap off the helm, oil will spill out.
• Ensure the reservoir isn’t overlled and replace the ller cap in the helm. Perform system
proof test by turning the wheel to starboard beyond its normal stop with enough pressure to
“crack the pressure relief valve (1000-1500 psi). Repeat with port side. Fill and Purge is now
complete.
Issue Date - Aug 2016
Issue Number - pas6
Page 3 / 3
SEASTAR POWER PURGE JR

Popular Auto-purger manuals by other brands

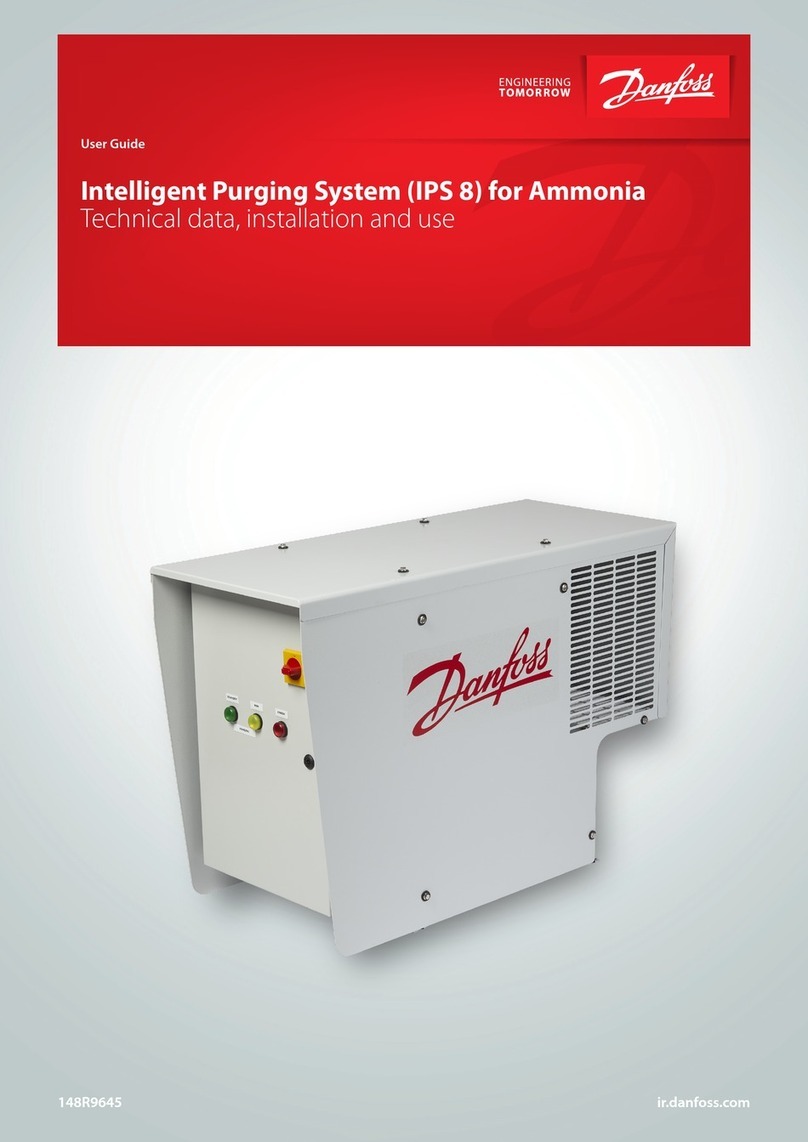
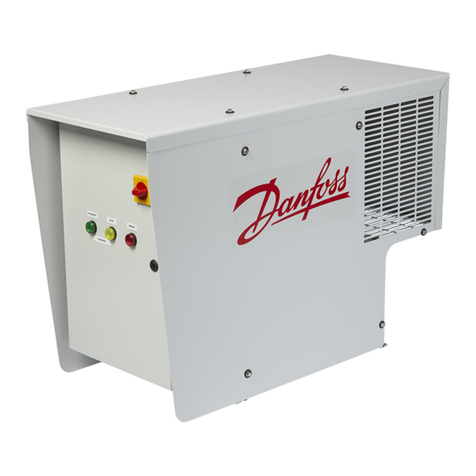
Danfoss Intelligent Purger System user guide

Danfoss

Danfoss Intelligent Purger System user guide

Spirax Sarco BT6-B Installation and maintenance instructions

Spirax Sarco

Spirax Sarco BT6-B Installation and maintenance instructions

manuals.online logo
manuals.online logoBrands
  • About & Mission
  • Contact us
  • Privacy Policy
  • Terms and Conditions

Copyright 2025 Manuals.Online. All Rights Reserved.