Sebo ET-H User manual
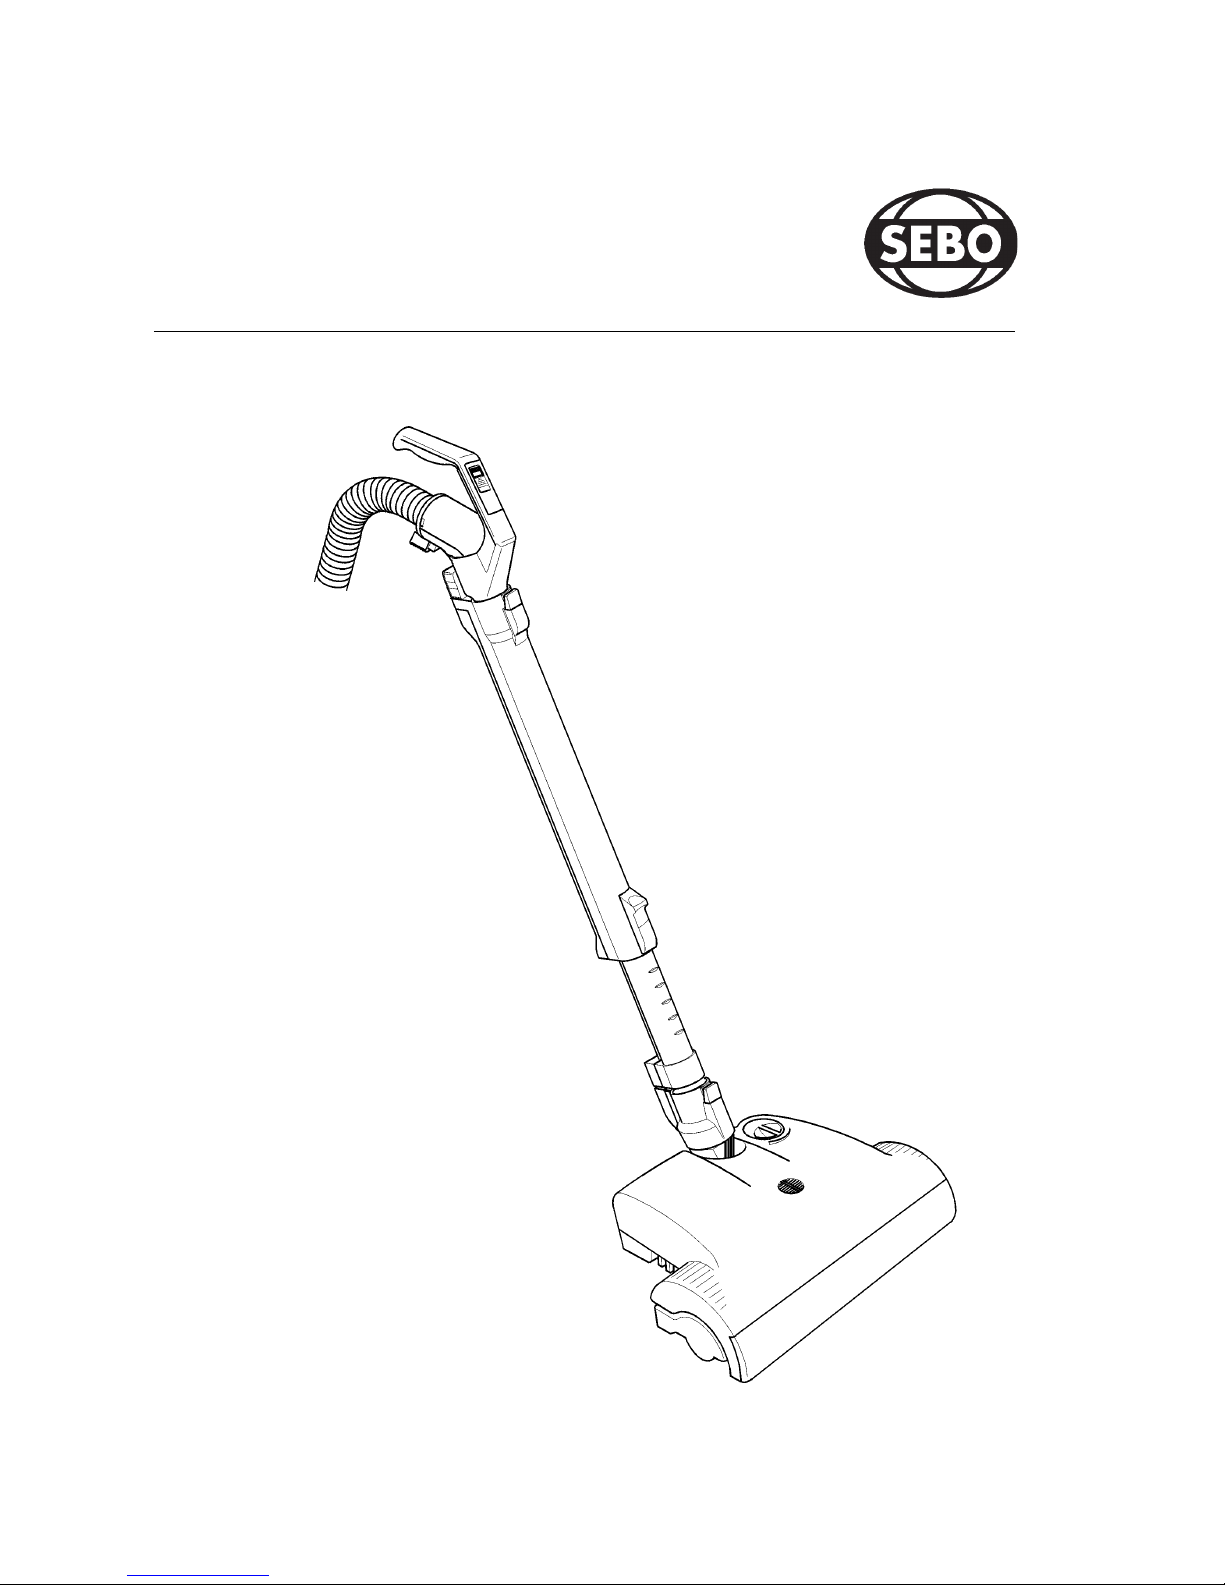
Electric power brush ET-H
Instruction manual for SEBO electric power brush ET-H
Please read this instruction manual carefully before using this appliance and pay attention to all
safety advice.
Your SEBO electric power brush ET-H is made to give you excellent performance and long life. Carpets are
only cleaned hygienically and keep their good appearance when brushed thoroughly during vacuum
cleaning. The SEBO electric power brush in combination with a SEBO air belt cylinder vacuum cleaner
provides you with the best aid for good carpet care.
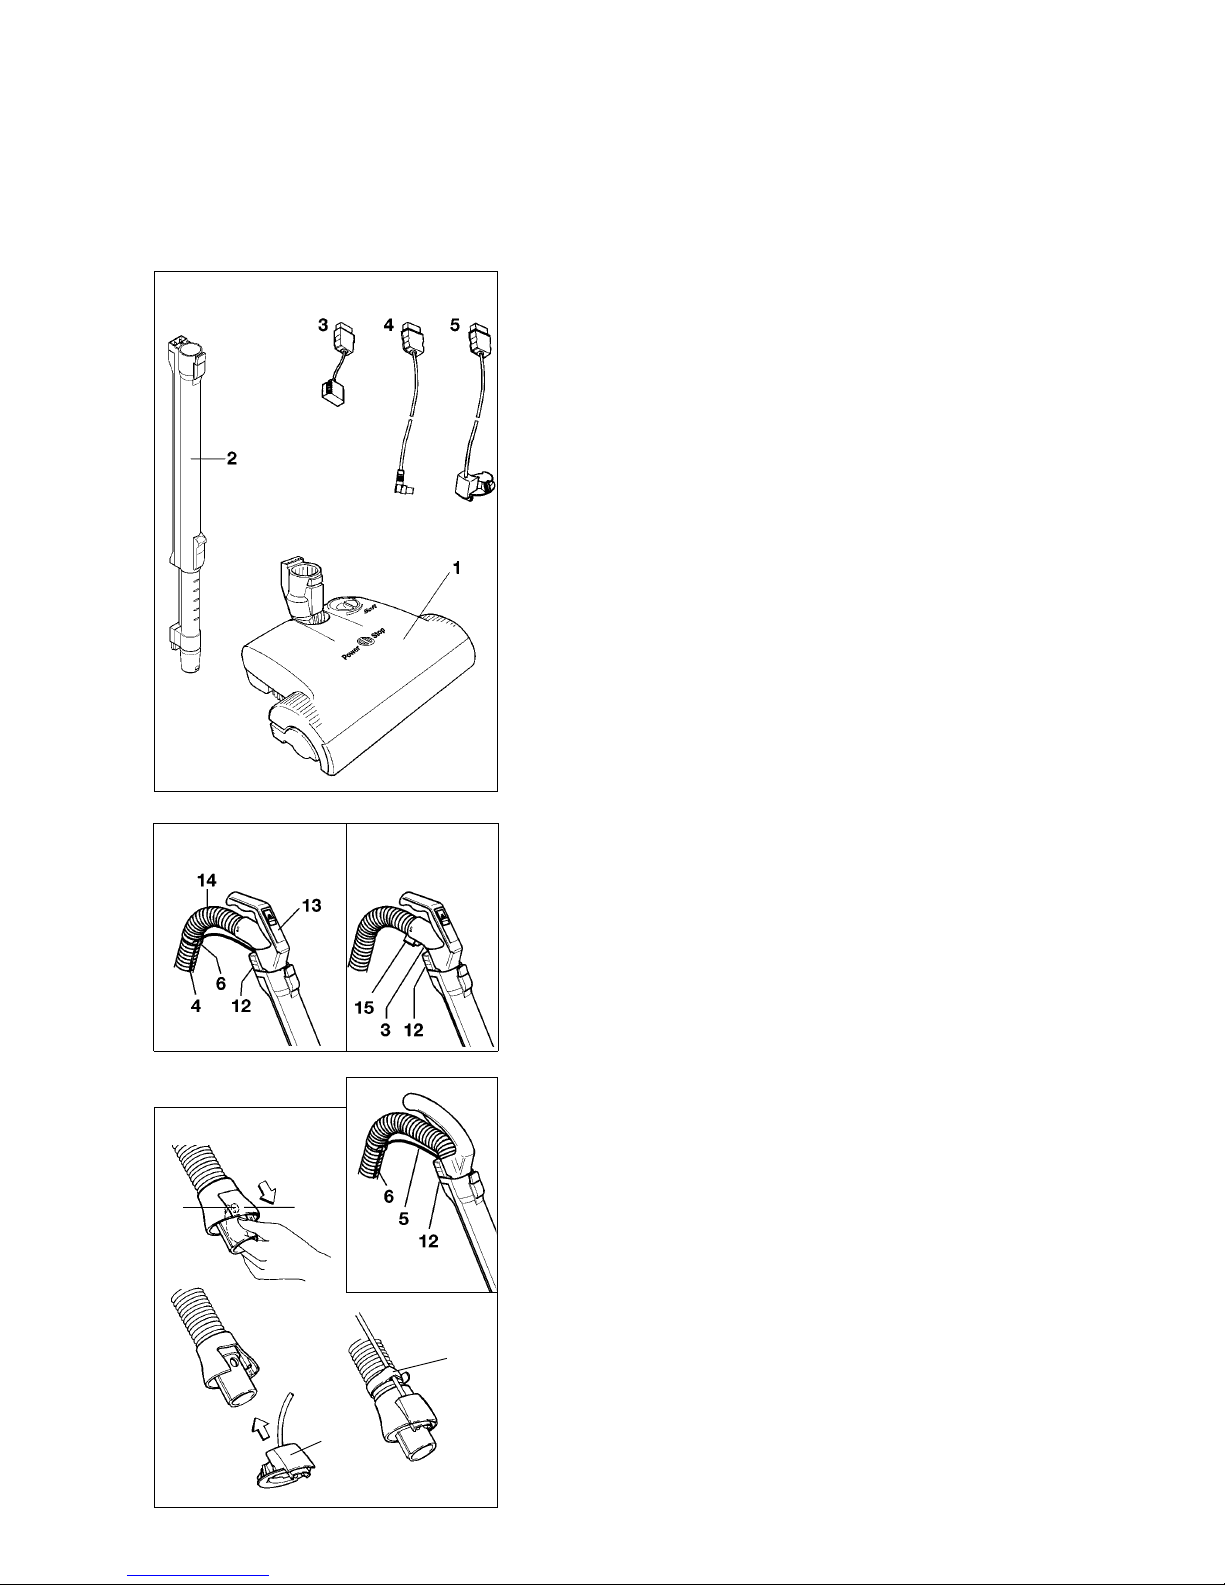
Box contents
The electric power brush (1), the electric telescopic
tube (2), the cable (3-5) and for cable (4 and 5) six cable
clips (6).
Cable (3) for Sebo air belt C3.1 and K3
Cable (4) for Sebo air belt C1 and C3
Cable (5) for Sebo air belt C2 and C2.1
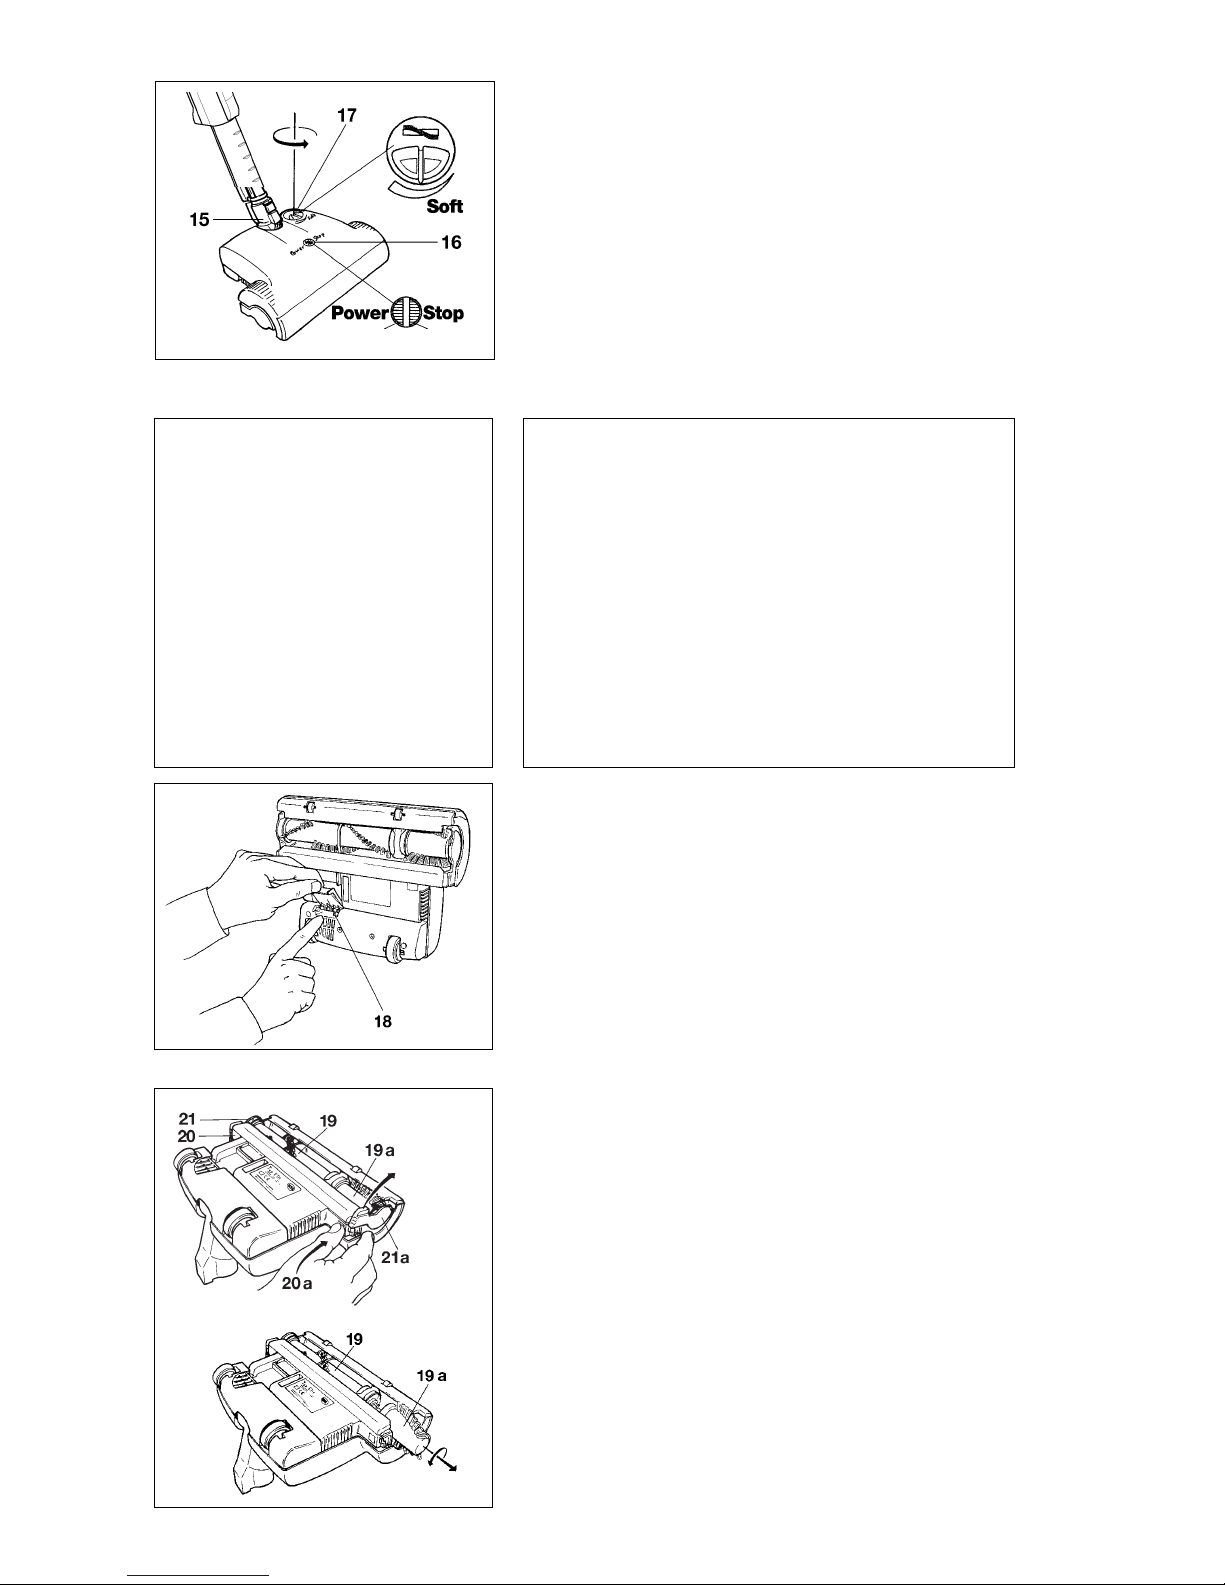
C For SEBO air belt C2 and C2.1
1. Push the cover release button (16) on the inside of
the hose neck and pull off the sealing cover (17).
2. Push the male contact holder (18) onto the hose neck
until it clicks into place.
3. Fit the cable plug into the grooves on the bottom of
the handle and fix the cable to the hose with the
fasteners (6), as described unter A.
How to connect and use
Your SEBO electric power brush ET-H is made to be used
together with the SEBO air belt cylinder vacuum cleaner.
To prevent damage the vacuum must be switched on and
provide enough air-flow through the power brush. Only in this
case will the cleaning result be satisfactory.
We recommend using the maximum suction power level.
lf you are uncertain or if you have any questions, your dealer
will be glad to help you, or telephone
SEBO (UK) Ltd. - 01494 465533.
B For SEBO air belt C3.1 and K3
Fit one cable plug (12) into the grooves on the bottom of
the handle and push the opposite plug (15) onto the
contact holder in the hose neck.
A For SEBO air belt C1 and C3
The cable (4) to the vacuum cleaner has a plug (12) which
fits underneath the handle (13) and one to plug into the
vacuum cleaner. Fix the cable with the cable clips (6) in
equal distances along the hose (14). The cable is longer
than the hose to maintain its elasticity.
16 17
18
6
C
BA
Installing the cable
Use
1. Indicator light
On top of the power brush is a red/green indicator light. lf the
green light is on and the swivel neck is in the upright position,
then the power brush is ready for operation. By lowering the
swivel neck the brush is activated. Please ensure that the
vacuum cleaner is set to maximum power.
Green and red lights on together indicate security shut down
because of either overload or blockage.
2. Brush adjustment
On top of the power brush there is a rotary control to adjust
brush action. Brush action can be set from SOFT through to
HARD as appropriate.
Attention - safety advice for use:
- the machine has a rotating brush
- always take care that the brush does not pull in
rug edges, fringes, cables etc.
- Berber, woven and other delicate floorcoverings or
floors with delicate surfaces please clean with the
combination nozzle of your vacuum cleaner
- on uneven floors contact with the bottom plate is
possible. Use combination nozzle if damage may
occur
- lift the machine over obstacles
ATTENTION - switch off and unplug machine at the
mains outlet and from the vacuum before all service
work and before removing any part.
Attention - safety advice for
connection:
- connect only to outlets according
to data shown on labels
- mains voltage for both machines
must be the same
- the vacuum cleaner must be
switched on and provide air-flow
through the power brush
- the cable must be fixed along
the hose and be plugged into the
vacuum
Clearing a blockage (-unplug the vacuum cleaner at
the mains outlet)
lf the brush is not functioning correctly it may be
blocked.A red trap door is provided on the underside of
the power brush to aid blockage clearing.
To clear a blockage in the swivel neck push the obstruc-
tion down the neck with a stick or long screwdriver and
then remove it through the red trap door
Changing the brush roller (-unplug the vacuum cleaner at
the mains outlet)
To change either. the brush roller (19) or the edge-cleaning
brush (19a), push the button (20 or 20a), swivel the end caps
in the direction of the arrows and pull them off.
Turn the brush roller clockwise and the edge-cleaning brush
anti-clockwise when removing them from the appliance. Fit the
new brushes onto the drive shaft by turning them until they
click into position. Also to refit the end caps turn them until
they click into position. Make sure not to squeeze the bristles
of the brushes under the end caps.
Service - ( unplug the vacuum cleaner at the mains outlet)
The brush should be cleaned of fibres and hair regularly. After
a blockage or when the brush has pulled in something, clear
the brush and take all debris out of the brush area. Check the
swivel neck regularly for blockages. Do not open the machi-
green red
CAUTION - general safety advice
- use this appliance only in combination with a SEBO vacuum cleaner
- pay attention to this and the manual of the vacuum cleaner
- keep the manual
- disconnect from mains before changing the brush strip or any service work
- electrical appliance, keep away from liquid or moisture
- vacuum dry surfaces only
- do not try to use on any body parts, human or animal
- do not vacuum hot material such as ash
- do not connect to a malfunctioning or damaged machine
- after security shut off, first switch off, then disconnect from mains and service the appliance
- do not remove any screws
- no user serviceable parts inside the machine
- if the cable is damaged use only a genuine SEBO replacement
- use of non SEBO parts could be dangerous
THIS APPLIANCE HAS A ROTATING BRUSH:
- do not run over any cables
- do not leave unattended
- children must be strictly supervised
IT IS THE USERS RESPONSIBILITY TO OPERATE THIS APPLIANCE SAFELY
AND CAREFULLY
06754 E-08.2004
Brush motor . . . . . . . . . . . . . . 150 Watt
Brush width . . . . . . . . . . . . . . . . 290 mm
Brush roller . . . . . . . . . . . . . replaceable
Brush drive . . . . . . . . loothed belt with
electronic overload
protection
Width . . . . . . . . . . . . . . . . . . . . 297 mm
Weight . . . . . . . . . . . . . . . . . . . 2,1 kg
Protection . . . . . . . . double insulated
Radio suppression. . . . . . . . . . to CISPR
Technical details
The warranty will be invalitated if the above advice is ignored
SEBO (UK) LTD
CRESSEX BUSINESS PARK
HIGH WYCOMBE
BUCKS HP 12 3QL
TEL (0 14 94) 46 55 33
FAX (0 14 94) 46 10 44
Other manuals for ET-H
1
Table of contents


