b) Connect PLC or control to relay output A and B via the supplied terminals (green). Please
note the contact assignment NO/NC and switching.
c) Potentiometer „Empfindlichkeit/Sensitivity“ (dark blue) set to left stop (insensitive) for both
channels.
d) Potentiometer "Anlaufüberbrückung/ start-up bypass“(orange) to the desired start-up
bridging time approx. 5 s ... 60 s (left stop approx. 5 s/ right stop approx. 60 s) for both
sensors.
e) Apply mains voltage (red); The green LEDs light up. The unit is ready for operation within
2 seconds.
f) The yellow LEDs light up (briefly) and go out again as soon as the set start-up hold-up time
has elapsed. The relays are energised during this time.
g) Switch on the air flow generator.
h) Before setting the switching point, the unit should run for at least 2 minutes under operating
conditions (with flow). The switching point adjustment at low flow velocities requires a
sensitive adjustment at the potentiometer.
i) Potentiometer „Empfindlichkeit/ Sensitivity“ channel A (dark blue) slowly to the right until
the yellow LED lights up and the output relay picks up. To achieve stable switching
conditions, you should turn slightly beyond the switching point. Set the same switching
ratio for channel B.
j) Note: Depending on the installation position and airflow situation in the duct, small
switching differences between duct A and duct B are normal.
k) If the start-up delay is preset, do not adjust the sensitivity until the start-up delay has
expired and the yellow LED has gone out.
l) To check the flow monitoring, reduce or switch off flow generation. The yellow LEDs go out
and the output relays drop out.
The unit is now set to monitoring function.
Preset values of the NLSW®45-3 SIL2:
▪The switching hysteresis is fixed.
▪The switching delay is 0.2 s as standard.
▪The start-up delay is adjustable from 5 s to 60 s as standard.
4.5 Switching point adjustment
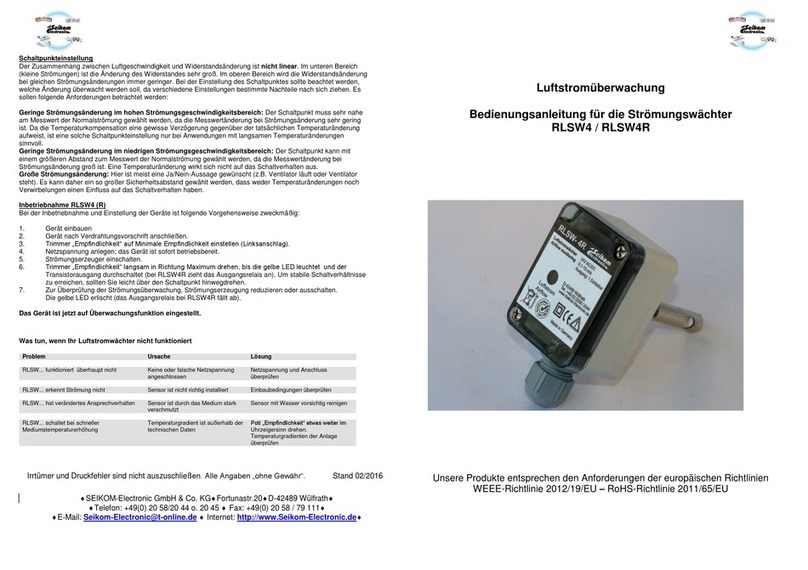
The relationship between air velocity and change in resistance is not linear. In the lower range (small
flows) the change in resistance is very large. In the upper range, the change in resistance becomes
smaller and smaller for the same flow changes. When setting the switching point, it should therefore
be taken into account which change is to be monitored, as different settings entail certain
disadvantages. The following requirements should be observed:
Low flow change in the high flow velocity range: The switching point must be selected very close
to the measured value of the normal flow, as the change in measured value with flow change is very
small. Since the temperature compensation has a certain delay compared to the actual temperature
change, such a switching point setting is only possible in applications with slow temperature changes.
Low flow change in the low flow velocity range: The switching point can be selected with a greater
distance to the measured value of the normal flow, as the change in measured value is large with a
change in flow. A change in temperature does not affect the switching behaviour.
Large flow change: Here, a 'yes/no statement' is usually desired (e.g. fan running or fan stopped).
Therefore, such a large safety distance can be selected that neither temperature changes nor


