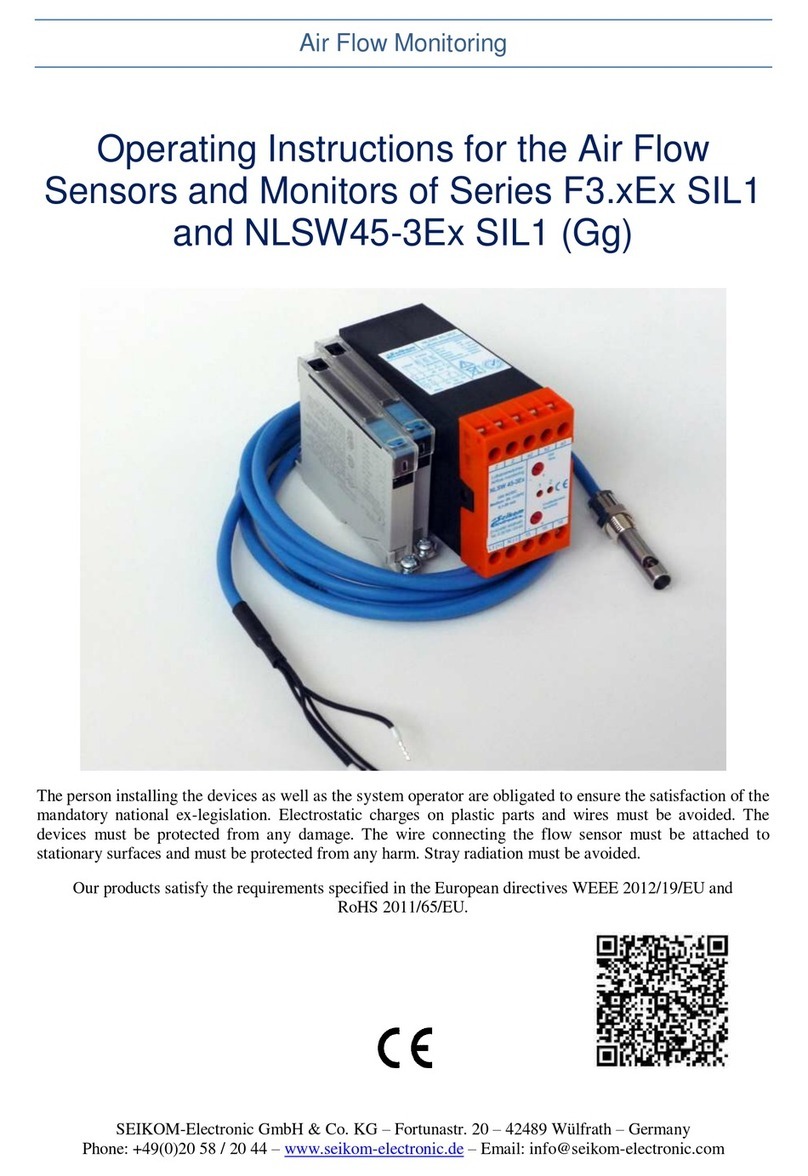
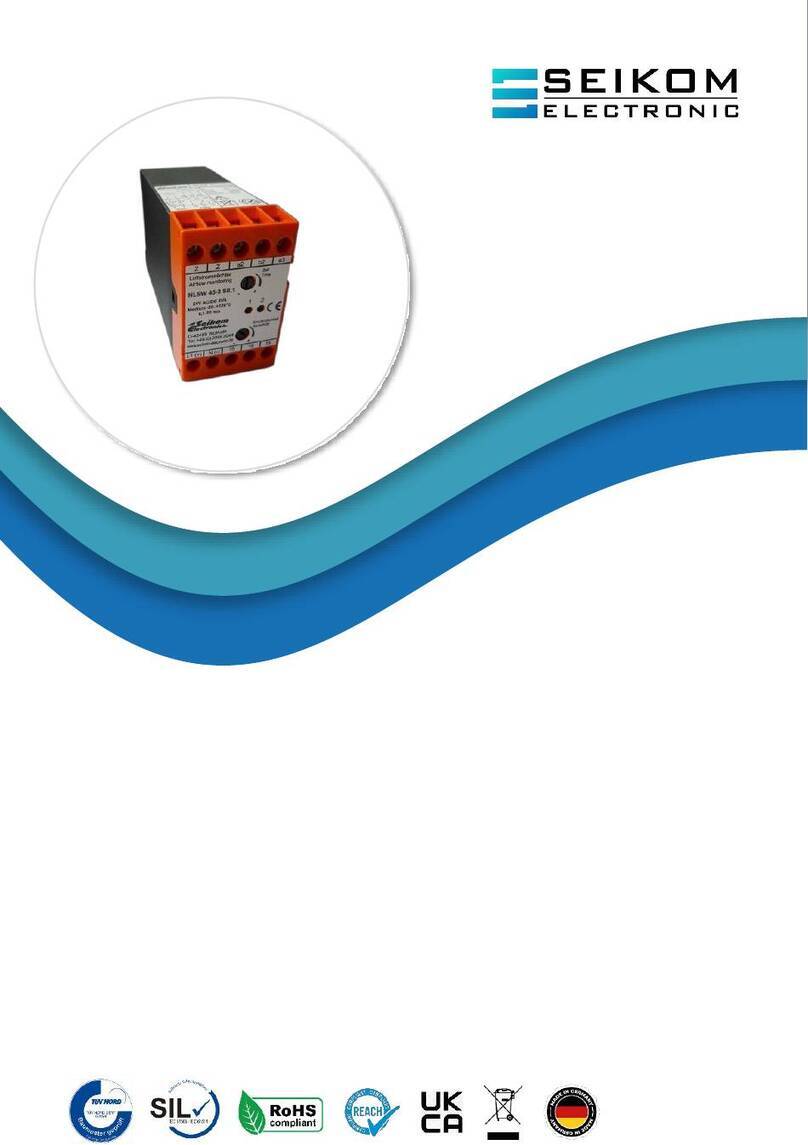
Seikom Electronic NLSW2aS3 User manual


This manual suits for next models
2
Table of contents
Languages:
Other Seikom Electronic Measuring Instrument manuals
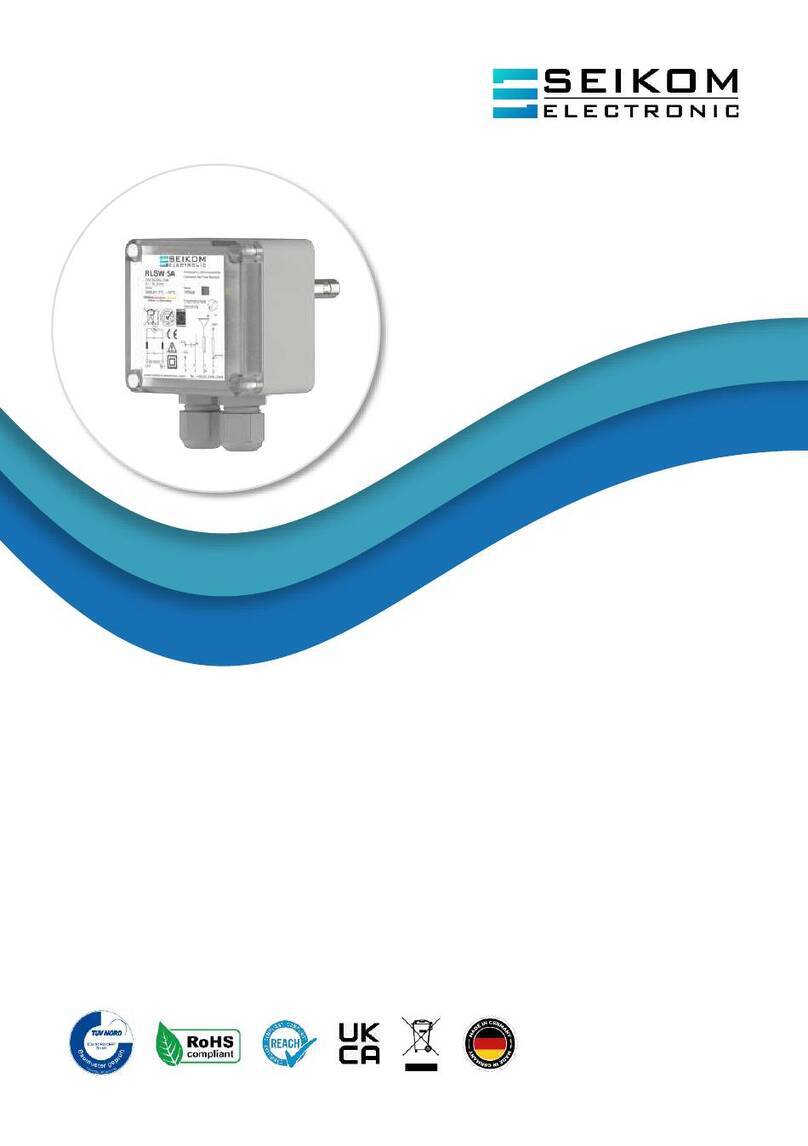
Seikom Electronic
Seikom Electronic RLSW 5A User manual
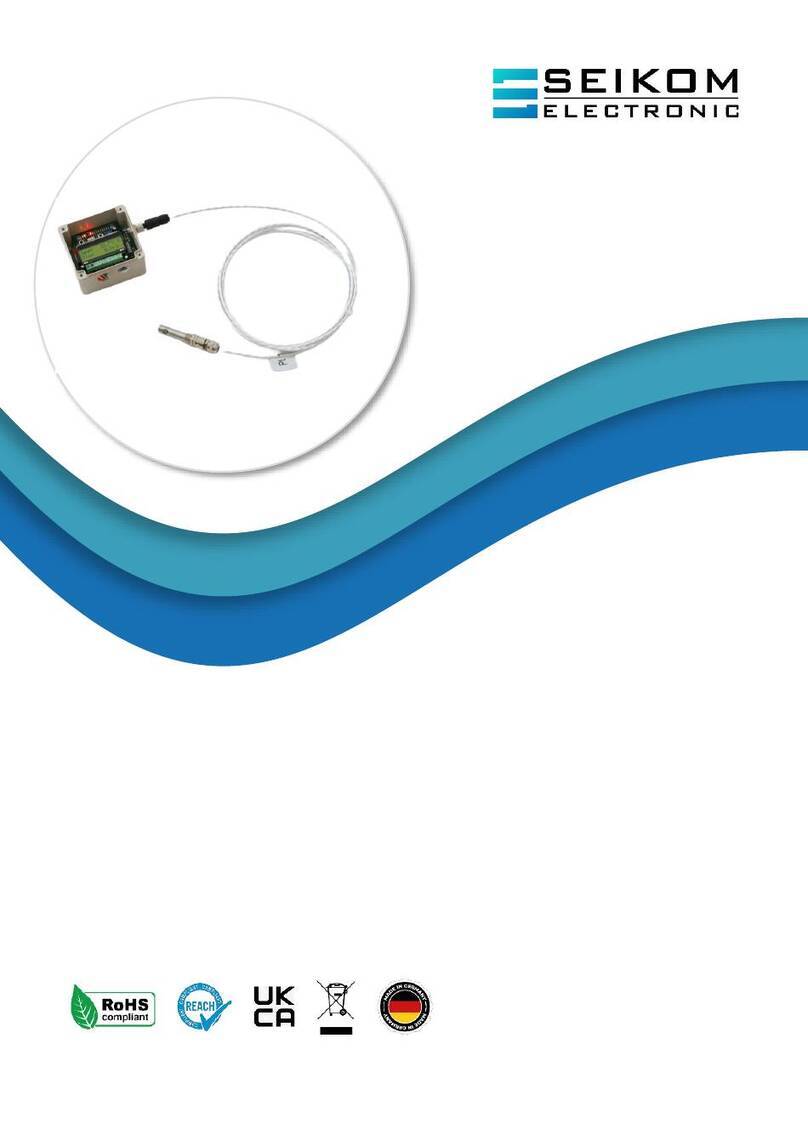
Seikom Electronic
Seikom Electronic RLSW 8 LCD User manual

Seikom Electronic
Seikom Electronic NLSW45-5 User manual
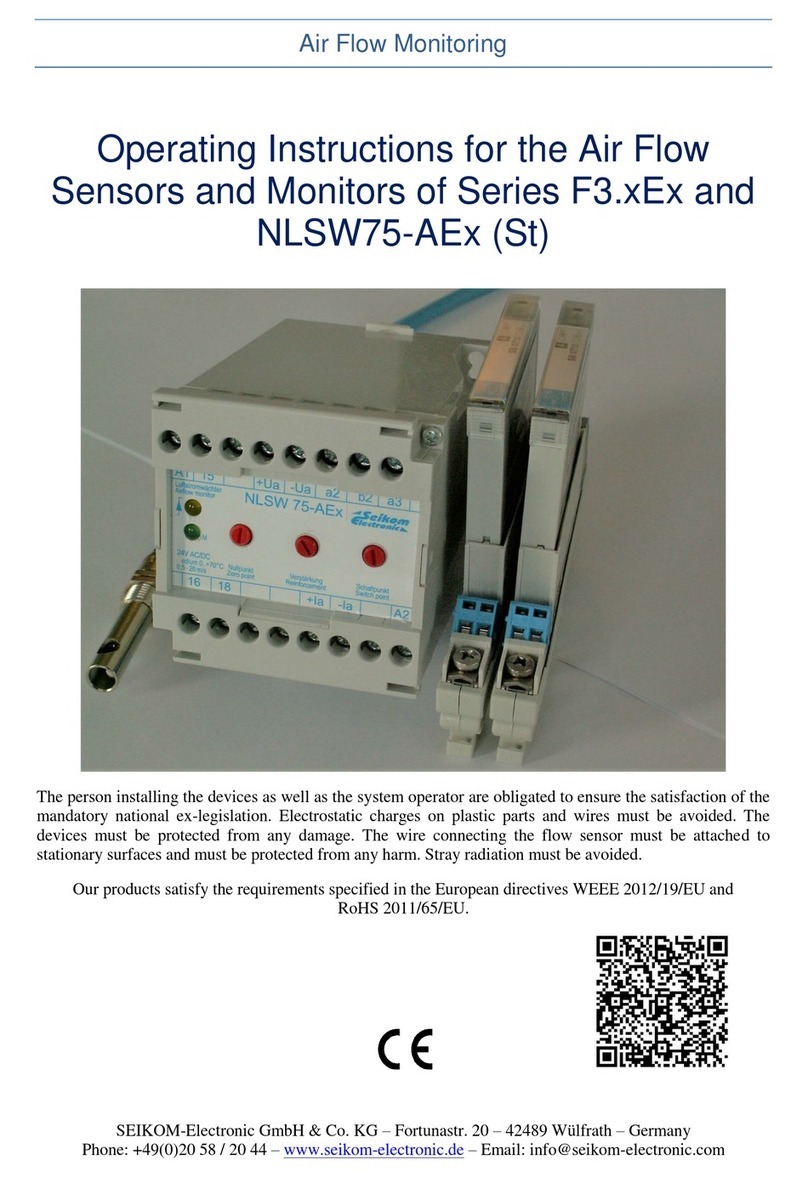
Seikom Electronic
Seikom Electronic F3.xEx Series User manual

Seikom Electronic
Seikom Electronic NLSW 2a User manual

Seikom Electronic
Seikom Electronic NLSW45-3Ex User manual
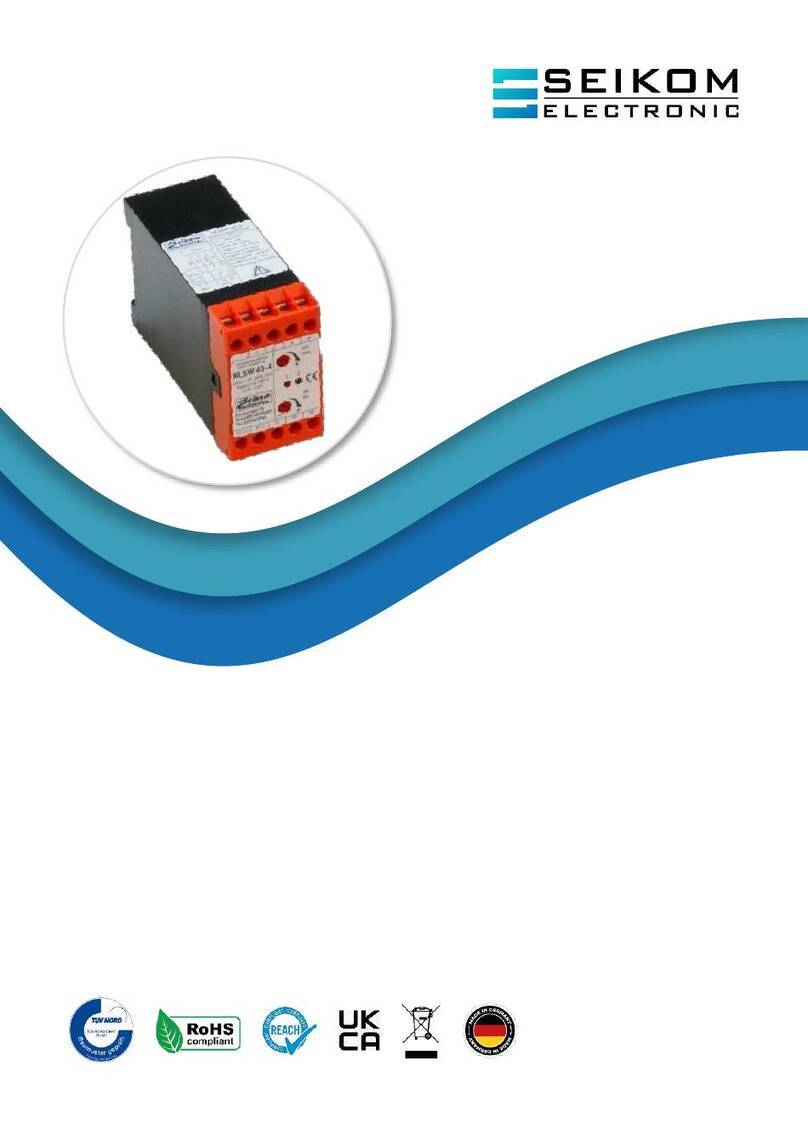
Seikom Electronic
Seikom Electronic NLSW 45-4 User manual
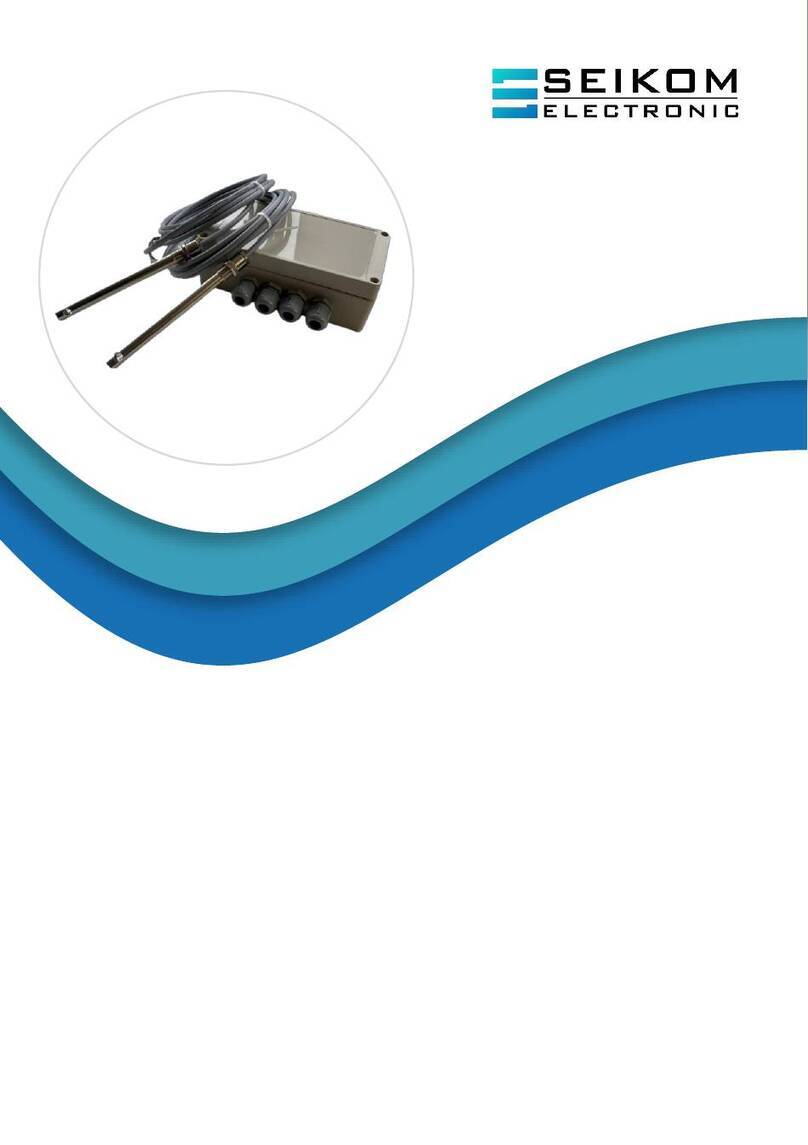
Seikom Electronic
Seikom Electronic NLSW 45-3 Ex SIL2 User manual
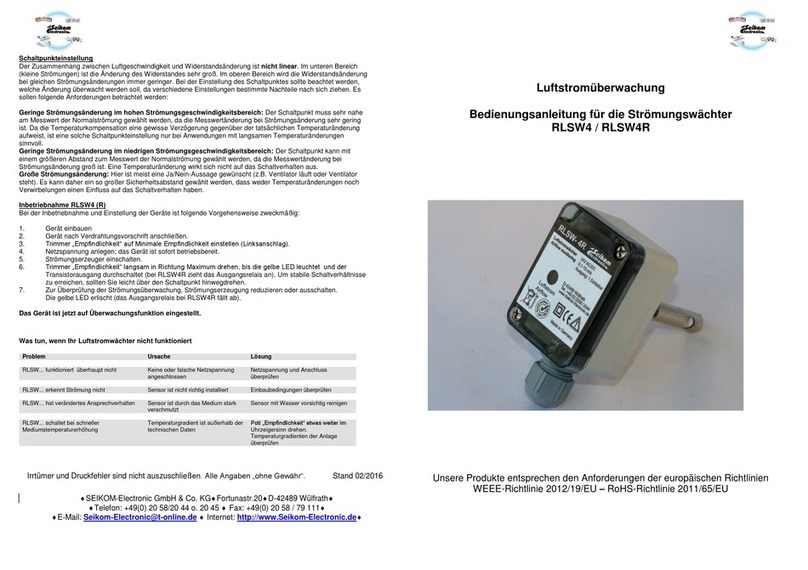
Seikom Electronic
Seikom Electronic RLSW4 User manual

Seikom Electronic
Seikom Electronic 77029 User guide

Seikom Electronic
Seikom Electronic NLSW45-6 User guide
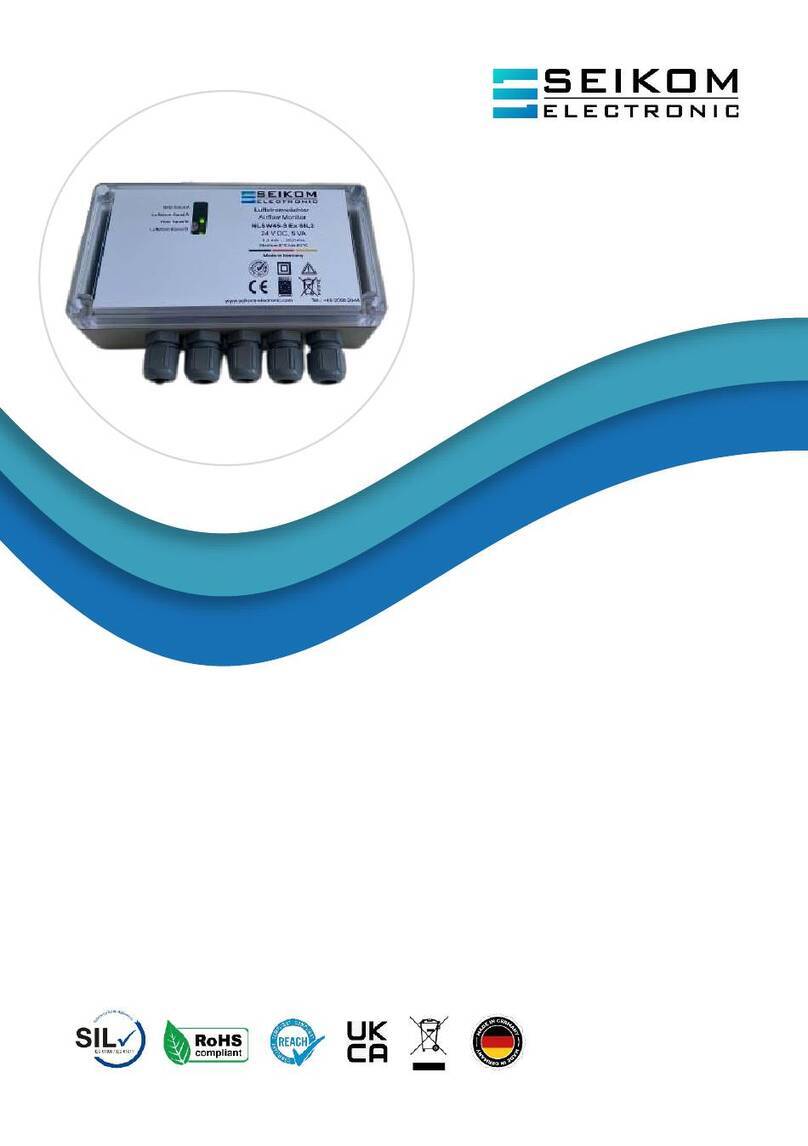
Seikom Electronic
Seikom Electronic NLSW 45-3 SIL2 User manual
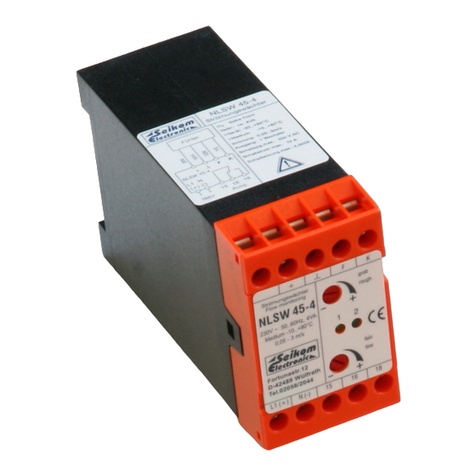
Seikom Electronic
Seikom Electronic NLSW45-4 User guide
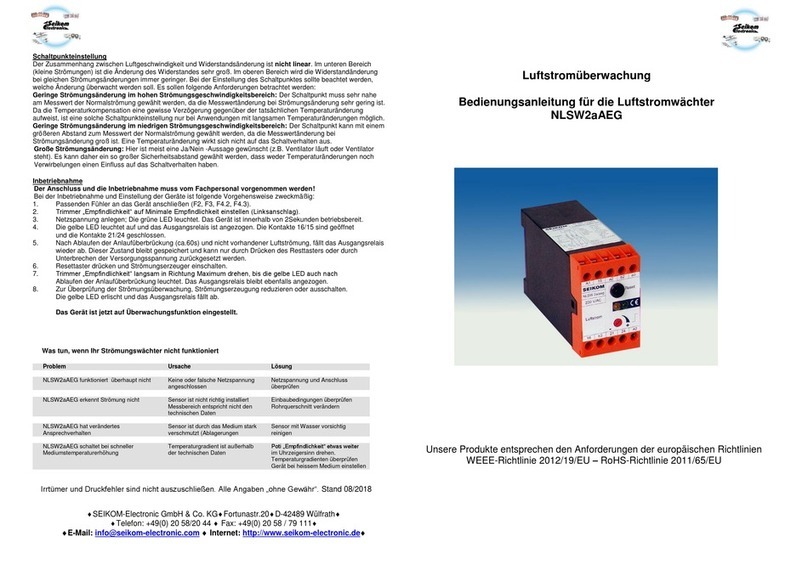
Seikom Electronic
Seikom Electronic NLSW2aAEG User manual
Seikom Electronic
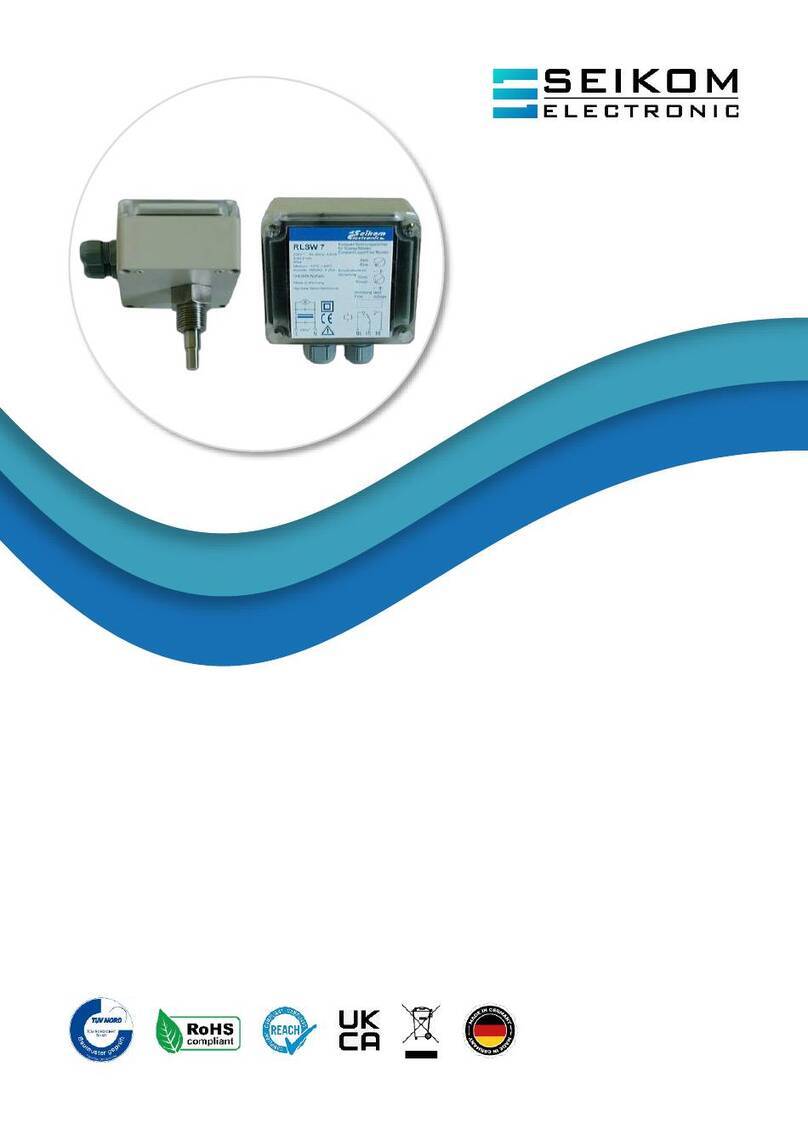
Seikom Electronic RLSW 7 User manual
Seikom Electronic
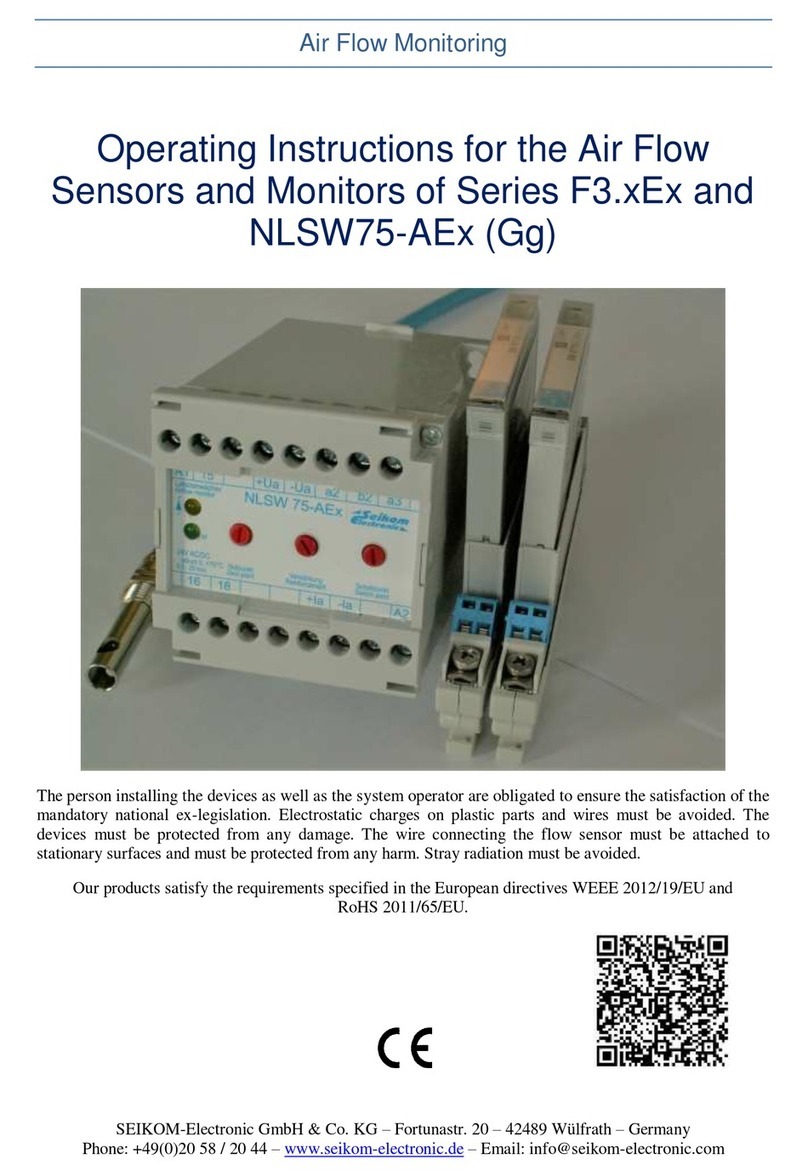
Seikom Electronic NLSW75-AEx (Gg) User manual
Seikom Electronic
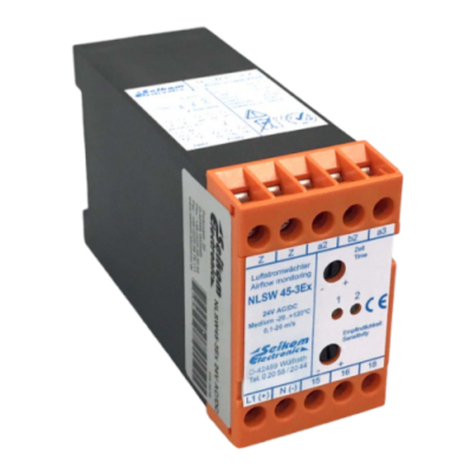
Seikom Electronic NLSW45-3Ex User guide
Seikom Electronic
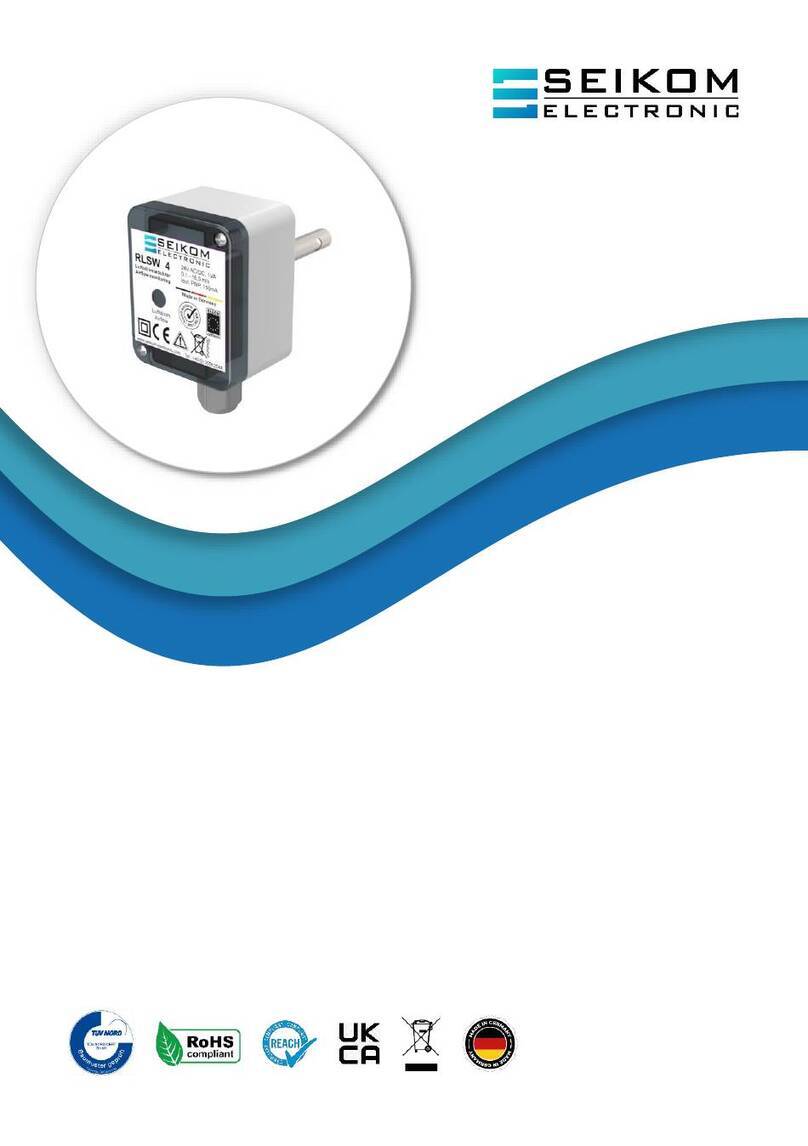
Seikom Electronic RLSW4 User manual
Seikom Electronic
Seikom Electronic NLSW 45-3 SIL1 User manual

Seikom Electronic
Seikom Electronic NLSW45-6 User manual
Popular Measuring Instrument manuals by other brands

Riken Keiki
Riken Keiki GW-3 Technical manual

TEMP TRAQ
TEMP TRAQ TT-100 user manual

PCB Piezotronics
PCB Piezotronics Platinum Swiveler 607A11/020AD Installation and operating manual

Teledyne
Teledyne 212R instruction manual
Dini Argeo
Dini Argeo DFWIECEX user manual
Elcometer
Elcometer SG80 operating instructions
Camille Bauer
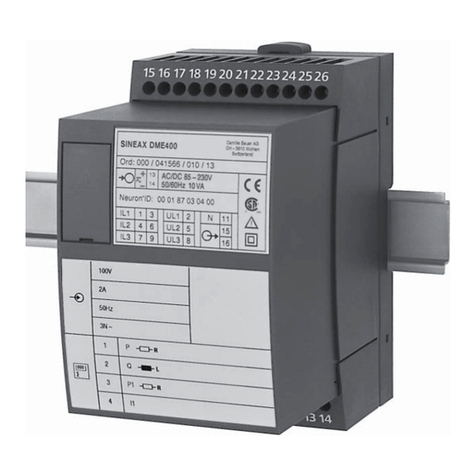
Camille Bauer SINEAX DME 400 Series operating instructions

PCB Piezotronics
PCB Piezotronics 353B77 Installation and operating manual

Leader
Leader LT 4446 instruction manual
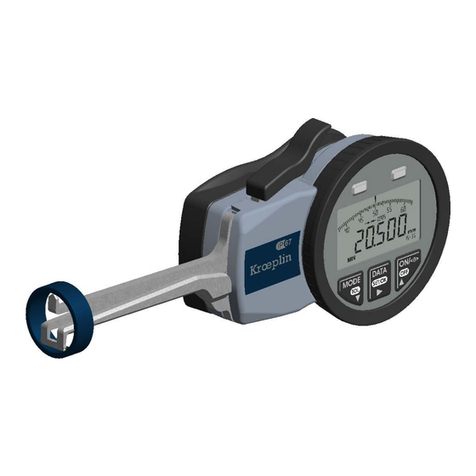
Kroeplin
Kroeplin G P3 Series user manual
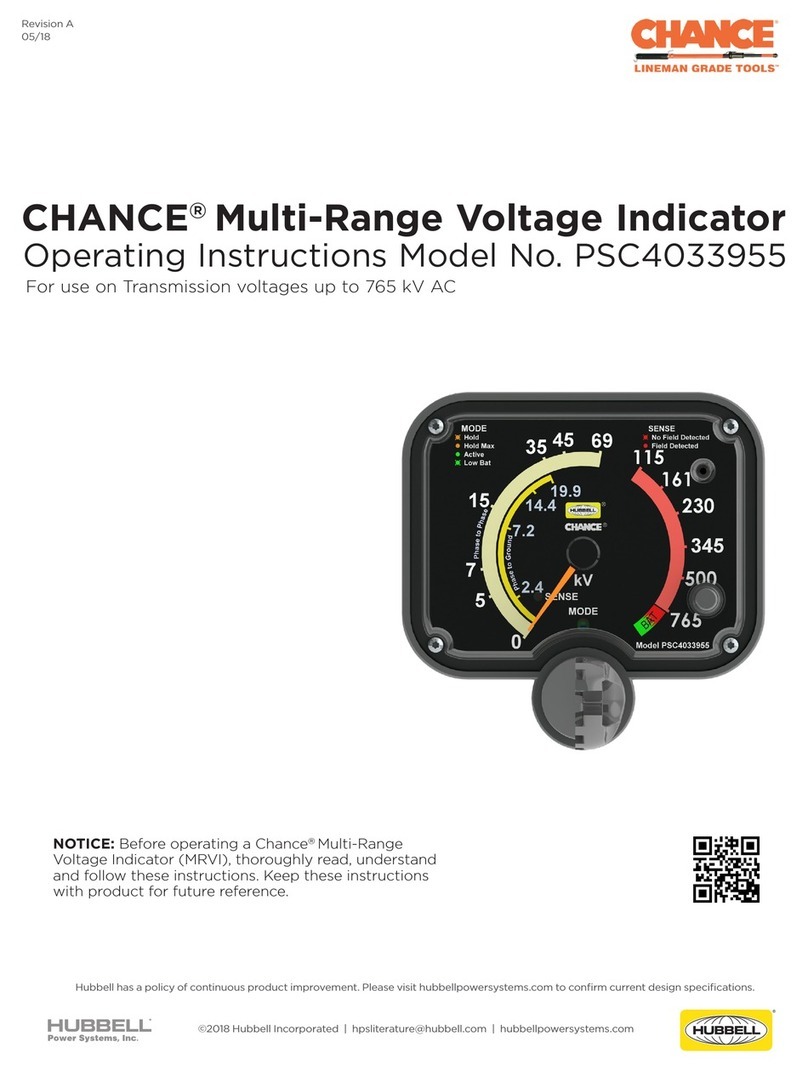
Hubbell
Hubbell CHANCE PSC4033955 operating instructions
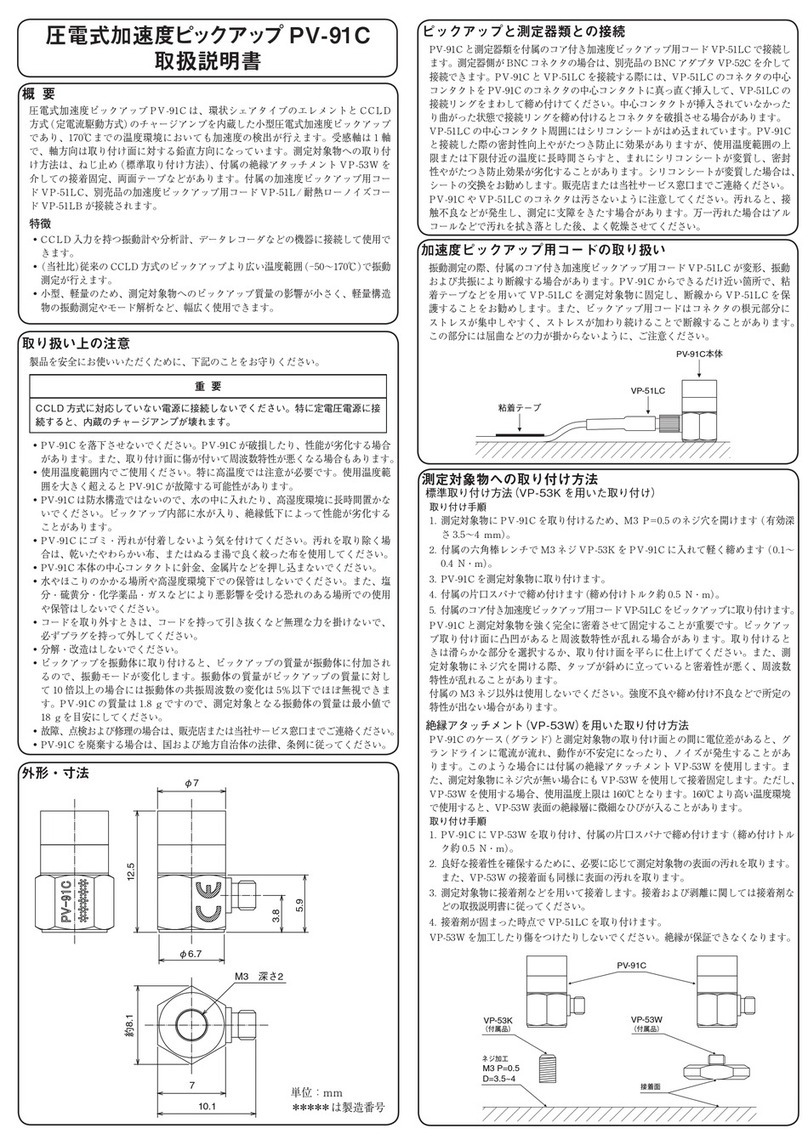
Rion
Rion PV-91C instruction manual
