Sencore MIP 6210 User manual

January 2018
Form 8166A www.sencore.com | 1.605.978.4600 Revision 1.2
MIP 6210
High Rate IP Streamer
User Manual

MIP 6210 –User Manual
Page 2 (75)
Copyright
© 2018 Sencore, Inc. All rights reserved.
3200 Sencore Drive, Sioux Falls, SD USA
www.sencore.com
This publication contains confidential, proprietary, and trade secret information. No part of this document
may be copied, photocopied, reproduced, translated, or reduced to any machine-readable or electronic
format without prior written permission from Sencore. Information in this document is subject to change
without notice and Sencore Inc. assumes no responsibility or liability for any errors or inaccuracies.
Sencore, Sencore Inc, and the Sencore logo are trademarks or registered trademarks in the United States
and other countries. All other products or services mentioned in this document are identified by the
trademarks, service marks, or product names as designated by the companies who market those products.
Inquiries should be made directly to those companies. This document may also have links to third-party web
pages that are beyond the control of Sencore. The presence of such links does not imply that Sencore
endorses or recommends the content on those pages. Sencore acknowledges the use of third-party open
source software and licenses in some Sencore products. This freely available source code can be obtained
by contacting Sencore Inc.
About Sencore
Sencore is an engineering leader in the development of high-quality signal transmission solutions for the
broadcast, cable, satellite, IPTV, and telecommunications markets. The company's world-class portfolio
includes video delivery products, system monitoring and analysis solutions, and test and measurement
equipment, all designed to support system interoperability and backed by best-in-class customer support.
Sencore products meet the rapidly changing needs of modern media by ensuring the efficient delivery of
high-quality video from the source to the home. More information about Sencore is available at the
company’s website, www.sencore.com.
All trademarks and registered trademarks mentioned herein are the property of their respective owners.

MIP 6210 –User Manual
Page 3 (75)
Revision History
Date
Version
Description
Author
8/9/2017
1.0
Manual for the Sencore MIP 6210
GAK
8/10/2017
1.1
Edits and cleanup
SV
1/05/2018
1.2
Add Record, Licensing Features
GAK

MIP 6210 –User Manual
Page 4 (75)
Safety Instructions
•Read these instructions
•Keep these instructions
•Heed all warnings
•Follow all instructions
•Do not use this apparatus near water
•Clean only with dry cloth
•Do not block any ventilation openings. Install in accordance with the manufacturer’s
instructions
•Do not install near any heat sources such as radiators, heat registers, stoves, or other
apparatus (including amplifiers) that produce heat
•Do not defeat the safety purpose of the polarized or grounding-type plug. A polarized
plug has two blades with one wider than the other. A grounding type plug has two blades
and a third grounding prong. The wide blade or the third prong is provided for your safety.
If the provided plug does not fit into your outlet, consult an electrician for replacement of
the obsolete outlet.
•Protect the power cord from being walked on or pinched particularly at plugs,
convenience receptacles, and the point where they exit from the apparatus.
•Only use attachments/accessories specified by the manufacturer.
•Unplug this apparatus during lightning storms or when unused for long periods of time.
•Refer all servicing to qualified service personnel. Servicing is required when the
apparatus has been damaged in any way, such as power-supply cord or plug is
damaged, liquid has been spilled or objects have fallen into the apparatus, the apparatus
has been exposed to rain or moisture, does not operate normally, or has been dropped.
•Do not expose this apparatus to dripping or splashing and ensure that no objects filled
with liquids, such as vases, are placed on the apparatus.
•To completely disconnect this apparatus from the AC Mains, disconnect the power supply
cord plug from the AC receptacle.
•The mains plug of the power supply cord shall remain readily operable.
•Damage Requiring Service: Unplug this product from the wall outlet and refer servicing
to qualified service personnel under the following conditions:
oWhen the power-supply cord or plug is damaged.
oIf liquid has been spilled, or objects have fallen into the product.
oIf the product has been exposed to rain or water.
oIf the product does not operate normally by following the operating
instructions. Adjust only those controls that are covered by the operating
instructions as an improper adjustment of the controls may result in damage
and will often require extensive work by a qualified technician to restore the
product to its normal operation.
oIf the product has been dropped or damaged in any way.
oThe product exhibits a distinct change in performance.
•Replacement Parts: When replacement parts are required, be sure the service
technician uses replacement parts specified by Sencore, or parts having the same
operating characteristics as the original parts. Unauthorized part substitutions made may
result in fire, electric shock or other hazards.

MIP 6210 –User Manual
Page 5 (75)
SAFETY PRECAUTIONS
There is always a danger present when using electronic equipment.
Unexpected high voltages can be present at unusual locations in defective equipment and signal
distribution systems. Become familiar with the equipment that you are working with and observe
the following safety precautions.
•Every precaution has been taken in the design of your MIP 6210 to ensure that it is as
safe as possible. However, safe operation depends on you the operator.
•Always be sure your equipment is in good working order. Ensure that all points of
connection are secure to the chassis and that protective covers are in place and secured
with fasteners.
•Never work alone when working in hazardous conditions. Always have another person
close by in case of an accident.
•Always refer to the manual for safe operation. If you have a question about the
application or operation call Sencore for assistance.
•WARNING –To reduce the risk of fire or electrical shock never allow your equipment to
be exposed to water, rain or high moisture environments. If exposed to a liquid, remove
power safely (at the breaker) and send your equipment to be serviced by a qualified
technician.
•To reduce the risk of shock the MIP 6210 must be connected to a mains socket outlet
with a protective earth ground connection.
•For the MIP 6210 the mains plug is the main disconnect and should remain readily
accessible and operable at all times.
•To reduce the risk of shock and damage to equipment, it is recommended that the
chassis grounding screw located on the rear of the MIP 6210 –be connected to the
installation’s rack, the vehicle’s chassis, the battery’s negative terminal, and/or earth
ground.

MIP 6210 –User Manual
Page 6 (75)
Table of Contents
1 Introduction......................................................................................................8
2 Specifications...................................................................................................8
3 Getting Started...............................................................................................10
3.1 Introduction.......................................................................................................................... 10
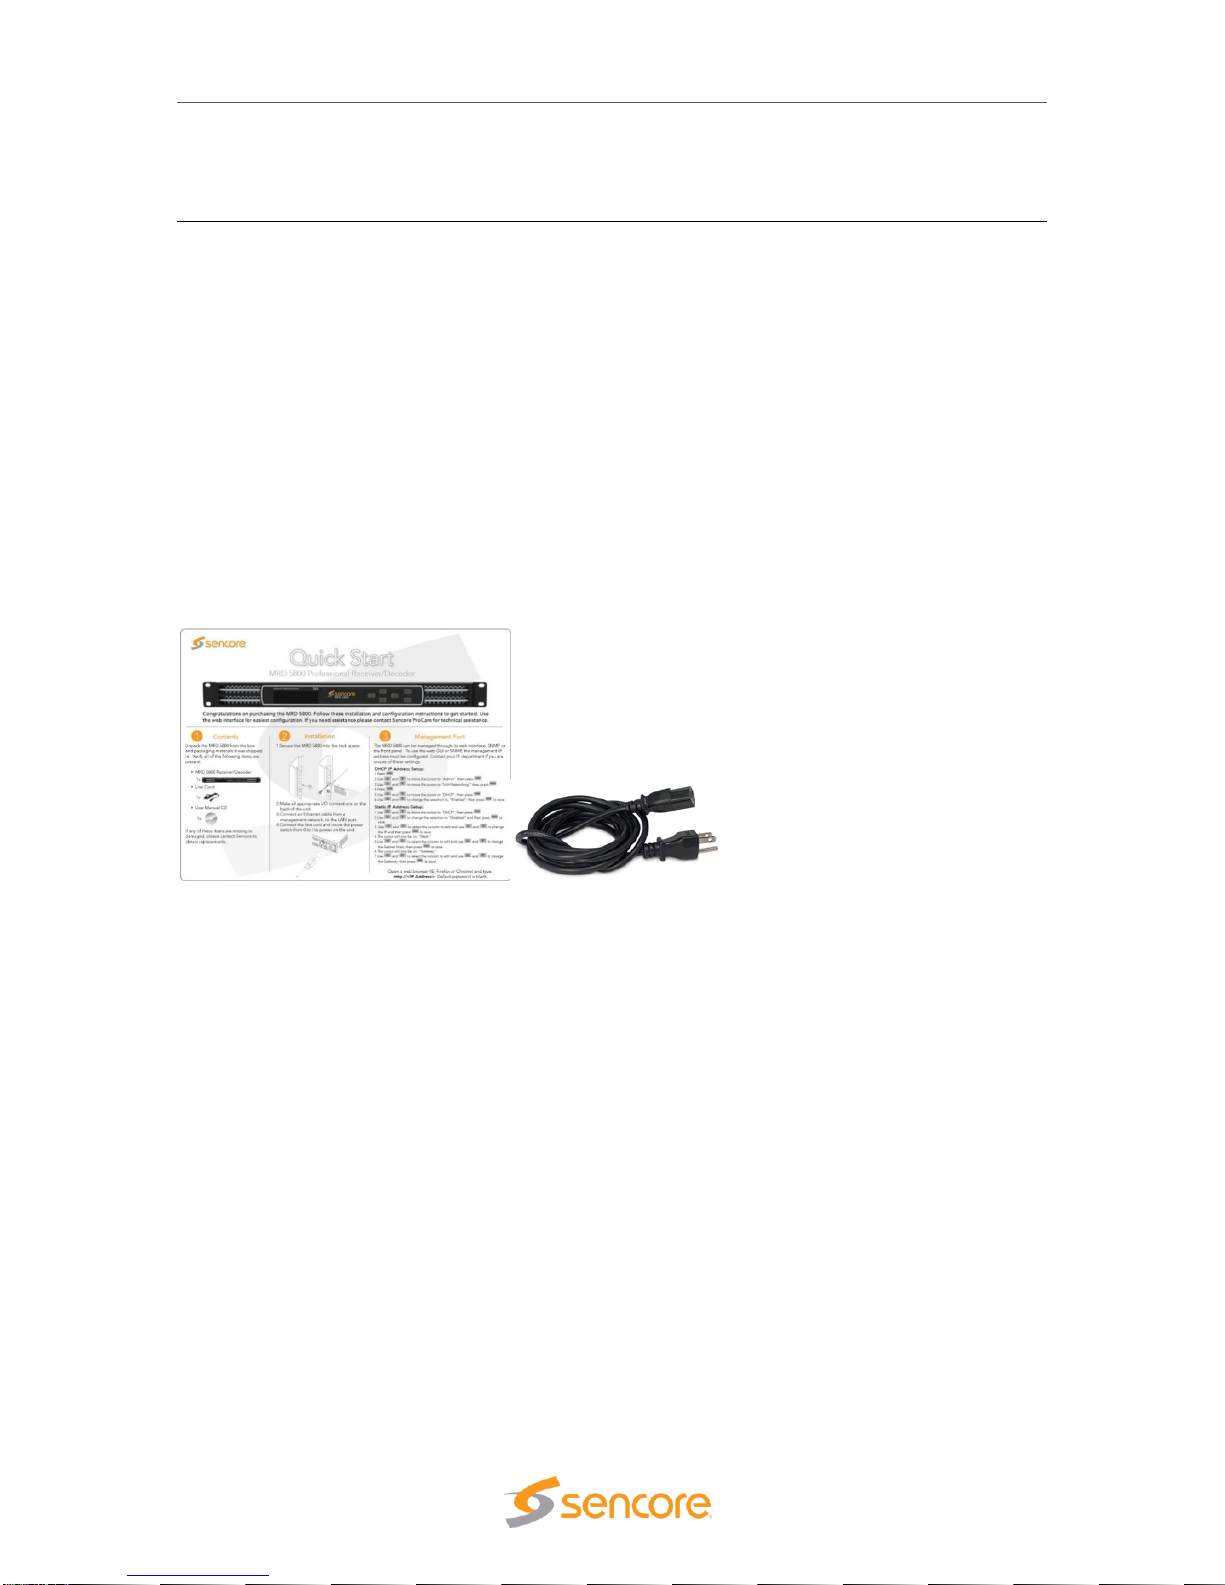
3.2 Package Contents............................................................................................................... 10
3.3 Installation ........................................................................................................................... 10
3.4 Rear Panel Connections ..................................................................................................... 12
3.5 Power Connections - Installation......................................................................................... 12
3.6 Front Panel Features .......................................................................................................... 13
3.7 Obtaining the MIP 6210 IP Address.................................................................................... 14
3.8 Unit Networking and DNS Configuration............................................................................. 15
3.9 Controlling the MIP 6210 Using the Web GUI .................................................................... 17
3.10 Simplified Startup - Getting a Stream Playing................................................................... 19
4 Play Control Panel.........................................................................................24
4.1 Play Control Panel Overview .............................................................................................. 24
4.2 Stream/PCAP Information Overview................................................................................... 25
4.3 Player - Adding a Transport Stream.................................................................................... 26
4.4 Adding a PCAP Play File .................................................................................................... 30
4.5 IP Stream and PCAP Status & Configuration Information.................................................. 34
4.6 IP and PCAP Monitor Panel................................................................................................ 36
5 File Viewing Panel..........................................................................................38
5.1 FTP - SMB Loading Play Files to the MIP 6210 ................................................................. 39
5.2 File Transfer Management - User Name and Password..................................................... 41
5.3 Managing Play Files & Folders ........................................................................................... 42
5.4 File Viewing Panel –Filter by Type..................................................................................... 42
6 Record Panel..................................................................................................43
6.1 Record Panel Overview ...................................................................................................... 44
6.2 Record –Information Fields................................................................................................ 45
6.3 Recording Input TS Stream Configuration.......................................................................... 46
6.4 Recording Input PCAP - Configuration ............................................................................... 50
6.5 Record Status & Configuration Information ........................................................................ 54
6.6 IP and PCAP Monitor Panel................................................................................................ 57
7 Admin..............................................................................................................59
7.1 Changing Unit Password..................................................................................................... 60
7.2 Profile Manager................................................................................................................... 60
7.3 SNMP MIB Files.................................................................................................................. 61
7.4 Diagnostics.......................................................................................................................... 61
7.5 Update the Unit Software Version....................................................................................... 62
7.6 Reboot Unit ......................................................................................................................... 63
7.7 Reset Unit to Factory Defaults............................................................................................ 63
7.8 General Configuration......................................................................................................... 63
7.9 Network Port Configuration................................................................................................. 64
7.10 Licensing Configuration..................................................................................................... 65
7.11 Date/Time Configuration ................................................................................................... 67
7.12 SNMP Communities.......................................................................................................... 68
7.13 SNMP Trap Managers ...................................................................................................... 68
7.14 Syslog Configuration......................................................................................................... 69
8 Reporting Panel .............................................................................................70
8.1 Active Alarms ...................................................................................................................... 70
8.2 Event Logs .......................................................................................................................... 71
8.3 Configuring the Logs........................................................................................................... 73

MIP 6210 –User Manual
Page 7 (75)
9 About Panel....................................................................................................74

MIP 6210 –User Manual
Page 8 (75)
1 Introduction
The MIP 6210 High-Rate IP Streamer aids in the design, verification, manufacturing, and
deployment of digital TV equipment and systems. The ability to play out hundreds of media
streams at Gigabit rates makes it the ideal solution for the development and deployment of IPTV
systems. It further serves as a reliable signal source for qualifying IPTV networks and digital
television equipment. With its full line-rate performance, the MIP 6210 is the ideal tool to test the
limits of networks and IP devices.
The intuitive web UI and full SNMP or web API remote control allows the MIP 6210 to offer users
reliable and powerful solutions for operational and lab environments. It offers multiple output
ports and numerous expansion options.
This manual provides startup and operational information. It is written for professional operators
of video distribution systems and assumes a prerequisite level of technical knowledge.
2 Specifications
Physical Interfaces
2 x RJ45 1Gbps Ports Included: (Use for streaming and/or management)
Additional Options: 2 x RJ45 1Gbps, Fiber 2 x SFP 1Gbps Optional Ports
Management Interfaces
Webpage User Interface, Web Service API
MPEG over IP Streamer
Full line rate streaming
PCAP, MPEG transport stream files supported
Seamless looping
Full transport parameters control (IP addresses, UDP ports, RTP)
MPEG over IP Recording
Capture to PCAP, MPEG transport stream files supported
Immediate record start or scheduled start
Full transport parameters control (IP addresses, UDP ports, RTP)
PCAP filtering
Performance
Cumulative Throughput: 1Gbps (Disk to all outputs)
1Gb Ports Streaming: Up to 1Gbps
Stream Storage Capacity: 1TB

MIP 6210 –User Manual
Page 9 (75)
Dimensions/Power
Size: Rack-mount 1 RU chassis
Depth: 20 inches (507 mm)
Power: 100-240V, 50-60Hz
Specifications are subject to change without notice.

MIP 6210 –User Manual
Page 10 (75)
3 Getting Started
3.1 Introduction
This section provides an overview of what is included with your MIP 6210. It provides critical
information on obtaining the unit’s IP address in which to gain access to the unit’s web interface
GUI. It provides front/rear panel descriptions and information on getting the unit mounted in a
standard rack.
3.2 Package Contents
The following is a list of the items that are included with the MIP 6210 unit:
1. Startup Guide
2. AC Power Cord
3. Rackmount Rails
If any of these items were omitted from the packaging of you unit, please call
1-605-978-4600 to obtain a replacement.
3.3 Installation
The MIP 6210 rackmount chassis is a 1RU enclosure that is designed to be mounted in a
standard 19” equipment rack. The unit is shipped with the mounting hardware necessary to safely
secure the chassis in the rack. This includes rackmount ears and screws for the front along with
rails to support the sides. The user is advised to always use the included rails for mounting.
The MIP 6210 is designed for front-to-back ventilation. Care must be taken to ensure that this
ventilation is not impeded in any way.
To install the MIP 6210 into a rack, use the following steps:
1. Determine the desired position in the rack for the MIP 6210 making sure that the air
intake on the front of the unit and the exhausts on the rear of the unit will not be
obstructed.
2. Insert the rack mount clips into place over the mounting holes in the rack.
3. Slide the MIP 6210 into position in the rack.

MIP 6210 –User Manual
Page 11 (75)
4. Secure the MIP 6210 to the rack by installing the four screws through the front mounting
holes and tightening.
WARNING: To prevent injury, the apparatus must be securely attached to the floor/wall in
accordance with the installation instructions.
The MIP 6210 is designed for front-to-back ventilation. Care must be taken to ensure that this
ventilation is not impeded in any way.

MIP 6210 –User Manual
Page 12 (75)
3.4 Rear Panel Connections
All of the external connections for the MIP 6210 are located on the rear of the unit. These
connections include standard computer I/O (Monitor, USB, parallel, serial, audio, and LAN ports)
and the MIP 6210 IP output connections. The power connection is also located on the rear of the
unit. The following provides an overview description of the rear panel connections and features.
Descriptions:
1. Power Connector: Provides AC power connection for powering the system
2. IPMI Port: Can be used for remote server management, but not normally used in the MIP
6210 operation
3. eth0 Port: Network port for management and streaming/recording
4. eth1 Port: Network port for management and streaming/recording
5. eth2 Port: Port available only with the addition of optional card adding either 2x RJ45 or
2x SFP ports
6. eth3 Port: Port available only with the addition of optional card adding either 2x RJ45 or
2x SFP ports
7. VGA Monitor Output
8. USB Interface Ports
9. RS-232 Port
3.5 Power Connections - Installation
Using the proper power connections is vital to the safe operation of the MIP 6210. Only use the
supplied 3-prong power connectors or those with equal specifications. NEVER tamper with or
remove the 3rd –prong grounding pin on any cord. This could cause damage to the unit,
personnel, or property.
The MIP 6210 is intended for use on either 120V or 240V systems. The power supply will
automatically detect the voltage to which it is connected. There is one power supply and one AC
power cord. To connect AC power, perform the following:
1. Locate the proper AC power cord.
2. Plug the female end of the power cord (end with no prongs) into the back of the unit.
3. Plug the male end of the power cord into a proper protected AC outlet.
7
6
9
8
1
2
3
5
4

MIP 6210 –User Manual
Page 13 (75)
3.6 Front Panel Features
The front panel contains some pushbuttons and indicator lights. This section provides an
overview of these features.
*NOTE: Some design modifications may occur in which features shown in this image and
described below may not be found on your MIP 6210.
Front Panel Descriptions:
1. UID: Pushbutton: This pushbutton provides a unit identification light at the rear of the unit.
Press the UID pushbutton to turn on a blue light at the rear of the unit. This makes it easy
to identify the unit when viewing from the back of the equipment rack. The “i “ light on the
front panel (#8) indicates when the UID is switched on.
2. Reset Pushbutton: This pushbutton provides a reset of the system. Press and release to
initiate a reset operation of the operating system.
3. Power Pushbutton: Turns the unit AC power on and off. Hold down for 3 seconds and
release to power the unit on or off.
4. Power Light: Indicates when the unit is powered on for normal operation
5. Hard Disc Drive Light: Indicates normal OS unit disc drive activity
6. Media Drive Indicator Light: Indicates normal unit drive activity
7. Media Drive Indicator Light: Indicates normal unit drive activity
8. i Indicator Light: This light provides an indication when the UID feature is turned on
illuminating a blue light at the rear of the unit.
3
9
8
2
1
7
6
5
4

MIP 6210 –User Manual
Page 14 (75)
3.7 Obtaining the MIP 6210 IP Address
Operating the MIP 6210 depends on gaining access to the unit’s network GUI as there is no front
panel interface. Connecting to the unit’s web GUI using a web browser requires knowledge of the
IP address of the port in which to enter into the address field of a web browser. To acquire and or
to change the port’s IP address from the factory default requires viewing a computer monitor
connected to the unit along with the use of a keypad to navigate the provided menus.
To obtain or make changes to the port’s IP address:
1. Connect a computer monitor to the VGA
connector and power it on. Reference Section
3.4 in this manual –(#7) rear panel port.
2. Connect a PC keyboard (USB type) to the rear
panel USB connectors. Reference Section 3.4 in
this manual –(#8) rear panel USB connection
ports.
3. With power properly connected to the MIP 6210, push and release the front panel power
button. Allow some time for boot up. The system
starts up with no user or password entry required.
A Main Menu screen appears on the monitor
.
4. The Ethernet port 0 (eth0) and Ethernet port 1
(eth1) IP addresses are shown on the initial Main
Menu. Enter the IP address of the port you are
using into your web browser. See the next sections
(3.7, 3.8) of this manual for more details on
changing the IP address and using the web GUI.
5. If the IP addresses are not shown, press the ENTER key on the keyboard to advance to
the next menu. Press the Up or Down arrow keys on the keyboard to select the eth1 or
eth0 Adapter Status listing by Moving the cursor in
front of the selection. Note: If no cursor is seen, press
ENTER a second time.
6. Press Enter on the keyboard to advance to the
configuration menu if you wish to change the IP
mode (static or DHCP) or to change IP Address,
Subnet, or Gateway addresses. See the next
section in this manual for additional information.
In some instances, you may be able to use the factory default IP addresses to gain web access.
The following default IP addresses are used.
Factory Default Settings:
eth0: DHCP
eth1: 10.0.0.61
eth2: 10.0.0.62 (with added optional ports)

MIP 6210 –User Manual
Page 15 (75)
3.8 Unit Networking and DNS Configuration
The MIP 6210 network configuration is managed with setup menus visible by connecting a
computer monitor and USB keypad to the system. The configuration menus provide entry of host
names, gateway and DNS server addresses. Setup of the unit’s Ethernet ports including if they
are static or DHCP configured. If static, entry of the ports IP address, gateway and subnet may be
entered. This section shows the typical setup menu features and describes how to setup the
network settings.
Viewing the setup utility screens provided by the MIP 6210 requires connecting a computer
monitor to the VGA video output connector on the rear of the unit. It requires the use of an USB
keypad. View the monitor screen and use the keypad for navigation and entry. The following
navigation and entry rules are used and included as a reminder on each setup screen.
Press [Enter] to confirm a selection –advance to next menu/selection
Press [Esc] to go back to previous menu and accept entries
Press [Left] and [Right] arrow keys to navigate
Press [Up] and [Down] arrow keys to navigate
Press number and letter keys for field input values
Press [Del] and [Backspace] as needed for text entry
Configure Networks Settings
Network configuration settings are available to enter a unit host name, define a gateway and
enter primary & secondary DNS addresses. These selections are available in the “Configuration
Networks” menu.
1. From the opening menu –press the ENTER key.
2. Position the cursor in front of Configure Networks selection as in illustration below. Press
the ENTER key to advance to the Network Configuration Menu.
3. To enter a Host Name: Position the cursor in front of the Host Name row using the up
and down arrow keys. Press ENTER. The first field is selected for letter or number entry.
Enter the number or letter. Press left or right arrow key to move to the next digit. Press
ENTER key.
4. To enter a Default Gateway: Position the cursor in front of the Default Gateway row.
Press Enter. Enter the desired gateway. Press ENTER.
5. To enter a Primary and/or Secondary DNS: Position the cursor in front of the Primary
DNS and/or Secondary DNS row to be changed or entered. Press the ENTER key. Enter
the address using number keys while navigating with the arrow keys. Press ENTER.

MIP 6210 –User Manual
Page 16 (75)
Ethernet 0 and Ethernet 1 Port Configuration Changes
Network configuration settings are available to enter a static IP address, gateway address and
subnet mask for Ethernet port 0 (eth0) and Ethernet port 1 (eth1). These selections are available
in the respective “eth1 Adapter Status” menu and “eth0 Adapter Status” menus. The following
describes the steps to enter or change a port’s static IP address.
1. From the start menu, press the ENTER key to advance to the Unit Networking screen.
2. Press the Up or Down arrow key as needed to move the cursor position in front of the
eth0 or eth1 row. Press the Enter key to advance to the Adapter eth Status menu.
3. Use the up and down arrow keys to position the cursor in front of the IP Mode row. If it
shows DHCP - Press the ENTER key to select the setting field. Click the up or down
arrow key to increment setting to “Static.” Press ENTER.
4. Use the up and down key to position the cursor in front of the IP Mode row. Press
ENTER to enter the field. Enter number values to define the desired static IP address.
Use the left and right arrow keys to move to different digits. Press ENTER when
complete.
5. Change Mask and Gateway settings using the same technique as in step 4. Press the
ENTER key when finished to accept entries and return to the menu.

MIP 6210 –User Manual
Page 17 (75)
3.9 Controlling the MIP 6210 Using the Web GUI
Controlling the MIP 6210 is done by a network connection to either the eth0 or eth1 ports and the
use of the web interface or GUI. From any PC that is connected to the same network as the MIP
6210, open a web browser application and type the IP address of the unit in the address field.
You must obtain the unit IP address with the procedure in the Startup section.
When connecting to the web GUI, you are greeted with a Login screen as shown below. The
default user field entry is admin and the default password field is left blank or no entry. Press the
login button in order to login to the web interface. The User and Password can be changed for
improved security in the Admin section of the GUI. Please see section 5.2.
When connected you are greeted with the home or start page of the web GUI as shown below.
Depending on the options and licensing some variations in the screen may be seen.
To open the MIP 6210 web interface, use one of the following supported browsers.
•Internet Explorer version 9 or newer
•Firefox
•Google Chrome
•Microsoft Edge
The user is capable of configuring parameters from this page by clicking on the selection tabs at
the top of the page below the Sencore MIP 6210 header. User configuration changes are offered
in each section by clicking on the (cog) which represents a settings configuration is
available for the listed item. Each section contains a dropdown icon which is used to
collapse or expand a section to see additional details. Further details of the common fields in the
web GUI of the MIP 6210 are described

MIP 6210 –User Manual
Page 18 (75)
The top section or fields of the MIP 6210 web GUI includes login and operational information of
the system. Below is a reference to the fields and information provided.
1. Logged in as: This field indicates the logged in user. This field may not be selected or
changed. The User and Password may be set in the Admin tab. See section 6.1.
2. Selection Tabs: Provides operational control of the MIP 6210. Click on a tab to select.
3. Storage Disk Usage: Indicates actual disk size that is currently in use
4. Storage Disk Usage: Indicates total disk size available for use
5. CPU: Indicates the percentage of CPU usage
6. Logout: Provides quick logout, click to log out from the MIP GUI.
Field
Button/Selections
Description
1. Logged in
as:
Admin (Default)
Shows the logged in user name. A view only field.
2. Selection
Tabs
Play
Record
Files
Admin
Reporting
About
Provides control for playing stream and PCAP files
Provides control for recording streams and PCAP
files (Optional)
Provides viewing of media disc play files
Provides administrative tasks
Provides reporting and logging
Provides unit information
3. Disk
Usage
Example shown: 6.6
GB
Indicates the disc drive memory space that is
currently being used by the system
4. Disk
Usage
Example shown:
98.3GB
Indicates the total disc drive memory space
available for TS and PCAP stream storage
5. CPU
Example shown: 0%
Indicates percentage of CPU processing capacity
that is in use.
6. Logout
Click on
icon
Click to log out of the web GUI connection to the
MIP 6210
3
4
5
6
1
2

MIP 6210 –User Manual
Page 19 (75)
3.10 Simplified Startup - Getting a Stream Playing
This section provides a quick start process to assist you in getting an output stream playing to the
Ethernet 1 port. This section provides only enough information to get you outputting a TS stream.
It is not intended to completely summarize all the information contained in this manual. Please
reference other portions of the manual to answer questions and become familiar with the MIP
6210 and its features.
Get Unit Powered & Network Connected:
1. Locate the MIP 6210 in a convenient location or mount in an equipment rack in which AC
power and a connection to the network is closely available. Connect an AC cord from the
rear of the unit to the AC outlet.
2. Connect a network cable between the Ethernet port 1 (Port nearest the VGA video
connector on rear panel) and to your network.
3. Momentarily press the Power button on the unit front panel. You will observe and hear
normal PC startup activities. The front panel power light should illuminate and drive light
activity indicated. Wait while the unit boots up.
Establishing a Web Connection with the Pre-Set Management IP Address
To access the MIP 6210 web user interface, it is necessary to establish an Ethernet connection to
the device. There are two alternative ways to connect to the MIP 6210’s management IP address:
1.) Use the pre-set management IP address or 2.) Connect a monitor and keyboard to the server
to retrieve the IP address. The following steps describe how to use a pre-set management IP
address on a PC via a connection to the Eth1 port.
The MIP 6210 is shipped with the following factory settings for the Eth1 network ports.
Eth1 Default IP address:
10.0.0.61
You can connect to the web UI
of the MIP 6210 using a PC and
connecting directly from the
PC’s network port to the Eth1
port with an Ethernet cable.
Configure the PC’s network port
settings to permit a direct
connection.
For Windows, the network
parameters are set in the
Control Panel —Network and
Internet —Network and
Sharing Center —Network
Connection —Properties —
Internet Protocol Version 4
Properties viewing menu.
Select the user defined address, and set the PC’s IP address to 10.0.0.60 and the subnet mask
to 255.255.0.0.
When the IP address of the PC has been set in the same subnet as the MIP 6210’s factory
setting, a web browser can be used to access the web user interface at 10.0.0.61.

MIP 6210 –User Manual
Page 20 (75)
Retrieve and/or Configure the Unit IP address
You can determine the MIP 6210’s IP address of both Eth0 and Eth1 ports by connecting a
monitor and keyboard to the server. All configuration of the MIP 6210 is done via a PC and web.
The Ethernet port 1 can serve both as a management port for web browser access and as the
streamer IP/PCAP network port. The following section describes how to connect a monitor and
keyboard to the server to retrieve and/or change the unit’s IP address on both ports. To connect
to the unit’s web browser:
1. Connect a computer monitor to the MIP
6210. Connect a VGA video cable from the
VGA connector at the rear of the MIP 6210
to the computer monitor. Power up the
computer monitor. Connect a PC USB
keyboard to one of the USB ports at the rear
of the MIP 6210. The display screen on the
monitor will indicate the current IP address
for the Ethernet 1 port (eth1). It also shows
the IP address for the other Ethernet 0 port
(eth0)
2. If you do not have a computer monitor you may try to access the web GUI as described
in the previous page using the factory default IP settings shown below:
Ethernet port 0 (eth0): 10.0.0.61
Ethernet port 1 (eth1): 10.0.0.62
Use PC Web Browser to Connect to the MIP 6210’s Web GUI
1. Connect a PC to the same network as the MIP 6210. Open a web browser application on
the PC and in the top address field enter the IP address of the eth1 port as found in the
previous step.
2. The Login screen appears with a successful connection.
The default User name is admin and the default password
is blank or no entry. Click on the Login field.
When successfully logged in the web connection to the GUI
produces a Play Control Panel. Click on the Play tap to access.
Use FTP or SMB to Load Stream/PCAP Files to Media Storage Drives
The MIP 6210’s media drives are available to store files used for playout in a schedule. Click on
the “Files” tab at the top of the GUI to view available files. If a file is available for selection, click
on the Schedule tab and skip to the instructions “Creating a Play/Event Schedule” instruction
section.
Other manuals for MIP 6210
1
This manual suits for next models
1
Table of contents
Other Sencore Media Player manuals