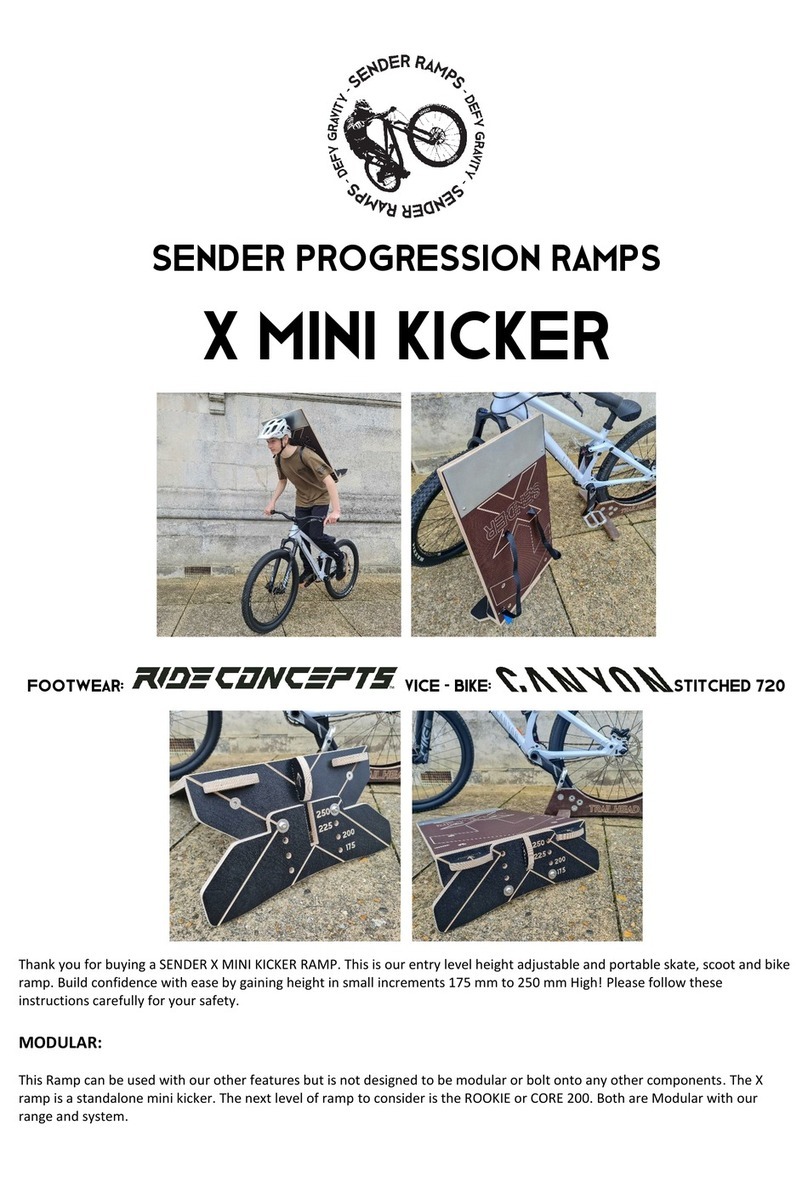
SENDER RAMPS 125 ROOKIE User manual

SENDER PROGRESSION RAMPS
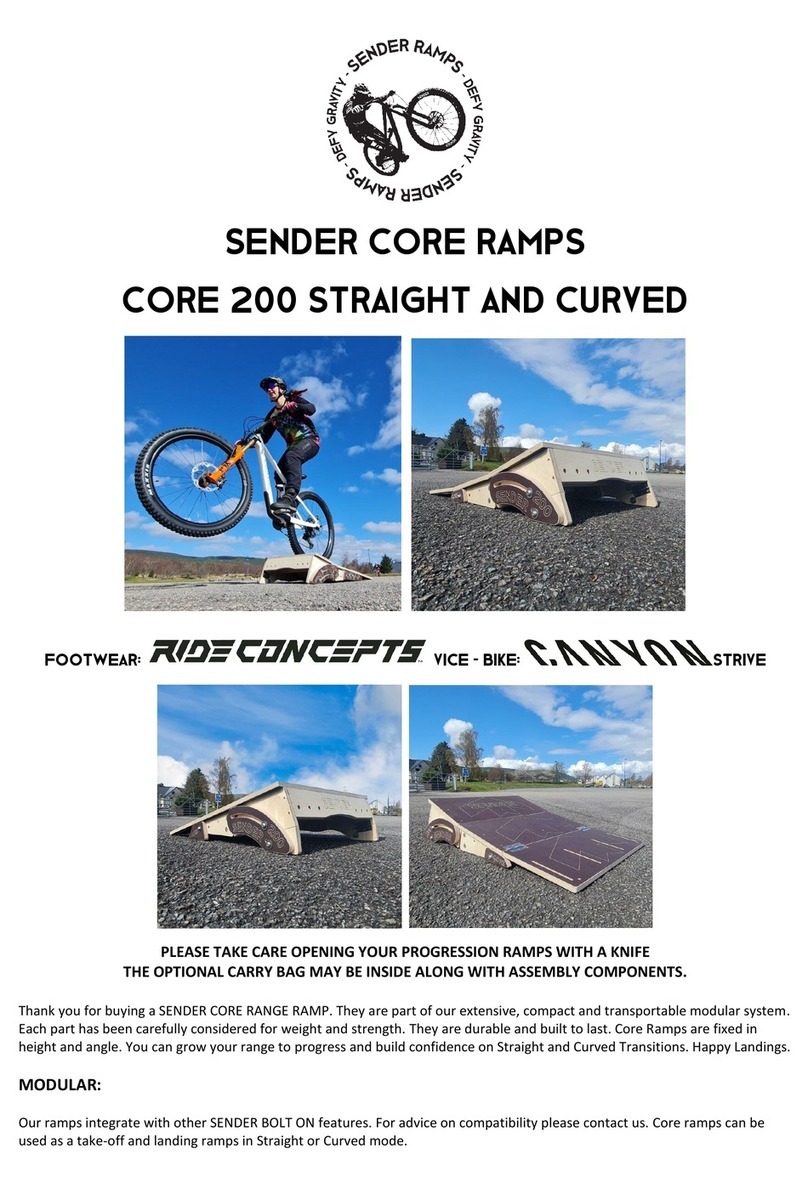
125 - 350 ROOKIE
FOOTWEAR: VICE - BIKE: STRIVE
o
PLEASE TAKE CARE OPENING YOUR PROGRESSION RAMPS WITH A KNIFE
THE OPTIONAL CARRY BAG MAY BE INSIDE ALONG WITH ASSEMBLY COMPONENTS.
Thank you for buying a PROGRESSION RAMP. They are the most adjustable ramps ever designed and manufactured. It has been
a long term project that has stretched our experience and knowledge of geometry and woodworking. Each part has been
carefully considered for weight and strength. Progression ramps allow you to progress and build confidence and skill at your
speed and height on Straight and Curved Transitions. Happy Landings.
**Build confidence with ease –Gain height in small increments and become familiar with straight and curved take offs!

MODULAR:
In addition, our ramp integrates with other SENDER BOLT ON features. For advice on compatibility please contact us.
Progression ramps can be used as a take-off and landing ramps in Straight or Curved mode but NEVER used as a landing with the
extension attached! The extension is not designed to take LANDING RAMP impact loads.
The ramp has TERRAIN ADJUSTMENT. Once set at a specific height you can micro adjust legs to stabilise the ramp. The ramp is
best used on grass but can be used on tar or concrete. However, the severity of landing and risk factor will greatly increase on
hard surfaces.
SAFETY FEATURE: The front edge of the ramp has 2 x PEG POINTS so you can add extra security when using the ramp on
grass or gravel. These points must be used if you attempt to Back Flip the Ramp.
SUITABLE FOR SKATEBOARDS and SCOOTERS
Progression ramps can be used with Skateboards and Scooters with the OPTIONAL Skate Plate. This Galvanised plate can be
retro fitted. Once installed it can be adjusted through all the angles on the ramps! PLEASE SEE INSTRUCTIONS LATER IN THIS
GUIDE.
RAMP WEIGHT / RANGE / ADJUSTMENT + MARKINGS:
(S) STRAIGHT –(C) CURVED –(C+) CURVED PLUS
WEIGHT 12 Kgs ROOKIE RANGE 125 to 350 –Markings 200 / 250 / 300 / 350 –SEE MINI KICKER DETACHED MODE
WEIGHT 14.5 kgs ADVANCED RANGE 350 to 500 –Markings at 350 / 400 / 450 / 500
WEIGHT 18 kgs EXPERT RANGE 500 to 650 –Markings at 500 / 550 / 600 / 650
WEIGHT 5 kgs PROGRESSION BOOSTER (EXTENSION) RANGE 150mm –Adjust to extend ramps Straight / Curved / Curved +
Transition Length Rookie Ramp is 900 mm - Advanced Ramp is 1200 mm and Expert Ramp 1500 mm

OPTIONAL COMPONENTS: TRANSPORT BAG –SKATE PLATE –PROGRESSION EXTENSION
The BOOSTER must NEVER be used on the ROOKIE as it will tip over.
SAFE OPERATION!
Once you are familiar with all the parts you can set up, fold and pack PROGRESSION RAMPS in 5 –10 minutes. You can easily
adjust the ramp to YOUR CHOSEN height in a matter of minutes. However, YOU MUST ALWAYS check the components are
bolted tightly together to prevent the ramp from failing / folding or collapsing.
Lift your ramp into place with two people. Dragging the ramp will damage components.
The Ramps have an OPTIONAL and strong Vinyl Carry Bag which has webbing strap points on the front you can use for attaching
clothing (you will need to add elastic or similar). Lift the bag using the central lifting loop or both handles to mount on your back.
The load / weight on one strap alone may rip the stitching. We do not recommend children under 16 carry the bag on the back
OR set the ramp up.
WARNING –These ramps have moving components that can cause a finger entrapment. Under 16’s should be supervised
when assembling, erecting or changing the mode of the ramp.
The Ramp has many MOVING PARTS which means finger entrapment is a significant risk. Always unfold / adjust / store with
care. Once again under 16’s should not set the ramp up. We advise packing, unpacking and transporting the ramp with two
people to avoid manual handling injuries.
DESIGNED FOR:
Riders, clubs and coaches on all types of bikes - Heavy use including E Bikes.
Safe Working Load is 150 Kgs –Dynamically Tested to over 350 Kgs
Bolt Torque setting is 12 Nm
SAFE USE AND PPE:
Always wear a full face helmet, gloves and knee pads when jumping. We also recommend back protection and a neck brace. You
should not jump ramp to ramp with a gap between components. Progression Ramps can be landed to FLAT. However, it is better
to use a grass downslope as the height increases or a landing ramp. Ensure adequate fall space all around with no surrounding
impact surfaces like fences, trees, vehicles or roads. Keep spectators clear. Locate your ramp on flat even ground. Take your
time and follow all the user instructions carefully for max strength. Built confidence before trying higher jumps. We recommend
hiring / consulting a coach to improve skills. When jumping goes wrong it can lead to life changing injuries and destroy expensive
bikes.
SENDER BUILT TO LAST:
Designed and Manufactured in the Highlands of Scotland from 18 mm (13 layer) Birch Plywood and 18 mm (13 layer) Phenolic
Grip (mesh) coated Plywood secured with Stainless Steel Components. Look after your ramp and it will last a life time. We
recommend storing the ramp inside after use and carefully drying the ramp if it is used outside in the damp or rain. Spare parts
are available for purchase on request. The Plywood has been Independently Impact tested and Insert Pull Tested. Do not drag
or pull the ramp around. It should be LIFTED into place to prevent premature deterioration.
PRESERVING AND MAINTING: COLOURED RAMP OWNERS GO TO END OF INSTRUCTIONS
When you assemble your ramp please use silicone spray to protect and lubricate the bolts. Follow instructions on the bottle /
can for safe use. Preserve your ramp BEFORE use with the recommended Decking Protector –see end of Instructions

Torque Wrench (recommended) –Spray your bolts during assembly process and as often as possible for better function
Moving parts such as Nuts and Bolts should be silicone sprayed frequently. All cut edges and natural plywood faces should be
treated with LOW VOC (Water Based) Decking protector Natural Colour. Repeat annually. Under no circumstances use Varnish!!
Check for damage before and after each use and retire the Ramp if you find any until you seek further advice from
support@sender-ramps.com. Additional notes at the end of this guidebook.
INSTALLATION EQUIPMENT REQUIRED:
1 x 6 mm HEX KEY (Found ON Your Bike Maintenance TOOL!) –SUPER Fast with an Impact Gun with 6 mm Attachment.
A “T” HANDLE 6 mm HEX / ALLEN KEY is useful piece of equipment for tightening bolts
A Torque Wrench will ensure that ALL bolts are set at the max tension of 12 Nm
Your ramp may come unassembled or assembled. Please reads the section appropriate to your purchase.
ROOKIE PROGRESSION RAMP ASSEMBLY
REFRESH KIT: A Refresh KIT will be available in our shop for components in contact with the ground subject to the most wear
and tear. This will keep you jumping for years.
COMPONENTS:
CROSS BATONS / BACK PLATE –FRONT SIDE PARTS - REAR SIDES –JOINING PLATES
FRONT ADJUSTABLE LEGS –REAR ADJUSTABLE LEGS

BOTTOM SURFACE WITH SKATE PLATE SLOTS –MIDDLE SURFACE –TOP SURFACE
VERY IMPORTANT:
STAINLESS STEEL IS SOFT. It is VERY easy to round the heads of screws. Apply CONSTANT PRESSURE when fixing components.
Take your time to complete the ASSEMBLY process. Poor Assembly WILL lead to a weak and poorly functioning product!
ASSEMBLY TOOLS:
1 x Drill Driver
1 x Impact Drill Driver
1 x Pozi 2 Hand Screw Driver
1 x 4 mm Drill Bit
1 x Pozi 2 Driver Bit
1 x TX25 Driver Bit
2 x 600 mm Long Quick Wood Clamps
Wear appropriate PPE when assembling your product –Eyewear / Gloves / Footwear. Protect your work space to avoid
damaging your property.
ROOKIE FIXINGS:
4 x 10 x 60 Button Head bolts
6 x 10 x 40 mm Button Head Bolts
8 x Large Washers
2 x Small Washers
6 x 10 x 35 mm Countersink Bolts
23 x 4 x 30 Screws
28 x Stainless Steel TX25 Screws
4 x Stainless Steel Hinges
24 x Stainless Steel Hinge Screws
24 x T Nuts
48 x Stainless Steel T Nut Screws
ASSEMBLING YOUR ROOKIE PROGRESSION RAMP
STAGE 1: Time to assemble approximately 1 –1.5 Hrs
Select all the components with 13 mm holes through the plywood. Lie them on a flat surface so you can see ALL of the CIRCLE /
ROUND Markers around the holes. Place the T nuts into ALL CIRCLED Holes ONLY!
Place the Small Screws into the holes in the T Nuts and fix them to the Plywood. The Screws MUST be placed VERTICALLY! When
complete take the TWO Joining Blocks (Each block has 6 x T Nuts) Use a SCREW DRIVER and undo / unwind the screws 1 turn
until they can be MOVED / ROCKED with two fingers!

STAGE 2:
Take the two FRONT Side Panels R + L and Cross Batons PG B1 + PG B2 + PG H. Place PG B1 in the VERTICAL Small Pocket at the
front of the structure. Place PG B2 in the bigger Rear Vertical Pocket. IMPORTANT –PG H has 3 screw marker points. These must
face UP!
WARNING! YOU MUST DRILL EACH HOLE BEFORE FIXING COMPONENTS WITH A SCREW. FAILING TO DO THIS WILL SPLIT THE PLYWOOD. WE
BUILD HUNDREDS OF RAMPS AND NEVER HAVE SPLIT COMPONENTS! DO NOT BE LAZY AND SKIP THIS PROCESS.
Place the 4 mm Drill Bit beside a TX25 Screw and ensure that the drill bit will make a hole the same length as the screw. Use a
Quick Clamp to hold the structure together. You may need to PULL the structure to the edge of the table to drill a straight hole
where the marker is close to the table surface. It is important that you follow the sequence described. Drill through the marker
point in the side panel into the end of B1.
**Secure with a TX25 Screw LEAVING 15 mm PROTRUDING. As shown above**
Next - Drill through the side panel into the end of B2 on both sides and secure FULLY with a TX25 Screw.

Rotate the structure and drill into the other end of B1.
Secure the other side of B1 with a TX25 Screw LEAVING 15 mm PROTRUDING as shown above.
This process makes it easier to locate component PG H.
Take Component PG H and push / place this between the Lower Sides of the ramp where there is Horizontal marker lines. IF PG
H is a little loose then completely tighten the two protruding screws in B1 (described above). A clamp can also help to hold
component PG H in place while you check the top and ends are flush.
Drill through the marker points on the lower ramp sides into H and fix with TX25 Screws. You can now drive the protruding
screws completely into the end of B1 at both ends to trap PG H.

STAGE 3:
Take the LOWER and MIDDLE surfaces with the hinge pockets and place them together. Make sure the join is CLOSED. Place a
hinge in each pocket. Centralise / Line the hinge with the join. Place one screw centrally in the hinge on one side of the join.
Place the second screw in the opposing hole. IT IS ESSENTIAL THAT THIS SECOND SCREW IS 1 mm OFF CENTRE TOWARDS THE
LONG EDGE OF THE HINGE! This helps pull the parts together.
Place two more screws in one side of the hinge. Next, repeat the process of OFFSETTING the screws in the opposite side by 1
mm (from centre of hinge hole) to pull the parts together.
STAGE 4:
Take the Hinged Surface and the Structure you have created above and line these components up at the edge of a table. You can
use the joining block(s) to stop the structure from tipping while you complete the next stage. You will need to clamp the
structure to hold the surface accurately to the substructure!
JOINING BLOCKS CAN BE USED TO HELP PREVENT THE STRUCTURE TIPPING WHILE YOU FIX THE COMPONENTS TOGETHER –
COMPONENTS 200 L AND R CAN BE USED AS SPACER BLOCKS AS DESCRIBED BELOW TO HELP ALIGN THE SIDES AND SURFACES
FAILURE TO COMPLETE THIS PROCESS ACCURATELY MAY PREVENT THE RAMP FROM FUNCTIONING PROPERLY AND
MISSALIGN THE SURFACES WHEN BOLTED TOGETHER!
YOU MUST start at the end with the VERTICAL SIDES as these connect with the other part of the ramp. Use components 200 L
and R (IMAGE ABOVE) as 18 mm spacing guides! Place these either side of the surface as shown flush against the sides of the
substructure. BALANCE / EQUALISE by feel and sight so that the surface is sitting EQUALLY above Substructure. It is normal that
the substructure is 0.5 to 1 mm inset from the Surface when using the blocks as a guide. Once you are satisfied that the
BALANCE is correct clamp the surface to the substructure ready for drilling and fixing.
You must also check that the end of the surface and the End of the Vertical Side Panel is TOTALLY flush. Re-adjust if necessary
and Re-clamp. Drill Perpendicular to the surface through the marker point on the surface and secure with a TX25 Screw.

CLAMP THE RAMP SURFACE AND SUBSTRUCTURE TO THE TABLE AND USE THE 200 L / R BLOCKS AS SPACERS
Repeat the same process described above on the other side ensuring the end of the surface and the end of the side panel are
FLUSH.
Turn the structure around so that the Edge of the Ramp is lined up with the table edge and repeat the process described above
to SQUARE, DRILL and SECURE the Folding / Hinged end of the Surface to the Substructure.
Components 200 L and R are perfect for lining up the side panels with the surface because the pointed ends fit underneath the
surface at the lowest point. USE THE CLAMP ON TOP OF THE HINGE BAR and UNDER THE TABLE to get a secure and firm grip of
the structure. Drill through the marker half way along the edge of the surface to secure the surface to the side panels.

Repeat on the other side using the middle marker point to secure the surface to the substructure.
Remove the clamps and then drill and fix at all remaining marker points. There are 4 more. 2 above the hinges and 2 in the
centre of the arrow.
Turn the entire Structure over. You will see the 3 marker holes in Baton PG H. Place one of the 4 x 30 Stainless Steel Screws
beside the drill bit and use a piece of tape to mark HOLE DEPTH. IF you drill too deep you will go through the SURFACE of the
RAMP! The Drill holes should be 1 / 2 mm shorter than the Screw. Drill and Secure all 3 points with 4 x 30 Screws. Beware the
Stainless Steel Screws are SOFT! Rounding the heads is possible if you DO NOT apply constant pressure.
STAGE 5: PLEASE SKIP THIS STAGE IF THE SIDE PANELS ARE IN ONE SECTION (Do Not Need Hinges!)
Select the REAR SIDE PANELS and FOLDING LEGs. Place them together as shown. Take 2 No hinges and place them between the
marker lines on the face of the REAR SIDE PANELS and LEGS. Centralise / Line the hinge with the join. Place one screw centrally
in the hinge on one side of the join. Place the second screw in the opposing hole! IT IS ESSENTIAL THAT THIS SECOND SCREW IS 1
mm OFF CENTRE TOWARDS THE LONG EDGE OF THE HINGE! This helps pull the parts together.

Place two more screws in one side of the hinge. Then OFFSET the screws on the other side by 1 mm (from centre of hinge hole)
to pull the parts together. Repeat on the other Side and Leg.
STAGE 6:
Take both Rear Legs and Side Panels now hinged together along with the Back Plate and another PG B baton. Place PG B into the
vertical pocket on the side panels. Take the BACK Plate and rotate this so the text is facing out and is upside down. Use two
clamps as shown to hold the structure together. Check that the underside of the Back plate is flush with the vertical and
horizontal Side Panels
Drill through the Side Panels at the marked points into the ends of PG B and the Back Plate on both sides and secure with TX25
Screws. Remove the clamps, then drill and screw the final 2 holes in the side panels into the BACK PLATE.
STAGE 7:
Take the Top Surface and the Structure you have created and line this up at the edge of a table. Because of the shape of the
Structure it is best to quick clamp the two parts near the middle. It is important that you hold the surface accurately to the
substructure while you drill and secure with screws.

FAILURE TO COMPLETE THIS PROCESS ACCURATELY MAY PREVENT THE RAMP FROM FUNCTIONING PROPERLY AND
MISSALIGN THE SURFACES WHEN BOLTED TOGETHER!
YOU MUST start at the end with the VERTICAL SIDES (NOT AT THE BACK PLATE) The vertical edges connect with the other part of
the ramp. Use the two JOINING BLOCKS as spacer guides. Place these either side of the surface flush against the sides of the
substructure. BALANCE / EQUALISE by feel and sight so that the surface is sitting EQUALLY above Substructure. It is normal that
the substructure is 0.5 to 1 mm inset from the Surface when using the blocks as a guide.
USE THE JOINING BLOCKS AS SPACER BLOCKS
Once you are satisfied that the BALANCE is correct clamp the surface. You must also check that the end of the surface and the
End of the Vertical Side Panel is TOTALLY flush. Re-adjust if necessary and Re-clamp. Drill VERTICALLY through the marker point
on the surface and secure with a TX25 Screws.
You may wish to rotate the structure. Follow the same process of checking with the block and ensuring the end of the surface
and vertical end of the side panel are flush before drilling and securing with a TX25 Screw.
Turn the structure around and repeat the process above to SQUARE, DRILL and SECURE the Back Plate / End of the Surface to
the Substructure as shown below.

The BACK PLATE is also secured in the middle at the edge of the surface. YOU MUST DRILL AND SECURE AT A SLIGHT ANGLE! To
prevent the plywood bulging or the screw appearing on the front or back of the BACK PLATE! There are 3 additional fixing points
on the surface. One on either edge and one in the centre.
STAGE 8:
Use a piece of tape on your drill bit to mark hole depth which should be 1 to 2 mm less than the 4 x 30 screw length. Take one of
the Marked Rear Legs and one of the secondary rear legs with the 10 Screw marker points. Place these parts SMOOTH FACE
against SMOOTH FACE. Clamp them to the table and ensure the sides are flush all around. Drill through the marker points
ensuring you do not drill past the tape or you may drill through the face of the leg. Fix these points with 4 x 30 Stainless Steel
Screws.
STAINLESS STEEL SCREWS ARE SOFT and it is easy to round the heads. APPLY CONSTANT PRESSURE while you secure the two
parts together!
Remove the Clamp, then drill and screw all remaining points –Repeat the process to complete the second Rear Adjustable Leg

STAGE 9:
Installing the joining blocks. Take both sections of ramp and place them side by side so the VERTICAL JOIN TOUCHES. Take the
joining block with the corresponding holes as shown below and place this behind the side panels. There are two PERMANENT
fixing bolts points that should only be untightened or removed to relocate / adjust the block or to place in Super Compact Mode.
Take 2 x M10 x 35 mm Countersink Bolts and place these through the side panel into the T Nuts on the joining plate. Catch the
thread by hand first. Then secure / tighten theses bolts. These bolts should be set at 12 Nm for maximum security (Check before
each use) YOU MAY FIND IT EASIER TO LOCATE THE TRANSITION ADJUSTMENT BOLTS IF THESE INITIAL BOLTS ARE LEFT LOOSE
AND TIGHTENED ONLY ONCE ALL 4 BOLTS ARE IN POSITION!
BEFORE INSTALLING THE BOLTS ON THE OTHER SIDE OF THE PLATE IT IS IMPORTANT TO UNDERSTAND THE TRANSITION
SETTINGS THAT ALLOW YOU TO CREATE A STRAIGHT –CURVED or CURVED PLUS RAMP!
ADJUSTING / SETTING YOUR HEIGHT and TRANSITION ON THE ROOKIE
PROGRESSION RAMP **HEIGHT RANGE 200 –350 ADJUSTMENT**
DETACHED 125 mm HIGH MODE INFORMATION CAN BE FOUND LATER IN THE GUIDE!
The base height for an ROOKIE RAMP is 200 mm HIGH. On all bolts we “recommend” 12 Nm for max security.
STAGE 10:
There are 4 Marked Holes
+= COMMON BOLT POINT NEVER REMOVED UNLESS FOLDING FOR TRANSPORT AND STORAGE
C = SWEET CURVED MODE
C+ = STEEP CURVED MODE
S= STRAIGHT MODE
**SETTING THE RAMP IN STRAIGHT MODE (EXAMPLE 1)
Take an M10 x 40 Button Head bolt and a SMALL! WASHER and place this into the +Marked hole. Manipulate the SECTION to
make this possible. The washer is essential to spread the load and prevent damage to the ramp.

YOU MAY FIND IT EASIER TO LOCATE THESE TRANSITION ADJUSTMENT BOLTS IF THE BOLTS IN THE OTHER SIDE OF THE JOIN
ARE LOOSE!! RETIGHTEN ONCE ALL BOLTS ARE LOCATED. THIS CAN BE EXTREMELY USEFUL IF THE CONSTRUCTION IS NOT
ACCURATE AT THE JOIN!
NEVER FORCE A BOLT OR YOU WILL CROSS THREAD THE T NUT!
Wind the Button Head Bolt and washer by hand so that it is flush with the surface but not tight. MANIPULATE the Sections so
you can see through the hole in the ramp side panel and the T Nut in the Joining Plate in the S = STRAIGHT Mode. Secure this
position with an M10 x 35 Countersink Bolt. And tighten the bolt to (recommended 12 Nm). You can now also tighten the + Bolt
to the (recommended) 12 Nm.
INSTALL THE PLATE ON THE OTHERSIDE OF THE ROOKIE RAMP
Turn the Ramp over holding / supporting the two parts. Make sure the VERTICAL JOIN TOUCHES. Take the joining block with the
corresponding holes as shown below and place this behind the side panels. There are two PERMANENT fixing bolts points that
should only be untightened or removed to relocate / adjust the block or to place in Super Compact Mode.
Take 2 x M10 x 35 mm Countersink Bolts and place these through the side panel into the T Nuts on the joining plate. Catch the
thread by hand first. Then secure / tighten theses bolts. These bolts should be set at 12 Nm for maximum security (Check before
each use) YOU MAY FIND IT EASIER TO LOCATE THE TRANSITION ADJUSTMENT BOLTS IF THESE INITIAL BOLTS ARE LEFT LOOSE
AND TIGHTENED ONLY ONCE ALL 4 BOLTS ARE IN POSITION!
Take an M10 x 40 Button Head bolt and a SMALL! WASHER and place this into the +Marked hole. Manipulate the SECTION to
make this possible. The washer is essential to spread the load and prevent damage to the ramp.
YOU MAY FIND IT EASIER TO LOCATE THESE TRANSITION ADJUSTMENT BOLTS IF THE BOLTS IN THE OTHER SIDE OF THE JOIN
ARE LOOSE!! RETIGHTEN ONCE ALL BOLTS ARE LOCATED. THIS CAN BE EXTREMELY USEFUL IF THE CONSTRUCTION IS NOT
ACCURATE AT THE JOIN!

UNDERSTANDING THE CURVED FRONT LEG MARKINGS –ROOKIE RAMPS
C+ = THE MARKER LINES CORRESPOND WITH THE FIRST BOLT NEAREST THE START OF THE RAMP (NEAR TO HINGE JOIN)
C and S = THE MARKER LINES CORRESPOND WITH THE SECOND BOLT NEAREST THE RAMP JOINING PLATE
NUMBERS:
2= 200 mm
25 = 250 mm
3= 300 mm
35 = 350 mm
ROOKIE 200 C+ SETTING
IMAGE ABOVE SHOWS SETTING C+ (Curved Plus) at 200 HEIGHT –LINE UP USING THE FIRST BOLT!
ROOKIE 200 C SETTING
IMAGE ABOVE SHOWS SETTING C (Curved) at 200 HEIGHT –LINE UP USING THE SECOND BOLT!

ROOKIE 200 S SETTING
IMAGE ABOVE SHOWS SETTING S (Straight) at 200 HEIGHT –LINE UP USING THE SECOND BOLT!
**CONTINUE THE PROCESS OF SETTING THE RAMP AT ROOKIE 200 STRAIGHT
STAGE 11:
Take one of the Curved FRONT Legs and place this onto the side of the ramp. Secure the leg to the Side Panel using 2 x M10 x 40
Button Head bolts. You MUST use the Large M10 Washers with each bolt to spread the load applied when you tighten the bolt.
ESSENTIAL: ALWAYS catch the thread of bolts with your fingers first to PREVENT / AVOID CROSS THREADING! Never use an
impact gun / drill to catch the thread.
Ensure the 200 S Marker line is central with the SECOND bolt then tighten both bolts (12 Nm)
Take the second Curved front leg and place this on the other side at the same 200 S Setting!
UNDERSTANDING THE CURVED REAR LEG MARKINGS
C+ = THE MARKER LINES CORRESPOND WITH THE FIRST BOLT NEAREST THE SURFACE OF THE RAMP
C and S = THE MARKER LINES CORRESPOND WITH THE SECOND BOLT NEAREST THE GROUND
NUMBERS:
2= 200 mm
25 = 250 mm
3= 300 mm
35 = 350 mm

ROOKIE 200 C+ SETTING
IMAGE ABOVE SHOWS SETTING C+ (Curved Plus) at LOWEST DEFAULT 200 HEIGHT –LINE UP USING THE FIRST BOLT!
ROOKIE 200 C SETTING
IMAGE ABOVE SHOWS SETTING C (Curved) at LOWEST DEFAULT 200 HEIGHT –LINE UP USING THE SECOND BOLT!
ROOKIE 200 S SETTING
IMAGE ABOVE SHOWS SETTING S (Straight) at LOWEST DEFAULT 200 HEIGHT –LINE UP USING THE SECOND BOLT!
** CONTINUE THE PROCESS OF SETTING THE RAMP AT ROOKIE 200 STRAIGHT
STAGE 12:
Take one of the Curved Rear Legs and place this onto the side of the ramp. Secure the leg to the Side Panel using 2 x M10 x 60
Button Head bolts. You MUST use the Large M10 Washers with each bolt to spread the load applied when you tighten the bolt.

ESSENTIAL: ALWAYS catch the thread of bolts with your fingers first to PREVENT / AVOID CROSS THREADING! Never use an
impact gun / drill to catch the thread.
On the Curved REAR LEG ensure the 200 S Marker line is central with the SECOND BOLT then tighten both bolts to (12
Nm). TURN THE RAMP OVER and align the second Rear Leg, adjust to the correct setting and fix with the remaining M10 x 60
bolts.
A LEG REFRESH KIT is available to REPLACE and RENEW components in contact with the ground once they wear out.
Go around ALL the ramp bolts checking that they are tight before starting a JUMP SESSION. You are now ready to TAKE OFF or
LAND at ROOKIE 200 STRAIGHT.
CHANGING THE TRANSITION AND HEIGHT
Example: CHANGING TO A 350 CURVED PLUS RAMP
This can be done quickly once you have practiced a few times! Turn the ramp onto its side (preferably on a surface that will not
damage or wear the edges of the ramp. Loosen the bolts on the Front Legs so the leg can slide easily to the 350 C+ Marker Line.
This should correspond with the FIRST BOLT. Tighten both bolts to the recommended 12 Nm.

Loosen the Bolts on the Curved Rear Leg. Slide the Leg to the 350 C+ Marker Line. This should correspond with the SECOND
BOLT nearest the ramp surface. Tighten both bolts to the recommended 12 Nm.
Loosen the +Bolt on the Joining Plate. Remove the Countersink bolt from Point S and place to one side. DO NOT TRY AND PLACE
THE BOLT IN C+ POSITION YET! Turn the Ramp Over!
Repeat the process of loosening, sliding and then securing the bolts on the FRONT and REAR Curved Legs at the 350 C+ marker
lines. Loosen the +Bolt and remove the Bolt at position S. Manipulate the Sections so the C+ Hole lines up with the plate below
and replace the Countersink Bolt by hand and then tighten the bolt.
This manual suits for next models
1
Table of contents
Other SENDER RAMPS Bicycle Accessories manuals
Popular Bicycle Accessories manuals by other brands
Specialized
Specialized Elite CylcoComputer user manual

Sigma
Sigma BC 16.16 manual
Playcore
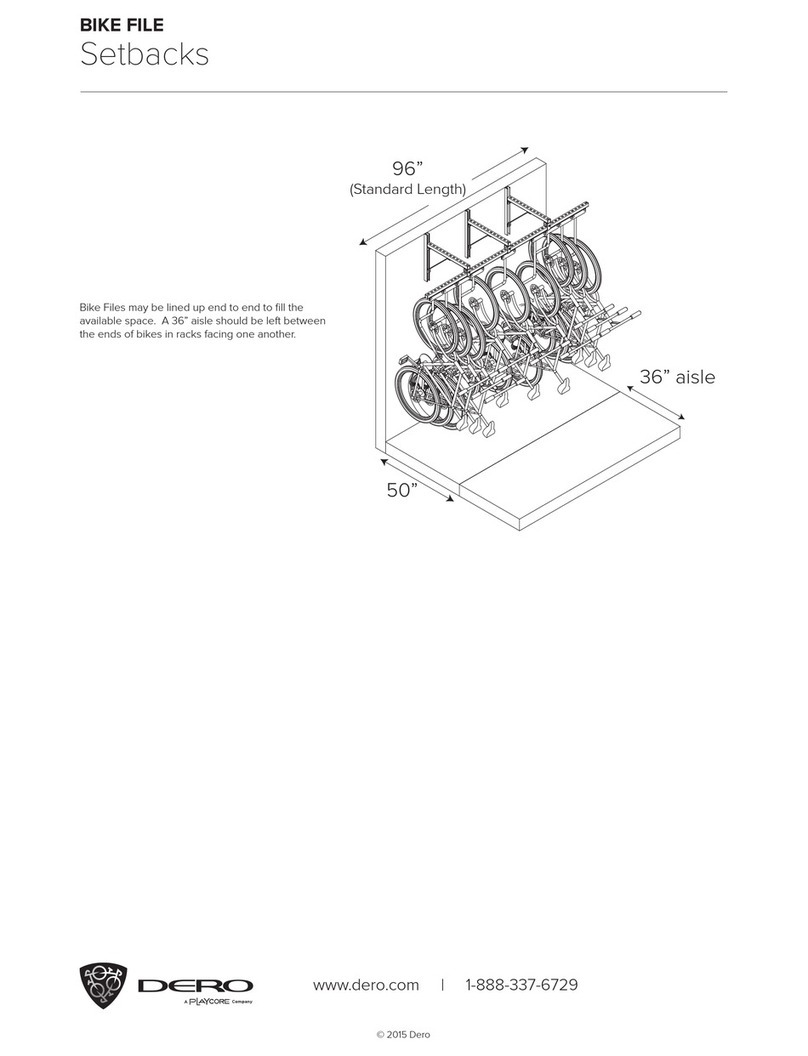
Playcore Dero Setbacks installation instructions

VDO Cyclecomputing
VDO Cyclecomputing x3dw instruction manual
Cateye
Cateye RAPID X2 manual
buratti meccanica
buratti meccanica Clorofilla Trail Use and maintenance manual
