SensAble DORTAG VI User manual

Single Door Access Control System
USER MANUAL
DORTAG VI
MIC 0302115
August 2008
Revision 02

INSTALLATION INSTRUCTIONS
THE READER HEAD/S
The reader head comes pre-wired with a 2m cable connected to it. If the cable is to be replaced
with a longer cable, please note the following restriction:
Maximum cable lengths: - 5 meters unshielded cable
15 meters shielded cable
Wiring from the reader is as follows:
BLUE - Buzzer (BUZ)
RED - Supply (+5V)
BLACK - Ground (-0V)
YELLOW - Loop +
GREEN - Loop -
Two screws and two wall plugs are supplied with the reader head for mounting onto a wall.
The following steps should be followed:
INSTALLING THE READER HEAD
1. Use the READER HEAD to mark off the holes to be drilled on the wall where
the reader is to be mounted. (Note: The holes should only be deep enough to accept
the wall plugs.)
2. Once the holes have been drilled insert wall plugs.
3. Mount the reader head and fasten the screws, making sure that the cable is run
correctly.
4. Place reader head sticker onto the reader head and align the reader head sticker
LED hole with the LED on the reader head.
5. Installing two reader heads – It is possible to install two reader heads on this system.
Please note that this is a single door system and there is only one output relay. The two
heads will therefore be fitted to the ENTRY and EXIT points on a single door.
6. The two reader heads will be wired in parallel in the controller as per the instructions
overleaf.
7. Jumper LOOP SELECT must be OPEN if one reader head is installed. ●●
Jumper LOOP SELECT must be FITTED if two reader heads are installed. ●▬●

INSTALLING THE CONTROLLER
Power AC / DC 12V AC / DC
AC / DC 12V AC / DC
Reader + 5V Red from reader head
- 0V Black from reader head
Buzzer Blue from reader head
Loop + Yellow wire from reader head
Loop - Green wire from reader head
Aux -0V Bridge between RTE or Fire
RTE Request to exit input
Fire Fire alarm input (Normally open)
Relay N/O Normally open relay contact
Common Common relay contact
N/C Normally closed relay contact
(Warning: Failure to follow the wiring instructions may result in permanent damage to
thecontroller)

Single Door Access Control System
Wiring Details
Notes:
* Jumper “LOOP SELECT” must be fitted for two reader head applications.
** Normally open fire alarm contact opens door in the event of a fire.
12 v AC / DC
Power Supply 1 Amp
Bl
u
e
R
ed
Green
Black
Yellow
Push to make
contact
Magnetic Lock
Strike Lock
Fire alarm input
Request to exit
Fire alarm input:
The fire alarm input is a facility whereby a fire alarm device such as an
emergency glass break switch or fire alarm panel can close the circuit to open
all doors immediately. Please note the fire alarm input is non latching, and
Fail safe locks should be used with this function.

PROGRAMMING INSTRUCTIONS
(Note: The DorTag VI employs AUTO EXITING software for security reasons. In any
of the programming modes, the controller will automatically revert back to standard
operating mode if the user takes no action within 30 seconds.)
Three different operating modes exist, as indicated by the display dot position.
POSITION 1 - Standard operating mode
POSITION 2
- User tag Learn mode
POSITION 3 - Voiding mode
- Master Tag Learn Mode
POSITION 4
The USER ACTION indicates the steps the user must take to accomplish a certain
PROGRAMMING FUNCTION.
The CONTROLLER RESPONSE indicates the response that the controller will have to a
USER ACTION.
IT IS RECOMMENDED THAT THE USER READ THE USER ACTIONS AND
CONTROLLER RESPONSES CAREFULLY BEFORE ATTEMPTING TO PROGRAM THE
CONTROLLER.

MASTER TAG - PROGRAMMING INSTRUCTIONS
PROGRAMMING FUNCTION USER ACTION CONTROLLER RESPONSE
Teaching the controller a new
MASTER TAG.
1. PRESS & HOLD button S1 (The
top button. Note: Teaching a new
Master Tag can only be done in
STANDARD MODE.)
2. (Warning: On presenting a NEW
MASTER TAG, the entire memory
will be voided and all user tags
will have to be reprogrammed.)
While still holding button S1 press
button S2. (The bottom button)
3. Present the new tag to the reader.
(This tag will become the new
Master Tag.)
The controller display changes to
the last card read while pressing this
button in STANDARD MODE
The controller will respond with 3
beeps immediately. After releasing
buttons S1 and S2, the controller
display will light up displaying
This indicates that the controller is in
Master Tag learn mode and that the
first tag to be presented to the
reader head will become the new
Master Tag.
The controller will respond with 3
beeps. This indicates that it has
learned the new Master Tag and
exited Master Tag learning mode.
The controller is now ready for
standard operation.

USER TAG - PROGRAMMING INSTRUCTIONS
PROGRAMMING FUNCTION USER ACTION CONTROLLER RESPONSE
Teaching the controller a new USER
TAG
1. Present the Master Tag to
the reader and keep it in the
reader field.
2. Remove the Master Tag and
present the new User Tag(s)
to be learned one at a time to
the reader.
3. After teaching the controller
the new User Tag(s), present
the Master Tag to the reader
again to exit User Tag learn
mode.
The controller responds with a single
beep. After a few seconds, the
controller responds with an additional
3 beeps indicating that it has entered
User Tag learn mode.
1 second after presenting a new User
Tag, the controller will respond with a
single beep. This indicates that the
controller has learned the new User
Tag.(Note: Should the controller
respond with 3 beeps instead, it is
indicating that the 1000 user limit
has been exceeded and that the
controller has exited User Tag learn
mode.)
The controller responds with 3 beeps
indicating that it has left User Tag
learn mode. (Note: Should the user
forget to exit User Tag learn mode,
the unit will automatically exit this
mode after 30 seconds.)
Note:
After completing this procedure,
present each tag to the reader, press
button S1 on the controller to display
the tag number and record this
number against the name of the user
in a register.
Repeat this exercise for all the new
tags entered into the system.
Note: Should an invalid card or tag be presented to the reader, the unit will NOT
respond with a beep and no user number will appear on the controller.

USER TAG - VOIDING INSTRUCTIONS
PROGRAMMING FUNCTION USER ACTION CONTROLLER RESPONSE
d
USER TAG VOIDING
1. Present the Master Tag to the
reader and keep it in the reader
field.
2. Press button S2
3. Press button S2, to scroll to the
User Tag number that has to be
voided from the system. (Note:
By holding button S2 in, the
scrolling speed will increase.)
The controller responds with a single
beep. After a few seconds, the
controller responds with an additional 3
beeps indicating that it has entered
User Tag learn mode.
The controller responds with 3 beeps,
and after S2 is released,
is displayed. This indicates that the
controller has entered User Tag
Voiding mode.
The number displayed on the display is
the number of the User Tag that will be
voided from the system when button S1
is pressed.
4. To void a User Tag from the
system, PRESS S1 button.
5. To exit User Tag Voiding
Mode, leave the controller for 30
seconds.
When voiding a User Tag, the controller
responds with a single beep and the
display changes to
(Note 1: The display shows the
memory location acted on rather than
whether there is a code or not. If
is displayed, that location has been
voided. If the display is incremented to
that memory location again, the location
number will be displayed again.)
(Note 2: The Master Tag memory
location can not be assessed unless the
whole memory is voided. See Master
Tag PROGRAMMING
INSTRUCTIONS.)
The unit responds with 3 beeps and
enters STANDARD MODE.

RELAY OUTPUT TIME PROGRAMMING INSTRUCTION
PROGRAMMING FUNCTION USER ACTION CONTROLLER RESPONSE
Adjusting the door lock
mechanism RELAY OUTPUT
TIME.
This function is used to set the
time, for which the relay will
provide an output to the door
latch, in the event of a
card/tag being introduced or
the push and release of the
free exit (RTE) push button.
The default time setting is t1
(1 second)
Note: When re-setting the
relay output time the door
alarm settings will need to be
reset at the same time.
1. Press S2 and release
2. Continue pressing S2 to
increment the timer until the
required time setting is achieved.
3. Leave the unit for 30 seconds to
exit this MODE or press S1.
Unit responds with 3 Beeps and
shows
The display increments up to
(2 seconds), up to
(9 seconds)
This is a special setting for a 150mS
PULSE OUTPUT
The unit responds with 3 Beeps and
enters STANDARD MODE.
LAST TAG READ INSTRUCTION
Looking for the LAST TAG
READ
1. In STANDARD MODE press and
hold S2
2. Release button S2
The number of the last tag read will be
displayed.

TECHNICAL SPECIFICATIONS
HARDWARE
Operating Voltage 12V AC/DC
Average Current Consumption 33mA (1 Reading Head)
Maximum Current Consumption 55mA @ 12V
Relay Output Rating 24V / 5A Change over contacts
Operating Frequency 125kHz (50Hz – 4kHz modulation)
Read range 6cm – 10cm (Dependant on tag type)
Reader heads 1 or 2
Read head feeder cable length 2m Standard, 5m max if unshielded.
15m max if shielded.
Cable 5 Core
Mechanical dimensions Controller - 104mm(L) x 94mm(W) x
25mm(D)
Reader head – 75mm(L) x 39mm(W) x
15mm(D)
Environmental Rating Controller – IP00
Reader head – IP54
Mass Controller – 70g
Reader head – 70g
Operating temperature -10°C to +60°C
Indications Visual – Bi Colour LED
Audible - Buzzer
(* The unit communicates with signals between 50Hz and 4kHz and should thus be installed away from any
such signals.)

SOFTWARE
Users 1000 max
Code Size 64 bits
Read Time < 2 seconds
SPECIAL FEATURES
•Auto frequency tracking
•Auto exiting software
•Master tag learn mode
•Master tag voiding
•Individual tag voiding
•Entire memory voiding
•Last tag read display
•Door sensor input
•Auxiliary free exit - timing as per
relay output time
•Fire alarm input
•Programmable relay output time
(150ms – 9 seconds)
•Two reader head capability

Table of contents
Popular IP Access Controllers manuals by other brands
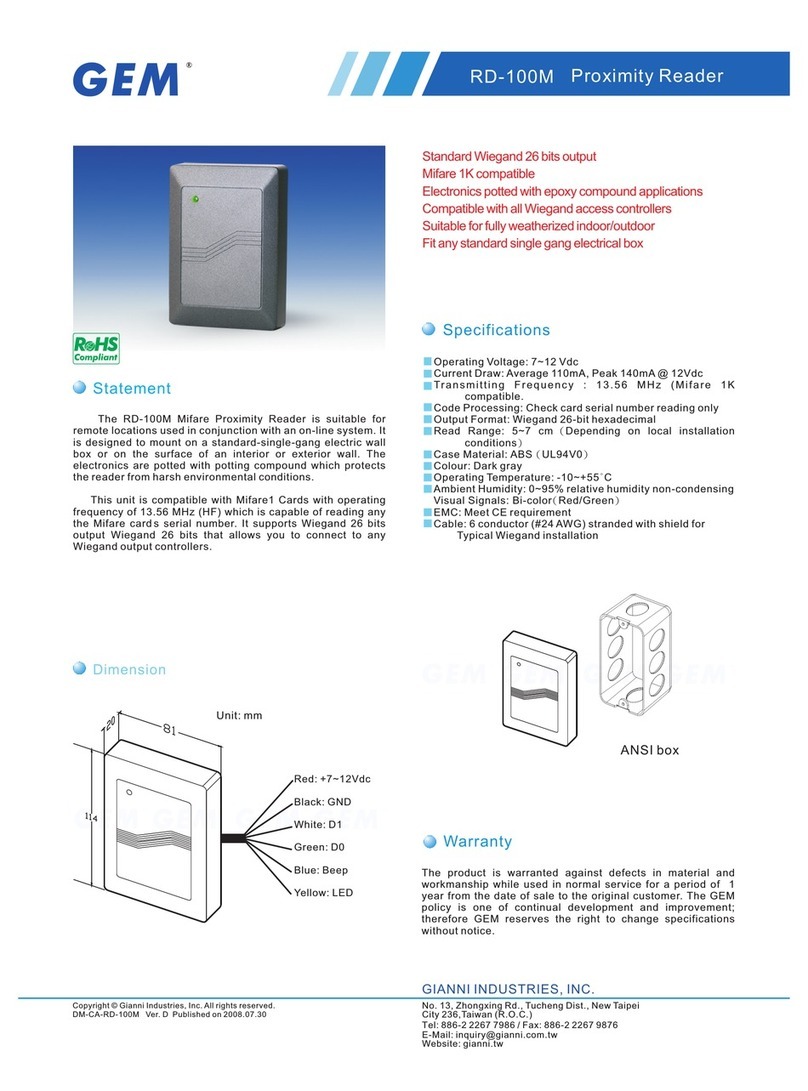
Gianni Industries
Gianni Industries RD-100M Specifications
Feig Electronic
Feig Electronic ID MAX.U500i Series Quick installation
Gallagher
Gallagher C300400 Installation notes
DITEC
DITEC LAN4T installation manual

Moxa Technologies
Moxa Technologies WAC-1001-T Quick installation guide

CSS
CSS SR2501GT user manual
