6
OPERATIONS (cont. from page 5)
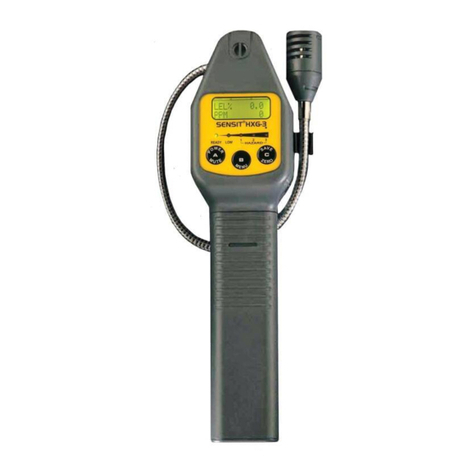
REMEMBER:Anincreasein tick indicates
youare approachingaleak, adecreasein
tick indicates you are moving away.
5. To find extremely small leaks use the
sameprocedurebut operate theunitinthe
“SCAN”mode.
6.If the greenlightdoes not illuminate,the
batteriesmust bereplaced.
7. An earphone can be plugged into the
earphonejack whenusing thisinstrument
in noisy areas.
8.If the responseiserratic, check thesen-
sor for tightness and cleanliness. Clean-
ingthesensor with alcoholispermittedwith
theinstrument off.
9. If the instrument does not perform, re-
place the sensor. We recommend sensor
replacementbeforeeveryseason.
7
BATTERYREPLACEMENT
SENSORREPLACEMENT
Replacethe sensor when:
a)The red light remains illuminatedat all
times.
b)Theresponseis erratic.
c)Thereisreducedsensitivity.
1.Turntheunitoff.
2.Removetheoldsensor by unscrewing
in a counterclockwise direction.
3.Install a replacement sensorby screw-
inginaclockwisedirectionuntilFINGER
TIGHT.
4.Do not change the sensor in a hazard-
ousenvironment.
WARNING: Turnunit offbeforecleaningor
replacingthe sensor. Failure to dosomay
result in a mild electrical shock.
Ifthe green lightfailsto illuminate,thebat-
teriesneedreplacement. Depressthelatch
usingacoin and slidethebatterycompart-
ment cover off. Replace the batteries with
3“C” alkalinebatteries.
When replacing the batteries observe the
polarity markings on the sides of the bat-
tery holder. A fresh set of alkaline batter-
ies should operate the unit for approxi-
mately 24 hours.
