manuals.online logo
Brands
  1. Home
  2. •
  3. Brands
  4. •
  5. Sensit
  6. •
  7. Security Sensor
  8. •
  9. Sensit TKX User manual

Sensit TKX User manual

Quick-Start Instructions
HINT: As you approach the source of the
leak continue adjusting the wheel without
moving the sensor head to a uniform tick
sound until you locate the exact location of
the leak.
IMPORTANT: When replacing the
gooseneck into the clip on the right side,
wrap the gooseneck in a wide circular
manner counter-clockwise around the back
of the instrument. Bending in the opposite
direction may cause damage over the life of
the product.
WARNINGS:
To prevent ignition of ammable or combustible
atmospheres, disconnect power before servicing.
To reduce the risk of ignition of a ammable
atmosphere, batteries must only be changed in
an area known to be nonammable.
Do not mix batteries of different age or type.
This is not a substitute for the
instruction manual. It is for
reference only.
Read and understand the
instruction manual before use.
MADE IN THE USA
WITH GLOBALLY SOURCED COMPONENTS
Distributed by:
851 Transport Drive
Valparaiso, IN 46383-8432
Phone: 219 465 2700
Web: www.gasleaksensors.com
Innovative Detection Solutions
SENSIT®TKX
1. Slide the on/off switch to the right to turn on.
2. Allow unit to go through the warm up
sequence in clean air. The tick will sound
and the leak indication light will ash for
a few moments. The SENSIT TKX requires
up to 60 seconds to fully warm up.
3. The sensor is located at the end of
the gooseneck under the cap. Extend
gooseneck to the desired position.
4. The SENSIT TKX is now ready to
use for combustible gas detection.
5. To locate the leak source, rotate the
wheel to establish a uniform ticking
sound. As the gas concentration
increases, the tick speed will increase.
Rotate the thumbwheel counter clockwise
to slow the tick speed to continue
pinpointing the leak source. If the tick
slows, rotate clockwise to re-establish.
6. Slide switch to OFF position at the
conclusion of the investigation. Recoil
gooseneck and attach to retaining clip as
shown.
Operating Instructions
For Alkaline Powered Units
Install the batteries by pushing down the
locking tab and sliding the handle away
from the top of the instrument. When
replacing handle be sure the tab is securely
in place and replace the retaining screw.
IMPORTANT: CAREFULLY OBSERVE
POLARITY WHEN CHANGING ALKALINE
BATTERIES. Instrument will not function with
improperly installed batteries.
For Rechargeable Battery Units
If the green LED blinks or fails to illuminate,
charge the unit as follows:
1. Remove the charging port cover taking
care not to pull the cover’s tether
completely out of the charging port hole.
2. Insert the 12v wall charger’s
plug to the charging connection.
3. The LED will illuminate yellow when
charging and green when fully charged
(Charging may take up to 6 hours)
4. At completion of charging, remove
charger plug and replace port cover. TKX
will operate up to 20 hours run time on
a full charge
Battery Information

Quick-Start Instructions
HINT: As the source of the leak is
approached the tick will increase in speed.
Adjust the wheel to achieve a uniform tick
sound. Continue the search to locate the
source of the leak, adjusting the wheel as
the tick sound changes intensity.
IMPORTANT: When replacing the
gooseneck into the clip on the right side,
wrap the gooseneck in a wide circular
manner counter-clockwise around the back
of the instrument. Bending in the opposite
direction may cause damage over the life of
the product.
WARNINGS:
To prevent ignition of ammable or combustible
atmospheres, disconnect power before servicing.
To reduce the risk of ignition of a ammable
atmosphere, batteries must only be changed in
an area known to be nonammable.
Do not mix batteries of different age or type.
This is not a substitute for the
instruction manual. It is for
reference only.
Read and understand the
instruction manual before use.
MADE IN THE USA
WITH GLOBALLY SOURCED COMPONENTS
Distributed by:
851 Transport Drive
Valparaiso, IN 46383-8432
Phone: 219 465 2700
Web: www.gasleaksensors.com
Innovative Detection Solutions
1. Install the batteries by pushing down
the locking tab and sliding the handle
away from the top of the instrument. When
replacing handle be sure the tab is securely
in place and replace the retaining screw.
2. IMPORTANT: CAREFULLY OBSERVE
POLARITY WHEN CHANGING BATTERIES.
Instrument will not function with improperly
installed batteries.
3. Slide the on/off switch to the right to turn on.
4. Allow unit to go through the warm up
sequence in clean air. The tick will sound
and the leak indication light will ash for a
few moments. This requires up to 60 seconds
to fully warm up.
5. Extend the goose neck (the sensor and
cap is at the tip).
6. You are now ready to use the instrument.
You can now enter the area and detect gases.
7. To locate the source of an odor, rotate the
center wheel until there is a uniform ticking
sound. Increased gas concentration will
cause an increase in the speed of the ticking
sound. As you approach the leak rotate the
wheel counter-clockwise to slow the speed.
Rotate clockwise to increase the speed
(indicating lower gas concentrations).
8. When your investigation is complete slide
the switch to the off position.
SENSIT®TKX
QUICK-START INSTRUCTIONS

Other manuals for TKX

1

Other Sensit Security Sensor manuals

Sensit PMD2 User manual

Sensit

Sensit PMD2 User manual

Sensit VMD Operating instructions

Sensit

Sensit VMD Operating instructions

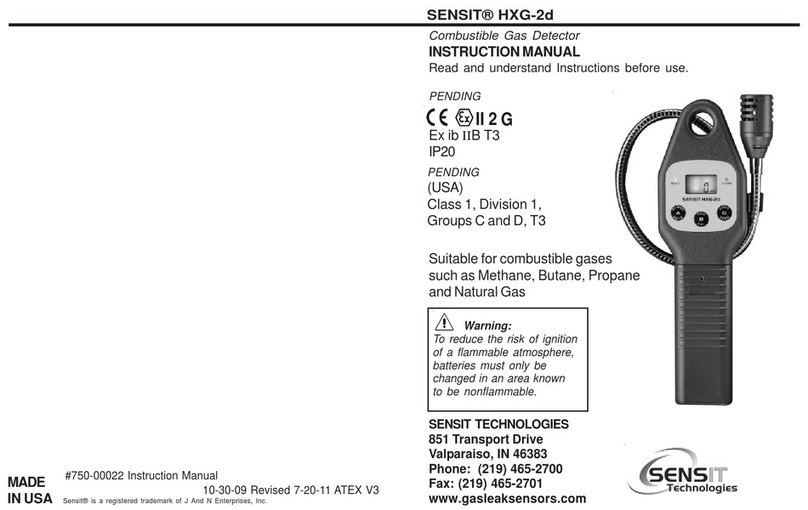
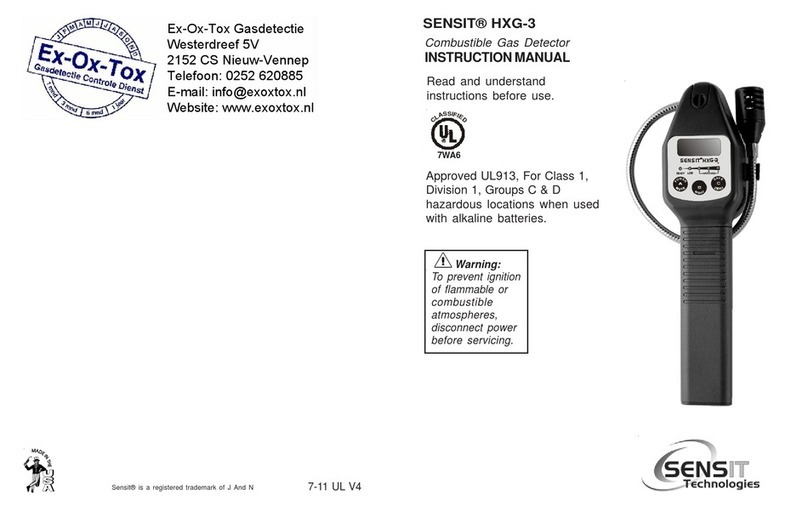
Sensit HXG-3 User manual

Sensit

Sensit HXG-3 User manual

Sensit TKX User manual

Sensit

Sensit TKX User manual

Sensit CO Programming manual

Sensit

Sensit CO Programming manual

Sensit HXG-3P User manual

Sensit

Sensit HXG-3P User manual

Sensit HXG-2d User manual

Sensit

Sensit HXG-2d User manual

Sensit HXG-2d User manual

Sensit

Sensit HXG-2d User manual

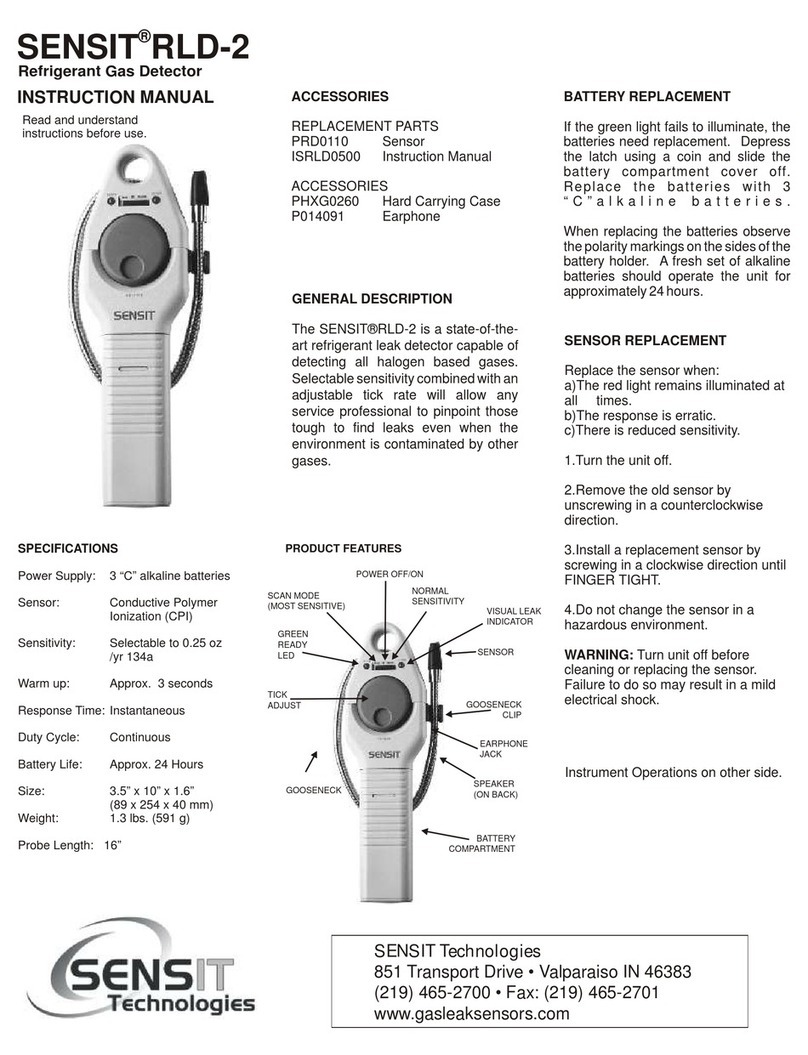
Sensit RLD-2 User manual

Sensit

Sensit RLD-2 User manual

Sensit HXG-2d User manual

Sensit

Sensit HXG-2d User manual

Popular Security Sensor manuals by other brands

Risco BWare RK515DTG3 manual

Risco

Risco BWare RK515DTG3 manual

Stanley FATMAX FMHT77652 user manual

Stanley

Stanley FATMAX FMHT77652 user manual

Apollo SENSI user manual

Apollo

Apollo SENSI user manual

roco 10808 manual

roco

roco 10808 manual

FLIR VP42 user manual

FLIR

FLIR VP42 user manual

Raypak Latching Lockout Module C-5 product manual

Raypak

Raypak Latching Lockout Module C-5 product manual

RKI Instruments 82-5223 Operator's manual

RKI Instruments

RKI Instruments 82-5223 Operator's manual

EtiamPro HAA54 user manual

EtiamPro

EtiamPro HAA54 user manual

SMART TL-3005SYS Door Watch System installation instructions

SMART

SMART TL-3005SYS Door Watch System installation instructions

AGD 331 product manual

AGD

AGD 331 product manual

Vanderbilt IR261 installation manual

Vanderbilt

Vanderbilt IR261 installation manual

DSC SG SECURITY MLR2-DV instruction manual

DSC

DSC SG SECURITY MLR2-DV instruction manual

Gemini 715W quick start guide

Gemini

Gemini 715W quick start guide

EDI 222 Series Operation manual

EDI

EDI 222 Series Operation manual

Reliable GXLO manual

Reliable

Reliable GXLO manual

Vimar BY-ALARM PLUS quick start guide

Vimar

Vimar BY-ALARM PLUS quick start guide

STEINEL DualTech DALI-2 instructions

STEINEL

STEINEL DualTech DALI-2 instructions

Satel ASD-110 manual

Satel

Satel ASD-110 manual

manuals.online logo
manuals.online logoBrands
  • About & Mission
  • Contact us
  • Privacy Policy
  • Terms and Conditions

Copyright 2025 Manuals.Online. All Rights Reserved.