Sensit TKX User manual

851 Transport Drive • Valparaiso, IN 46383
219.465.2700 • www.gasleaksensors.com
Combustible Gas Leak Detector
Warning: To prevent ignition of ammable
or combustible atmospheres, disconnect
power before servicing.
7WA6
Approved UL913, For Class I,
Division 1, Groups C & D
hazardous locations when used
with alkaline batteries and approved
Lithium Ion (LiON) rechargeable
battery.
INSTRUCTION MANUAL
SENSIT®TKX
Read and understand
instructions before use.
Model with
alkaline battery shown.

⚠ Warning: For models powered by alkaline
batteries - To prevent the risk of ignition of
ammable atmospheres, batteries must only be
changed in an area known to be non-hazardous.
For models powered by alkaline batteries - Do not
mix batteries of different age or type.
⚠ Warning: For models with built-in LiON
rechargeable batteries - To prevent the risk of
ignition of ammable atmospheres, batteries must
only be charged in an area known to be non-
hazardous.
⚠ Warning: For models with built-in LiON
rechargeable battery - Do not attempt to remove the
rechargeable battery. This battery is not intended to
be removed by the end user.
⚠ Warning: To prevent ignition of ammable
or combustible atmospheres, disconnect power
before servicing.
FOR YOUR SAFETY
NOTICE: ⚠ CAUTION: This safety symbol
is used to indicate a potentially hazardous
situation which, if not avoided, may result
in minor or moderate injury.
ii

3
CONTENTS
Preparation
For Your Safety ..................................................... ii
Parts and Accessories ..........................................4
General Description ..............................................5
Product Specications ..........................................6
Product Features ..................................................7
Operation
Preparation Alkaline Battery Powered Model ..............8
Preparation LiON Rechargeable Battery Model ...........9
Operation and Use ........................................10-11
Battery Replacement - Alkaline .................... 12-13
Battery Recharging - LiON Rechargeable .... 14-15
Operation Check.................................................16
Sensor Replacement ..........................................17
Warranty .............................................. Back Cover

PARTS AND ACCESSORIES
Standard Accessories (Included)
Carrying Pouch 360-00002
Instruction Manual 750-00043
Alkaline Batteries* 310-00004
Wall Charger (US)** 871-00050
Optional Accessories / Parts
Sensor 375-2611-00
Wall Charger (International)** 871-00049
* for models powered by alkaline batteries
** for models powered by the LiON rechargeable
battery
4

GENERAL DESCRIPTION
The SENSIT® TKX instrument is an advanced
state-of-the-art leak detector capable of detecting
many combustible, noncombustible and toxic gases.
The SENSIT® TKX solid state sensor is sensitive
to most combustible and/or toxic gases.
A partial list of these gases is:
Acetone, Alcohol, Ammonia, Steam, Butane,
Gasoline, Jet Fuel, Hydrogen Sulde, smoke,
Industrial Solvents, Methane, Lacquer Thinner,
Naphtha, Propane, Natural Gas.
⚠ CAUTION This instrument is not to be used as
a carbon monoxide investigative tool or to quantify
any gas concentration.
5

SPECIFICATIONS
PRODUCT SPECIFICATIONS
Power Supply: 3 “C” Alkaline Batteries
/ Built-in rechargeable battery
Sensor: Solid State
Sensitivity: 20 ppm Methane
Warm up: Approx. 1 Minute
Response Time: Instantaneous
Duty Cycle: Continuous
Battery Life: Approx. 30 Hours Alkaline
Approx. 20 Hours LiON
Size: 3.5” x 10” x 1.6” (89 x 254 x 40 mm)
Weight: 2.4 lbs. (1.1 kg) Alkaline
2.0 lbs. (0.9 kg) LiON
Operating Temp.: 0 to 120º F (-20 to 50º C)
Charging Temp.: 32 - 104º F (0 - 40º C)
Probe Length: 16”
Approvals: UL913 Intrinsically Safe
6
7WA6
SENSIT® TKX is approved by Underwriters
Laboratories to UL913, for Class I, Division 1,
Groups C & D hazardous locations when
used with alkaline batteries or approved LiON
rechargeable battery.

7
PRODUCT FEATURES
Model with
Rechargeable Battery Shown
SENSOR
ON / OFF SWITCH
SENSING INDICATOR
TICK ADJUST DIAL
FLEXIBLE GOOSENECK
BATTERY COVER
LOCKING TAB
BATTERY COMPARTMENT
COVER
CHARGING LED
(RECHARGEABLE MODEL ONLY)
CHARGING
PORT AND COVER
(RECHARGEABLE MODEL ONLY)

8
PREPARATION
ALKALINE BATTERY
POWERED MODEL
1. Depress the locking tab on the front of the battery
compartment cover with a coin or at object and pull
the battery sleeve handle away from the top of the
instrument.
2. Place three (3) approved batteries into the battery
compartment. BE SURE TO OBSERVE AND
FOLLOW THE POLARITY MARKING on the inside
of the battery holder for proper battery installation.
The instrument will not function with improperly
installed batteries.
3. Replace the battery compartment cover pushing
it in place until the locking tab snaps into position.
Check to be sure the battery compartment cover is
secure to the instrument body by rmly pulling the
handle away. The handle will remain in place if cover
is properly in place.

9
PREPARATION
LiON RECHARGEABLE
BATTERY MODEL
For safety during shipping, the TKX with LiON
rechargeable battery has been packaged with a
special label covering the ON/OFF Switch to insure
the device does not turn on during shipment. This
label must be removed before the TKX can be
powered on.
Follow the procedure in the section titled “Battery
Charging” (page 14) to perform an initial charge to
the battery.

10
OPERATION AND USE
1. Turn the unit on in an uncontaminated / gas free
environment by moving the switch from the “OFF”
to the “ON” position.
2. The green ready LED will illuminate if there is
ample battery power. The red LED may icker and
the tick may sound during the warm up. To silence
the tick, rotate the tick wheel fully counterclockwise.
3. Adjust the “TICK ADJUST” by rotating it in a
clockwise direction until a uniform tick begins to
sound. A uniform tick rate indicates a fully warmed
up instrument. The red LED will ash at the same
time the tick sounds.
4. Approach suspected leak areas with the sensor
until the tick begins to increase. When the tick
increases do not move the sensor from the
suspected leak area, rotate the tick adjust slightly
counterclockwise to slow the ticking sound and
continue to approach the leak. Continue to use this
method to pinpoint the leak.
REMEMBER: An increase in tick indicates you are
approaching a leak, a decrease in tick indicates you
are moving away.

11
OPERATION AND USE
5. If the green LED does not illuminate or blinks,
the alkaline batteries must be replaced or the
rechargeable battery must be recharged.
6. If the instrument does not perform or it has been
damaged, test the instrument by following the
“operation check” procedure in this manual.

12
BATTERIES
Battery Replacement
Alkaline Battery Powered Devices
If the green LED fails to illuminate, the batteries
need replacement.
1. Depress the locking tab on the front of the battery
compartment cover with a coin or at object and pull
the battery sleeve handle away from the top of the
instrument.
2. Removed the spent batteries and place three (3)
approved batteries into the battery compartment.
BE SURE TO OBSERVE AND FOLLOW THE
POLARITY MARKING on the inside of the battery
holder for proper battery installation. The instrument
will not function with improperly installed batteries.
⚠ Warning: To prevent the risk of ignition of
ammable atmospheres, batteries must only be
changed in an area known to be non-hazardous.
(CONTINUED ON NEXT PAGE)

BATTERIES
Battery Replacement
Alkaline Battery Powered Devices
(CONTINUED)
3. Replace the battery compartment cover pushing
it in place until the locking tab snaps into position.
Check to be sure the battery compartment cover is
secure to the instrument body by rmly pulling the
handle away. The handle will remain in place if cover
is properly in place.
A fresh set of alkaline batteries should operate the
instrument for approximately 30 hours.
13

BATTERIES
Battery Charging LiON Rechargeable
Battery Powered Devices
If the green LED next to the ON/OFF switch blinks
or fails to illuminate on the instrument, the battery
needs recharging.
Recharge the battery only at a temperature
between 32 and 104 ºF (0 – 40 ºC)
1. Remove the Charging Port Cover. (Note: this
cover is tethered to the TKX housing. Care should
be taken not to pull the end of the tether completely
out of the Charging Port Hole.)
2. The charging connection should be visible
through the charging port hole. Insert the plug from
the approved battery charger that was provided
with your TKX instrument.
(CONTINUED ON NEXT PAGE)
14
⚠ Warning: To prevent the risk of ignition of
ammable atmosphere, recharging the battery
must only be completed in an area known to be
non-hazardous.

BATTERIES
Battery Charging LiON Rechargeable
Battery Powered Devices
(CONTINUED)
3. The charging LED will illuminate red to indicate
that the battery is charging and green to indicate
a fully charged battery. Charging may take up to
6 hours.
4. When charging is complete, remove the charger
plug and replace the charging port cover. The
instrument will operate for approximately 20 hours
continuously on a full charge.
15

OPERATION CHECK
First follow steps 1, 2 and 3 (page 10) in the
Operation and Use section. Then expose the
sensor to a known gas source such as an unlit
butane lighter. The tick should increase when the
gas is applied. The tick will decrease when the gas
is removed.
If the unit fails to respond, the sensor may need
replacing or the unit may need to be sent in for
repair (see below).
⚠ CAUTION This instrument shall only be
repaired by a SENSIT factory authorized repair
technician.
16

SENSOR REPLACEMENT
1. Turn the unit off
2. Pull off the sensor cap
3. Unplug the old sensor and discard
4. Line up reference tab on side of sensor with
reference mark on sensor circuit board and
plug in sensor
5. Replace sensor cap
6. Turn on unit and perform “Operation Check”
17

NOTES
________________________________________
________________________________________
________________________________________
________________________________________
________________________________________
________________________________________
________________________________________
________________________________________
________________________________________
________________________________________
________________________________________
________________________________________
________________________________________
________________________________________

SENSIT TKX Instruction Manual
Part # 750-00043
WARRANTY
Your SENSIT®TKX instrument is warranted to
be free from defects in materials and workmanship
for a period of one year after purchase (excluding
sensor and alkaline batteries). If within the warranty
period your instrument should become inoperative
from such defects, the unit will be repaired or
replaced at our option. This warranty covers normal
use and does not cover damage which occurs in
shipment or failure which results from alteration,
tampering, accident, misuse, abuse, neglect, or
improper maintenance. A purchase receipt or other
proof of date of original purchase may be required
before warranty performance will be rendered. This
warranty gives you specic legal rights and you may
have other rights which vary from state to state.
Instruments out of warranty will be repaired for
a service charge. Return the unit postpaid and
insured to:
SENSIT Technologies
851 Transport Drive
Valparaiso, IN 46383
Phone: (219) 465-2700
888 4 SENSIT (473-6748)
Fax: (219) 465-2701
Revision 10-26-2016
Other manuals for TKX
1
Table of contents
Other Sensit Security Sensor manuals
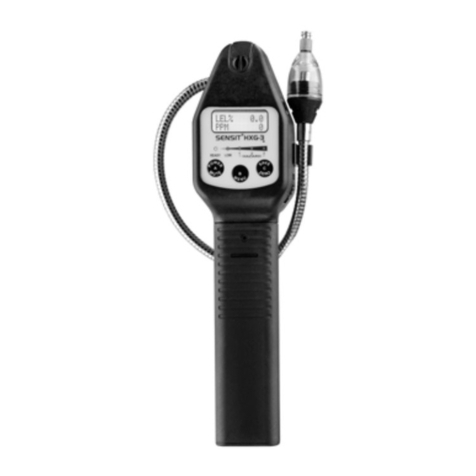
Sensit
Sensit HXG-3P User manual
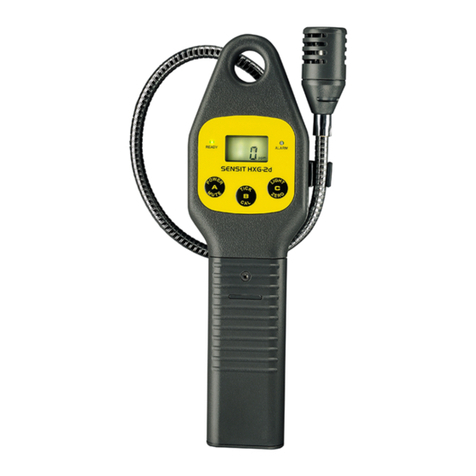
Sensit
Sensit HXG-2d User manual
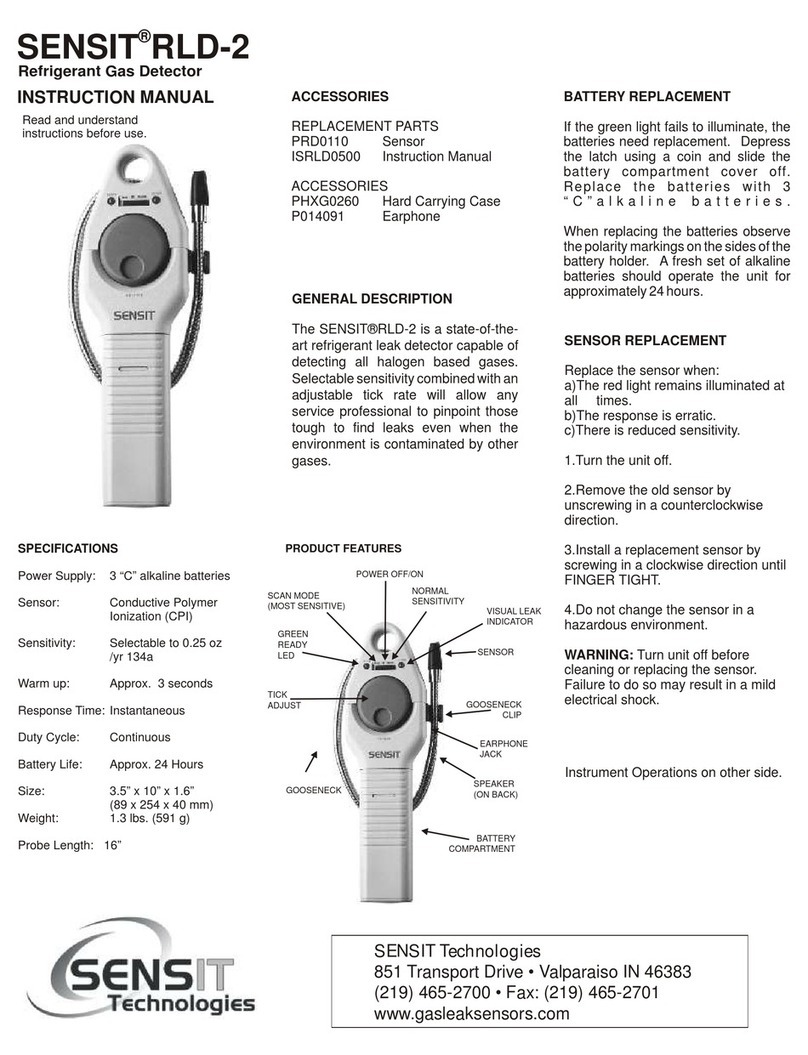
Sensit
Sensit RLD-2 User manual
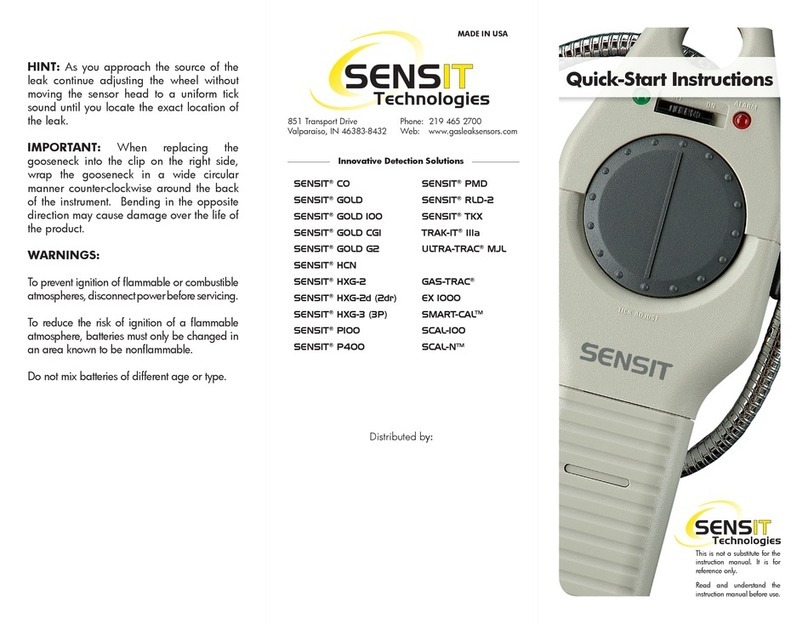
Sensit
Sensit CO Programming manual

Sensit
Sensit HXG-2d User manual
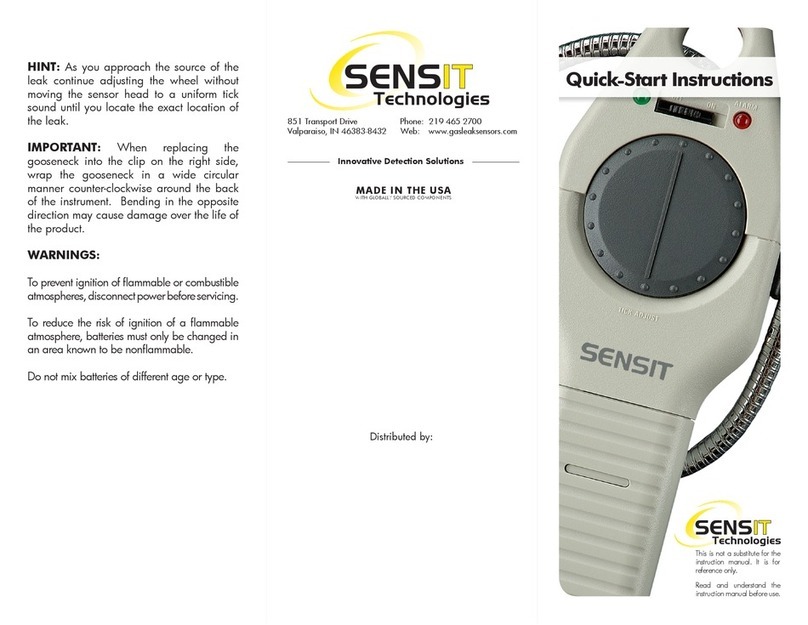
Sensit
Sensit TKX User manual
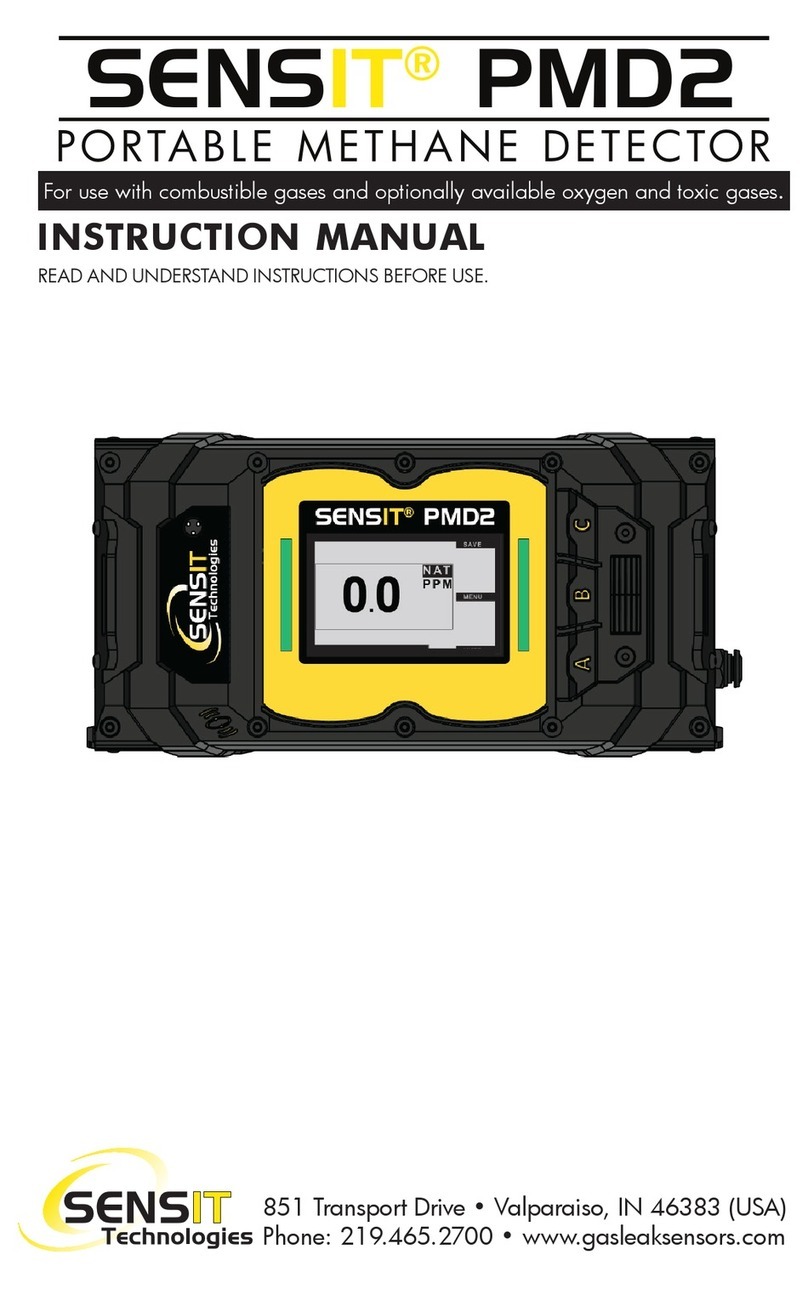
Sensit
Sensit PMD2 User manual
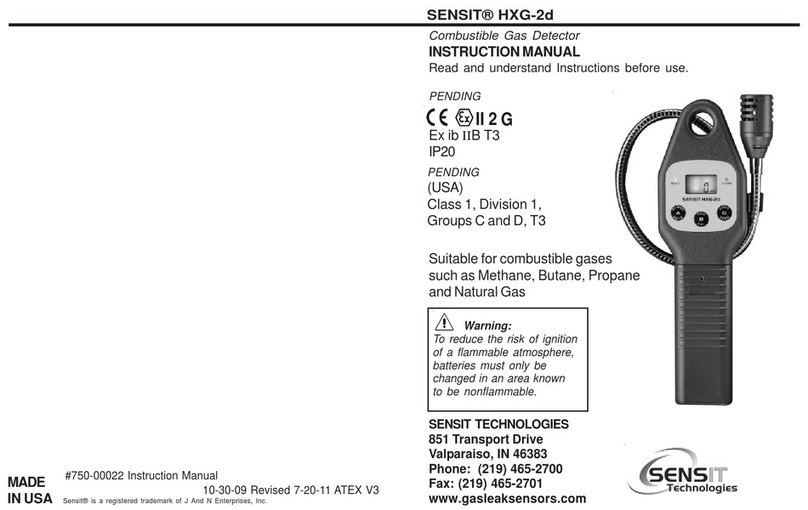
Sensit
Sensit HXG-2d User manual
Sensit
Sensit HXG-3 User manual

Sensit
Sensit VMD Operating instructions
Popular Security Sensor manuals by other brands
Rielta
Rielta STZ-RK installation guide
Incon
Incon TS-LLD installation guide
ZyXEL Communications
ZyXEL Communications SHD1110 quick start guide
ecoey
ecoey FJ122-H14 user manual

STEINEL PROFESSIONAL
STEINEL PROFESSIONAL HF 3360 Information
Littfinski Daten Technik
Littfinski Daten Technik GBM-8-B Assembly instruction
