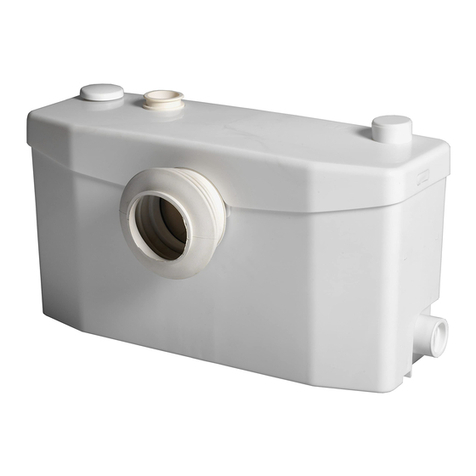
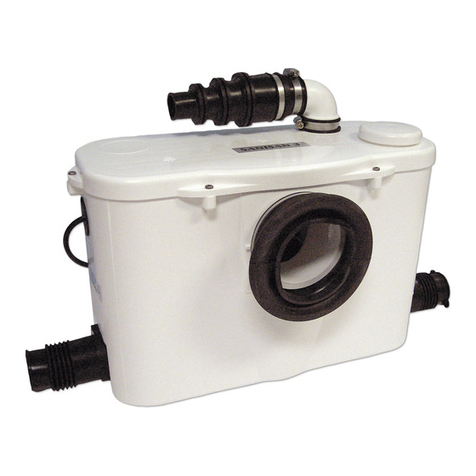
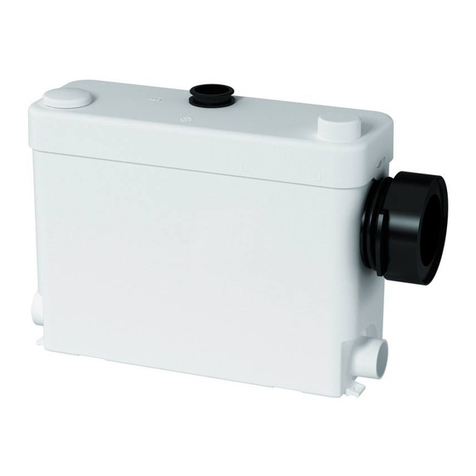
•TheSANISHOWER®should be installed
60cm. Minimum from the shower tray,
or should be separated from it with a
fixed panel. It should not be possible to
splash the SANISHOWER®in normal
use.
•The mains lead wiring colour code is as
follows:
BROWN = LIVE
BLUE = NEUTRAL
GREEN/YELLOW = EARTH
CONNECTION OF SHOWER TRAY TO
THE SIDE INLET
When siting the unit underneath the shower
tray, we recommend that you use a flexible
pipe for the shower waste (e.g. Jollyflex).
This is so that the unit can be moved from
under the tray for possible maintenance,
without undoing any of the original waste
connections.
The waste pipe should be connected to the
SANISHOWER®, using the flexible 40mm
rubber connector A.
INSTALLATION OF THE
DISCHARGE PIPE
•Connect elbow E to the discharge spigot,
using clip G.
•Connect the non-return valve F to the
other end of the elbow E, using clip G.
•Where the non-return valve is installed
horizontally use a length of rigid 22mm
pipe to join it to the SANISHOWER®
discharge outlet, using 2 clips G (in this
case do not use elbow E).
If the non-return valve is installed
horizontally, the arrow should show along
the top.
• For the discharge, use 22mm Copper, or
CPVC pipework.
WARNING
•Please refer to figure 6 to determine
vertical/ horizontal pumping combinations.
• If pumping vertically, always put the
vertical run before the horizontal run.
•All horizontal runs require a fall of 1:100.
•If the discharge run is longer than 10m,
increase the pipe size to 32mm from that
point onwards.
•Install the non-return valve so that the
arrow points in the direction of flow.
• If the non-return valve is installed
horizontally, the arrow should show along
the top.
CONNECTION TO THE
OPTIONAL INLET
• Use a cutter (e.g. Stanley knife) to remove
the cap from the optional inlet (see figure
7d). Make sure the hole is not cut at an
angle, and that the edges are deburred.
WARNING:
Make sure that this operation is carried out
7d
7c
8
9
10
11
12
GB
02/98a
precisely, otherwise the joint will not be
watertight.
•The rubber connector C can be used for
40mm or 32mm waste pipe. If fitting
32mm waste, cut off the end of
connector C (see figure 7d). Push the
neck of connector C into the inlet hole.
It is a grip fit, which is why the hole
must be cut accurately). Secure the
waste pipe to C with clip D.
COMMISSIONING THE UNIT
First recheck all the electrical and water
connections.
Fill the handbasin with water, release the
plug and check for leaks at connection C.
Turn on the shower and allow it to run for
several minutes at the maximum flow
rate and temperature required for normal
use. Ensure there are no leaks.
WARNING:Do not close access panel
until this has been checked
CARE AND USE OF YOUR
SANISHOWER®
The SANISHOWER®has been designed
to take the waste from a shower and
washbasin in a domestic situation. It is
not designed for commercial use.
WARNING:
•If the SANISHOWER®runs with
extremely hot water for a prolonged
period, the thermal cut out will engage.
The unit will stop pumping, and after
cooling for approximately 1 hour, will
resume normal operation.
• Do not use SANISHOWER®with power
showers with a flow rate of more than
15 l/m.
• The shower connected to the
SANISHOWER®should be fitted with a
trap that conforms to normal regulations.
CLEANING OF SANISHOWER®
The SANISHOWER®has been designed
to accept normal household sanitary
cleansing products. Do not dispose of
solvents, acids caustic or other strong
chemicals via the SANISHOWER®.
MAINTENANCE
Disconnect electricity supply before
any service work.
The SANISHOWER®does not require
any particular maintenance.
Any work carried out on the
SANISHOWER®should be by a
registered Saniflo service engineer.
GUARANTEE
The SANISHOWER®is guaranteed for
2 years, provided it is installed and used
correctly, according to these instructions.
