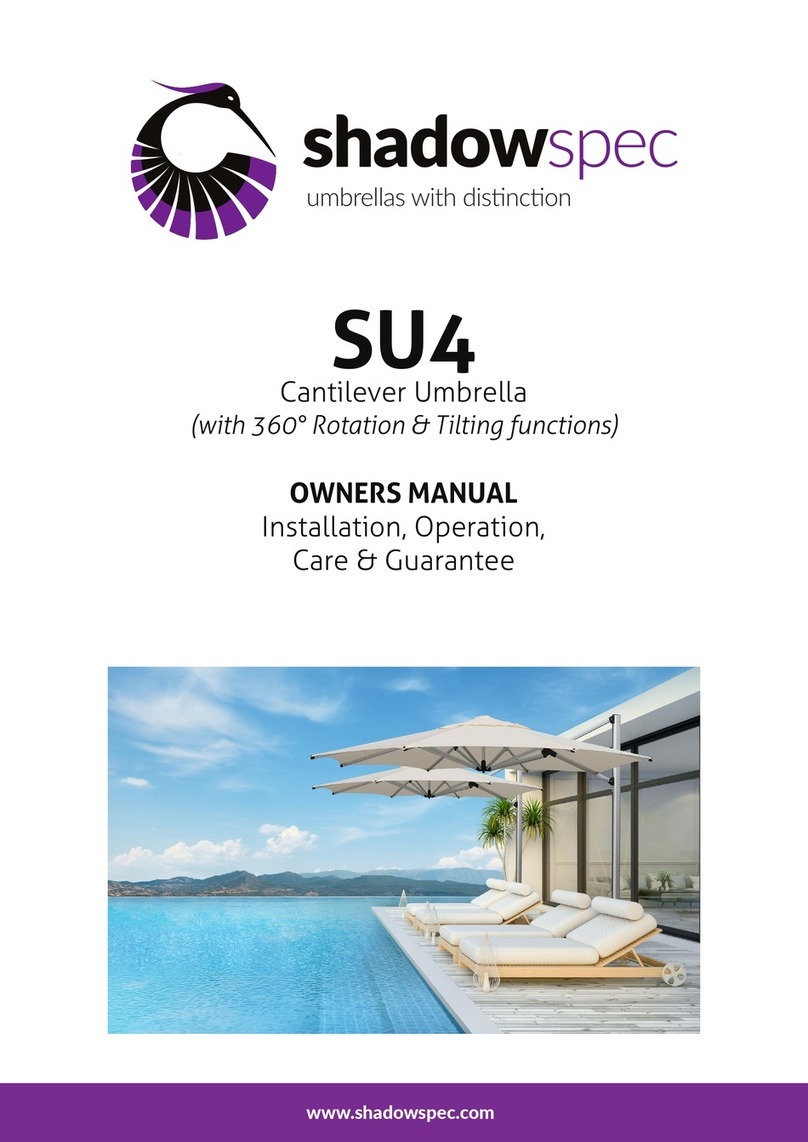
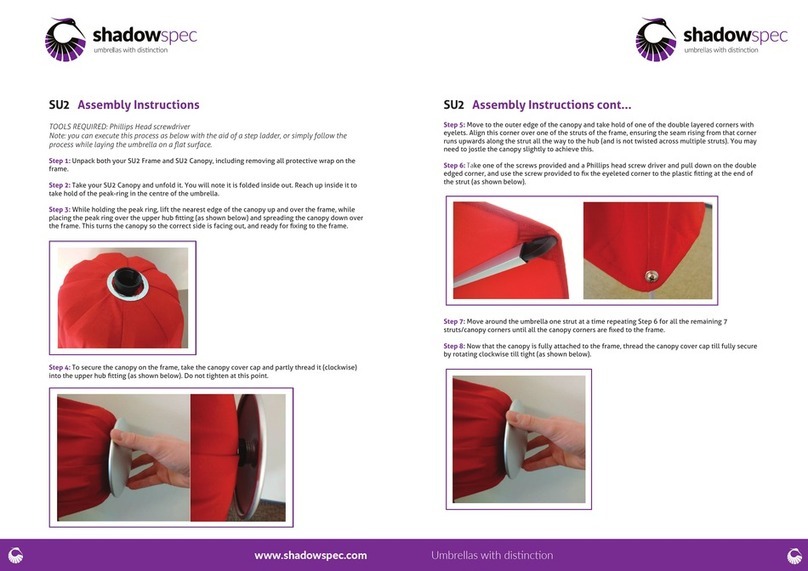
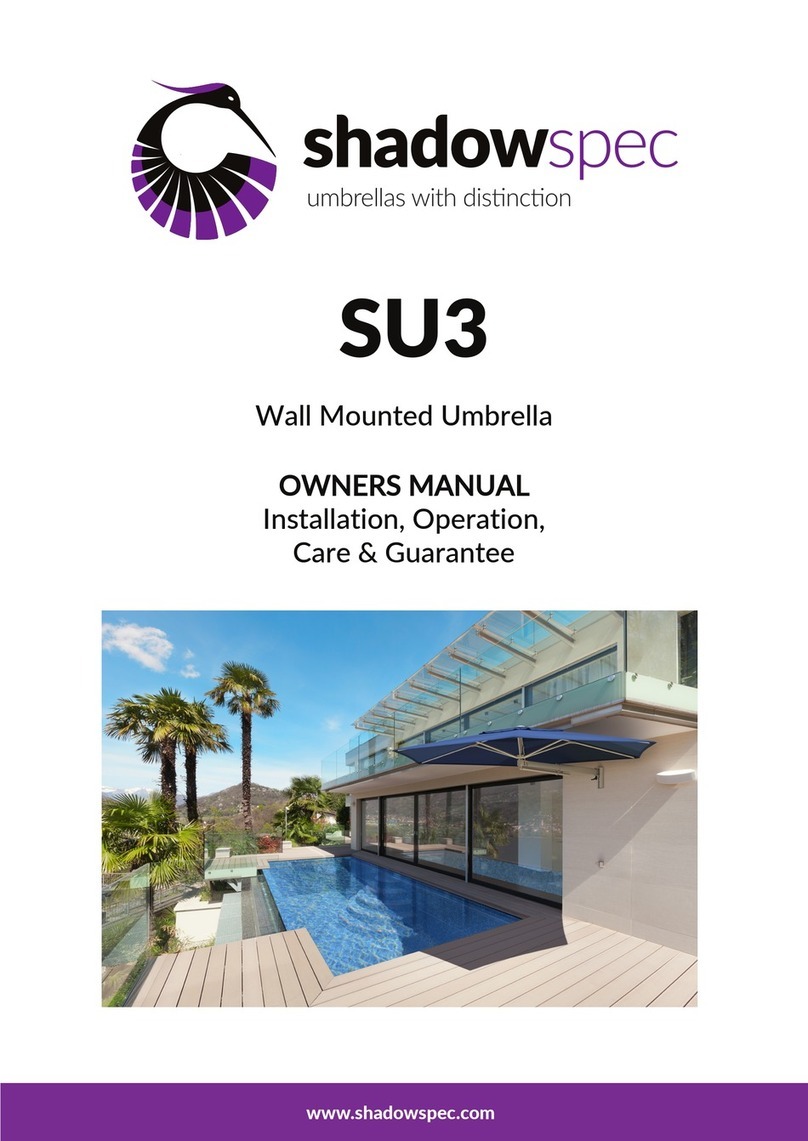
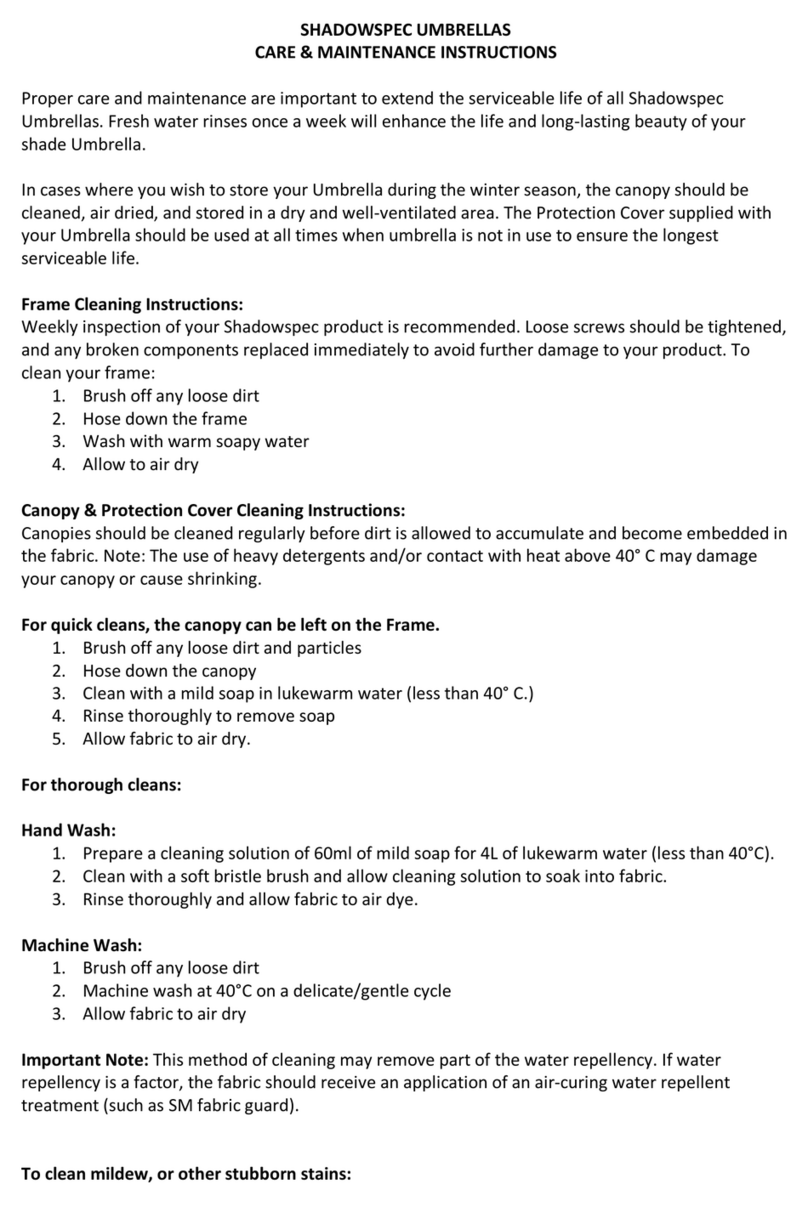
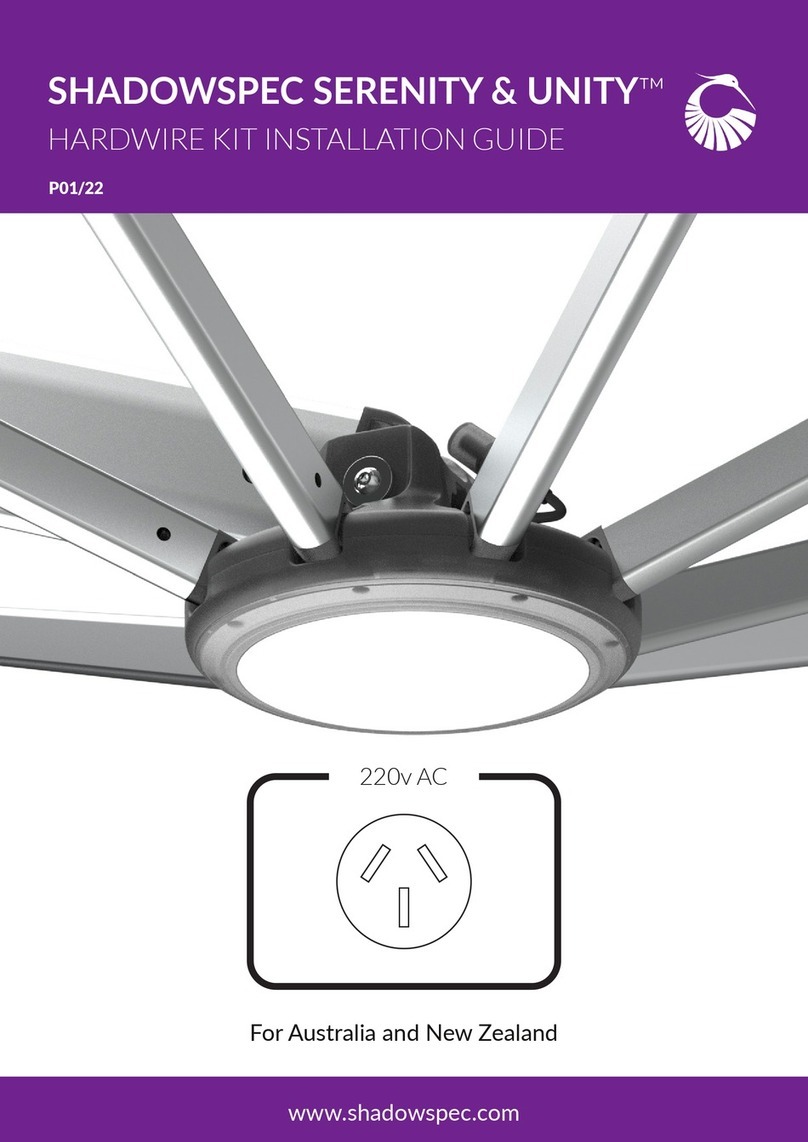
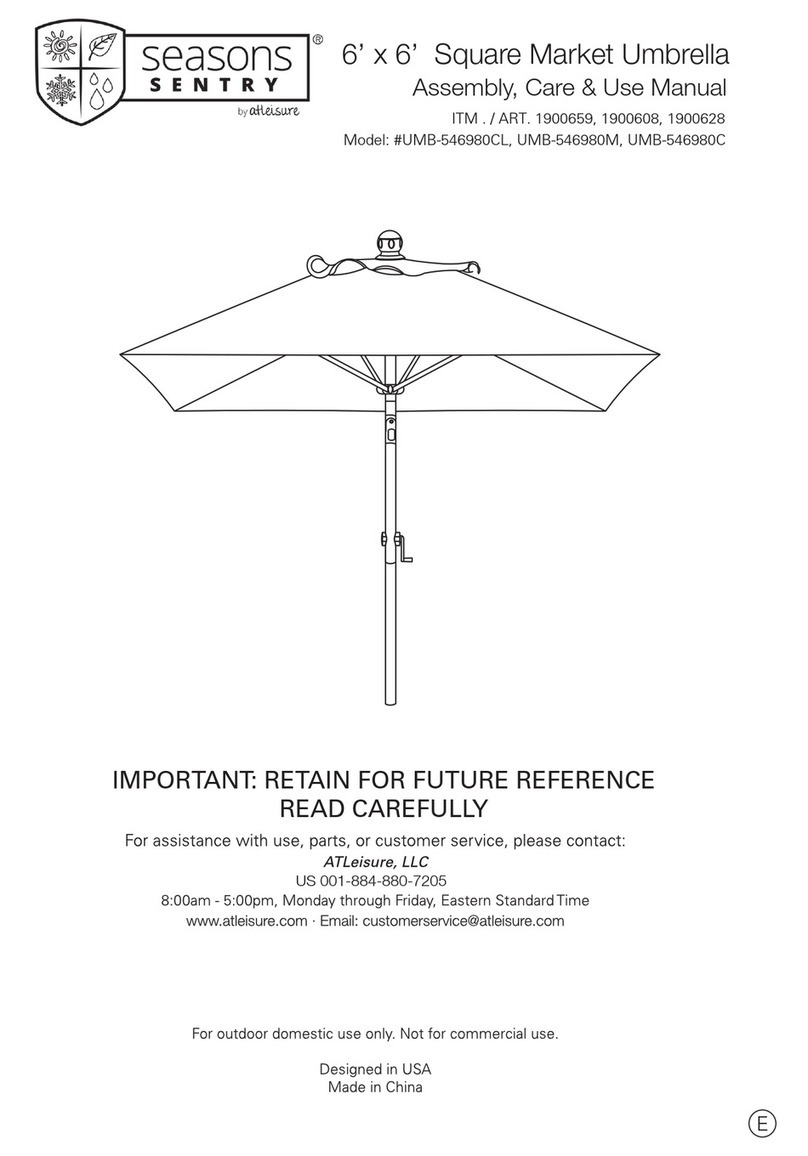
Shadowspec SERENITY ROTATING CANTILEVER UMBRELLA User manual

ROTATING CANTILEVER UMBRELLA
SHADOWSPEC SERENITY™
www.shadowspec.com
P01/23
OWNERS MANUAL
Installation, Operation, Care and Warranty

Thank you for your purchase, we appreciate it.
Enjoy the shade, courtesy of Shadowspec.
Hello,
For a stress-free installation we suggest you read
this manual in full before assembling your new
Shadowspec Umbrella.
Help extend the life of your umbrella investment
by reading and following these care instructions
on a regular basis.

3
Contents Page
Warranty Informaon 4
Product Registraon and Warranty Validaon 5
Stage 1 - Key Dimensions of Your Shadowspec Serenity 6
Shadowspec Serenity™ Part Naming 7
Umbrella Location 8
Installation Spacing - Multiple Umbrellas 9
Installation - Umbrella Orientation 10
STAGE 2 Installaon of Your Umbrella Mount 11
Option 1 - Free-standing Base 12
Option 2 - In-Ground Anchor 14
Option 3 - Surface Plate 16
Option 4 - Wall Base Bracket 21
Mounting Option - Spec-sheets & Sizes 22
STAGE 3 Assembling and Mounng Your Shadowspec Serenity™ 24
Assembling Your Umbrella 24
Mounting Your Umbrella 24
Fabric Canopy Installation 24
STAGE 5 Operang Your Shadowspec Serenity™ 26
SECTION 4 - ACCESSORIES 28
LED Lights ™

4www.shadowspec.com
THE SHADOWSPEC WARRANTY:
Shadowspec guarantees that Shadowspec Serenity Umbrellas, that are installed in accordance with our guidelines, will be
Fabric Warranty relates to your umbrella Fabric Canopy.
Frame
Warranty
6 YEAR
Fabric
Warranty
10 YEAR
Warranty Information
under warranty, the warranty period will not be extended.
•
and fading.
•
•
are caused by the manufacturing process.
• Damage by a third party.
• Repair by a third party or labour costs.
umbrella.
the component manufacturer in undertaking repairs or replacement under this warranty.
If you need to enquire about a warranty claim, please either contact Shadowspec direct or the sales agent you purchased
your Shadowspec Serenity from.
*
**
**
*
**

5
Umbrella Care and Maintenance
The following points will assist in keeping it looking smart and clean while also ensuring its ongoing performance and
reliability.
•
•
• Take care when opening or closing your umbrella - always check for obstacles such as; trees, ladders, furniture, people.
•
• must
•
•
•
•
spray.
•
Tips: 1. Keep your toolkit stored in a safe place for future maintenance.
2. For commercial applications, contact us for our preventative maintenance guides.
FABRIC CLEANING INSTRUCTIONS:
Do not use heavy detergents!
the repellency.
For full manufacturers recommendations regarding care of our Canopy Fabrics:
global.sunbrella.com/en-us/how-to-clean for detailed care instructions.
www.shadowspec.com/register
PRODUCT REGISTRATION

6www.shadowspec.com
your chosen umbrella in the following table.
Key Measurement Notes:
Diagram Legend
2.5m 8' 3.0m 10’ 3.5m 11' 4.0m 13'
A
Ground to central frame hub when closed* 860mm 2'10'' 620mm 2'1'' 1079mm 3'7'' 866mm 2'10''
B
Total height to top of canopy* 2900mm 9’6’’ 2824mm 9’3’’ 2975mm 9’9’’ 2899mm 9’6’’
C
Height of umbrella to top of mast cap* 2908mm 9’6’’ 2908mm 9’6’’ 2908mm 9’7’’ 2908mm 9’6’’
D
Ground to central frame hub when open* 2130mm 7'0'' 2054mm 6'9'' 2205mm 7'3'' 2128mm 7'0''
E
Ground to lower outer edge of canopy* 2222mm 7'3'' 2219mm 7'3'' 2237mm 7'4'' 2172mm 7'2''
F
Centre of Spigot to outside edge of canopy 2646mm 8'8'' 2973mm 9'10'' 3447mm 11'4'' 3923mm 12'10''
G
Diagonal from centre of mast to corner 3742mm 12'3'' 4205mm 13'10'' N/A N/A N/A N/A
A
BC
D E
F
F
G
Stage 1 - Key Dimensions of Your Shadowspec Serenity™
Figure A - Shadowspec Serenity Umbrella Dimensions

7
You will need to refer back to this page so why not earmark it for quick reference whilst you’re assembling your umbrella.
Also Included with Umbrella:
• Hex Key Set
• No. 17 Ring Spanner
Serenity Spigot
Through Spar
Top Cap
Serenity Spigot
Through Spar
Top Catch
Rib Tip with
Canopy Screws
Top Cap
Carriage
Through Spar
Rib Support
Upper Rib
Rib Tip
with Canopy Screw
Carriage
Shadowglide
Shadowspec Serenity™ Part Naming
Figure B - Serenity Umbrella Parts
Figure C - Frame Canopy Parts

8www.shadowspec.com
use sun-tracker app to your smartphone.
Planning your Umbrella Location.
Detailed and up-to-date measurements and
shadowspec.com/cad

9
Offset, Opposing & Reecting Umbrellas.
a a
d
b
c
e
The following diagrams will show you how far apart to set the Spigots of your Shadowspec Serenity when matching it with
another Shadowspec Serenity or Shadowspec Unity.
These measurements are from centre of the Spigot to the centre of the Spigot for the adjacent umbrella.
Diagram Legend
2.5m 8' 3.0m 10’
a
Gap between Canopy Frames 158mm 6’’ 160mm 6’’
b
Centre of Spigot to outside edge of canopy 2648mm 8’8’’ 2980mm 9’9’’
c
Centre of Spigot to Centre of Second Serenity/Unity 2727mm 8’11’’ 3060mm 10’1’’
d
Centre of Spigot to outside edge of Second Serenity/Unity 5375mm 17’8’’ 6040mm 19’10’’
e
Centre of Spigot to Center of Second Spigot (reected) 5454mm 17’11’’ 6120mm 20’1’’

10 www.shadowspec.com
Surface Plate Alignment In-Ground Anchor Alignment
Diagram II Diagram IIIDiagram I
Bolt-hole Orientation
umbrellas in your space.
Mount Parallel to Structure Opening Direction
Diagram IV Diagram V
Square Umbrella
Octagon Umbrella
Step 1 Diagram I and II
Step 2 Diagram III
This will give you the orientaon, required to match exisng structures and other umbrellas.
Step 3
Diagram IV
Step 4 Diagram V
Aligning your Umbrella.

11
the Shadowspec Serenity
Umbrella - it could break and
Security Lock Screw
Figure D - Location of Security Lock Screw
1. Free-standing Base
Page 12 Page 14 Page 16 Page 21
2. In-Ground Anchor 3. Surface Plate 4. Wall Base Bracket
Serenity Spigot
Step 1 Figure D.
Step 2
Step 3 (Opons 1 - 4).
Stage 2 - Installation of Your Umbrella Mount

12 www.shadowspec.com
Step 1
Figure F.
Step 2
Step 3
Step 4
Step 5
Step 6
Step 7 The Installaon Stage (Page 24)
•
•
• Figure E of included components
*
Only use the set required for your Serenity and the
Unity Screws will be surplus.
Figure E - Free-Standing Base Parts
i. ii. iii.
Rotation Plate
Threaded Feet
Serenity Spigot
Free-Standing Base
Nuts
Unity Screws Serenity Screws

13
the supplied Threaded Feet. Contact us to purchase
You must use 12 concrete pavers to provide ballast
for your umbrella.
your warranty.
Note:
The Pavers are not included or supplied by Shadowspec.
These can be purchased from your closest building supply,
Figure F - 12 x Concrete Pavers
Oponal Accessories
Pavers
Optional Castor Wheels

14 www.shadowspec.com
• Wheelbarrow and Spade.
•
• Spare wooden planks or other bracing materials
•
Step 1
Step 2
Figure H.
Step 3 Figure G.
Step 4 Prepare the concrete mix in your wheelbarrow.
Step 5 Figure G.iii for where the
Page 10.
Step 6
Spigot. See Figure G.
Step 7
Step 8
the packaging so double check this.
Step 9 Stage 4 - Page 24.
NOTE:
the Spigot
Figure G - In-Ground Anchor Parts
i. ii. iii.
Serenity Spigot
Screws
Rotation Plate
In-ground Anchor
Ground Level

15
Figure H - In-Ground Anchor Installation, Mast Orientation and Suggested Specications
Serenity Spigot
Installation Orientation
Serenity Umbrella Frame
will face in this direction
Ground level
Flare Out

16 www.shadowspec.com
•
to a wooden deck
•
Or, for installing to a concrete slab
•
Step 1 Page 10 for
Step 2
umbrella see Figure I.
Step 3
Step 4
Step 5
a. Decking:
Page 18 & 19
b. Concrete Slab: Figure K.
c.
to minimise water damage to the deck.
Step 6
the top of them, and then if correct, drill the proper holes.
Step 7 Use your bolts to secure the Surface Plate and Spigot to the chosen spot.
Step 8 Stage 4 - Page 24.
Surface Plate
Surface Plate
Bolts
Rotation Plate
Serenity Spigot
Figure I - Surface Plate
1. 2.

17
Edge of slab
Spigot and Surface
Plate Mount
Serenity Spigot
Surface Plate
Use a Dyna-Bolt or Concrete
Screw at least 100mm / 4’’ long
to suit the four 12mm / ’’
holes in the Surface Plate.
Figure J - Securing Surface Plate to Concrete Slab

18 www.shadowspec.com
•
•
•
•
•
Step 1
Step 2
Step 3
plate to be screwed into.
Step 4
Step 5
Step 6 Install your surface plate as per page 16 and Figure I.
Spigot and Surface
Plate
Serenity Spigot
Surface Plate
Note: Washer between
Surface Plate and decking
Additional 100mm x 100mm / 4’’ x 4’’
timber joist inserted between deck
bearers to provide a substantial anchor
point for bolts to fasten through
200mm x 50mm / 8’’ x 2’’
timber deck joists
Standard 20mm / 0.8’’
timber decking
12mm / ’’ CSK bolts
running right through and
fastened with a washer
and locknut
Figure K - Securing Surface Plate to Wooden Deck

19
1. 2.
3. 4.
5. 6.

20 www.shadowspec.com
licensed electrical person prior to the product being used.
Step 1
Step 2
Step 3 Drop the earth cable through the central cable hole.
Step 4
1.
3.
2.
4.
NOTICE
Stainless Steel Screw
Lock Washer Bonding Point
Right Angle Lug
Attach to Surface Plate
Serenity Spigot
Table of contents
Other Shadowspec Patio Furniture manuals

Shadowspec
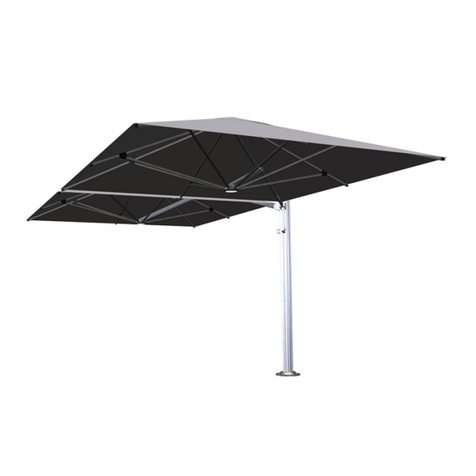
Shadowspec UNITY Octagon Duo User manual

Shadowspec
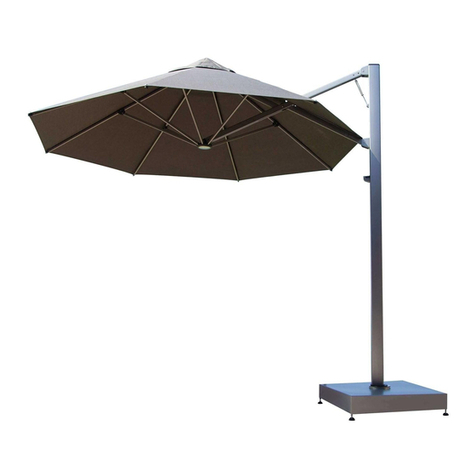
Shadowspec Serenity Cantilever Umbrella User manual

Shadowspec
Shadowspec UNITY Square Uno User manual

Shadowspec
Shadowspec SU4 User manual

Shadowspec
Shadowspec RETREAT User manual

Shadowspec
Shadowspec SU4 User manual

Shadowspec
Shadowspec SU7 User manual

Shadowspec
Shadowspec UMBRELLAS Maintenance manual

Shadowspec
Shadowspec SU3 User manual

Shadowspec
Shadowspec Serenity User manual