4
1
Getting Started
INSTALLING THE PRINTER DRIVER SOFTWARE
Description of the printer driver
Theprinter driver is the software program which runs theprinter. It converts the datain yourfile
into information that the printer can understand. It also controls communication between the
printer and computer as the data is printed.
Checking the hardware and software requirements
You will need the following hardware and software in order to install the printer driver.
Computer type IBM PC/AT or compatible computer equipped with a bi-
directional parallel interface and CD-ROM
Windows type Windows 3.1x, Windows 95, Windows 98, Windows NT
4.0
CPU 486DX 66MHz or better
Physical RAM Windows 95, Windows 3.1x: 8 MB (16 MB or more is
recommended.)
Windows NT 4.0: 12MB (16MB or more is recommended.)
Windows 98: 16MB (32MB or more is recommended.)
Virtual storage (swap file) 8 MB or more
Display 640 x 480 dots (VGA) or better
Hard disk free space 10 MB or more
The printer driver included in this product cannot be used under Windows NT
3.5x,OS/2,pure MS-DOS and otheroperatingsystems which are notdescribed
above.
If you are using some of your computer’s memory as a RAM drive, the printer
driver may not be allocated the correct amount of memory. In such a case,
reduce the size of your RAM disk, or do not use the RAM disk. Please refer to
your MS Windows documentation for further information.
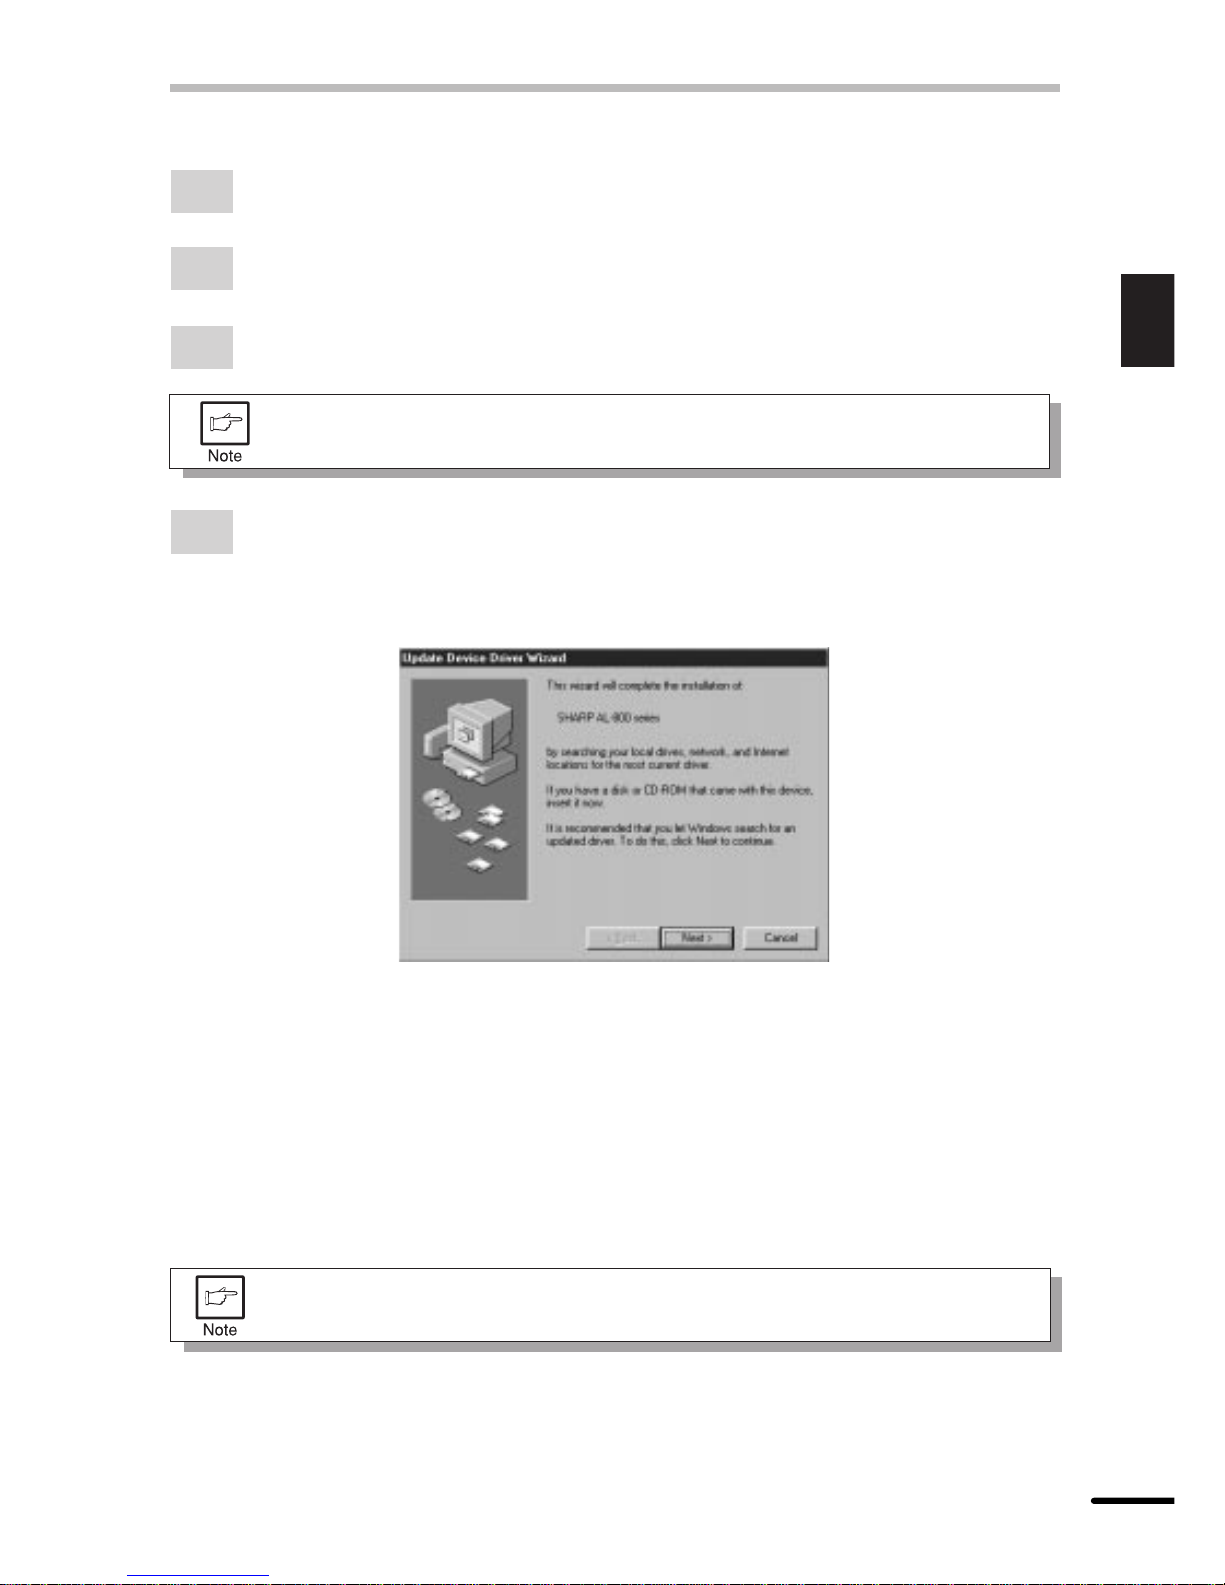
Installing the printer driver
Thesoftware for your printer is provided on CD-ROM whichwas packedwith yourlaser printer.
Before installing the printer driver, be sure to check the following items.
●Is the printer connected properly to the computer?
●Does the printer have paper?
●Is there another GDI printer driver or Windows Printing System printer driver already
installed? If installed, change the printer port setting. For the change of the printer port
setting, see USING OTHER INSTALLED DRIVERS on page 21.
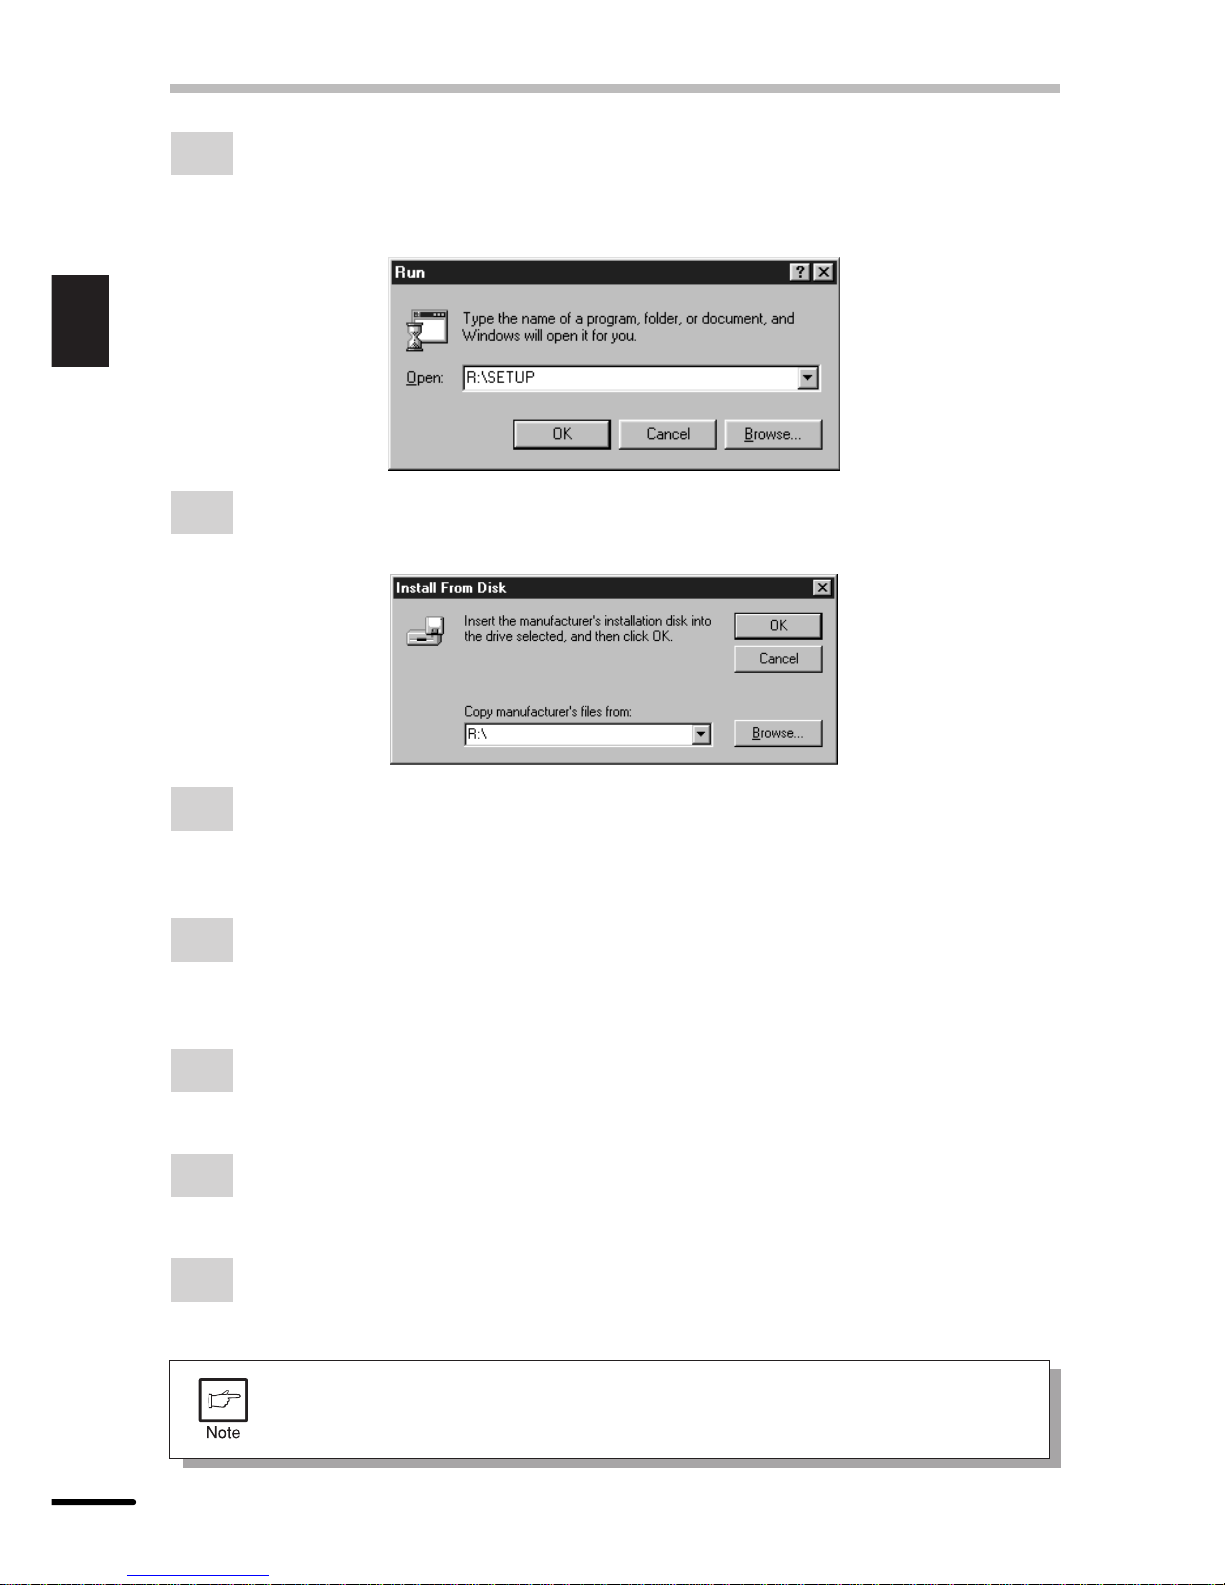
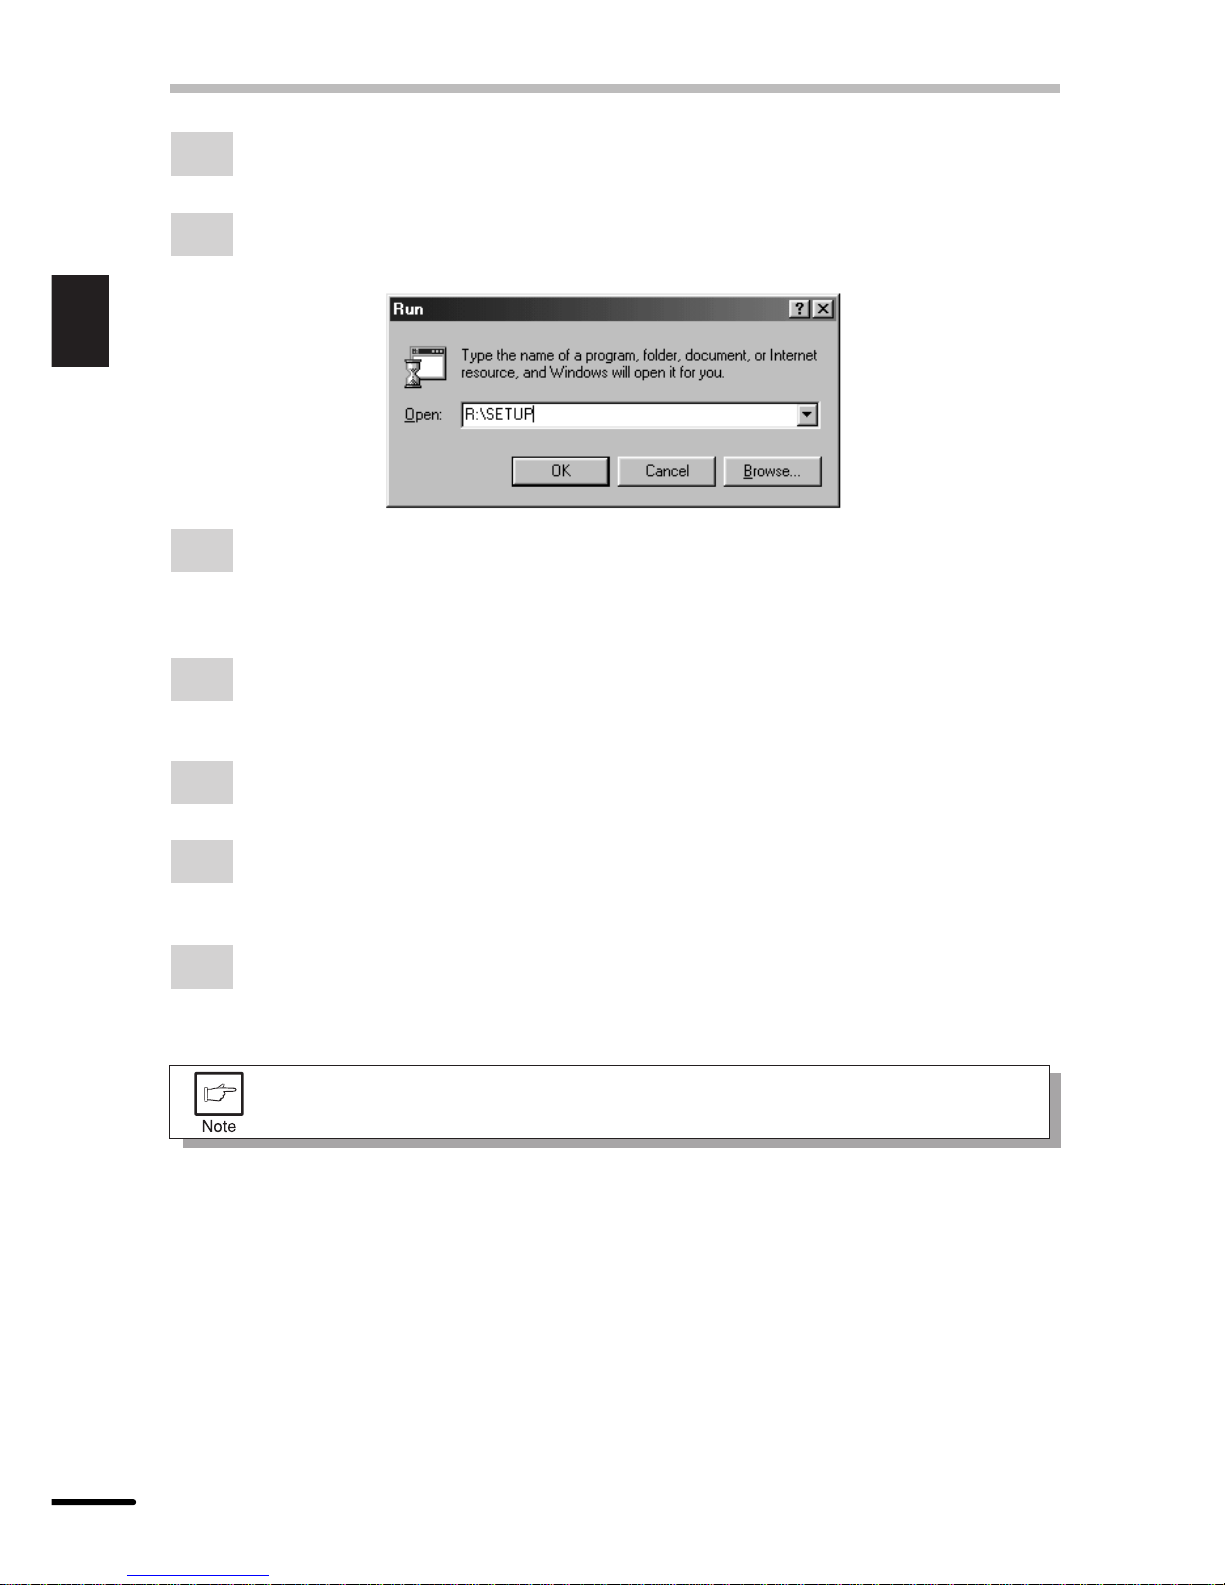
Inthisdescription,thefollowingdriveconfigurationissupposed.Specifyproperdrivesdepending
on the configuration of your computer.
Drive R: CD-ROM drive (installation source)
Drive C: Hard disk drive (installation destination)