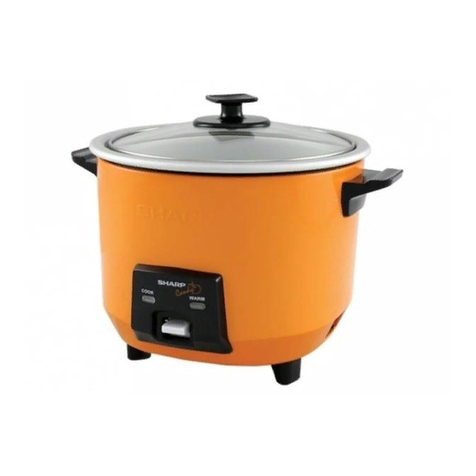
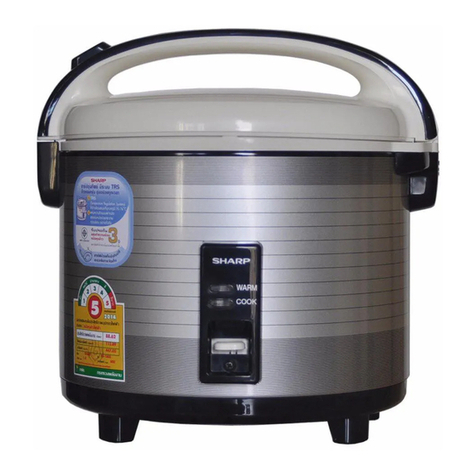
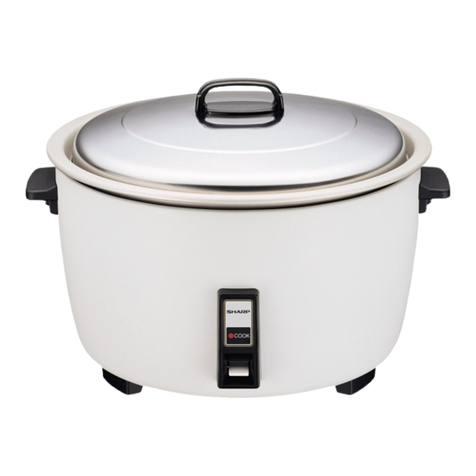
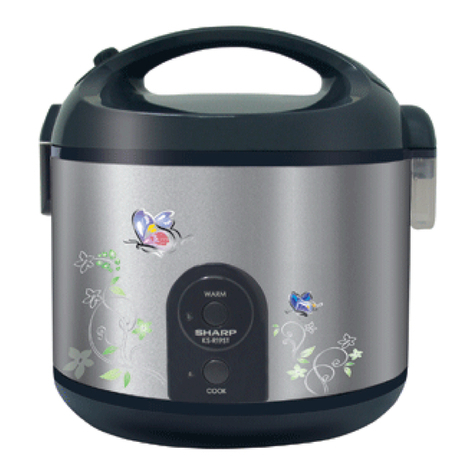
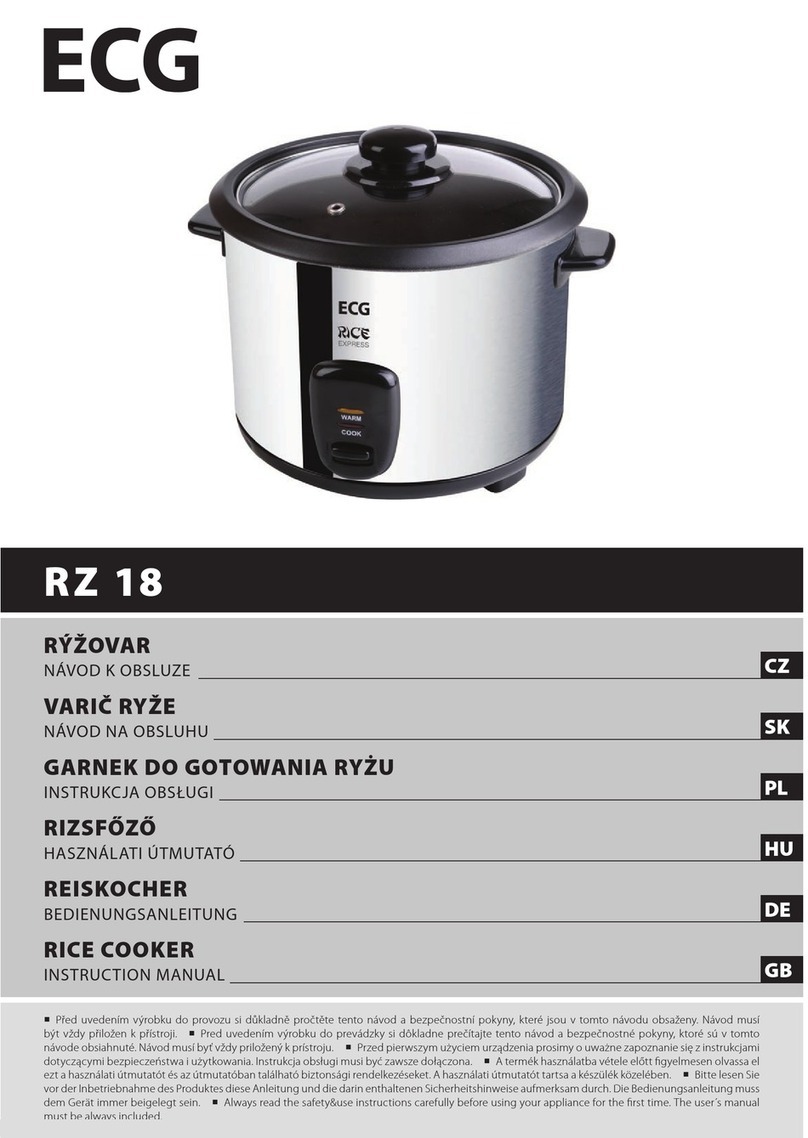
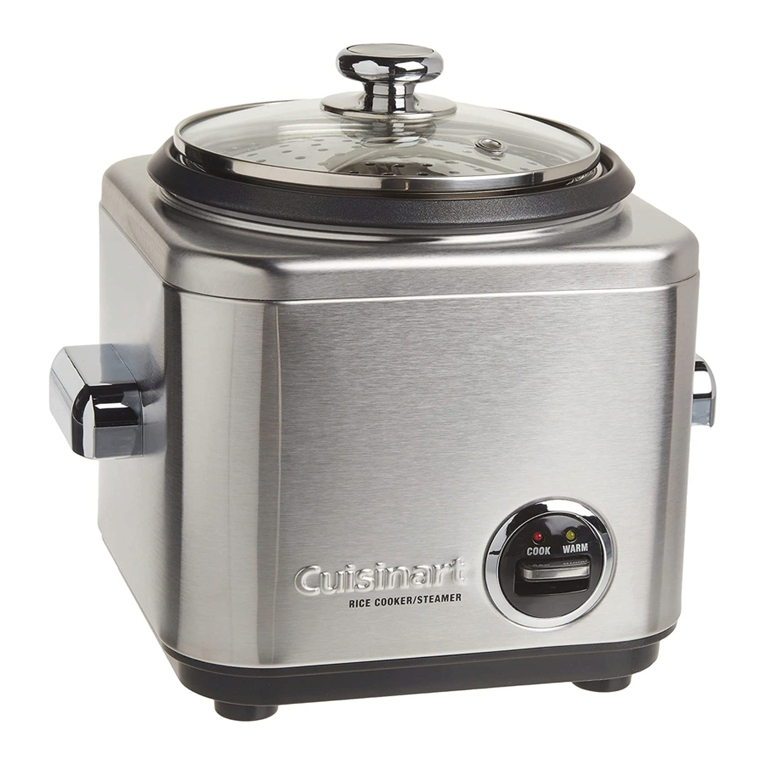
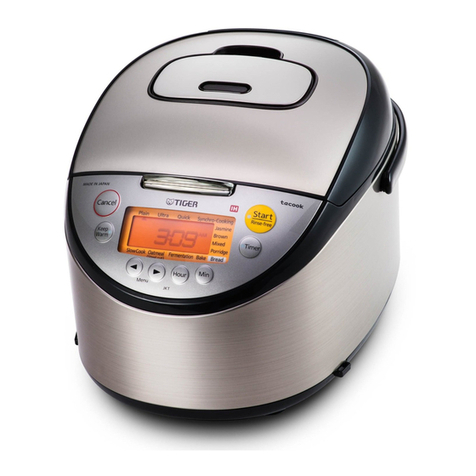
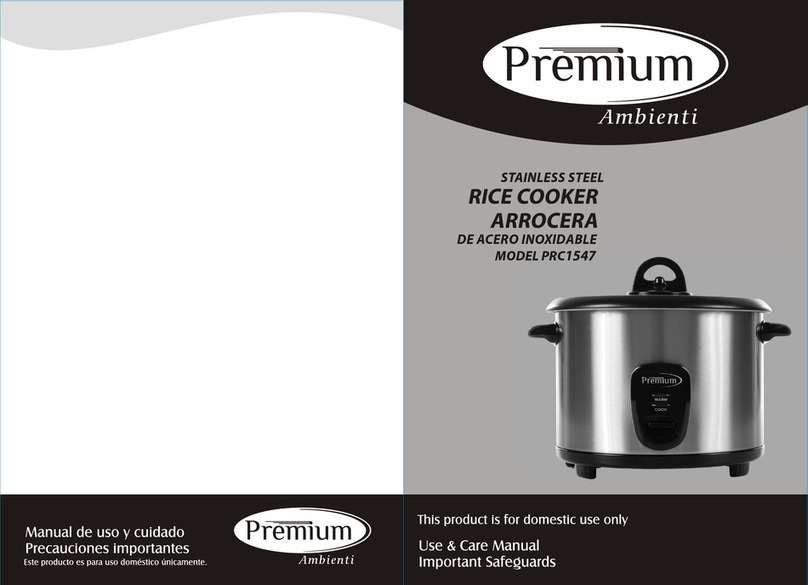
Sharp KSH-106 User manual

SHARP SERVICE MANUAL
SHARPCORPORATION
AUTOMATIC RICE COOKER
MODELS KSH-106 / 111
KSH-115 / 118
KSH-122 / 128
TABLE OF CONTENTS
NAME OF PARTS....................................................................................................
SPECIFICATIONS.....................................................................................................
CAUTION FOR USE.................................................................................................
HOW TO CLEAN THE COOK....................................................................................
CIRCUIT DIAGRAM...................................................................................................
METHOD OF OPERATION........................................................................................
ADJUSTMENT OF SWITCH LEVER AND CONTACTS.................................................
INSPECTION AFTER REPAIRING..............................................................................
TESTING OPERATING CONDITION............................................................................
PROBLEMS AND SOLUTIONS..................................................................................
Page
2
2
3
3
4 - 5
5 - 6
6 - 7
7
8
9
In the interests of user-safety (Required by safety
regulation in some countries) the set should be
restore to its original condition and only parts identical
to those specified should be used.

2
NAME OF PARTS
Inner Pot
Handle
Leg
Outer Pot
Upper Lid
Knob
Switch Ass’y
Panel
“WARM” Indicator Lamp
“COOK” Indicator Lamp
Power Cord Assembly
(Model KSH-106 cord is fixed with the pot)
SPECIFICATIONS
Model
Voltage(V)
Powerconsumption
(W) Ricecooking
Warming
Ricecooking
capacity Min
Outsidedimension
(mm.)
Weight(kg.)
KSH-106
220
300
Ratedfrequency(Hz) 50
Max
KSH-111 KSH-115 KSH-118 KSH-122 KSH-128
W
D
H
485 530 600 800 1,000
35 42 46.5 48.5 52.5
0.6 l. or 3.5 cups
65.5
1.1 l. or 6 cups 1.5 l. or 8 cups 1.8 l. or 10 cups 2.2 l. or 12 cups 2.8 l. or 15 cups
0.18 l. or 1 cup 0.18 l. or 1 cup 0.27 l. or 1.5 cups 0.36 l. or 2 cups 0.36 l. or 2 cups 0.72 l. or 4 cups
229
196
202
253
218
222
300
252
248
315
265
245
351
288
265
367
302
292
1.2 1.5 2.2 2.3 3.0 3.8

3
CAUTIONS FOR USE
1. Keep clean the brim and bottom of inner pot, heater plate at all times to avoid sticking cooked rice,
uncooked rice grains, dust and dirt. Cooking performance may be made worse by such sticking rice grain
and the like.
2. Be careful in handling the cooker, inner pot to ensure against accidentally fall or hitting. Deformation of any
one of them may cause mis-cooking.
3. Whenwarming operationis nolongerrequired,pleaseunplugthepowercord.
4. Alwaysswitch off andunplug thepower cord afteruse.
5. Do not switch on and plug the cooker without its inner pot.
6. If the cooker is constantly used, please let at least 10-15 minutes interval after each cooking operation.
7. Do not use the cooker on a wet surface or near gas stove, it may cause trouble.
8. Takeprecautionsagainstintensivevibrationor impactfrominadvertenthandlingwhilecookingiscarried on,
which may cause malfunction of thermostat, thus the finish of cooked rice may be made worse.
Before cleaning the cooker, ensure to switch off the power and unplug the power cord, wait until the body is cool.
1. HeaterPlate
Removethe adheringforeignmattercarefully,polish witha“wetsandpaper”and wipewith ahardwringed
dishcloth.
The cooking and warming operation is of direct heating type. So, it is quite important that the bottom of
inner pot be closed contact with the heater plate.
2. The Outer Pot
Donotuse abrasivepowder forcleaningthe outerpot. Soakdishclothin warmwater, wringitdrip-dry and
wipe the soiled surfaces carefully and lightly.
3. InnerPot
Fill with warm water and then wash in warm soapy water with a sponge and dry thoroughly with a cloth.
The Outer Pot and Inner Pot : Do not use abrasive cleaners or scouring pads or steel wool to clean this
appliance.
4. Lid Ass’y
Wash in warm, soapy water. Rinse thoroughly and dry.
HOW TO CLEAN THE COOK
4
CIRCUIT DIAGRAM
Model : KSH-106
Model : KSH-111 - KSH-128

5
METHOD OF OPERATION
o
C
100
o
C
HEATING PLATE
INNER PO
T
THERMOSTA
T
RICE
TEMPERATURE
TIME
THERMOSTATCUTSOFF
30MINUTES
100 C
HEATERPLATE
C
SCHEMATIC DIAGRAM
Afterbeing switch “ON”the operation willbe startedby generatingheatfrom theheaterplate andspread
through the bottom of inner pot. As long as there still be water in the inner pot, the temperature at the bottom will
bealwayslower than 100 C.
When rice at the bottom is well cooked cause no more water left, then the temperature will sharply raise
up to certain level more than 100 C that the thermostat will automatically switch off the heater plate operation.
(As a whole process, it takes about 30 minutes.)
At this stage, rice at the top is not yet still well cooked, warm heater will automatically start working
consecutively after heater plate being switch off. It takes another 15 minutes until rice is completely in the proper
manners.
Differentdegree oftemperature atvarious partsof thecookerduringitsoperation.

6
Torepairrice cooker,thefollowing partsshould be carefullychecked and/or repairedin theproper manners.
1. InnerPot
Outer Side : It must be cleaned without any contaminants and particles at the bottom for it can be firmly
contactedtheheaterplate evenly.
Inner Side : It must be cleaned without dry cooked rice at the bottom, otherwise it can be the prevention of
heat transmission throughout the inner pot.And it may cause temperature at the bottom raise
upto thelevelwhich canbe switchedof theheaterplate (asabove explained)before theproper
time. So, it may cause improper rice-cooking.
2.. HeaterPlate andThermostat
- Ensure that there is no any contaminant or deposits on heater plate and thermostat, it will cause the operation
ofswitching offbeforethepropertime.
3. SwitchLeverand Microswitch
- Theleverand microswitch mustbe in properalignment.
4. Switch Ass’y
- Switch ass’y must be in proper working, otherwise it may cause thermostat be unable to cut off when rice is
alreadycooked.
A. Thermostat rod must not be drew up by switch lever. It should be moving left and right easily.
Push the Switch Cook
Switch Cook
Gap
Gap
Gap
A
ADJUSTMENT OF SWITCH LEVER AND CONTACTS
Bottom Lid
Outer Pot
Switch Cook
Inner Pot
1. Turn over the outer pot with inner pot inside, disclose its bottom lid. Push switch cook, adjust switch lever
andswitchangle.

7
INSPECTION AFTER REPAIRING
1. Switch cook should be at the center of panel.
2. Ensure that there is no any contaminants, deposits, stains exist on heater plate, thermostat and outside
bottomofinner pot.
3. Firmly put inner pot inside the cooker, move inner pot right and left to ensure it can be closely contact
withouterpot.
4. Check the operation of switch cook and thermostat.
- When inner pot is already put in, little bit right and left moveable, push switch cook, the state of
switch cook must be steadily pushed down, as soon as the inner pot is lifted up, switch cook will
automatically spring up.
5. Check the operation of indicator lamp and switch cook connection.
5.1 Plug inlet into a socket pin.
5.2 Check the state of indicator lamp when push switch “COOK” and “WARM”.
5.3 Put the inner pot into the cooker, push switch cook. Ensure that the inner pot can be firmly
contacted with the heater plate.
3. Ensurethe capabilityof up-downmovement ofswitch lever.
2. As soon as inner pot is lifted up from outer pot, switch lever must be spring up and micro switch is
pressed completely. This rice cooker is so designed that the cooking switch will not be put in “COOK”
position whenever the inner pot is taken off or not set into the cooker before use.
(Micro SW. is open position)
Thermostat Ass’y
No Gap
Gap
Heater Plate SW.Angle
No gap
(Thermo plate touch reflector)
Reflector
Switch Cook Spring Back
SW. Lever Micro Switch

8
TESTING OPERATING CONDITION
(1) Simplified Testing Method
1. Firmly put inner pot into the cooker, and also close the lid.
2. Plugthepower cord.
3. Push switch cook to check the operation of thermostat. It will cut off approximately in 3-5 minutes,
which is the standard timing.
(2) Water Boiling Method
1. Fill 2 measuring cups of water in the inner pot.
2. Firmly put inner pot into the outer pot.
3. Plugthepower cord.
4. Push switch cook.
5. As soon as water evaporated dry, thermostat must cut off.
(3) Rice-CookingMethod
1. Fill rice and water at the maximum level of the inner pot.
2. Plug the power cord, and push switch cook.
3. After rice is already cooked and warm for 15 minutes further, check whether the rice is completely
cooked.
4. Turn over the inner pot, check the cooked rice at the bottom of inner pot. If its overdone layer is slightly
light drown, the cooking operation is acceptable. In contrary, if cooked rice is brownish of uncompletely
cooked, thermostat may be fault.

PROBLEMS AND SOLUTIONS
1. Incompletely cooked 1. Inner pot improperly 1. Adjust or replace. Boil about 800 cc. of
rice. with heater plate. water. Check the state
2. Failure in setting inner pot. 2. Adjust. of bubbles at the bottom
3. Faulty thermostat. 3. Replace. of inner pot.
4. Dirty heater plate. 4. Clean. If bubbles rise up evenly
2. Unevenlycooked 1.Deformed innerpot. 1. Replace. around the bottom, it is
rice. 2. Dirty heater plate. 2. Clean. acceptable.
3. Waterish uncooked 1. Faulty thermostat. 1. Replace.
rice. 2. Faulty switch. 2. Adjust or replace.
3. Deformed inner pot or 3. Replace.
heater plate.
4. Overdonebrown 1. Malfunction of switch lever. 1. Adjust or replace.
rice. 2. Faulty thermostat. 2. Replace.
3. Deformed inner pot or 3. Replace.
heater plate.
5. Cook Indicator 1. Disconnected powercord. 1. Repair.
Lamp notgo “ON”. 2. Faulty wiring. 2. Repair.
3. Malfunction of switch. 3. Adjust of replace.
4.Disconnectedresistor. 4. Replace.
6. Cook IndicatorLamp 1. Faulty wiring. 1. Repair.
go “ON” but failure of 2. Faulty heater plate. 2. Replace.
heatconduction.
7. Failurewarming
1. Warm Indicator 1.Burned-out wire. 1. Replace.
notgo“ON”. 2. Faultywarm heater. 2. Replace.
2. Failure to keep 1.Faultywarm heater. 1. Replace.
warm. 2. Disconnected wiring. 2. Repair.
Problems PossibleCauses Solution Check
Acceptable
Unacceptable
9
This manual suits for next models
5
Table of contents
Other Sharp Rice Cooker manuals

Sharp
Sharp KS-M102 User manual

Sharp
Sharp KS-H777DW User manual

Sharp
Sharp KS-H777DW User manual

Sharp
Sharp KSH-Q11 User manual

Sharp
Sharp KS-COM183MV-WH User manual

Sharp
Sharp KS-1800 User manual

Sharp
Sharp KS-ZT10 User manual

Sharp
Sharp KS-ZA10HH User manual

Sharp
Sharp KS-ZA10HH User manual

Sharp
Sharp KS-18EV User manual