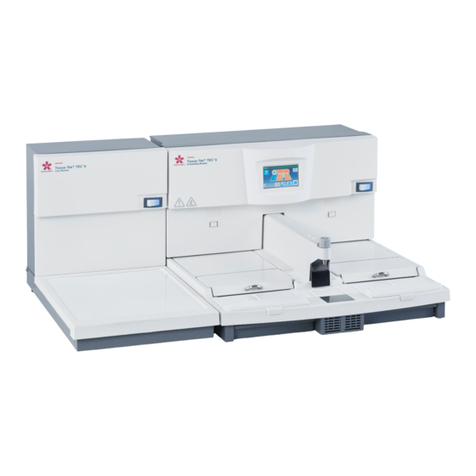
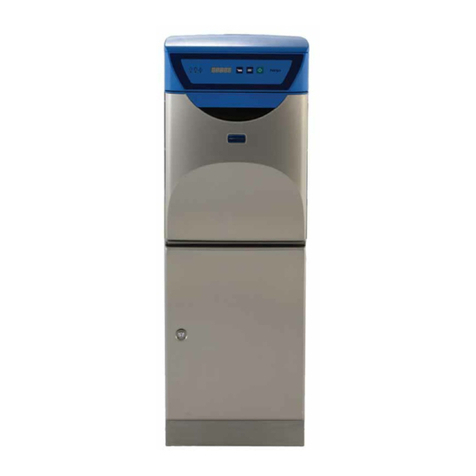
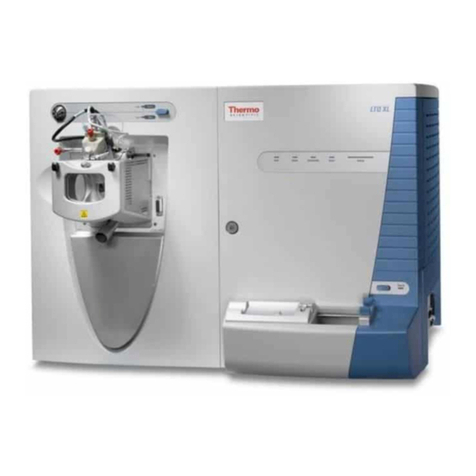
Shodex R I-502 User manual

ST15-00077-C
READ
READREAD
READ
this operation manual CAREFULLY
CAREFULLYCAREFULLY
CAREFULLY
before using
Shodex
8
RI-501 Refra tive Index Dete tor.
Refractive Index Detector
O p e r a t i o n
O p e r a t i o nO p e r a t i o n
O p e r a t i o n
M a n u a l
M a n u a lM a n u a l
M a n u a l
RI-502
R

Copyright
C
2015-2019, SHOKO SCIENC
SHOKO SCIENCSHOKO SCIENC
SHOKO SCIENCE
EE
E
CO.,LTD
CO.,LTDCO.,LTD
CO.,LTD Printed in Japan.
All rights reserved. Contents of this publi ation may not be reprodu ed in any form or by
any means(in luding ele troni storage and retrieval or translation into a foreign language)
without prior agreement and written onsent from the opyright owner.

I
Users of Shodex RI-502 Refractive Index Detector are requested to
use it in strict accordance with the instructions in this manual.
Nothing contained in this manual shall be construed as giving any guarantee
on Shodex RI-502 Refractive Index Detector or granting or implying
any license or immunity under any patent or other rights.
Shodex
RI-502 Refractive Index Detector must be used on user's own
responsibility and in strict compliance with all applicable laws and regulations.
he information contained in this manual was obtained from sources which
we believe are reliable, but no warranty or representation is hereby given
as to its accuracy or completeness.
Shodex
RI-502 Refractive Index Detector should only used for Liquid
chromatography analysis. Do not use it any other purpose.
his manual does not expect
Shodex RI-502 Refractive Index Detector
to be used for clinical or medical purposes.
Shodex RI-502 Refractive
Index Detector must not be used for such purposes.
he content of this manual is subject to change without notice.
Except for a written warranty signed by its duly authorized representative
and issued particularly,
SHOKO SCIENCE
SHOKO SCIENCESHOKO SCIENCE
SHOKO SCIENCE
CO.,LTD
CO.,LTDCO.,LTD
CO.,LTD.
..
. makes no warranty,
express or implied, written or oral, statutory or otherwise, as to the quality,
performance, workmanship, fitness for a particular purpose, or
merchantability of Shodex RI-502.
Notice
NoticeNotice
Notice
Warranty
WarrantyWarranty
Warranty

II
Thank you for your continued patronage. Observe the following precautions in order
to make safe and stable use of the detector.
Precautions are divided into three groups in this operation manual
depending on the degree of danger. he three groups are
:
This sign is used where failure to follow strictly the instructions
and procedures indicated by this sign may cause injury or damage
to health.
:
This sign is used where failure to follow strictly the instructions
and procedures indicated by this sign may cause this detector
and the peripheral apparatus to deteriorate or break down.
:
This sign is used wherever information is given to ensure optimal
performance of the detector.
Precautions listed below are
Precautions listed below are Precautions listed below are
Precautions listed below are those of particular importance extracted
those of particular importance extractedthose of particular importance extracted
those of particular importance extracted
from
fromfrom
from this operation manual :
this operation manual :this operation manual :
this operation manual :
Do not use the detector in places where combustible gas or
any source of fire or of spark exists or might exist.
Prior to connection, make sure that the voltage of the power
socket into which the detector power cable is plugged is the
same as the power supply voltage indicated on the detector.
he type of the power socket into which the detector power
cable is plugged should be of a 3P type with a grounding terminal.
Other type of power socket should not be used.
he accessory power cable should be used to connect the
detector to the power socket. Other cable should not be used.
When using organic solvent, wear safety goggles.
It is recommended that a sink or the equipment for washing eyes
be installed nearby in case the organic solvent in use comes into
contact with the eye(s) or skin.
When any abnormality, such as liquid leakage, is observed,
turn off the power and unplug the detector from the main
power source immediately.
Warning
WarningWarning
Warning
Warning
WarningWarning
Warning
Warning
WarningWarning
Warning
Warning
WarningWarning
Warning
Warning
WarningWarning
Warning
Warning
WarningWarning
Warning
【
Important
ImportantImportant
Important
!
!!
! 】
Precautions
PrecautionsPrecautions
Precautions
Caution
CautionCaution
Caution
Note
NoteNote
Note
Warning
WarningWarning
Warning

III
Do not use the detector with the cover open; always unplug the
detector from the main power source before opening the cover.
If the detector is used in a manner not specified by this operation
manual, the protection provided by the detector may be impaired.
When using flammable organic solvent as mobile phase, be sure
making necessary arrangement to prevent an accidental ignition
(firing) by static electricity.
If the fuse is kept blown off after being replaced, power off
the detector immediately and disconnect the power cord.
Please consult out local representative in your area
or SHOKO SCIENCE.
Use only the following power supply cord.
Using the wrong
power cord could result in danger or fire.
he protection ClassⅠ equipment should be connected to PE
(protective earth) terminal.
External input/output are for contact closure.
Never apply voltage to those.
As this detector is readily affected by the ambient temperature,
use it in places where there is little wind or change in the
ambient temperature. Do not use the detector near any
source of vibration, electrical noise, or in places where corrosive
gas and a lot of dust exist.
Do not connect any tube other than the provided "OU tube"
to the eluent outlet joint of the detector.
Put the exit end of the "OU tube" in the waste liquid bottle
and do not apply back pressure.
When connecting this detector to other detectors in series,
put it at the end.
If eluent freezes inside the detector, the flow line might break
damaging the detector. If there is any chance of eluent
freezing during stoppage or storage of the detector, withdraw
the eluent completely from the flow line of the detector.
When using any eluent containing a salt of high concentration,
make sure that the flow line is washed with water thoroughly
after use. Failure to do so may result in the plugging of the
line causing the detector to cease operation.
Caution
CautionCaution
Caution
Caution
CautionCaution
Caution
Caution
CautionCaution
Caution
Caution
CautionCaution
Caution
Caution
CautionCaution
Caution
Caution
CautionCaution
Caution
Caution
CautionCaution
Caution
Warning
WarningWarning
Warning
Warning
WarningWarning
Warning
Warning
WarningWarning
Warning
Warning
WarningWarning
Warning

IV
If the detector is not to be used for more than one week, then,
prior to storage, wash the flow line with pure water or acetone,
and dry the line by allowing nitrogen gas to flow through.
Do not use any eluent which might corrode the material, such as
stainless steel, that it comes into contact with. Use of such
eluent might cause a base line drift and damage the detector.
Use a dry cloth to wipe the detector.
Do not use water or alcohol. Use of such liquids may damage
the detector or erase characters or color on the panel.
Do not connect any cord to the output signal terminal other than
the attached signal cord.
Use a thoroughly degassed eluent. It is recommended that
a degassing device be used to degas the eluent as it is easy to
use and permits continuous degassing.
If an eluent is replaced with another eluent in which it is insoluble,
after having withdrawn the old eluent from the line, wash the line
with a solvent which is soluble in both eluents, then fill the line with
the new eluent. For example, if water is replaced with chloroform,
wash the line with acetone before filling the line with chloroform.
When replacing an eluent containing salt with an eluent containing
organic solvent, wash the line with pure water and then acetone
before filling the line with the organic-solvent-containing eluent.
In contrast, when replacing an eluent containing organic solvent
with an eluent containing salt, wash the line with acetone
first and then pure water before filling the line with the
salt-containing-eluent.
When high voltage cause by static electricity applies to the
instrument, there are possibilities some incorrect actions are
observed. Please notice the static electricity.
Please do not set other equipments on this detector because of
avoiding enlarging the baseline drift and uncontrolling
temperature.
Note
NoteNote
Note
Note
NoteNote
Note
Note
NoteNote
Note
Note
NoteNote
Note
Note
NoteNote
Note
Note
NoteNote
Note
Caution
CautionCaution
Caution
Caution
CautionCaution
Caution
Caution
CautionCaution
Caution

V
1
.
Accessories
・・・・・・・・・・・・・・・・・・・・・・・・・・・・・・・・・・・
1
11
1
.
Features
・・・・・・・・・・・・・・・・・・・・・・・・・・・・・・・・・・・・・・・
2
22
2
3
.
Specifications
・・・・・・・・・・・・・・・・・・・・・・・・・・・・・・・・・
3
33
3
4
.
Detection Principle
・・・・・・・・・・・・・・・・・・・・・・・・・・・・
4
44
4
4-1 Optical System
・・・・・・・・・・・・・・・・・・・・・・・
4
4- Flow Line
・・・・・・・・・・・・・・・・・・・・・・・・・・・・・
5
4-3 Electric Circuit
・・・・・・・・・・・・・・・・・・
6
5
.
Nomenclature and Function
・・・・・・・・・・・・・・・・・・・・
8
88
8
5-1 Front Panel
・・・・・・・・・・・・・・・・・・・・・・・・・・
8
5- Side Panel
・・・・・・・・・・・・・・・・・・・・・・・・・・・
9
5-3 Back Panel
・・・・・・・・・・・・・・・・・・・・・・・・・・・
10
5-4 Display
・・・・・・・・・・・・・・・・・・・・・・・・・・・・・・・
11
5-5 Start-Up Sequence
・・・・・・・・・・・・・・・・・・・・・・・
15
6
.
Installation and Connection
・・・・・・・・・・・・・・・・・・・・
1
11
16
66
6
6-1 Power Connection and Grounding
・・・・・
16
6- Signal cable Connections
・・・・・・・・・・・・・
17
6-3 Tube Connections
・・・・・・・・・・・・・・・・・・・・
18
6-4 Operation Procedures
・・・・・・・・・・・・・・・・
19
7
.
Care And Maintenance
・・・・・・・・・・・・・・・・・・・・・・・・・
21
2121
21
7-1 Flow Line Cleaning
・・・・・・・・・・・・・・・・・・・・
21
7- Replacing Fuse
・・・・・・・・・・・・・・・・・・・・・・・
21
7-3 Cleaning of detector exterior
・・・・・・・・・・
21
8
.
Validation
・・・・・・・・・・・・・・・・・・・・・・・・・・・・・・・・・・・・・・・・
22
2222
22
9
.
Troubleshooting
・・・・・・・・・・・・・・・・・・・・・・・・・・・・・・・
2
22
24
44
4
10
.
WEEE Instructions
・・・・・・・・・・・・・・・・・・・・・・・・・・・・・
2
22
26
66
6
Appendix 1 「Property Data of Solvents」
・・・・・・・・・・・
2
22
27
77
7
Appendix 2 「Components and Subassemblies」
・・・・・・
2
22
28
88
8
Contents
ContentsContents
Contents

- 1 -
When unpacking, please check if all the following accessories are contained:
【
Details of
Details of Details of
Details of Accessories
AccessoriesAccessories
Accessories
】
No.
No.No.
No.
Name
NameName
Name
Specification
SpecificationSpecification
Specification
Quantity
QuantityQuantity
Quantity
1 Power cable
(1) Voltage is 100 or 120 V AC
Power supply cable set (125V)
(2) Voltage is 220 or 240 V AC
Power supply cable set (250V)
1*
2 Signal cable 2-core shield cable (approx. 2m) 1
3 IN tube set
Stainless steel tube of 1.6 mm outer dia. x 0.5mm
inner dia. x 1000 mmLength
(setscrew and ferrule attached)
1
4 OUT tube set
Teflon tube of 2.5 mm outer dia. x 1.5 mm inner dia.
x 2000 mmLength
(connecting tube, setscrew and ferrule attached)
1
5 Discharge
tube set
Silicone rubber tube of 10 mm outer dia. x 7 mm
inner dia. x 2000 mmLength
(connection joint attached)
1
6 Fuse Time-lag type 3.15 A (T3.15A/250V) 2
7 Operation manual
1
*: Either 1-(1) or 1-(2) is attached according to the power supply voltage at the first destination.
1.
1.1.
1.
Accessories
AccessoriesAccessories
Accessories
1-(1)
1-(2)
3
6
2
5
7

- 2 -
Shodex RI-502 is Deflection Type Refractive Index Detector with following features:
1) Stability
T e double temperature control
T e double temperature control T e double temperature control
T e double temperature control system
systemsystem
system provides for a very fast start up time
and excellent stable baseline performance.
2) Safety
Solvent leak sensor generates an output signal that stops pump flow in case of
an eluent leak within the detector.
Relief valve provided in the flow path, to prevent damage such as a solenoid valve
by overpressure.
3) Integration
As well as an LAN communication port, the detector is fitted with signal input and
output terminals, which permit highly automated operation when combined with
HPLC system.
2. Features
2. Features2. Features
2. Features

- 3 -
1)
Construction :
Deflection type
2)
Refractive Index Range :
1.00 ~ 1.75
3)
Range :
2.5 ~ 5120 μRIU
4)
Linearity :
6000 μRIU
5)
Noise :
25 nRIU or less (Response : 1.5 seconds)
6)
Drift :
2 μRIU/h or less (Pure water 1mL/min, Purge OFF)
7)
Response Time :
0.1 , 0.25 , 0.5 , 1.0 , 1.5 , 2 , 3 , 6 sec.
8)
Auto Zero :
Full automatic (Optical & Electrical Auto-Zero)
9)
Base line shift :
Range; 0 ~ 100μnRIU, Resolution; 0.5μRIU
10)
Integrator Output :
0 ~ 1 V/FS (Sensitivity : 0.2 mV/μRIU , 0.8 mV/μRIU)
11)
Recorder Output :
0 ~ 10 mV/FS
12)
External Signal Input
Auto Zero , Purge On / Off
( Contact Capacity : DC24V 0.1A min. )
13)
External Signal Output :
(1) Ready (Temperature control stable)
(2) Solvent Leak
(3) Error (One of following error occurred)
Home Position , Over heat , Optical Balance ,
Intensity ,
Thermistor disconnection
(Contact Capacity : DC24V 0.1A max.)
14)
Temperature Control :
OFF , 30 ~ 55 ℃ (1℃ increment) : 77℃ Temp. FUSE
(Note) External temperature control is set to a temperature
5℃ lower than the set temperature.
15)
Operator Support
Automatic Start Up ( Start Up Sequence )
Span / Validation Guide
16)
External Communication
:
LAN
17)
Cell Volume :
8 μL
18)
Maximum Flow Rate :
50 mL/min (mobile phase : pure water)
19)
Pressure Rating :
50 kPa (0.5kgf/cm
2
)
20)
Internal Volume :
Inlet Port / Flow Cell
: approx. 120
μL
Flow Cell / Outlet Port : approx. 540
μL
Total :
670
μL
21)
Wetted Material :
SUS316 , Teflon , Quarts Glass
22)
AC Power Source :
AC 100 - 240 V , 50 / 60 Hz , 150 VA (maximum)
Voltage fluctuation: ±10% ,
Protection Class: Class Ⅰ
23)
Installation Conditions
Operating Environmental Conditions
Temperature : 10 - 30℃)
Humidity : 90%RH (Non-condensing)
Altitude : 2000m (maximum)
Pollution : Degree 2
Installation : Category Ⅱ
24)
Dimensions :
260 mm(W) x 165 mm(H) x 420 mm(D)
25)
Weight :
Approx. 12.5 kgs (28lbs)
26)
Conforming Standards
CE marking
EMC Directive (2004/108/EC)
Low Voltage Directive (2006/95/EC)
RoHS Directive (2011/65/EU)
3. Specifications
3. Specifications3. Specifications
3. Specifications

- -
4
44
4-
--
-1 Optical System
1 Optical System1 Optical System
1 Optical System
In a refractive index detector of the deflection type, the light beam undergoes
a deflection in proportion to a difference in refractive index between one liquid and
the other as it passes through the two compartments of the flow cell, each being
filled with a different liquid. The deflection of the light beam is taken as
a displacement on the light-receiving element and is displayed as a difference of
the refractive index.
1 :
Light beam
n
s
:
Refractive index of liquid
2 :
Sample cell
in sample cell
3 :
Reference cell
4 :
Light beam at the time of n
s
> n
r
n
r
:
Refractive index of liquid
5 :
Light beam at the time of n
s
= n
r
in reference cell
6 :
Displacement
7 :
Light-receiving element
Fig. 4.1 Principle of detection of the deflection type
A variety of ingenious devices are provided in the optical system to enhance its
operational stability and make the detector more compact. The light beam from
the light source passes the flow cell through condenser lens, slit No.1,
collimator lens and slit No.2. The light forms an image of slit No.1 onto the photo
sensor through the flow cell,slit No.2,collimator lens and null glass.
The photo sensor has two light receivers placed side by side.
1 :
Light source
4 :
Collimator lens
7 :
Null glass
2 :
Condenser lens
5 :
Slit No.2
8 :
Photo sensor
3 :
Slit No.1
6 :
Flow cell
Fig. 4.2 Optical System
4. Detection Principle
4. Detection Principle4. Detection Principle
4. Detection Principle
3
1
2
5
7
6
n
s
n
r
5
6
1
2
3
4
8
7

- 5 -
When a difference develops in the refractive index between the sample and the
Reference in the flow cell, the image on the photo sensor moves horizontally as
illustrated in Fig. 4.3 below ( moves from (a) to (b) ). The electric signals emitted
respectively from the photo sensor change in proportion to the extent of movement
of the image.
Thus, signal corresponding to the difference in refractive index can be obtained from
a difference between the two signal outputs.
(a)
No difference in the
refractive index (b)
Some difference in the
refractive index
Fig. 4.3 Movement of the image on the photo sensor
4
44
4-
--
-2
22
2
Flow
Flow Flow
Flow L
LL
Li e
i ei e
i e
As shown in Fig 4.4 below, the flow line is so designed as to enable replacement of
a reference liquid by only pushing a button.
Fig. 4.4 Flow Line
1
3
2
1
2
3
316 stainless steel tubing
Teflon tubing
Connection by female nut
Connection by flange
1
:
Photo Sensor A
2
:
Photo Sensor B
3
:
Image
1 :
Heat exchanger
2 :
Flow cell
3 :
Sample cell
4 :
Reference cell
5 :
Heat exchanger
6 :
Joint block
7 :
3-way solenoid valve
8
:
Relief Valve
From column
To waste liquid receptacle
(
Panel
)
2
3
OUT
IN
COM
NO
NC
1
5
6
7
NO : Normally Open
NC : Normally Close
8
.

- 6 -
When the PURGE button (solenoid valve) is in the ON position, NC is open and NO is
closed, thereby allowing an eluent to flow out of the sample cell to the waste liquid
receptacle by way of the reference cell.
When the button is in the OFF position, NC is closed and NO is open,
thereby allowing the eluent to flow from the sample cell directly to the waste liquid
receptacle without going through the reference cell.
When the pressure in the flow path has become excessive, relief valve will reduce
the pressure.
4
44
4-
--
-3 Electric Circuit
3 Electric Circuit3 Electric Circuit
3 Electric Circuit
The electrical circuit of Shodex RI-502 consists of two I/V converters, a signal
processing circuit (with display and keyboard), a temperature control circuit and
a light intensity control circuit.
The temperature control circuit and light intensity control circuit are controlled by
the signal processing circuit.
Fig. 4.5 shows electrical system block diagram of the RI-502.
1 :
Light source
9 :
Temperature sensor(internal) 17 :
Recorder Out ut
2 :
I/V converters
10 :
Temperature fuse(internal) 18 :
LAN ort
3 :
Keyboard
11 :
Heating element(internal) 19 :
Signal In (Purge)
4 :
Dis lay
12 :
Temperature sensor(external) 20 :
Signal In (Zero)
5 :
Signal Processing circuit
13 :
Temperature fuse(external) 21 :
Signal Out (Ready)
6 :
Light Intensity Control circuit
1 :
Heating element(external) 22 :
Signal Out (Leak Out)
7 :
Tem erature Control circuit
15 :
Solenoid Valve
23 :
Signal Out (Error)
8 :
Null glass driver
16 :
Integrator Out ut
Fig. 4.5 Electrical System
1
3
5
6
7
9
10
11
12
1
16
17
18
8
19
20
21
15
2
13
2
2
2
2
3

- 7 -
Two photo sensing elements generate a photocurrent proportional to the amount of
light. These currents are then converted to the voltage signal in the I/V converters.
These voltage signals will then be sent to the signal processing circuit where their
Balance will be precisely converted into the digital signal corresponding to the
refractive index.
This digital signal will go through (1) Sensitivity calculation, (2) Response time calculation,
(3) Auto Zero / Base line shift calculation, (4) Range attenuation for recorder output
and (5) Event Marker processing in that order and will finally be converted back to
analog signal for integrator output terminal and recorder output terminal.
The signal processing circuit does also following jobs:
① Parameter settings via Display or Keyboard (Recorder Range, Integrator Sensitivity,
Temperature Control, Response Time, Polarity, Base Line Shift).
② Commands requested via Keyboard (Purge On / Off, Event Marker and Auto Zero :
Optical Auto Zero is carried out by activation of the null Glass driver and fine
adjustments are made through calculation).
③ Execution of commands given via external device (e.g. purge on / off,auto zero).
④ Displaying data and status information such as Refractive Index, Temperature.
⑤ Signal outputs (displays various error messages such as Temperature control,
Light Intensity control, Auto Zero and contact closure signal for output terminals).
⑥ Data display and setting for maintenance.
⑦ LAN communication processing.
Light Intensity Control circuit controls a load current to the light source to keep
intensity signal (sum of the two I/V converters output voltage) constant.
This feature prevents unexpected reductions in detector sensitivity due to such
problems as dirty flow cells, decreased lamp intensity.
Based on the data from temperature sensors of the optical system and the external
heater plate, the temperature control circuit adjusts the current in the heating
elements (transistors) so that the temperatures of the optical system and the external
heater plate reach their designated values.

- 8 -
5
55
5-
--
-1 Fro t
1 Fro t1 Fro t
1 Fro t
Pa el
Pa elPa el
Pa el
□
2
□
6
□
3
□
□
5
□
1
□
7
□
8
□
10
□
9
□
11
□
13
□
12
Fig. 5.1 Front panel of Shodex RI-502
No.
Name of parts Function
Power Switch Press this key once to turn on or off the unit.
LCD Display A 24-digit 2-row character display panel. This is used for
displaying or setting various parameters.
Start Up Sequence key
Press the key once to call the start-up sequence.
Purge Key
Press the
key to turn the purge valve on or off to change
the flow path. When the valve is on, the LED above the key will
be lit and the eluent will flow through the reference cell chambers.
Press
to turn off the valve.
Marker key
Press
key to generate an event marker signal and add it
to the recorder output. During this function, the LED above the
key will be lit.
Leak LED
[Leak] Illuminated when solvent leak is detected.
Auto Zero Key
Press the
key to activate “Auto-Zero”.
During this function, the LED above the key will be lit.
□
2
□
1
□
□
3
□
5
□
6
5
55
5
.
. .
.
N
NN
N
o
oo
o
me
meme
me
n
nn
n
clature
clatureclature
clature
and Fu
and Fuand Fu
and Fu
nc
ncnc
nc
t
tt
t
i
ii
i
on
onon
on
S.Seq
Purge
Zero
Marker
Purge
S.Seq
Purge
Marker
□
7
Zero

- 9 -
No.
Name of parts Function
ESC Key
Press the
key to cancel an operation and return to the
normal screen.
Arrow Keys
Press Arrow keys to move cursor or to edit values.
Cancel Key
Press
key to cancel change and to stop beep.
Enter Key
Press
key to finalize operations or settings.
Inlet Port
[IN]
Connects tubing from separation column outlet.
Outlet Port
[OUT]
Eluent passing through the flow path is discharged from this
port.
5
55
5-
--
-2
22
2
Side Pa el
Side Pa elSide Pa el
Side Pa el
Fig. 5.2 Side panel of Shodex RI-502
No.
Name of parts Function
Drain Port In case of internal eluent leak, the eluent will be discharged
From this port. Connect the attached tubing as necessary.
□
1
□
1
□
10
□
9
□
13
□
8
□
11
□
12
ESC
ESC
Cancel
Cancel
Enter
Enter

- 10 -
5
55
5-
--
-3
33
3
Back Pa el
Back Pa elBack Pa el
Back Pa el
□
21
□
22
□
23
□
20
□
19
□
18
□
17
□
16
□
15
□
2
□
25
Fig. 5.3 Back panel of Shodex RI-502
No.
Name of parts Function
Communication port
[COM] LAN communication port
Zero in terminals
[ZERO IN]
When these two terminals are short-circuited just as when the zero
Button ( 7 ) is pressed, the automatic zeroing is actuated.
Purge terminals
[PURGE IN]
When these two terminals are short-circuited, the flow line of
theeluent is changed just as when the purge button ( 4
) is
pressed,and both sample and reference cells are filled with the
same eluent.
Error out terminals
[ERROR OUT]
A contact signal is sent out through these terminals when
an error occurs. (ROM, RAM, Parameter, Home Position,
Overheating, Optical Balance, Intensity)
Leak out terminals
[LEAK OUT]
A contact signal is sent out through these terminals when
an eluent leak is detected.
Ready out terminals
[READY OUT]
A contact signal is sent out through these terminals when
10 minutes have passed since the temperature of the optical
system reached the designated value.
Recorder terminals
[REC. OUT]
Signals to the recorder are sent out through these terminals.
The sensitivity of the output signal is 10 mV/FS.
Ground terminal
for the signal cable
[FG]
The shield terminal of the signal cable should be connected to
this terminal.
Integrator terminals
[INTEG. OUT]
Signals to the data processing unit are sent out through these
terminals. The sensitivity of the output signal is 0.2 mV/μRIU
or 0.8 mV/μRIU with the integrator range of 5120 μRIU/V or
1280 μRIU/V, respectively.
□
23
□
15
□
16
□
17
□
18
□
20
□
19
□
22
□
21

- 11 -
Power connector
[INPUT]
The included power cable should be plugged into
this connector.
Ground terminals
[ ]
These are the terminals to ground the main body
of the detector.
5
55
5-
--
-4 Displ
4 Displ4 Displ
4 Display
ayay
ay
The display shows a “Monitor screen” when the detector is started and can be
Switched to a “Parameter setting screen” and “
Validation screen
”when the
key
or the
key is pressed.
<Monitor screen> <Parameter setting screen> < Validation screen >
- 123.4uRIU 40℃ + 2 PARAMETERS VALIDATION
TEMP. UNSTABILIZE SETTING
<Monitor screen>
26 27 28 29
- XXX.XuRIU XX ゚C AA ±XX
AAAAAAAAAAAAAAAA 30
No.
Function
This indicates the refractive index in µRIU unit.
This indicates the temperature of the optical system.
One of the following is displayed in response to the detector status.
(1) LK
: Key Lock status
(2) ER
: Error status
(3) RD : Analyzable state (This sign will come on when the start-up sequence is completed.)
This indicates the current state of optical axis balance in a range of –99 to +99.
Press
key to display –3 to +3.
□
2
□
25
□
28
Zero
□
29
□
26
□
27

- 12 -
This indicates error or operation status.
If there are multiple messages to be displayed, the priority message is displayed.
( 1 ) ROM : Is displayed when a ROM error has occurred.
( 2 ) RAM : Is displayed when a RAM error has occurred.
( 3 ) PARAMETER : Is displayed when a parameter memory error has occurred.
( 4 ) HOME POSITION : Is displayed when the optical axis is not adjusted correctly.
( 5 ) LEAKAGE : Is displayed when eluent leakage has occurred.
( 6 ) TEMP. ERROR : Is displayed when the temperature sensor has a problem.
( 7 ) OVER HEAT : Is displayed when the temperature is excessively high.
( 8 ) OPT. BALANCE : Is displayed when Auto Zero does not function correctly.
( 9 ) INTENSITY : Is displayed when the light intensity is low due to bubbles or dirt.
(10)
TEMP. UNSTABLE : After the detector is started, this remains displayed
until the temperature remains within ± 1°C of the set
temperature for 10 minutes.
(11)Cannot set the LAN unit / Push the Enter Key : Is displayed when a LAN setting error
has occurred.
<Parameter setting screen>
To show the currently set parameters in order, press the
key or the
key
while the parameter setting screen is displayed.
< Validation screen >
To show the Validation screen in order, press the
key or the
key
while the practice screen of each validation and the result is displayed.
To change parameters, perform the following procedures:
(1) Display the relevant parameter.
(2) Press the
key.
The underlined digits will flash and the parameter can be changed.
(3) Press the
key or the
key to change the parameter with
reference to Table 5-1.
(4) Press
key to finalize the parameter.
(5) Press
key to return to the monitor screen.
□
30
Enter
Enter
ESC

- 13 -
Press The Enter key to start
the SPAN CHECK.
Press The S.Seq key to start
and stop the S.SEQ.
Press The Enter key to display
the result of the validation
Each S.SEQ mode is changed with
the ENTER key and Arrow Keys
The S.SEQ mode is displayed by a
screen2.
Only in CUSTOM mode, screen 25 is
displayed from screen 19
Table of contents
Other Shodex Laboratory Equipment manuals

Shodex
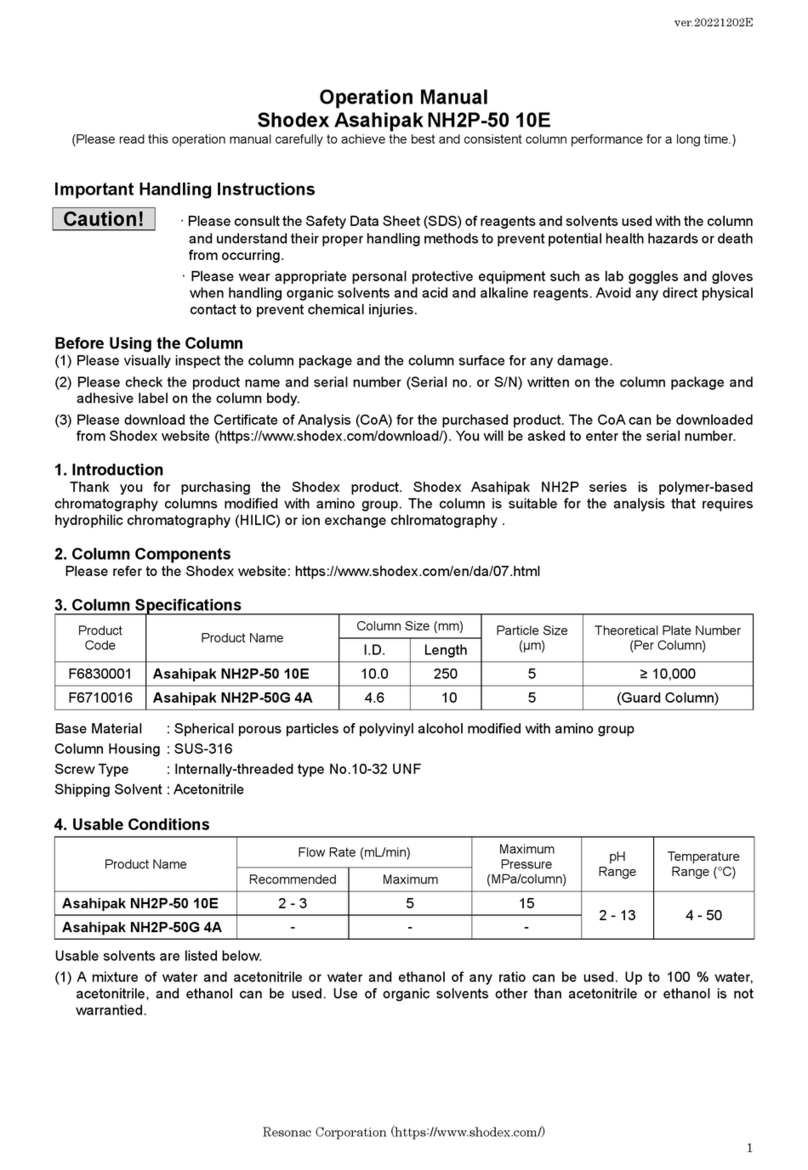
Shodex Asahipak NH2P-50 10E User manual
Shodex
Shodex Silica C18M 4D User manual
Shodex
Shodex Asahipak NH2P-50 10E User manual
Shodex
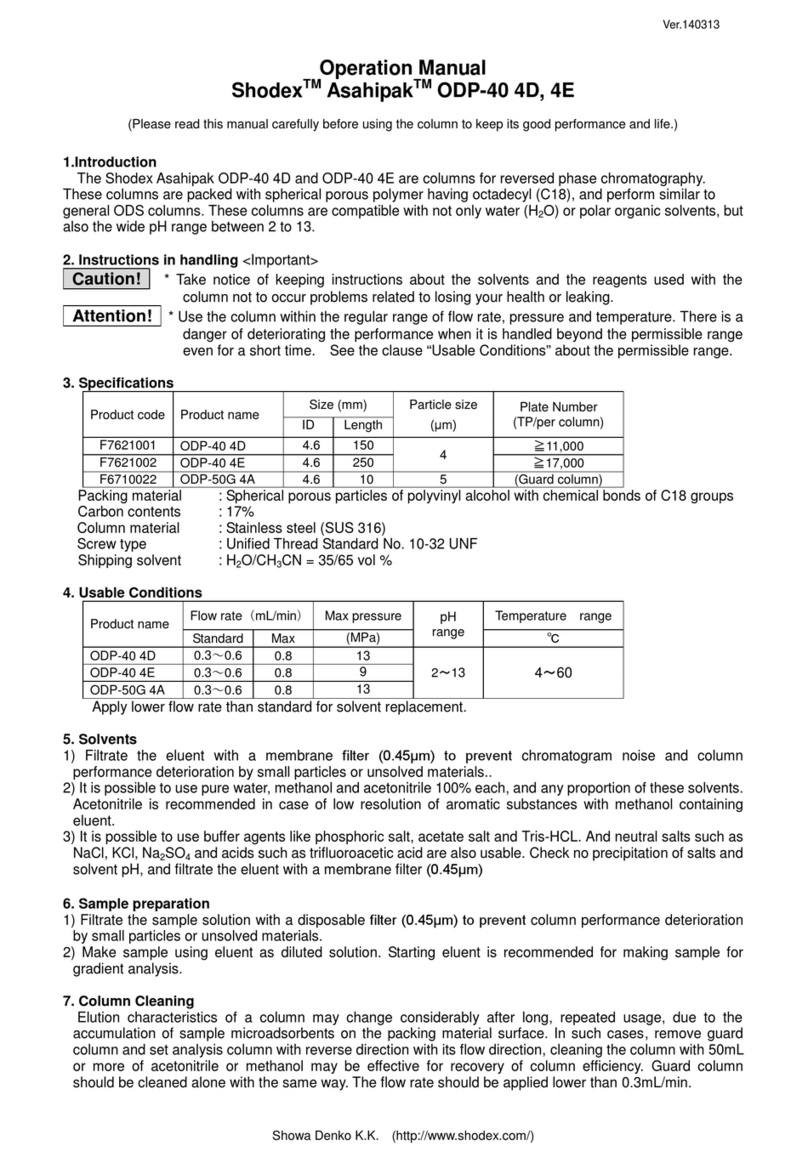
Shodex Asahipak ODP-40 4D User manual

Shodex
Shodex HILICpac VG-50 4D User manual
Shodex
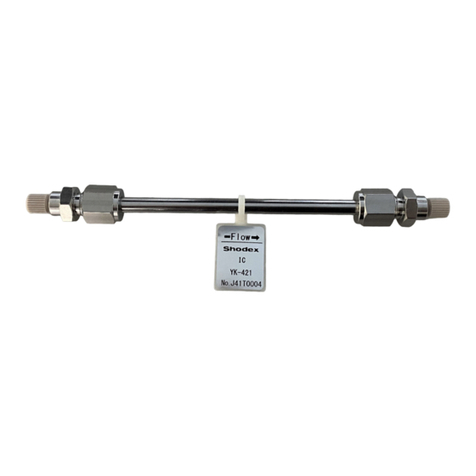
Shodex IC YK-421 User manual

Shodex
Shodex SUGAR KS-800 Series User manual
Shodex
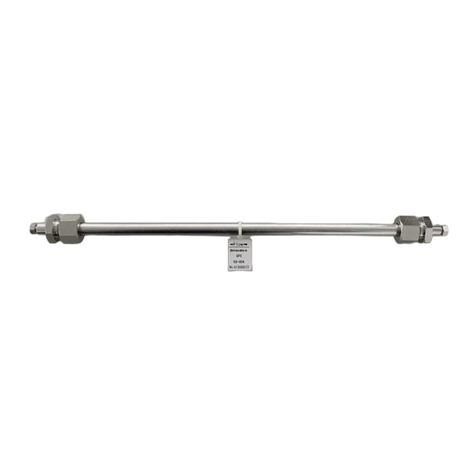
Shodex GPC KD-800 Series User manual

Shodex
Shodex GPC KF-800 Series User manual
Shodex
Shodex Asahipak NH2P-40 3E User manual

