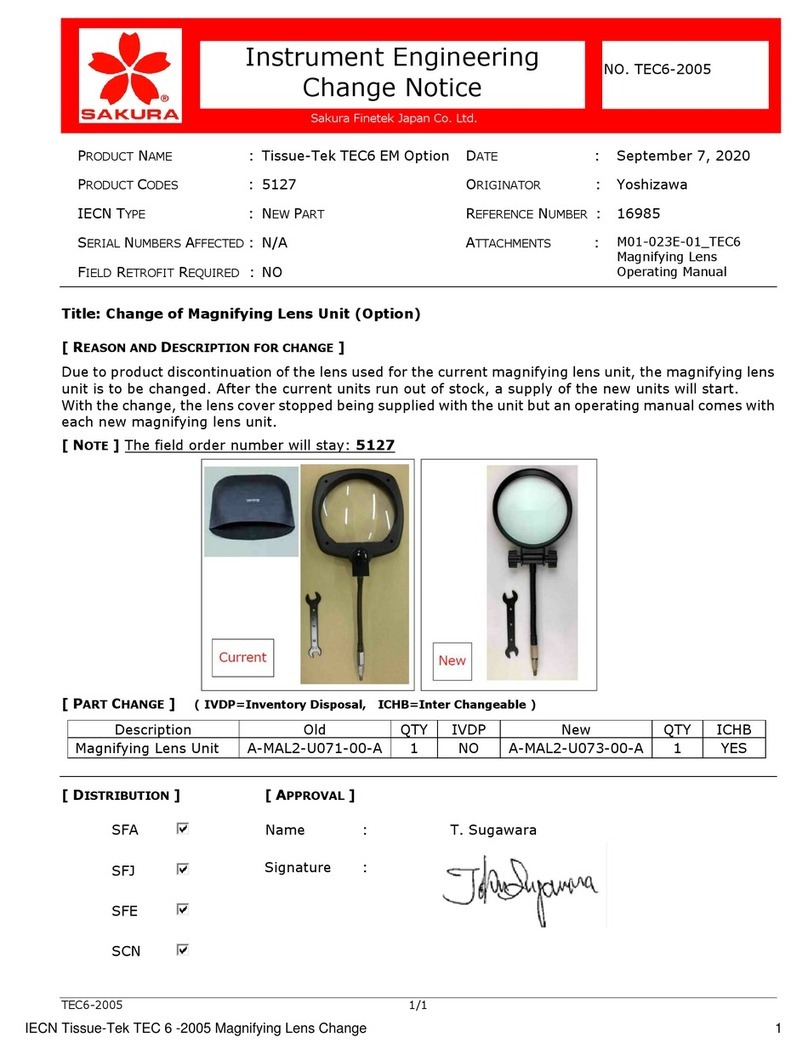
Sakura Tissue-Tek TEC 6 Instruction Manual

Tissue-Tek®TEC™6
Embedding Module
Operating Manual
Part Number M01-021E-02
Revision Letter A
Released 2019-11-07

2
The brand names of products that have been registered or trademarked by and are owned
by Sakura Finetek USA, Inc., Sakura Finetek Japan Co., Ltd., and Sakura Finetek Europe B.V.
appear here:
Sakura
Tissue-Tek
Please visit our website www.sakura-netek.com
Manufactured for:
Sakura Finetek USA, Inc., Torrance, CA 90501 U.S.A.
Sakura Finetek Europe B.V., 2408 AV Alphen aan den Rijn, NL
Sakura Finetek Japan Co., Ltd., Tokyo, 103-0023, Japan
Manufactured by:
Sakura Seiki Co., Ltd., Nagano, 387-0015, Japan
© 2018 Sakura Finetek Japan Co., Ltd.
All Rights Reserved
Printed in Japan.

Table of contents
3
1. Introduction
1.1 Intended Use…………………………………………………………7
1.2 Safety Precautions …………………………………………………8
1.3 Precautions for Use……………………………………………… 14
1.4 Overview of the Instrument …………………………………… 19
1.4.1 Instrument Conguration ……………………………… 19
1.4.2 Specications …………………………………………… 20
1.5 Accessories ……………………………………………………… 21
1.5.1 Standard Accessories (Embedding Module) ………… 21
1.5.2 Optional Accessories (Embedding Module) ………… 22
1.6 Description of Instrument Parts ……………………………… 23
1.6.1 Instrument (Front Side) ………………………………… 23
1.6.2 Instrument (Rear Side) ………………………………… 24
1.6.3 Control Panel Display …………………………………… 25
2. Installation
2.1 Installation ………………………………………………………… 33
2.1.1 General Information on Installing the Instrument…… 33
2.1.2 Installation Environment………………………………… 33
2.1.3 Unpacking Method of the Embedding Module ……… 34
2.1.4 Installation Method ……………………………………… 38
2.2 Setting Up the Instrument ……………………………………… 41
2.2.1 Temperature Setting for Each Part of the Instrument 41
2.2.2 Setting the Date and Time ……………………………… 44
2.2.3 Setting the Schedule of the Auto Operation (with the
Auto Cryo Mode) ………………………………………… 45
2.2.4 Setting the Display Language ………………………… 47
2.2.5 Setting the Auto Panel Display Off Timer …………… 48
2.3 Operational Overview …………………………………………… 49
2.3.1 Operation Method ……………………………………… 49
3. Explanation of Operations
3.1 Explanation of Operations ……………………………………… 55
3.1.1 Basic Operations ………………………………………… 55
3.1.2 Embedding Process …………………………………… 59
3.1.3 Tasks after Use …………………………………………… 63
3.2 Other Operations ………………………………………………… 64
3.2.1 Various Settings ………………………………………… 64
3.2.2 Melting Parafn Quickly ……………………………… 66
3.2.3 Changing the Parafn Flow Rate ……………………… 67

4
3.2.4 Turning On/Off the Work Light ………………………… 68
3.2.5 Continuing Embedding after the End Time of Auto
Operation ………………………………………………… 69
3.2.6 Ending the Auto Operation before the End Time …… 70
3.3 Handling of Standard and Optional Accessories …………… 71
3.3.1 Wrist Rest ………………………………………………… 71
3.3.2 Wrist Rest Cushion ……………………………………… 71
3.3.3 Foot Pedal ………………………………………………… 72
3.3.4 Magnifying Lens ………………………………………… 73
4. Error Log
4.1 Error Log ………………………………………………………… 75
4.1.1 Viewing the Error Log …………………………………… 75
5. Troubleshooting
5.1 Troubleshooting ………………………………………………… 77
5.1.1 Instrument Condition and Solution …………………… 77
5.1.2 Message Window………………………………………… 80
5.1.3 What to Do Following a Power Outage ……………… 85
5.1.4 What to Do When the Low Battery Alarm Icon is
Indicated ………………………………………………… 85
5.2 Cleaning…………………………………………………………… 86
5.2.1 Inspection and Cleaning………………………………… 86
5.2.2 Cleaning Each Part of the Embedding Module ……… 86
6. Replacement Parts
6.1 Replacement Parts ……………………………………………… 97
6.1.1 Embedding Module …………………………………… 97
6.2 Service Life and Maintenance ………………………………… 97
7. Glossary of Terms
7.1 Glossary of Terms ……………………………………………… 99

Table of contents
5

1. Introduction

1. Introduction
7
1.1 Intended Use
The Tissue-Tek®TEC™6 Embedding Module (hereinafter referred to “the
instrument”) is intended to embed processed human or animal tissue
in paraffin by melting solid paraffin and dispensing molten paraffin. This
instrument is used to facilitate as part of steps to produce tissue specimens
for histological studies and tests conducted in the fields of pathology,
anatomy, clinical pathology, etc.
This instrument can be used standalone and also designed for use with the
Cryo Module connected by a control cable.
This document is the Operating Manual for the Embedding Module, but the
procedures to handle the Tissue-Tek®TEC™6 Cryo Module are also provided.
Carefully read this Operating Manual and use the instrument correctly so
that its performance can be utilized fully. Any other use of this instrument is
considered improper operation.

8
1.2 Safety Precautions
Designate the "Instrument Control Manager."
• Operation of the instrument requires expert knowledge of the target
application, method of use, and so on. Therefore, to use the instrument
correctly and safely, designate an "Instrument Control Manager."
• When the instrument is delivered, the Instrument Control Manager should
receive explanation on the handling of the instrument directly from the
staff trained in the instrument or distributor.
Before using the instrument, read the "Safety Precautions" to ensure the
correct use of the instrument.
The cautionary instructions provided herein are intended to ensure that the
instrument will be used safely in a manner preventing operator from injury and
property damage. These instructions provide important safety information
that must be needed at all times.
In this manual, instructions pertaining to different levels of potential hazards
are classified and indicated respectively as danger, warning, caution and
note.
The denition of each hazard is dened below.
DANGER pertains to a potential hazard where failure to observe the specied
instruction may result in death or serious injury of the user or another person.
WARNING pertains to a potential hazard where failure to observe the
specified instruction may result in a serious injury of the user or another
person.
CAUTION pertains to a potential hazard where failure to observe the specied
instruction may result in damage to the instrument or other property, or affect
the process results.
NOTE pertains to an item to pay attention to or other useful information.
DANGER
WARNING
CAUTION

1. Introduction
9
The symbols used on the labels attached to the instrument are explained.
The labels bearing one of the following symbols provide particularly important
information you must know in order to ensure safety of the operator, improve
work efficiency and protect the instrument from damage. Be sure to check
these labels and understand the specified instructions before commencing
your work
A label bearing this symbol specifies an action that must be taken. Always
follow the instruction.
A label bearing this symbol specifies a prohibited item. Always follow the
instruction.
A label bearing this symbol specifies a precaution. Wrong handling against
the instruction may potentially expose the operator to danger or damage the
instrument, so be sure to follow the instruction.
A label bearing this symbol is provided near a high-temperature area. Exercise
caution against burns caused by high temperatures.
If any biologically hazardous substance is handled, follow applicable
regulations or guidelines in your country or region to ensure safety.

10
WARNINGS:
• Follow instructions in this operating manual.
If the instrument is not used properly, it may induce failure of the
instrument, injury to operators, and/or damages to facilities.
• Do not put ammable/explosive substances other than parafn in the
instrument.
When using the instrument, do not put flammable/explosive
substances other than parafn in the areas where parafn is intended
such as the parafn chamber and warming chamber. Doing so may
result in re or explosion.
• Do not move the instrument while molten parafn is inside.
Do not move the instrument while molten paraffin is inside. Before
moving the instrument, unplug the power cord and remove the parafn
inside the instrument or wait for it to cool and solidify. Failure to
follow this instruction may result in the parafn spilling over to cause
burns or contacting with live electrical parts to cause re.
• The instrument, parafn and parafn container become hot.
The paraffin melting part, paraffin and paraffin container in the
instrument become hot. Exercise caution to prevent burns.
• Do not disassemble or modify the instrument.
Do not disassemble or modify the instrument except for the areas
specified in this manual. The instrument may malfunction or cause
accident, thus creating a dangerous situation.
• Do not wet the instrument.
Do not wet the instrument except for the areas specified in this
manual. If the instrument gets wet, electrical current leak may occur
and cause re or electric shock.
• Do not operate the switches with a wet hand.
Failure to observe the instruction may result in electric shock.
• Do not connect/remove the power plug with a wet hand.
Failure to observe the instruction may result in electric shock.
• When connecting/removing the power plug, do so by holding the
plug.
Connecting/removing the power plug by holding parts other than the
plug may cause re or electric shock.
• Do not damage the power cord.
Do not forcibly bend, pull, twist or bundle the power cord. If the
damaged power cord is used, fire or electric shock may occur. If
the power cord or power plug has scratches or other abnormalities,
contact the Sakura instrument distributor or representative.

1. Introduction
11
• Check the power cord and electrical outlet for damage and
accumulated dust and/or parafn periodically.
Failure to do so may cause re depending on the condition.
• Keep the instrument with the optional magnifying lens away from
direct sunlight exposure.
The lens subjected to direct sunlight may cause re and/or accident
because of refraction of light.

12
CAUTIONS:
• Connect the power plug to an electrical outlet with grounding
terminals.
Connect the power plug to a dedicated electrical outlet with
grounding bar. If the power plug is not grounded, electric shock may
result.
• Use the supplied power cord.
If the supplied power cord is not used, electric shock or failure may
result. In particular, use of a power cord of lower capacity may cause
re or electric shock.
• Turn off the power before cleaning the instrument.
Unless otherwise instructed in this document, turn off the power
before cleaning the instrument. If the instrument is cleaned while the
power is still on, an accident may occur.
• Turn off the power if the instrument behaves abnormally.
Should you notice the instrument giving off a foul smell or abnormal
noise, or otherwise behaving abnormally, remove the power plug and
contact the Sakura instrument distributor or representative.
• Do not remove the warning/caution labels.
Do not remove the warning/caution labels attached to the instrument.
Without these labels, the operators cannot be reminded of the
necessary warning/cautionary information in the day-to-day handling
of the instrument, which may result in unexpected problems.
• Perform periodic inspection of the instrument every 6 months.
Perform periodic inspection of the instrument every 6 months to
ensure safe use of the instrument and maintain its performance.
For details on periodic inspection, contact the Sakura instrument
distributor or representative.
• When moving the instrument, hold it on each side or the back side.
When moving the instrument, hold it on each side or the back side.
Also, two persons should work together to carry the instrument,
because the Embedding Module weighs approx. 25 kg.
*Do not hold the Embedding Module with your hands on the front
side. Doing so may damage the hand rests and cause injury or the
instrument to fall.
Hand rest

1. Introduction
13
• Precautions when installing the instrument (Installation)
Do not put down the instrument in an unstable place or on a oor or
surface with insufcient strength.
• Stay away from the instrument during earthquake.
The instrument may fall over and cause injury.
• Disconnection from power source
Turn the power switch off before unplugging the power cord.

14
1.3 Precautions for Use
CAUTIONS:
• Precautions when using the instrument (Keep re away)
Do not bring re sources close to the instrument. The parafn in the
instrument may ignite.
• Precautions when moving the instrument
Do not move the instrument while molten paraffin is inside. Before
moving the instrument, unplug the power cord and remove the parafn
inside the instrument or wait for it to cool and solidify. The parafn
may spill over to cause burns or contact with live parts to cause re.
Also, it is recommended that two persons work together to carry the
instrument which weighs approx. 25 kg.
• Precautions when installing the instrument (installation)
Do not put down the instrument in an unstable place or on a bench
or surface with insufcient strength. The instrument may tilt, causing
the parafn to spill over and cause injury. Install the instrument in a
location meeting the installation conditions. Dew condensation, etc.
may cause malfunction. (See 2.1.2 Installation Environment)
• Precautions when using the instrument (Caution for high temperature)
The hot plate, paraffin melting chamber, paraffin and paraffin
container in the instrument become hot. Wear rubber gloves or other
protective gears to prevent burns. Also, make sure the instrument is
used only by those with appropriate knowledge and education.
• Caution for high temperature
When using the instrument, do not directly touch the molten parafn
in the parafn chamber, warming chamber, etc. You may get burned.
Wear rubber gloves or other protective gear to prevent burns.
• Precautions when adding parafn
When adding paraffin into the paraffin chamber, tissue tray, etc.,
heed the maximum capacity and pay attention not to let the parafn
spill over. Failure to do so may cause parafn to overow, leading to
instrument failure and accident. You may get burned. Wear rubber
gloves or other protective gear to prevent burns.
• Precautions on dispensing
When dispensing, be careful not to touch the paraffin with your
hands. You may get burned by the hot parafn. Wear rubber gloves or
other protective gears to prevent burns.
• Precautions on moving parts
When closing the lid of the parafn chamber or warming chamber, be
careful not to pinch your ngers. Injury may result. Also, be careful
not to open and close the lid sharply. Failure to do so may cause the
components to deform or damage.

1. Introduction
15
• Precautions when removing the wrist rests
An attempt to remove the wrist rest forcedly may result in injuring
your ngertip. Use the scraper.
• Precautions when cleaning (Caution for high temperature)
Unless otherwise instructed in this document, turn off the power
before cleaning the heated areas. If they are cleaned while the power
is still on, an accident may occur.
• Burn hazard (Instrument failure)
Periodically clean the area where the lter is installed, and around the
dispenser. The solenoid valve may fail and cause the parafn to leak,
resulting in burns or parafn deposits on the instrument.
• Precautions when cleaning (Caution for chemical agent)
When cleaning, do not use chemical agents other than those
specied. Unauthorized chemical agents may damage the instrument
or cause health issues. Also, wear protective gears and ventilate the
work area when cleaning.
• Items to check when cleaning parafn drain trays
Discard the parafn in the parafn drain trays every time after using
the instrument. Parafn may overow inside the instrument and dirty
the surrounding areas if not discarded.
• Precautions for infections
When using the instrument in a hospital, be careful not to cause
secondary infections.
• Caution on electromagnetic environment
The instrument is designed to operate in normal electromagnetic
environment. In other electromagnetic environments, use the
instrument under the responsibility of the user.

16
Precautions for Prevention of Failures
• When cleaning the instrument, do not use any organic solvents
(xylene).
If any organic solvents ow into the parafn line between the parafn
chamber and the dispenser, the internal parts may degrade or
deform, resulting in failure. Also, the coatings and materials on/of the
exterior panels, control panel display, etc., may deteriorate.
• Do not turn the parafn ow rate adjustment dial unless the parafn
is in molten state.
If the dial is forcibly turned when the paraffin is solid, failure may
result.
• Do not close the parafn ow rate adjustment dial after work.
If the paraffin cools down and solidifies when the flow rate
adjustment dial is fully closed, the parafn may expand the next time
it is melted, and leak out from the ow rate adjustment dial.
• Do not put anything on top of the instrument.
Failure or unexpected problems may occur.
• Do not put hot paraffin whose temperature exceeds 80°C in the
instrument.
Do not put paraffin, etc., whose temperature exceeds 80°C in the
paraffin chamber or warming chamber. It may lead to instrument
failure.
• Do not block the intake port.
Cold spot failure may occur.
Parafn ow rate adjustment dial

1. Introduction
17
• Do not extend the power cord using a different cord, etc.
Connect the instrument power cord directly to an electrical outlet
instead of extending it using a different cord, etc. If the power cord is
extended and connected, the supply voltage may drop and the
compressor may stop working. This is especially true with the Cryo
Module.
• Do not use things with a sharp point such as a sharp pen tip to
operate the control panel display.
Doing so will cause instrument failure.
Intake port
Cold spot

18
Precautions for Proper Embedding
• Make sure the tissues, parafn, cassettes and base molds are of the
same temperature.
During embedding, set the instrument temperature so that the
tissues, parafn, cassettes and base molds can be kept at the same,
appropriate temperature as much as possible. To minimize any
temperature drop experienced by the cassettes and base molds, do
not keep them away from the heated areas of the instrument for long
periods. A large temperature difference prevents the paraffin block
from remaining in a uniform state.
• Place two small trays in one warming chamber when the optional
tray is used.
Placing only the one small tray may cause thermal conduction to
slow.
• Clean the inside of the used base mold.
After the work is over and the paraffin block is removed, clean the
inside of the base mold. If the inside of the base mold is not clean,
the parafn block may not be removed easily in the next session.
• Clean the instrument or equipment properly when it gets dirty during
the embedding.
Continuing the embedding work with dirty instrument or equipment
may cause contamination.
• Parafn attached on the hot plate may cause a base mold to move.
Clean parafn residues off the surface of the hot plate frequently. Do
not release your hand from the base mold on the hot plate during the
dispensing.
• Precaution for temperature settings
Considering the melting point of the paraffin and environment (e.g.
ambient temp, air conditioning), set temperatures of the paraffin
chamber, hot plate, and warming chambers by adjusting from the
default setting (62°C). Operating the instrument with unmelted
paraffin may cause a failure on valves in the dispensing system or
difculty of embedding work due to solidied parafn.

1. Introduction
19
1.4 Overview of the Instrument
1.4.1 Instrument Conguration
The instrument comprises:
A storage area where the parafn-inltrated tissues (specimens), base molds
and molten parafn used for embedding are kept at appropriate temperatures;
A hot plate that performs a key part of embedding:
A cold spot used for positioning and orienting the tissue;
A dispenser that dispenses parafn for embedding;
A cooling plate that cools/solidies the embedded parafn block; and
Electronic controls, control panel display and other parts for temperature-
controlling, monitoring or otherwise manipulating the aforementioned
components.
Embedding Module
CAUTION
• The instrument is designed for use with the Cryo Module
connected with the control cable. Do not connect any other
instruments.
CAUTION

20
1.4.2 Specications
Brand name Tissue-Tek®TEC™6 Embedding Module
Model TEC 6-EM-J0 TEC 6-EM-A1 TEC 6-EM-E2 TEC 6-EM-JC2 TEC 6-EM-J2
Product code 5104 5108 5112 5116 5128
Manufacturing license number 20B2X00014000035 ----
Dimensions 575 (W) × 642 (D) × 377 (H) mm
Weight Approximately 25kg
Rated power supply AC100V 50/60Hz
8.5A
AC115V 60Hz 9.0A AC230V 50Hz 4.0A AC230V 50Hz 4.0A AC230V 50Hz 4.0A
Temperature
control
Heated area &
Program-
mable Settable
range
Parafn chamber: 50 to 75°C
Left and right warming chambers: 50 to 75°C
Hot plate: 50 to 75°C
Cold spot
temperature
15°C or below (room temperature of 25°C, no wind, no load (nothing on the cold spot))
Safety device Overcurrent protection: Circuit protector
Heater overheat protection: Self-holding over temperature protector, temperature fuse)
Location of the instrument Indoor use
Required
facilities
Voltage 100 VAC±10% 115 VAC±10% 230 VAC±10% 230 VAC±10% 230 VAC±10%
Frequency 50/60 Hz 60 Hz 50 Hz 50 Hz 50 Hz
Capacity 15 A or higher 15 A or higher 10 A or higher 10 A or higher 10 A or higher
Operating
environment
Ambient
temperature
10 to 35°C
Relative humidity 30 to 85% (non-condensing)
Altitude 2,000m or lower
Storage
environment
Ambient
temperature
-10°C to 60°C
Relative humidity 30 to 85% (non-condensing)
Overvoltage category II (2)
Transient overvoltage up to the level 1500V
Electromagnetic environment Normal electromagnetic environment
Pollution degree* 2 (*per IEC61010)
Noise* 60 dB or less (A-weighted level) (*per JIS Z8737-2:2000)
Vibration/Drop Vibration test per JIS Z 0200, JIS Z 0232
Drop test per JIS Z 0200, JIS Z 0202
Regulatory
and
applicable
standards
Law
Pharmaceutical Affairs
Law
FDA Class1 IVD CE Marking
EMC/LVD/ RoHS
Directive
CFDA IVD
Electrical safety
evaluation
JIS C 1010-1:2014
JIS C 1010-2-101:2013
UL61010-1; 3rd ed:
2012
CSA-C22.2 No.61010-
1-2012
IEC61010-2-010:2014
IEC61010-2-101:2015
EN 61010-1-2010 GB 4793.1-2007
(IEC61010-1:2001)
GB 4793.6-2006
(IEC61010-2-010:2005)
YY 0648-2008
(IEC61010-2-101:2002)
IEC61010-2-101:2015
IEC61010-2-010:2014
Risk management
JIS T 14971:2012
IEC 62366:2007
---ISO14971:2007
Medical equipment
software
JIS T 2304:2017 - - - -
Quality
management
ISO13485:2016 ---ISO13485:2016
Electro-magnetic
compatibility
JIS C 1806-2-6:2012 - EN 61326-1:2013 GB/T 18268.1-2010
(IEC61326-1:2005)
GB/T 18268.26-2010
(IEC61326-2-6:2005)
IEC61326-2-6:2012
Others
--EN 50581:2012(RoHS) China RoHS 2 -
(TEC 6-EM-A1) (TEC 6-EM-E2) (TEC 6-EM-J2)
Other manuals for Tissue-Tek TEC 6
2
Table of contents
Other Sakura Laboratory Equipment manuals
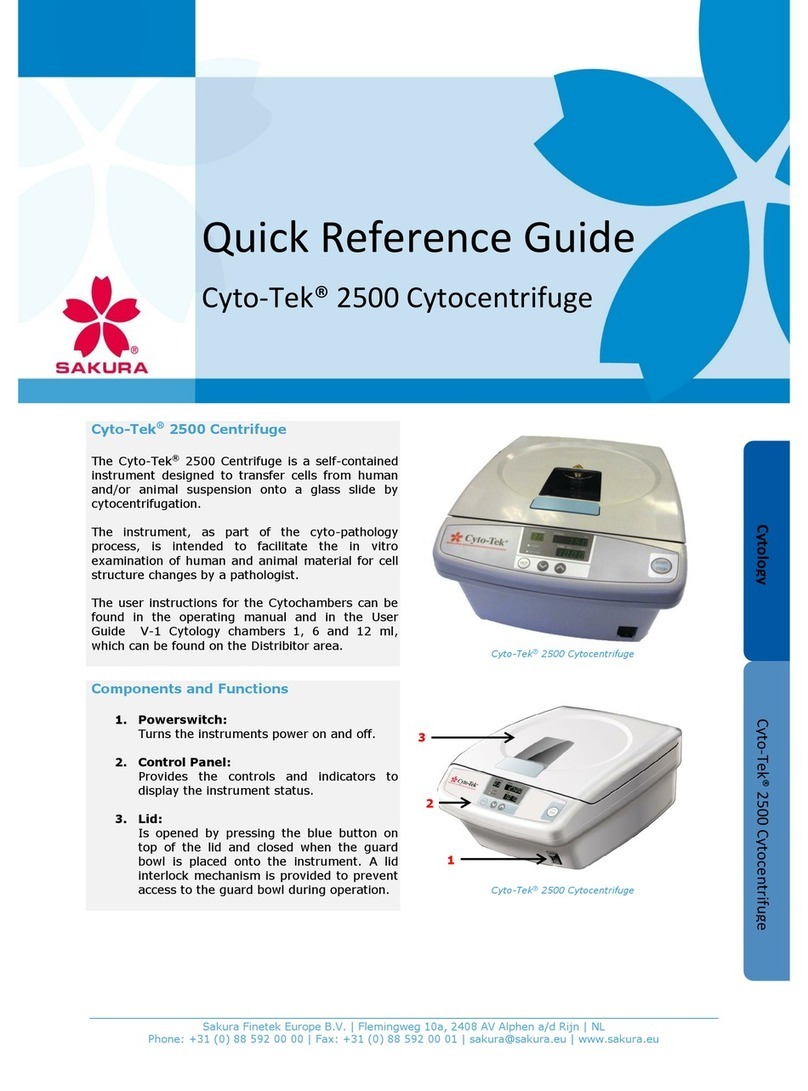
Sakura
Sakura Tissue-Tek Film User manual

Sakura
Sakura Cyto-Tek 2500 User manual
Sakura
Sakura Tissue-Tek AutoTEC a120 User manual

Sakura
Sakura Tissue-Tek Prisma Plus User manual
Sakura
Sakura Histo-Tek VP1 User manual

Sakura
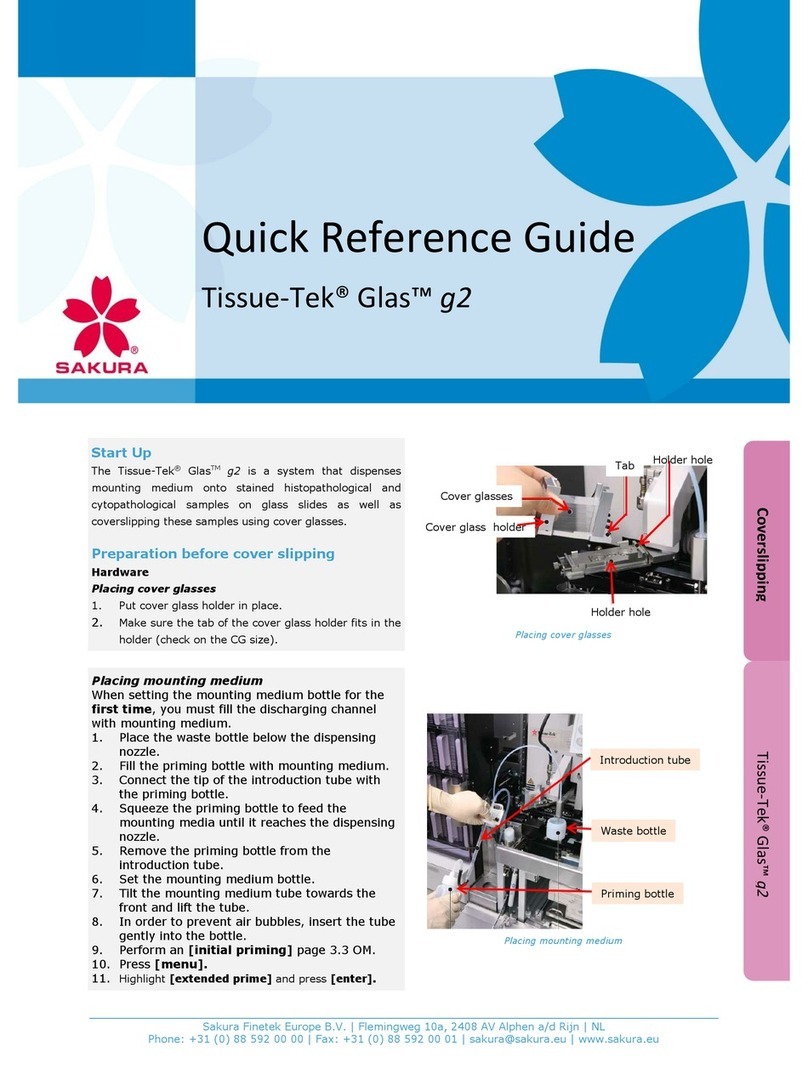
Sakura Tissue-Tek Glas User manual

Sakura
Sakura Tissue-Tek AutoTEC a120 User manual

Sakura
Sakura Tissue-Tek Prisma Plus User manual

Sakura
Sakura Tissue-Tek Glas g2 User manual
Sakura
Sakura Tissue-Tek DRS 2000 User manual