512.832.6939 І screeninnovations.com
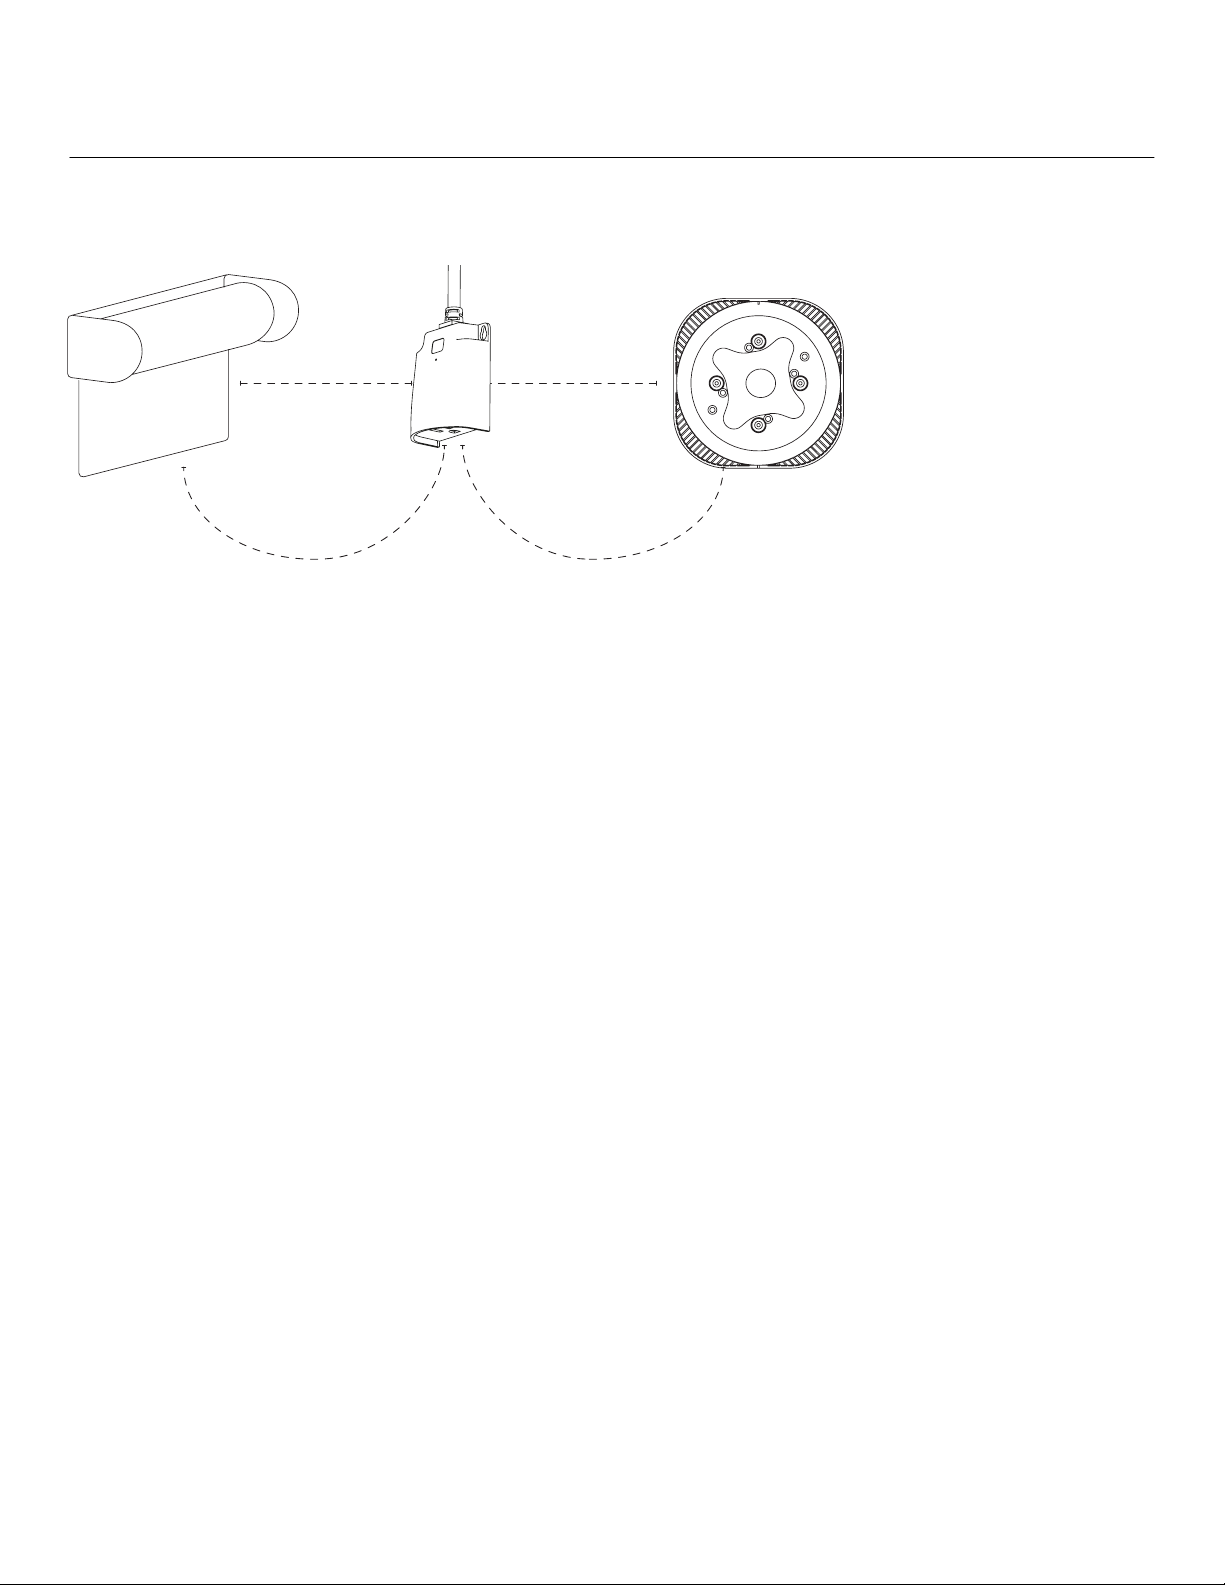
Adding your device(s) to the Zigbee network
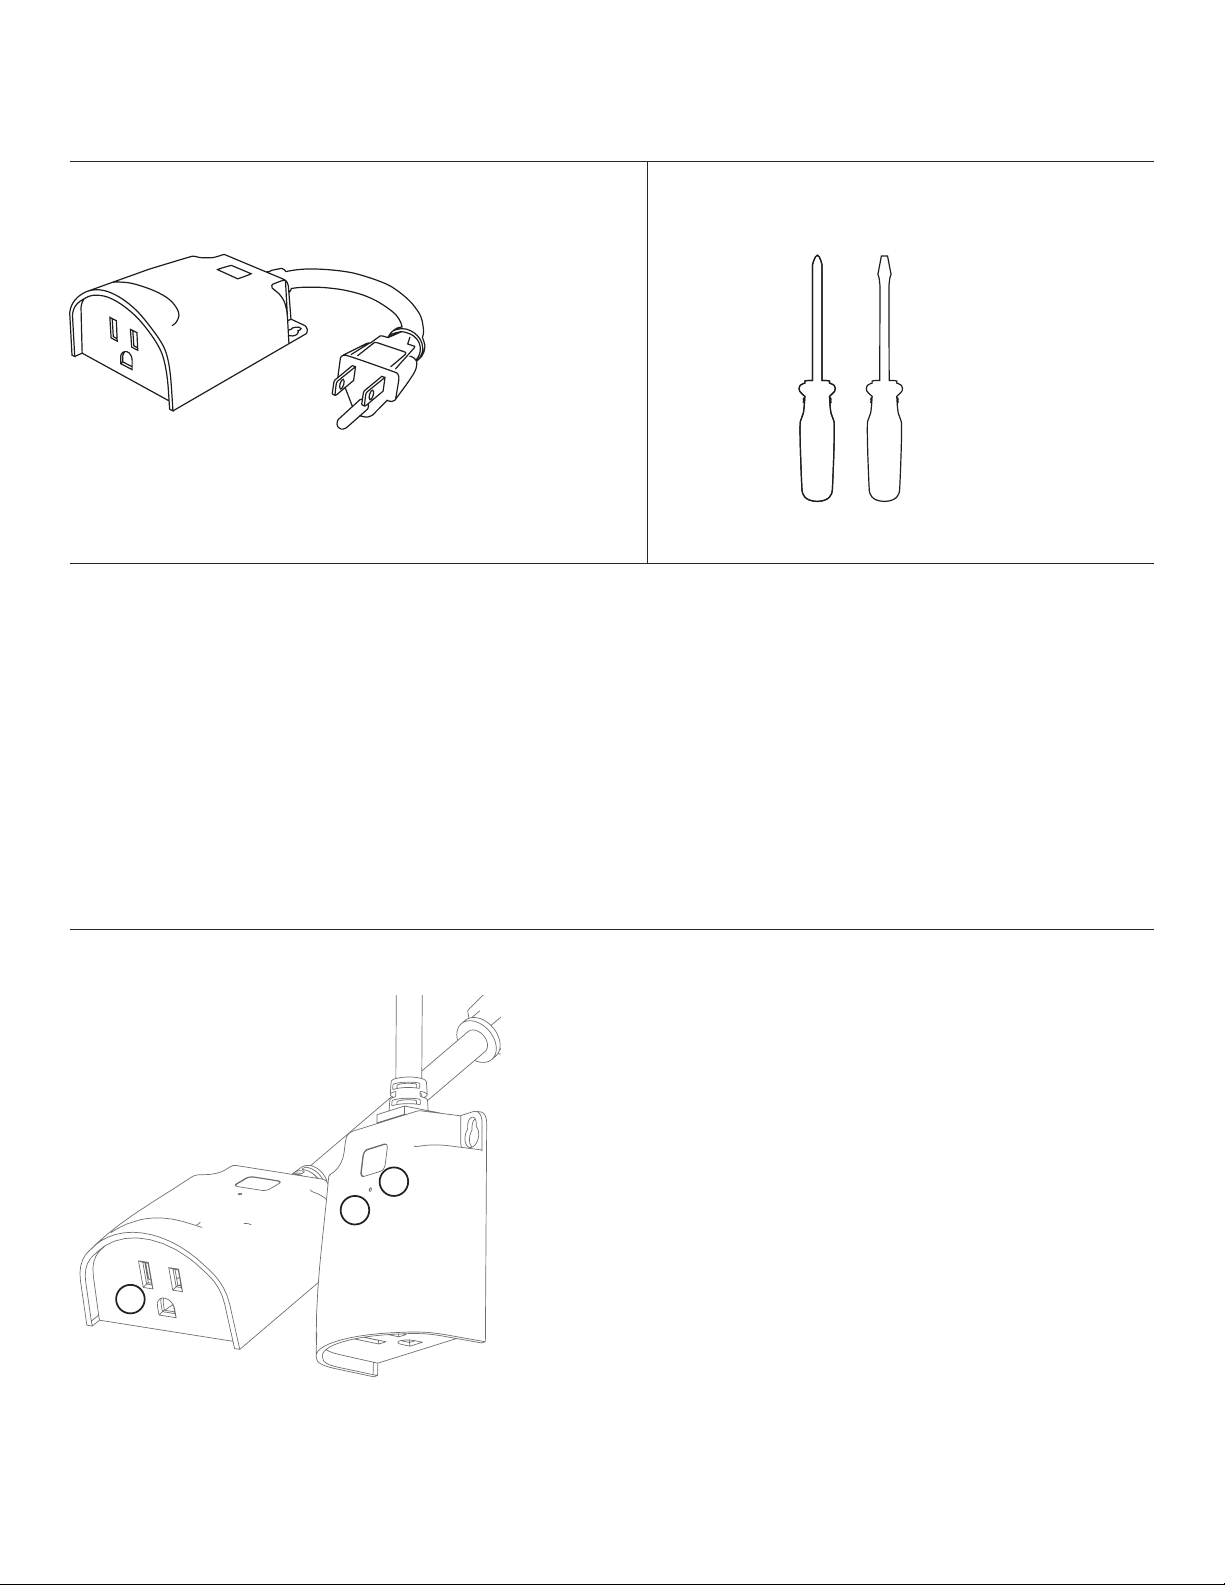
Smart Outdoor Plug - Installation Instructions Pg 3
Option 1 (Batch Process)
1. Place all the device(s) on a table or
within the same room along with LinkPro Z/
TaHoma gateway at min. 5m distance.
2. For each device one at a time,
apply temporary power.
3. Use the TaHoma app products menu, choose
to add Zigbee product. Scan the QR code
located on the bottom of the device on the
box.
4. Complete this step by naming the device in
the TaHoma app.
NOTE: The name chosen will be used for voice
control and in the app.
5. You can now install in the desired location.
6. Apply the steps 2 - 6 again untill all the
device(s) have been paired with your
gateway.
Option 2 (Remote PoE)
1. Install all of the device(s) in the desired
locations.
2. Up to a 100m category cable connected from
your PoE switch/ injector to your LinkPro Z.
NOTE: This remote commisioning CAT5 cable
must be able to reach the furthest shade
outside the house, from the PoE switch, which
is why you will need a long cable.
3. For each device one at time, move the
LinkPro Z to be a min. of 5m.
4. Use the TaHoma app products menu, choose
to add Zigbee product. Scan the QR code
located on the bottom of the device on the
box.
5. Complete this step by naming the device in
the TaHoma app.
NOTE: The name chosen will be used for voice
control and in the app.
6. Apply the steps 3 - 6 again untill all the
device(s) have been paired with your
gateway.
Option 3 (Remote USB)
1. Install all of the device(s) in the desired locations.
2. Using a USB power bank(sold seperately), connect to the USB power cable that is included with TaHoma
and connect to the internet with WiFi.
3. For each device one at time, move the TaHoma to be a min. of 5m.
4. Use the TaHoma app products menu, choose to add Zigbee product. Scan the QR code located on the
bottom of the device or on the box.
5. Complete this step by naming the device in the TaHoma app.
NOTE: The name chosen will be used for voice control and in the app.
6. Apply the steps 3 - 6 again untill all the device(s) have been paired with your gateway.
v. 1.0 І October 8, 2020