manuals.online logo
Brands
  1. Home
  2. •
  3. Brands
  4. •
  5. Signature Hardware
  6. •
  7. Lantern
  8. •
  9. Signature Hardware Stonehouse EL4804SMBR User manual

Signature Hardware Stonehouse EL4804SMBR User manual

1
Recommended Tools and Accessories
Outils et matériaux recommandés / Herramientas y materiales recomendados
EL4804SMBR
GC
(B) Mounting Bracket (C) Short Machine Screws (2pcs)
GND
B D E F J
L M
(D) Screws Collar Loop (E) Canopy (F) Screw Collar Ring (G) Wire Connector (3pcs)
(J) Chain (L) Screw Collar Loop (1pc) (M) Hex Nut (2pcs)
N
(N) Quick Link (1pc)
HANGING LANTERN
CAUTION:
Shut off main power supply before cleaning
product or changing light bulbs.
To clean, wipe with damp cloth.
Do not use abrasive cleaners or cleaners
that contain alcohol.
CARE AND MAINTENANCE:
All glass is fragile. Use care when handling
glass shades and bulbs.
SOINS ET ENTRETIEN :
Pour nettoyer, essuyer avec un chiffon
humide. Ne pas utiliser de produits de
nettoyage abrasifs ou contenant de
l'alcool.
MISE EN GARDE :
Couper l'alimentation électrique
principale avant de nettoyer ce produit
ou de changer une ampoule. Pour
nettoyer, essuyer avec un chiffon
humide. Ne pas utiliser de produits de
nettoyage abrasifs ou contenant de
l'alcool.
CUIDADO Y MANTENIMIENTO:
Use un trapo húmedo para limpiar.
No utilice limpiadores abrasivos o
limpiadores que contengan alcohol.
Corte el suministro principal de
energía antes de limpiar el producto
o cambiar las bombillas. Use un
trapo húmedo para limpiar. No utilice
limpiadores abrasivos o limpiadores
que contengan alcohol.
PRECAUCIÓN:
(B) Support de fixation
(B) Abrazadera de montaje (C) Vis de fixation courtes (2)
(C) Tornillos cortos maquinados (2 pzas)
(D) Vis de fixation (2)
(D) Tornillos de montaje (2 pzas) (E) Monture
(E) Marquesina (F) Bague d'accouplement filetée
(F) Tornillo collar aro (G) Capuchons de connexion (3)
(G) Conectores de cable (3 pzas)
Chaîne
(J) Cadena
(J) (L) Anneau d'accouplement fileté (1)
(L) Tornillo collar lazo (1 pza) (M)Écroushexagonaux(2)
(M) Tuerca hexagonal (2 pzas) (N) Maillon de raccordrapide (1)
(N) Eslabón rápido (1 pza)

CONSERVEZCEMANUEL:METTEZ‐LEÀLA
DISPOSITIONDESCONSOMMATEURS.LISEZ
COMPLÈTEMENTCESINSTRUCTIONSAVANT
D'INSTALLERLEPRODUIT:POURTOUTE
QUESTIONCONCERNANTLEPRODUITOU
SONINSTALLATION,VEUILLEZAPPELERLE
SERVICEÀLACLIENTÈLEAU1‐800‐221‐3379.
GUARDEESTEMANUAL:CONSÉRVELO
PARAUSODELCONSUMIDOR.LEAESTAS
INSTRUCCIONESPORCOMPLETOANTESDE
INSTALARELPRODUCTO:SITIENE
PREGUNTASSOBREELPRODUCTOOLA
INSTALACIÓNLLAMEALSERVICIOAA
CLIENTESAL1‐800‐221‐3379.
SAVETHISMANUAL:RETAINFOR
CONSUMER’SUSE.READTHESE
INSTRUCTIONSCOMPLETELYBEFORE
INSTALLINGTHEPRODUCT:FOR
PRODUCTORINSTALLATIO
QUESTIONS

PLEASECALLCUSTOMER.
SERVICEAT1‐800‐221‐3379.
Stonehouse
August / 2019
Installation
2
1. Shut off the power at the circuit breaker and remove
old fixture, including the crossbar.
2. Carefully unpack your new fixture and lay out all the
parts on a clear area. Take care not to lose any small
parts necessary for installation.
3. Attach the cross bar (B) to the outlet box (A) (not
supplied) using the 2 screws provided with the outlet
box (A).
6 . Move up thecanopy (E) to the ceiling and secured by
the screw collar ring (F) to the screw sollar loop (D).
5 . Connect the screw collar L oop (D) with the chain (J )
by the quuick link (N) .
1.Coupezlecourantauniveaududisjoncteuret
retirezl'anciennelampe,ycomprislabarre
transversale.
2.Déballezsoigneusementvotrenouvellelampem
uraleetétaleztouteslespiècessurune
surfacedégagée.Faitesattentionànepas
perdrelespetitespiècesnécessairespour
l'installation.
3.Fixezlabarretransversale(B)àlaboîteà
prises(A)(nonfournie)àl'aidedes2vis
fourniesaveclaboîteàprises(A).
4.BRANCHEMENTS:Connectezensuitelesfils
électriquescommesuit:raccordezlefilnoirdu
luminaireaufilnoir(phase)delamaison.
Raccordezlefilblancduluminaireaufilblanc
(neutre)delamaison.Veillezàcequetousles
capuchonsdeconnexionsoientbienserrés.
Vouspouvezenvelopperlesraccordementsavec
durubanisolant.Sivotreprisepossèdeunfilde
miseàlaterre(vertoucuivrenu),raccordezlefil
demassedelalampeàcefil.Sinon,raccordez
lefildemasseduluminairedirectementàla
barretransversaleenutilisantlavisverte
fournie.Rentrezsoigneusementles
filsraccordésdansleboîtierélectriquedu
plafond.
Raccordezl'anneaud'accouplementfileté(D)àla
chaîne(J)àl'aidedumaillonderaccordrapide
(N).
6.Faitesmonterlamonture(E)versleplafond
etfixez‐laenvissantla
bagued'accouplementfiletée(F)sur
l'anneaud'accouplementfileté(D).

1.Cortelaenergíadesdeeldisyuntoryquiteel
accesorioviejocontodoylabarra.
2.Desempaquecuidadosamentesunuevo
accesorioyextiendalaspartesenunárealibre.
Pongacuidadoennoperderningunadelas
partespequeñasnecesariasparalainstalación.
3.Adjuntelabarratransversal(B)alacajade
tomacorrientes(A)(noincluida)usando2
tornillosqueseproporcionanconlacajade
tomacorrientes(A).
4.CONECTANDOLOSCABLESAhoraconecte
loscableseléctricoscomosigue:Conecteel
cablenegrodesdeelaccesorioalcable
(corriente)quesesuministra.Conecteelcable
blancodesdeelaccesorioalcableblancoquese
suministra.Revisequetodosastuercasde
cableesténaseguradas.Puedeenvolverlas
conexionesconcintadeaislar.Siel
tomacorrientesllevauncableatierra(verdeo
decobresinrevestimiento),conecteelcablea
tierradelaccesorio.Encasocontrarioconecte
elcableatierradelaccesoriodirectamenteala
barratransversalusandoeltornilloverdeque
seproporciona.Acomodelasconexionesdel
cablecuidadosamentedentrodelacajade
conexióndeltecho.5.Conecteeltornillocollar
lazo(D)conlacadena(J)poreleslabónrápido
(N).
6.Muevalamarquesina(E)haciaarribaaltecho
yasegúrelaporeltornillocollaranillo(F)al
tornillocollardelazo(D).


Installation
Instalación

Connect Black or Red
Supply Wire (Lead Wire) to:
Connect White Supply
Wire (Neutral Wire) to:
Black wire White wire
*Parallel wire (round or smooth) *Parallel wire (square or ridged)
Clear, brown, gold or black
wire without tracer
Clear, brown, gold or black
wire with tracer
Insulated wire (other than green)
with copper conductor
Insulated wire (other than green)
with silver conductor
* When parallel wires are used, the neutral
wire is ridged down its length and the
other wire is round and smooth (see illus.).
Neutral Wire
4. CONNECTING THE WIRES
Now connect the electrical wires as follows:
Connect the smooth wire from the fixture to the
black or red (lead) supply wire. Connect the
ridged wire from the fixture to the white (neutral)
supply wire. Make sure all wire nuts are secured.
You may wrap the connections with electrical
tape. If your outlet has a ground wire (green or
bare copper), connect fixture’s ground wire to it.
Otherwise, connect fixture’s ground wire directly to
the crossbar using the green screw provided.
Tuck the wire connections neatly into the ceiling
junction box.
August / 2019

Other Signature Hardware Lantern manuals

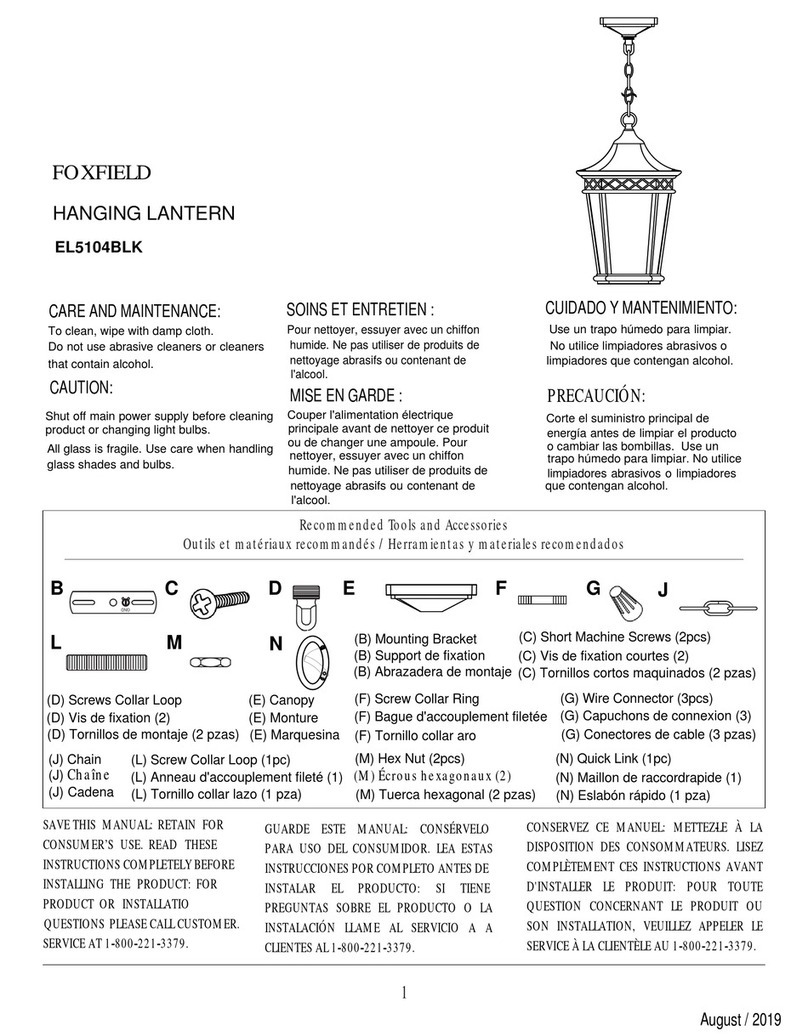
Signature Hardware FOXFIELD EL5104BLK User manual

Signature Hardware

Signature Hardware FOXFIELD EL5104BLK User manual

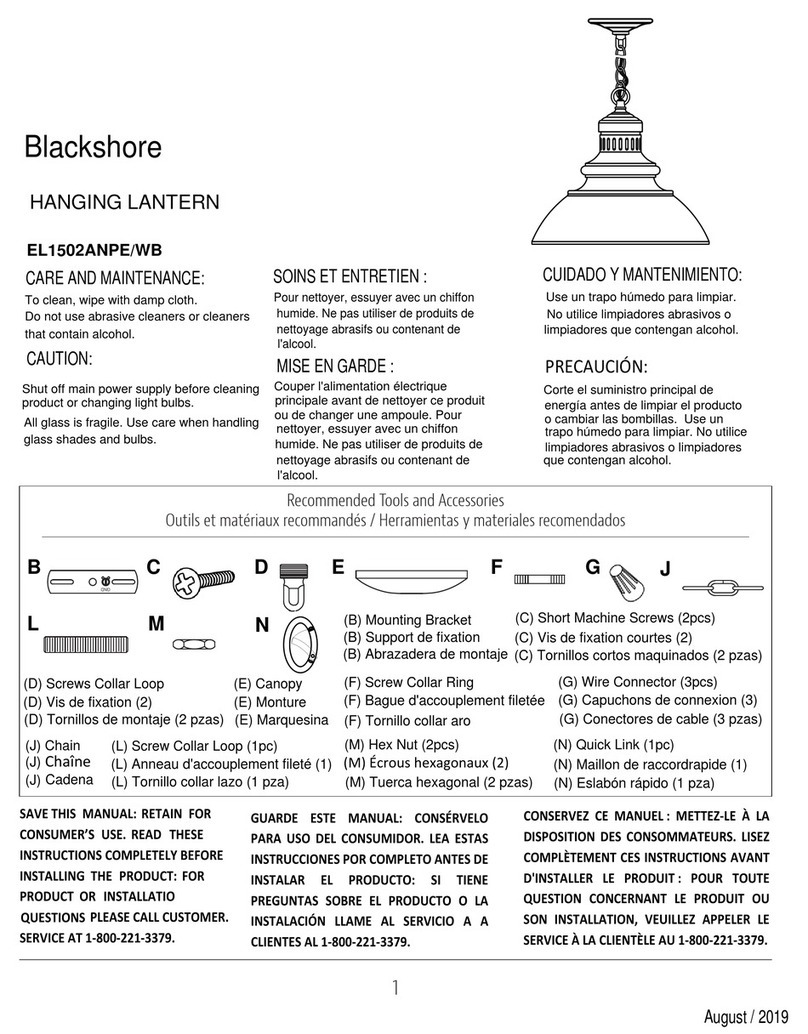
Signature Hardware Blackshore EL1502ANPE/WB User manual

Signature Hardware

Signature Hardware Blackshore EL1502ANPE/WB User manual

Signature Hardware FAIR AVENUE 953130 User manual

Signature Hardware

Signature Hardware FAIR AVENUE 953130 User manual

Signature Hardware CARDIGAN 440646 User manual

Signature Hardware

Signature Hardware CARDIGAN 440646 User manual

Signature Hardware Burruss EL2501ASGR/CMNT User manual

Signature Hardware

Signature Hardware Burruss EL2501ASGR/CMNT User manual

Signature Hardware AMBLER 434134 User manual

Signature Hardware

Signature Hardware AMBLER 434134 User manual

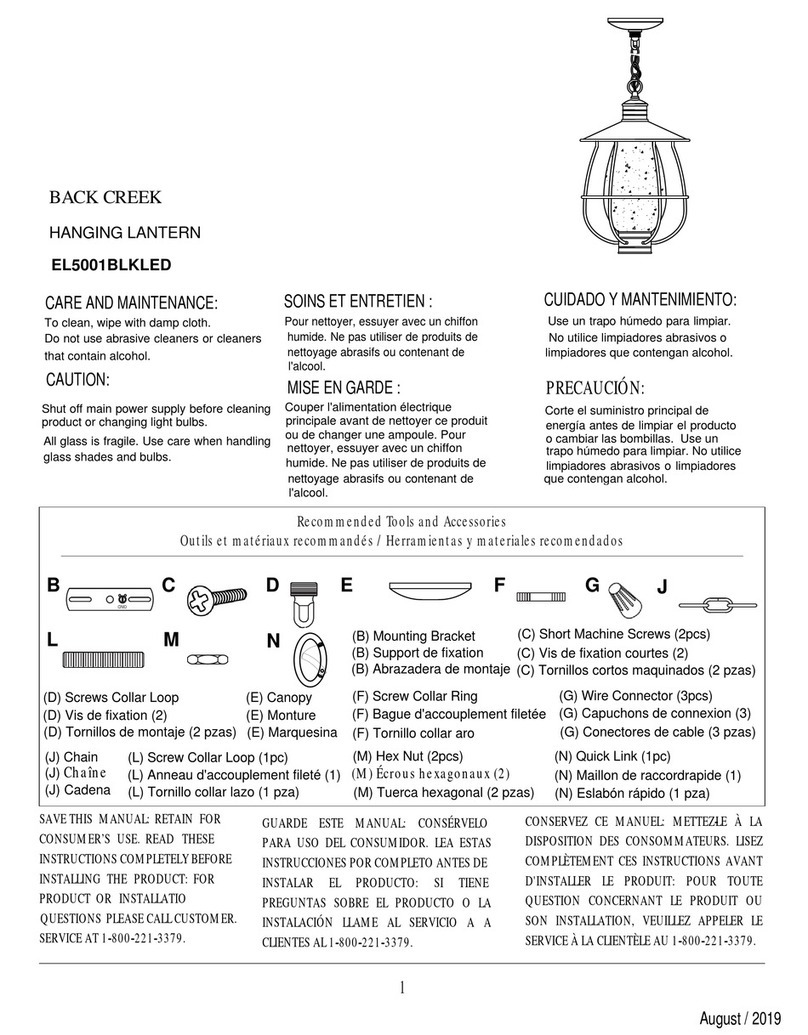
Signature Hardware BACK CREEK EL5001BLKLED User manual

Signature Hardware

Signature Hardware BACK CREEK EL5001BLKLED User manual

Signature Hardware ALTIMETER 434131 User manual

Signature Hardware

Signature Hardware ALTIMETER 434131 User manual

Popular Lantern manuals by other brands

GOAL ZERO Lighthouse 600 user guide

GOAL ZERO

GOAL ZERO Lighthouse 600 user guide

HAMPTON BAY W190427-1SS Use and care guide

HAMPTON BAY

HAMPTON BAY W190427-1SS Use and care guide

FLORABEST KH4102-04-V2 operating instructions

FLORABEST

FLORABEST KH4102-04-V2 operating instructions

BlueRhino OUTDOOR LP GAS LANTERN GLL905W owner's manual

BlueRhino

BlueRhino OUTDOOR LP GAS LANTERN GLL905W owner's manual

Thomas&Betts Sta-Kon LD2P Push-in Wire Series installation instructions

Thomas&Betts

Thomas&Betts Sta-Kon LD2P Push-in Wire Series installation instructions

North Light WX-LED44-31WW-1 operating instructions

North Light

North Light WX-LED44-31WW-1 operating instructions

Cabela's Remote Control 12 LED Floating Lantern 51296 instructions

Cabela's

Cabela's Remote Control 12 LED Floating Lantern 51296 instructions

Gama Sonic GS-114F instruction manual

Gama Sonic

Gama Sonic GS-114F instruction manual

SOMFY LanternLITE Wiring Diagrams & Programming Instructions

SOMFY

SOMFY LanternLITE Wiring Diagrams & Programming Instructions

Finelite HP-4 Recessed installation instructions

Finelite

Finelite HP-4 Recessed installation instructions

Solatube 330 DS installation instructions

Solatube

Solatube 330 DS installation instructions

SLV SLOT BOX LED operating manual

SLV

SLV SLOT BOX LED operating manual

Somogyi home MX 632C instruction manual

Somogyi

Somogyi home MX 632C instruction manual

TOBIAS GRAU CHOICE LUMINAIRE STUDIO Assembly instructions

TOBIAS GRAU

TOBIAS GRAU CHOICE LUMINAIRE STUDIO Assembly instructions

Lumascape LS9120 installation instructions

Lumascape

Lumascape LS9120 installation instructions

GEV LPH 11014 manual

GEV

GEV LPH 11014 manual

Gama Sonic GS-94C-D instruction manual

Gama Sonic

Gama Sonic GS-94C-D instruction manual

Qazqa Vidro FL3 Black instruction manual

Qazqa

Qazqa Vidro FL3 Black instruction manual

manuals.online logo
manuals.online logoBrands
  • About & Mission
  • Contact us
  • Privacy Policy
  • Terms and Conditions

Copyright 2025 Manuals.Online. All Rights Reserved.