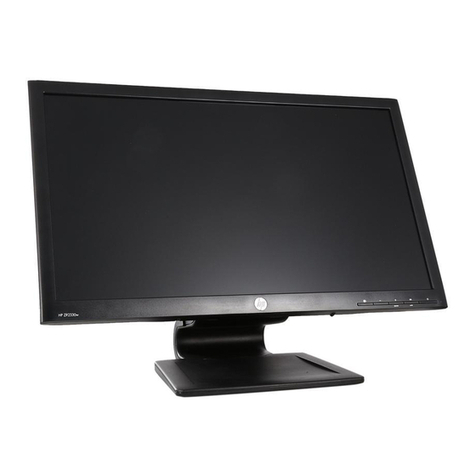
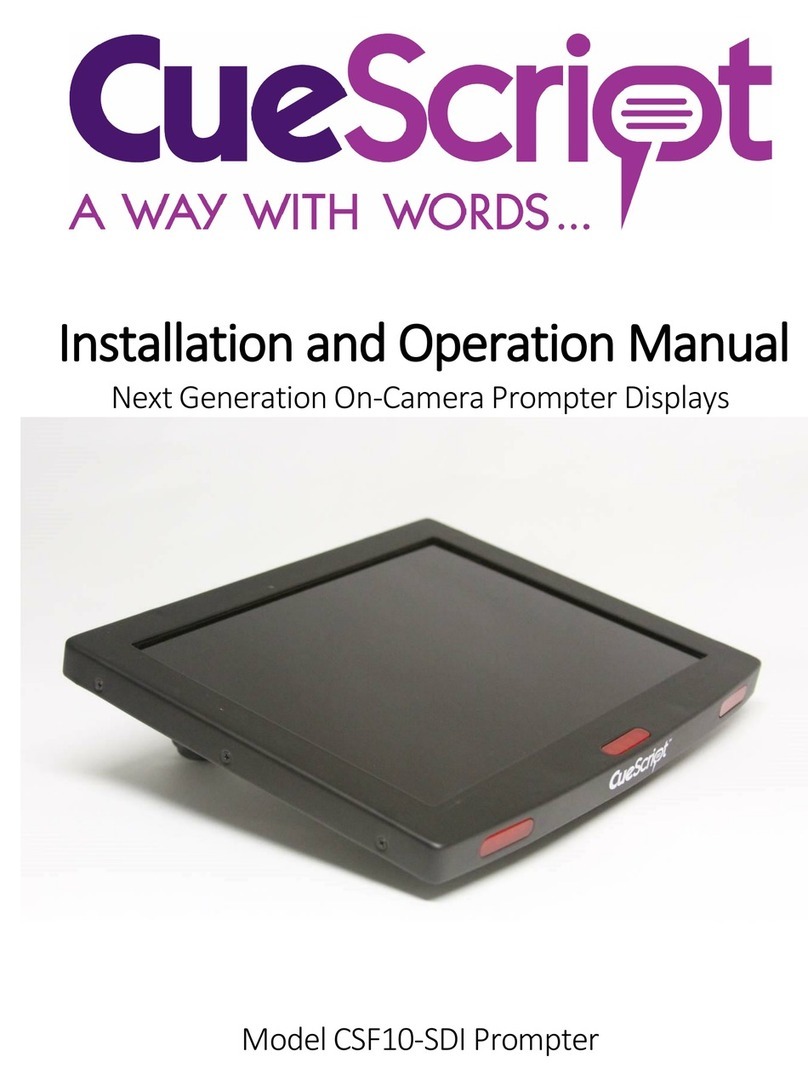
Silicon Graphics Presenter User manual

Presenter Owner’s Guide
Document Number 007-3250-001

Presenter Owner’s Guide
Document Number 007-3250-001
CONTRIBUTORS
Written by Judy Muchowski
Illustrated by Cheri Brown, Kay Maitz, Derrald Vogt
Engineering contributions by Dan Evanicky, Bert Keely, Alice Meng, Steve Siefert,
Richard Wright
Production by Ruth Christian
© 1996, Silicon Graphics, Inc.— All Rights Reserved
The contents of this document may not be copied or duplicated in any form, in whole
or in part, without the prior written permission of Silicon Graphics, Inc.
RESTRICTED RIGHTS LEGEND
Use, duplication, or disclosure of the technical data contained in this document by
the Government is subject to restrictions as set forth in subdivision (c) (1) (ii) of the
Rights in Technical Data and Computer Software clause at DFARS 52.227-7013 and/
or in similar or successor clauses in the FAR, or in the DOD or NASA FAR
Supplement. Unpublished rights reserved under the Copyright Laws of the United
States. Contractor/manufacturer is Silicon Graphics, Inc., 2011 N. Shoreline Blvd.,
Mountain View, CA 94043-1389.
Silicon Graphics is a registered trademark and Indy Presenter is a trademark of
Silicon Graphics, Inc. Dukane is a registered trademark of Dukane Corporation.

iii
Contents
List of Tables ix
Introduction xi
1. Setting Up and Using the Presenter Monitor 1
Setting Up the Presenter Monitor 1
Connecting the Cables 3
Turning on the Presenter 6
Starting Presenter With the Monitor Control Panel 6
Restarting the Presenter Monitor 7
Turning Off the Presenter 8
Setting Up the Presenter on the Dukane Customized Projector 8
Adjusting the Brightness 14
Switching to 15-Bit Color Mode 14
Adjusting the Volume and Tone of the Speakers 15
Using Headphones 16
Using a Screen Saver 16

iv
Contents
2. Troubleshooting 17
Problems with the Presenter Monitor 17
No Image 17
Image Is Too Light or Too Dark 18
Image Is Distorted 18
Backlight Stays on When Back Panel is Removed 19
Screen is White 19
Vertical Streaks Above or Below Edges of Windows 19
Icons at the Edges of the Screen Not Visible 20
No Sound From the Stereo Speakers 20
Problems with the Dukane Overhead Projector 21
No Image on the Overhead Projector or Image Is Reversed 21
Diagnostics Tests for the Presenter 22
Product Support: Presenter 22
Product Support: Dukane Overhead Projector 22
Returning the Presenter to Silicon Graphics 23
3. Maintenance, Technical Specifications and Regulatory Information 25
Cleaning and General Care of the Presenter Monitor 25
Transporting the Presenter 27
Transporting the Dukane Overhead Projector 28
Technical Specifications 29
Manufacturer’s Regulatory Declarations 31
Regulatory Label 31
Electromagnetic Emissions 31
Radio and Television Interference 32
Electrostatic Discharge 33
Shielded Cables 34
Product Safety 34
A. Liquid Crystal Display (LCD) Technology 35
Display 35
Differences Between LCD and CRT Technology 36

v
Quality 37
Backlight Brightness 37
Index 39


vii
Figures
Figure 1-1 Front View of the Presenter 2
Figure 1-2 Connecting the Interface Cable to the Presenter 4
Figure 1-3 Connecting the Power Cable 5
Figure 1-4 Setting Up the Dukane Overhead Projector. 9
Figure 1-5 Removing the Backlight Panel 11
Figure 1-6 Placing the Presenter on the Overhead Projector 12
Figure 1-7 Replacing the Backlight Panel 13
Figure 3-1 Removing the BackLight Panel 26
Figure 3-2 Rotating the Base for Packing the Presenter 27
Figure 3-3 Japanese VCCI Class 1 Statement 32


ix
List of Tables
Table 3-1 Technical Specifications for the Presenter 29


xi
Introduction
Congratulations on purchasing the Presenter, Silicon Graphics’1024 x 768
full-color, flat-panel monitor with stereo speakers and overhead projection
capability.
This guide assumes that the hardware adapter board for the Presenter is
installed in your workstation. If it is not, install it first, following the
instructions in the manual that comes with the adapter board.
Chapter 1 explains how to set up the Presenter as a monitor for your
workstation and how to use it on the Silicon Graphics®customized
Dukane®overhead projector. You can use the Presenter with either the
Dukane 28A681 or 28A682 projectors.
Chapter 2 contains troubleshooting and product support information. It also
explains how to clean the Presenter, and how to pack it for shipping.
Chapter 3 provides technical specifications and regulatory information.
Appendix A provides technical information on liquid crystal display
technology.


1
Chapter 1
1. Setting Up and Using the Presenter Monitor
This chapter explains how to set up Presenter as a monitor for your
workstation, and how to use it on the customized Dukane overhead
projector to project images on a screen.
Before using Presenter, make sure the Presenter adapter board has been
installed in your workstation.
Caution: Your Presenter monitor is designed to function at maximum
performance and reliability with the Dukane Overhead Projector. If you use
another projector, cooling of the display, stable mounting, and brightness of
the projected image will all be compromised. A bright overhead projector
without proper cooling of the display may cause permanent damage to Presenter.
Setting Up the Presenter Monitor
To set up Presenter with the workstation, follow these steps.
1. Unpack the Presenter monitor.
Note: Don’t be concerned that the name on the Presenter monitor is
“Indy Presenter.”With the Presenter adapter board installed, the Indy
Presenter works on other workstations.
■Lift the Presenter monitor and the external cables from the box. It’s
a good idea to save the original shipping materials in the event that
you need to return it for service.
■Remove Presenter from the plastic bag.

2
Chapter 1: Setting Up and Using the Presenter Monitor
2. Remove the protective film from the screen, being careful not to get
fingerprints on the coated-glass surface.
The display is made of glass, coated with optical films and is the most
expensive component in the Presenter. A sharp instrument such as a
pen can scratch the surface. Striking the surface with a hard object can
break the glass.
3. Tilt the base of the Presenter to form a stand, as shown in Figure 1-1,
and place it on a flat surface.
Note: You can leave your CRT monitor connected to the workstation while
using the Presenter.
Figure 1-1 Front View of the Presenter
You are now ready to connect the Presenter monitor’s external cables.
Speakers

Setting Up the Presenter Monitor
3
Connecting the Cables
If the Presenter board is not already installed in your workstation, install it
now, referring to the installation manual that comes with it.
To use the Presenter monitor, you must connect two cables:
•the interface cable (the one with identical flat connectors at each end)
•the power cable
Note: You do not need to turn off the workstation before connecting the
cables.

4
Chapter 1: Setting Up and Using the Presenter Monitor
Follow these steps to connect the cables.
1. Connect the interface cable to the Presenter. It’s important that you
connect the interface cable before the power cable.
The connectors on the cable and on the Presenter have an elongated
“D”shape. Make sure the “D”shapes match each other.
■Connect either end of the interface cable to the connector on base of
the Presenter, as shown in Figure 1-2.
■Connect the other end of the interface cable to the Presenter adapter
I/O port on your workstation. If necessary, refer to the installation
manual that comes with the Presenter board.
Figure 1-2 Connecting the Interface Cable to the Presenter
To workstation

Setting Up the Presenter Monitor
5
2. Connect the power cable to the Presenter and then to an electrical
outlet, as shown in Figure 1-3. (Figure 1-3 shows the power cable for the
U.S.A. The power cable for your country may look different.)
■Connect the socket end to the power connector on the base of the
Presenter.
■Connect the other end to a three-pronged grounded electrical wall
outlet or power strip.
Note: The power supply for the Presenter is auto-ranging. With the
appropriate power cable or adapter for your country, you can plug the
Presenter into almost any power source (50-60 Hz, 110/220 VAC).
Figure 1-3 Connecting the Power Cable
You are now ready to use the Presenter monitor.
To workstation

6
Chapter 1: Setting Up and Using the Presenter Monitor
Turning on the Presenter
The Presenter has no power switch. If your workstation and CRT monitor
are on when you connect the Presenter, you start the Presenter from the
Monitor Control Panel. See “Starting Presenter With the Monitor Control
Panel”below.
If your workstation is off when you connect Presenter, turning on the
workstation automatically turns on Presenter. The display takes about a
minute to warm up, so the image may appear dim at first.
If there is no image on the Presenter, make sure the external cables are
connected correctly, as described in “Connecting the Cables”on page 3.
Then go to Chapter 2, “Troubleshooting”for help in solving the problem.
Note: If you have a high resolution (1280 x1024 pixels) CRT monitor
connected to the workstation and you connect the Presenter, the CRT
monitor is set to 1024 x 768 pixels. Therefore icons at the extreme edges of
your screen may not be visible. To remedy this, move the icons away from
the edges of the screen before turning on the Presenter. If you disconnect the
Presenter and wish to return your CRT monitor to its default resolution, type
the following from a UNIX shell:
su
/etc/killall Xsgi
If the workstation is on and Presenter is disconnected, see “Restarting the
Presenter Monitor”on page 7.
Starting Presenter With the Monitor Control Panel
If your workstation and CRT monitor were already on when you connected
Presenter, follow these steps to start it:
1. On the CRT monitor, open the Monitor Panel in either of the following
ways:
•From the Find menu in the Toolchest, choose “Control Panels,”and
double-click the monpanel icon.

Turning on the Presenter
7
•From a UNIX shell, enter:
monpanel
2. When the Monitor Control Panel appears, click Turn on Presenter or
Restart Presenter.
If you have a root password set, enter it when prompted, and click the
OK button.
If your CRT monitor is 1024 x 768 pixels, you see a message that turning
on the Presenter stops all running applications. Close any applications
for which you may lose data.
3. When you are ready for applications to be stopped, click Continue to
turn on Presenter.
For more information on using the Monitor Control Panel for the Presenter,
see the reference page (man page). From a shell window, type:
man monpanel
Restarting the Presenter Monitor
If the workstation is on and Presenter is disconnected, you can reconnect it
and restart it from the Monitor Control Panel on the CRT monitor. See the
steps below. Note that restarting the Presenter resets the backlight and bit
mode to their original settings, that is, nearly full backlight and 12-bit mode.
If you have no CRT monitor attached there are two ways you can restart
Presenter:
•Reconnect Presenter and restart the workstation.
•If you are on a network, use the Monitor Control Panel to restart the
Presenter. From another system on the network, log in to your system
remotely, and type monpanel -restart at the shell prompt.
Follow these steps to restart Presenter:
1. Open the Monitor Panel in either of the following ways:
■From the Find menu in the Toolchest, choose “Control Panels”and
double-click the monpanel icon.

8
Chapter 1: Setting Up and Using the Presenter Monitor
■From a UNIX shell, enter:
monpanel
2. When the Monitor Control Panel appears, click Restart Presenter.
Turning Off the Presenter
The Presenter turns off automatically when you turn off the workstation.
If you have a CRT monitor connected to your workstation, you can
disconnect the Presenter’s interface and power cables instead of powering
off the workstation. To restart the Presenter, connect the interface cable and
then the power cable. Then open the Monitor Control Panel on the CRT
monitor by choosing “Control Panels”from the Find menu in the Toolchest
and double-click the monpanel icon. Then click Restart Presenter.
Note: It’s important when you reconnect the Presenter’s cables that you
connect the interface cable first and then the power cable. Connecting them
in the reverse order results in a distorted image.
If no CRT monitor is connected to the workstation, you can disconnect the
Presenter’s interface and power cables instead of powering off the
workstation. To restart the Presenter, reboot your workstation after
connecting the interface cable and the power cable.
If you are not planning to use the Presenter for a few hours, it’s a good idea
to disconnect it. Leaving the display on for long periods of time shortens the
life of the display’s backlight.
Setting Up the Presenter on the Dukane Customized Projector
Caution: The Presenter is designed to function at maximum performance
and reliability with the Dukane Overhead Projector. If you use it with
another projector, cooling of the display, stable mounting, and brightness of
the projected image will all be compromised. A bright overhead projector
without proper cooling of the display may cause permanent damage to the Presenter.
Table of contents
Other Silicon Graphics Monitor manuals
Silicon Graphics
Silicon Graphics F181 User manual
Silicon Graphics
Silicon Graphics GDM-5411 User manual
Silicon Graphics
Silicon Graphics 1600SW User manual
Silicon Graphics
Silicon Graphics Presenter 1280 User manual
Silicon Graphics
Silicon Graphics GDM-5411 User manual
Silicon Graphics
Silicon Graphics Reality Center User manual
Silicon Graphics
Silicon Graphics C220 User manual
Silicon Graphics
Silicon Graphics GDM-FW9011 User manual
Silicon Graphics
Silicon Graphics Silicon Graphics F190 User manual
Silicon Graphics
Silicon Graphics F180 User manual
