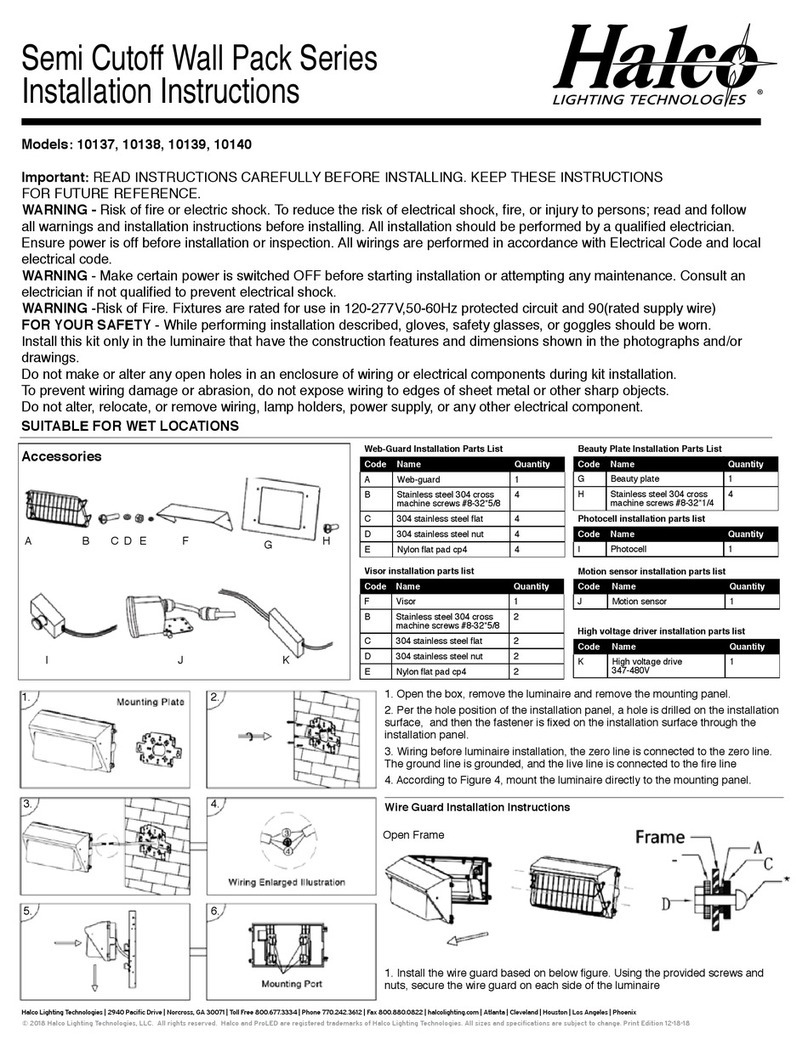
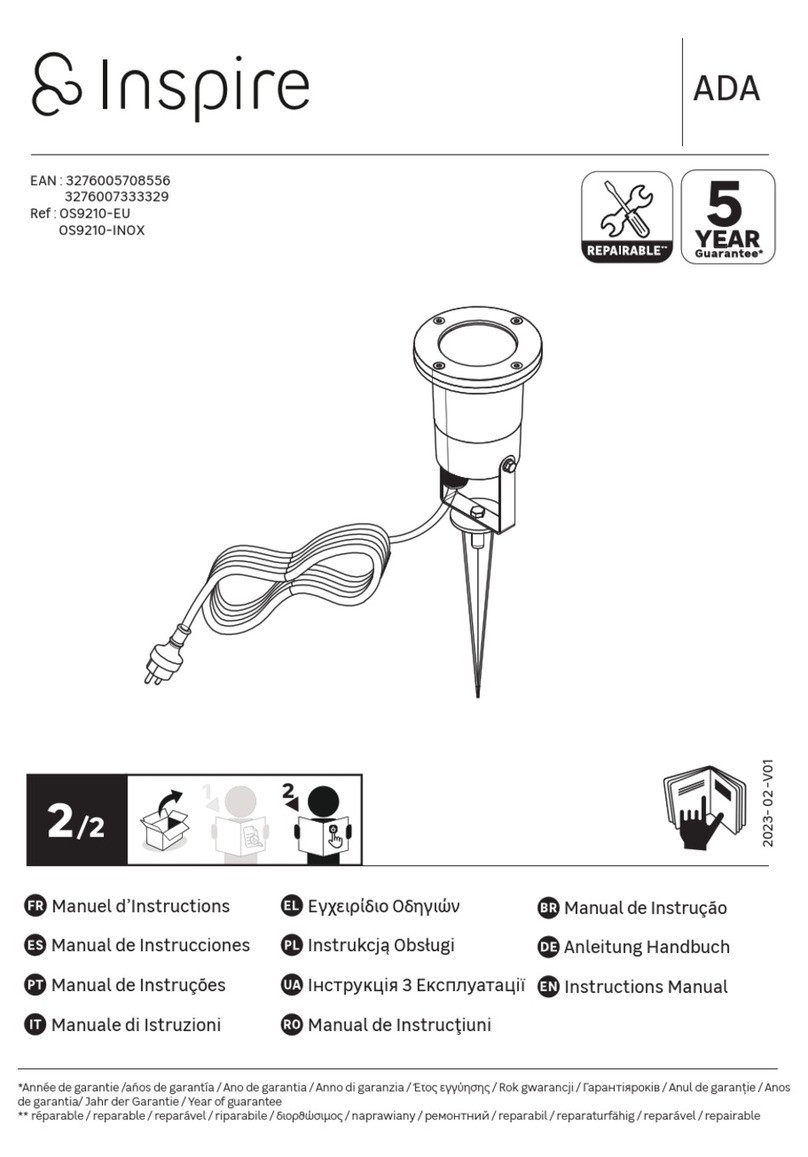
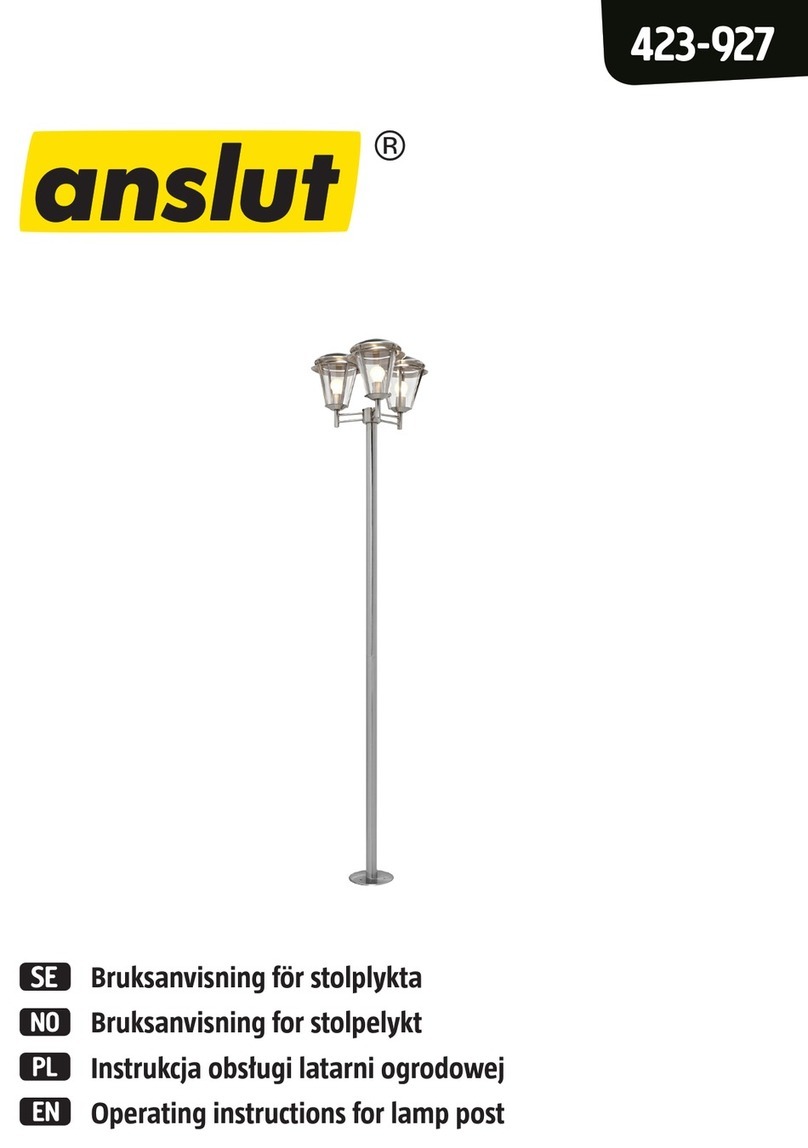
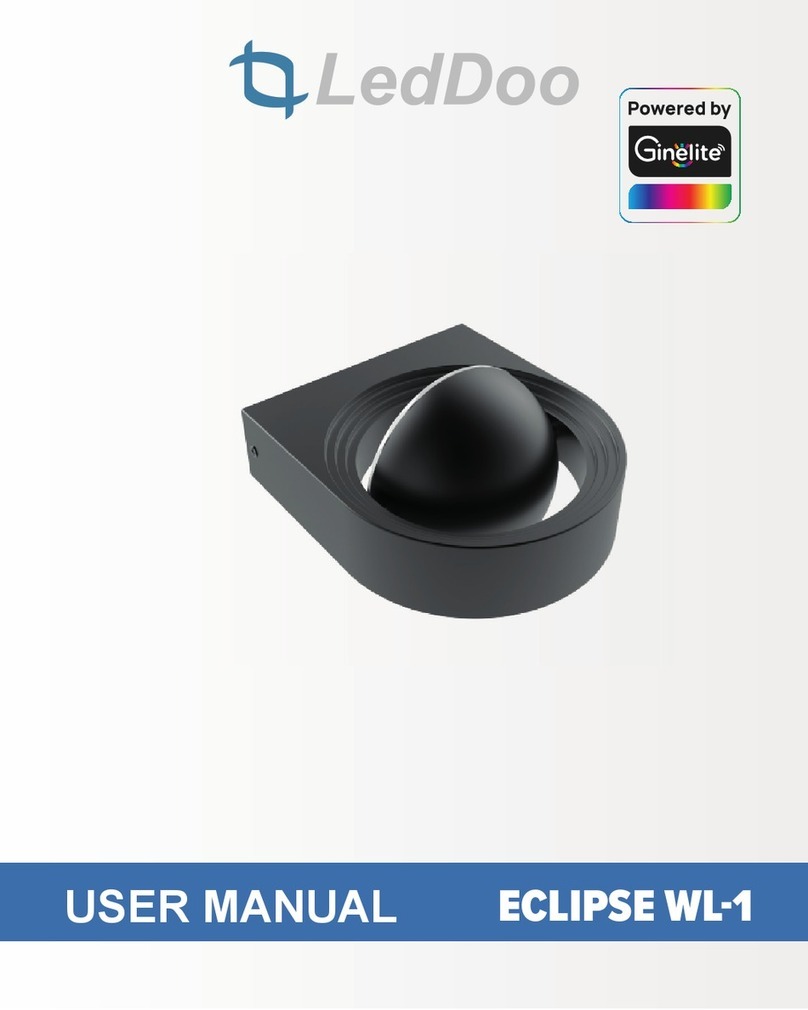
SIMES REEF Series User manual

FLANGIA REEF / REEF ROOT S.5203
PALETTO MUSICALE / MUSICAL BOLLARD
OK
NO !!
7
Light direction
REEF 2X90°
A
A
LUCE-LIGHT-LICHT-LUZ
LUCE
LIGHT
LICHT
A
REEF 180°
REEF 2x90°
REEF 360°
A
FLANGIA
ROOT
LUCE
LIGHT
LICHT
LUCE
LIGHT
LICHT
LUZ
LUCE
LIGHT
LICHT
LUZ
LUCE
LIGHT
LICHT
LUZ
LUCE-LIGHT-LICHT-LUZ
LUCE
LIGHT
LICHT
LUZ
Plinto in cemento
Concrete base
Valujalusta
ISTRACCREEF REV 005/06
A
90°
M8x30
1 2 3 4
5 6 7 8
S.5203
POSIZIONE DELLA FLANGIA A TERRA / ROOT POSITION IN THE GROUND
PER APPLICAZIONE DIRETTA DEL PRODOTTO O VERSIONE MUSICALE /
FOR DIRECT APPLICATION OR MUSICAL BOLLARD VERSION

PALETTO REEF
REEF BOLLARD
7
1
S.5203
REEF 2X90°
Light direction
A
A
LUCE - LIGHT
LICHT-LUZ
LUCE
LIGHT
LICHT
LUZ
A
REEF 180°
REEF 2 x 90°
A
FLANGIA
ROOT
LUCE
LIGHT
LICHT
LUZ
LUCE
LIGHT
LICHT
LUZ
LUCE
LIGHT
LICHT
LUZ
LUCE - LIGHT
LICHT-LUZ
REEF 360°
M8x60
M8x30
M8
2 3 4
5 6 7 8
ISTRACCREEF REV 005/06
Plinto in cemento
Concrete base
Valujalusta
A
POSIZIONE DELLA FLANGIA A TERRA / ROOT POSITION IN THE GROUND
PER APPLICAZIONE CON PALETTO / FOR BOLLARD APPLICATION

ISTRUZIONI GENERALI DI INSTALLAZIONE
GENERAL MOUNTING INSTRUCTIONS
SE
Säkerhete n hos arma turen gara nteras bar a om man följer europ eiska elekt riska norm er samt bif ogad monteringsanvi sning.
Markarma turer är stä ndigt utsatta för vatten och fuk t, därför m åste instru ktionerna f öljas noga för armatu r och
anslutnings kabel.
Installatio nsarbete få r endast ut föras av be hörig perso n.
No caso d a SIMES d ar o seu ac ordo para o envio da
Använd ej högre effe kt än angiv et.
Koppla ur armaturen innan den underhålle s.
Armatur m åste vara j ordanslute n.
ALLE NIET VOORAF TOEGESTANE WIJZIGINGEN AAN DIT TOESTEL ZIJN VERBODEN !!
Het is dan ook noodz akelijk de m ontage-instructies.
strikt te vo lgen, dit vo or een lang durige en p robleemloz e werking v an de inst allatie !
De plaats ing van de toestellen dient uiteraard te ge beuren do or gekwali ficeerd per soneel !
Indien Sim es, bij even tuele problemen, de t oestemmin g geeft om een toeste l ter contro le terug te sturen, dan dient het
toestel enk el losgema akt te word en van de inbouwdoos en de ka bel op 20-3 0 cm te wo rden doorg eknipt, zod at er bij de
demontage niet wordt geraakt a an de aans luitdoos noch aan de wurgnippel.
QUALQUER ALTERAÇÃO NESTE APARELHO, SEM AUTORIZAÇÃO, È INTERDITA !!
A segu rança das luminárias é garantid a somente quanto às normas el éctricas eu ropeias e a s instruçõe s encontra m-se na
embalagem . É necess ário conse rvá-las apó s montag em.
Não utiliza r lâmpada s com potê ncia super ior ao limit e indicado .
Cortar a a limentaçã o antes de executar a manuten ção. A luminária deve ser li gada à ter ra.
Utilizar cab os de alim entação d o tipo HAR H07RN-F .
luminária para cont rolo esta não deverá ser desmo ntada
(abrir unica mente o an el superior para a se parar do n egativo de encastram ento se ne cessário).
A caixa de ligaçõe s NÃO DE VE SER ABERT A, o bucim não deve ser mexido .
È necessá rio deixar à saída da c aixa de liga ções um b ocado de c abo de alim entação d e 10 a 20 c m.
NL
P
S.5206
S.5208
S.5209
HIT-CRI
HIT-CRI
TC-T
35W
70W
26W
ART .
G12
G12
Gx24d-3
IP 65
REEF
HIT-CRI
HIT-CRI
TC-T
G12
G12
Gx24d-3
35W
70W
26W
HIT-CRI
HIT-CRI
TC-T
G12
G12
Gx24d-3
35W
70W
26W
BASE DI FISSAGGIO
FIXING BASE
ISTRREEF REV. 2 05/07
Ø 230
220
Ø 250
85
2 ENTRATE CA VO
2 CABLE ENTRIES
4 FORI DI FISSAGGIO
4 FIXING HOLES
S.5216
S.5218
S.5219
S.5226
S.5228
S.5229
242
R4
9
F
32
107
35W
70W
26W
HIT-CRI
HIT-CRI
TC-T
G12
G12
Gx24d-3
S.5236
S.5238
S.5239
35W
70W
26W
HIT-CRI
HIT-CRI
TC-T
G12
G12
Gx24d-3
S.5273
S.5274
S.5275
I
GB
D
F
E
SE
NL
RU
FI
P
Sostiture lo schermo in caso di danneggiamento prima di riutilizzare l’apparecchio.
In case of diffuser damage change it before to switch on the fitting.
Beschädigte Abdeckungen vor erneuter Inbetriebnahme austauschen.
En cas de dommages, remplacer le diffuseur avant réutilisation de l’appareil.
En caso de difusor dañado cambiarlo antes de encender el aparato.
Vid byte av trasigt glas, kopplas armaturen ur.
Bij glasbreuk dient het glas vervangen te worden vooraleer het armatuur aan te schakelen.
в случае повреждения рассеивателя, не включайте светильник до его замены.
Vioittunut suojalasi on vaihdettava uuteen ennen valaisimen käyttöä.
Em caso de avaria do difusor, substituir por outro antes da reutilização da luminária.
- Usare solo ricambi originali SIMES.
- Use only SIMES original spare parts.
Per lampade HIT-TC CRI utilizzare solo lampade UV-STOP
For METAL HALIDE versions use only UV-STOP lamps
Vid använding av METAL HALOGEN, använd bara UV-STOP ljuskällor
Gebruik voor alle Metal Halogeen armaturen uitsluitend UV-STOP lampen
Für Leuchtmittel HIT-TC CRI benutzen nur UV-STOP Lampe
Pour lampes HIT-TC CRI utiliser seleument ampoule UV-STOP Käytä monimetallivalaisimissa vain UV-STOP -lamppuja
Para la versión HIT-TC CRI utilizar solamente lámparas UV-STOP Utilizar somente lâmpadas UV-STOP nas versões HIT-TC CRI
CLASSE II
CLASS II
SHUTZKLASSE II
SUOJAUSLUOKKA II
KLASS II
KLASSE II
II
CLASE II
класс
Lampada Ljuskälla
Lamp Lámpara Lâmpada
Lampe! Lampputyyppi
Светильника

Max
10 mm
IS TR UZIONI G E NE R AL I DI INS TA L L AZIONE
G E NE R AL MOUNTING INS TR UC TIONS
IS TR UZIONI G E NE R AL I DI INS TA L L AZIONE
G E NE R AL MOUNTING INS TR UC TIONS
I
OG NI MODIF IC A DE L L’A P P AR E C C HIO E ’ P R OIB ITA S E NZA P R E VIA A UT OR IZZAZIONE ! !
La sicurezza dell’apparecchio è garantita solo rispettando le normative europee del settore elettrico e le istruzioni
contenute in questa scatola; pertanto è necessario cons ervarle.
Non utilizzare lampade di potenza superiore al limite indicato.
Togliere tensione prima di eseguire le operazioni di manutenzione.
Utilizzare cavi di alimentazione tipo <HAR >.
P er applicazioni a parete tenere l’entrata cavi in bas so.
Nel caso in cui S IME S S .p.A. dia il cons enso al reso di apparecchi per il controllo, es si dovranno essere resi senza
ess ere smontati.
La scatola di cablaggio NON DE VE essere aperta; il pressacavo non deve es sere toccato; deve essere lasciato un
pezzo di cavo di alimentazione di 10-20 cm. uscente dalla scatola di cablaggio.
ANY MODIFIC ATION T O T HIS F IT TING IS FOR B IDDE N WITHOUT A UTHOR IZA TION !!
The safety of the fitting is guaranteed only respecting the electrical E uropean norms and the mounting ins tructions
in this box; therefor it is important to conserve them.
Do not use lamps with higher power than indicated.
Disconnect main voltage before operations.
Use only <HAR > cables.
For wall application leave the cable entry to the bottom.
If S IME S S .p.A. agrees to receive back some fittings for laboratory testing, they MUS T NOT BE DIS AS S E MB LE D.
The connection box, where the wiring to the terminal block is done, must not be opened and you must cut the cable
around 10-20 cm from the connection box.
La sécurité des appareils es t garantie uniquement en respectant les normes électriques européennes et les instructions
contenues dans l'emballage; aussi est-il nécessaire de les conserver.
maintenance
J E DE UNB E F UG TE ÄNDE R UNG AN DIE S E R L E UC HTE IS T V E R B OT E N !!
Die S icherheit der Leuchte ist nur bei E inhaltung der europäischen Normen und der in dies er P ackung enthalten en
Montageanleitungen gewährleistet. Diese sind daher sorgfältig aufzubewahren.
Wenn S IME S S .p.A. der R ücksendung von Leuchten zwecks P rüfung zus timmt, diese bitte vorher nicht zerlegen.
Nicht den Anschlusskasten und die Verschraubung öffnen, das K abel in 10-20 cm.
Abstand von der Anschlussdose durchtrennen.K eine Lampen höherer Leistung als angegeben verwenden.
Vor Wartungsarbeiten die Leuchte vom Netz trennen.
Die Leuchte muss an die E rdung der Anlage angeschlossen sein.
C UAL Q UIE R MO DIF IC A C ION DE L OS A PA R AT OS E S T A P R OHIB IDA S IN AUT OR IZA C ION ! !
La seguridad de los aparatos está garantizada solamente respetando las normas eléctricas E uropeas y las
instrucciones de montaje incluídas en la caja, es importante conservarlas.
E n el caso que S IME S S .p.A. deba analizar algún aparato, deberá entregars e sólo el aro superior.
La caja de cableado NO DE B E AB R IR S E ; el prens a no debe tocarse y debe dejars e un cable de 10-20 cm saliendo de
la caja de cableado.
No usar lámparas de potencia superior a la indicada.
Desconectar voltaje principal antes de continuar las operaciones de mantenimiento.
Los aparatos deben conectarse al circuito de tierra principal.
.
TOUTE MODIF IC ATION DE C E T AP PA R E IL , S ANS AUTOR IS ATION, E ST INT E R DIT E !!
Dans le cas où S IME S S .p.a donne son accord pour un retour d'appareils afin d'en effectuer le contrôle, ceux-ci
devront être rendus sans être démontés. La boîte de câblage ne DOIT PAS être ouverte, le presse-étoupe ne doît pas
être touché; il faut laisser, à la sortie de la boîte de câblage, un morceau de câble d'alimentation de 10 à 20 cm.
Ne pas utiliser des puissances de lampes s upérieures à la limite indiquée.
C ouper l'alimentation avant d'éxécuter toute manutention.
L'appareil doit être relié à la terre.
G B
D
F
E
M20
Ø7÷ 13mm
Lightdirection
A
A
LUC E - LIG H T
LIC HT-LUZ
A
R E E F 180°
R E E F 2 x 90°
A
F L A NG IA
R OOT
LUC E
LIG HT
LIC HT
LUZ
LUC E
LIG HT
LIC HT
LUZ
A
R E E F 360°
L2 N2 L1 N1
min Max
This manual suits for next models
18
Other SIMES Outdoor Light manuals
SIMES
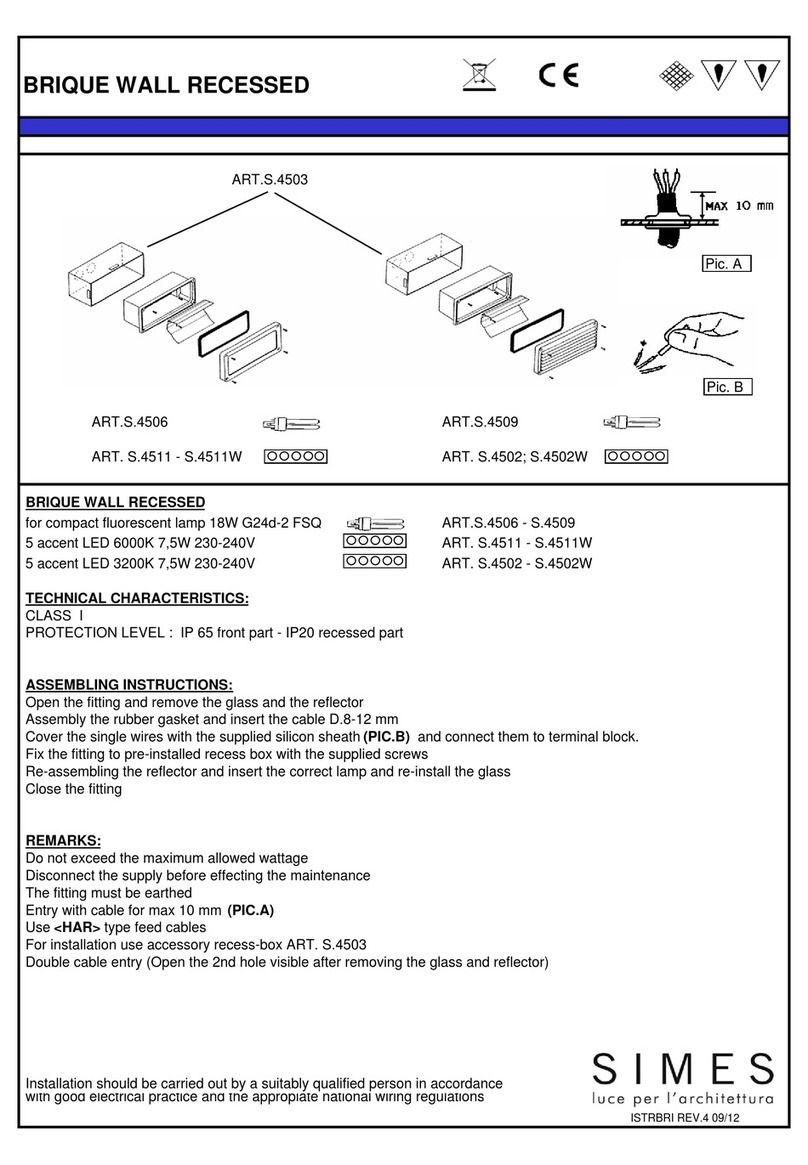
SIMES BRIQUE WALL RECCESSED User manual

SIMES
SIMES MINI MOAI S.6150 User manual

SIMES
SIMES MINIBRIQUE STEP RECESSED User manual
SIMES
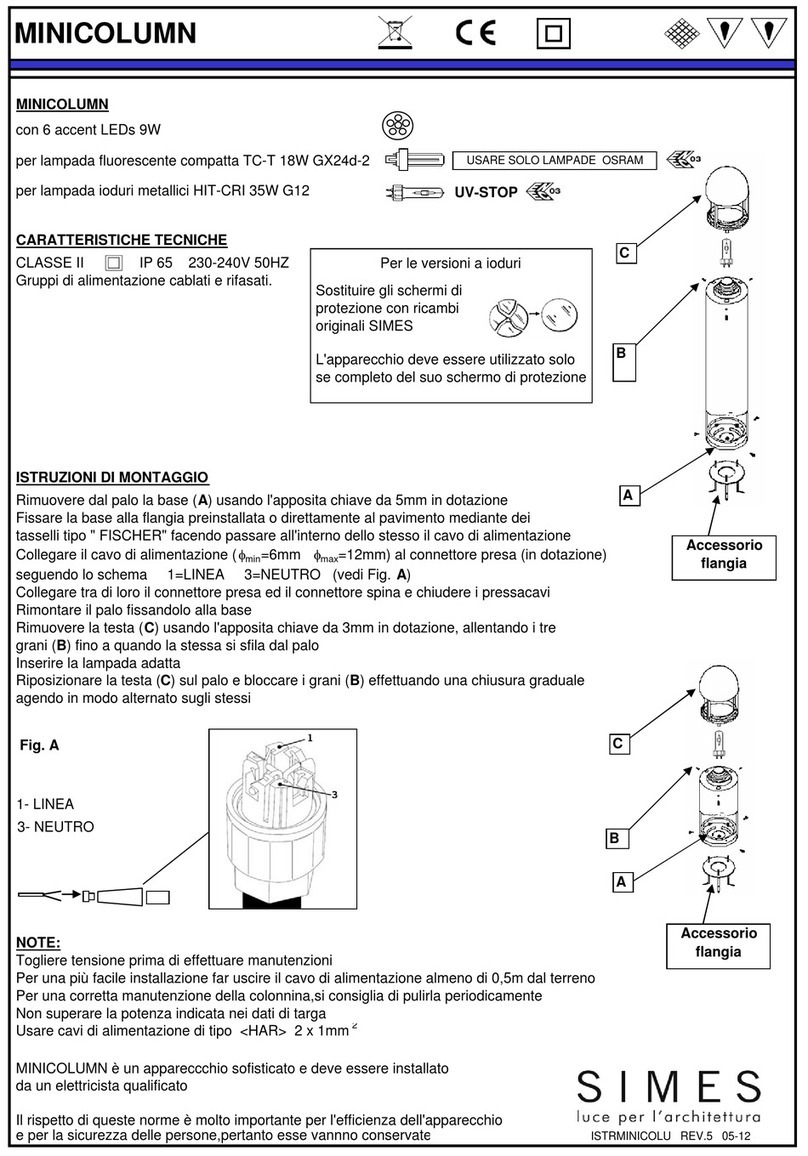
SIMES MINICOLUM User manual

SIMES
SIMES SLOT VELA S.2836 User manual
SIMES
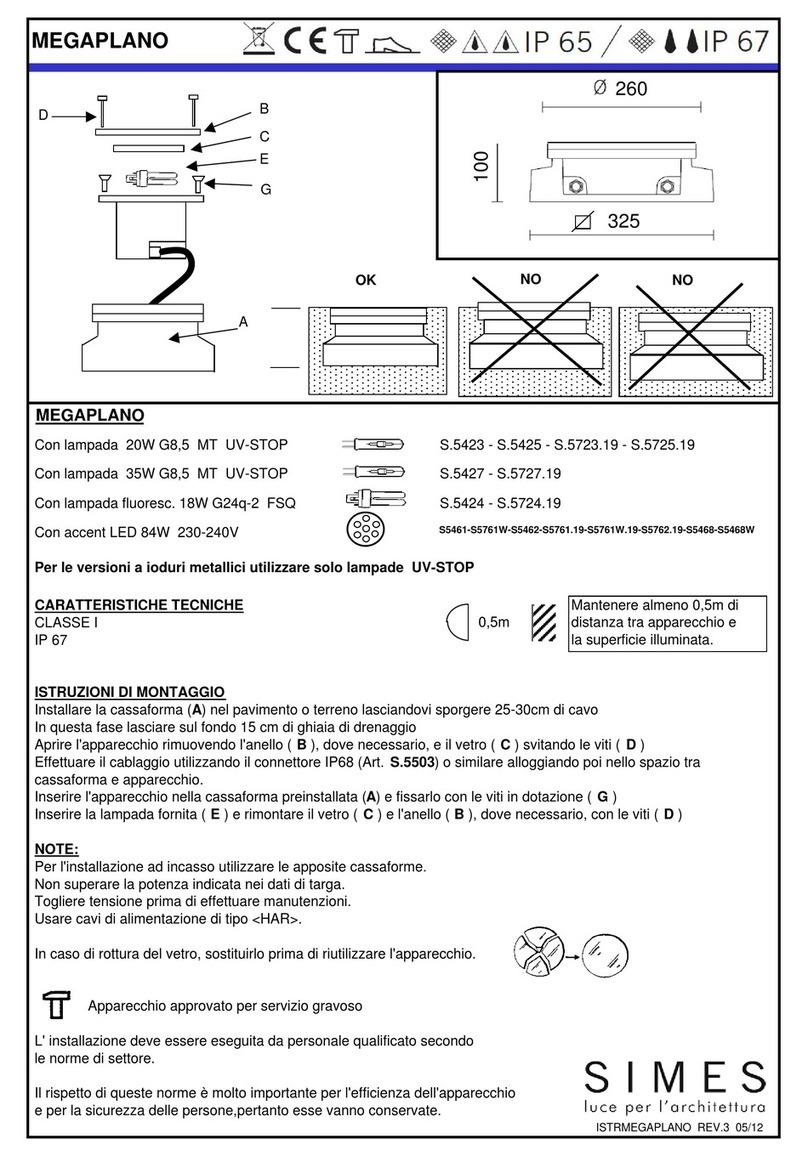
SIMES MEGAPLANO User manual

SIMES
SIMES S.3430 Installation guide

SIMES
SIMES MICROREEF S.5301 Quick start guide

SIMES
SIMES STELO S.4120W User manual

SIMES
SIMES MINISLOT DISK HIT-CRI 70W G12 User manual
