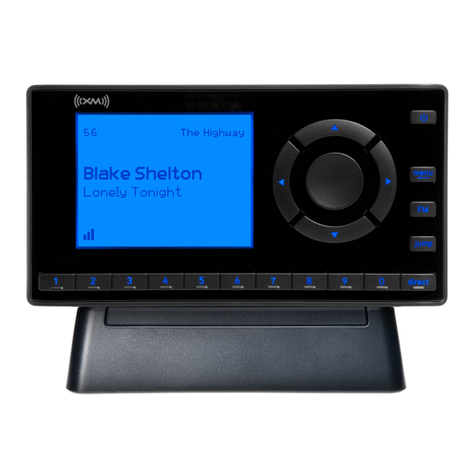
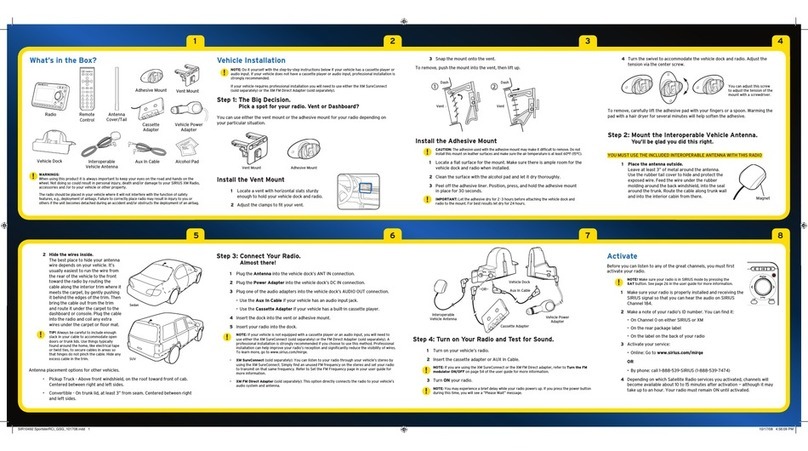
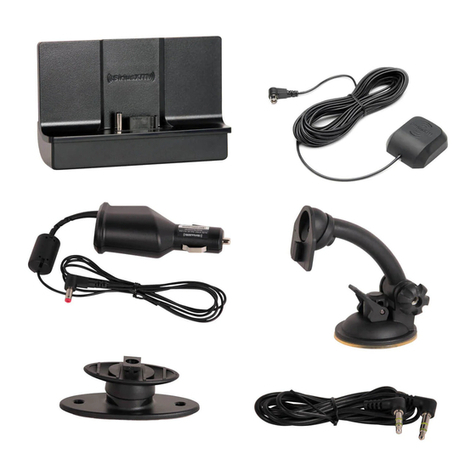
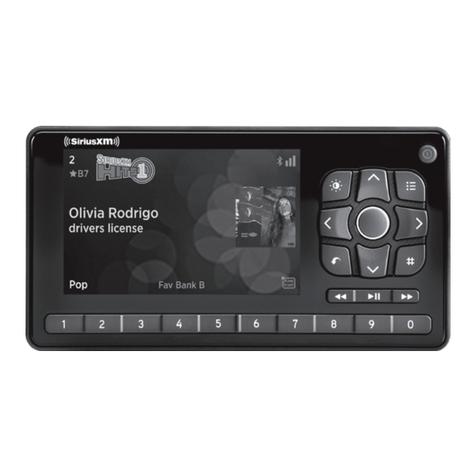
Insert the battery into the XMp3i and then place it into the Home Dock as shown.
The battery is shipped partially charged. It is recommendedthat you allow the XMp3i to charge in the Home Dock for
at least 3 hours before removingit for portable use.
Turn the XMp3i On bysliding the Power/Lock switch down. When the XMp3i powerson,
you will be prompted to Use dial and enter1, 2, 3 to begin. Turn Control Wheel to select 1
and then press the Select button. Repeatand enter 2, and then 3.
1 Pick a Spot for Your Home Dock
When installing the Home Dock in your home,
choose a location in close proximityto your
home audio or stereo system,and also where the
cable from the Indoor/Outdoor Home Antenna
can reach the Home Dock. The location should
be easily accessible and provide good visibility
of the display, and should not be locatedwhere
it will be in direct sunlight which will affect the
visibility of the display screen.
Youwill also need to decide whether you will be
connecting your Home Dock to your home audio
system using the providedAudio Cable, or to
powered speakers.
Connect the Indoor/Outdoor Home Antenna
Once you have selected a location,connect the Indoor/Outdoor
Home Antenna to the silver ANT connector at the right side of
the Home Dock. In step 4, we will work on the location of the
antenna.
Connect the Home Power Adapter
Connect the Home Power Adapterto the red POWER connector at the
left side of the Home Dock, and plug it into a wall outlet.
Connect the Home Dock to a Home Stereo System or
Powered Speakers
The Home Dock can be connected to your home stereo system, or to
a set of powered speakers. If you are connecting to a home stereo
system, see the followingsection, “2A. To Connect the Home Dock to
YourHome Stereo System”. If you are connecting to a set ofpowered speakers, skip ahead to “2B. ToConnect
the Home Dock to YourPowered Speakers”.
2A. To Connect the Home Dock to Your Home Stereo System
The Home Dock can be connected to your home stereo system through the AUX In or LINE In connection of
your home stereo system, using the provided Stereo Audio Cable.
2 Connect the Home Dock
Connect the Home Dock (continued)
1 Use the provided Stereo AudioCable and connect the single 1/8” (3.5 mm) connector to the green AUDIO
connector at the rear of the Home Dock.
2 Connect the white left and red right StereoAudio
Cable connectors to any available input other
than PHONO on your home stereo system. (If your
stereo’sinputs are marked red and black, simply
connect the white plug to the black input.)
3 Turn the home stereo system On, and make
sure you select the correct input on yourstereo
system for the AUXIn or LINE In connection, or
whichever input you have selected.
2B. To Connect the Home Dock to Your Powered Speakers
The Home Dock can be connected directly to a setof powered
speakers.
1 Connect the 1/8” (3.5 mm)connector from the powered
speakers to the green AUDIO connectorat the rear of the
Home Dock.
2 Plug the powered speakers intoan AC outlet.
3 Turn On the powered speakers.
3 Install the Battery and Initiate the Courtesy Period
1. Open bat tery cover 3. Replace batter y cover 4. Dock Radio2. Insert Bat tery
4 Finding the XM Signal
Indoor/Outdoor Home Antenna Installation
Begin by experimenting with the Indoor/Outdoor Home Antenna to get a feel for the reception
in your location. Move the antenna aroundthe room or from room to room. Aim it from different
windows. In major metropolitan areas,you might find that you get great reception in several
locations without worrying too much about aim and placement.
Access the Antenna Aiming screenof your Radio to see a visual indication of signal strength:
1 Press menu.
2 Turn the ControlWheel to highlight Settings and press Select.
3 Turn the ControlWheel to highlight Antenna Aiming and press Select.
If you’re receiving good Satellite and Terrestrial signal strength, you’redone. If not, try some
of the suggestions which follow.
Other Indoor/Outdoor Home Antenna Installation Suggestions
Move the Antenna Closer to a Window
If you find you are getting a signal, but it’s inconsistent, try moving the Indoor/OutdoorHome Antenna closer to a
window, ideally one that is facingdue south.
Not surewhich way issouth? Thinkabout where thesun rises
(in theeast) and sets(in the west).Then stand sothat east is
to yourleft and you’llbe facing south. Is there a windowin the
direction you’re facing? Move theantenna closerto the window.
TIP! Still not sure which wayis south or where to place
your Indoor/Outdoor Home Antenna? Look up your
location on an online mapping website that offerssatellite
views of streetaddresses where you can easily see which
way is south, and what window may offeran unobstructed
view of the sky.
Place the Antenna on a South Facing Window Sill
Another easy method is to start at any window, then work from window to window in a simple pattern to find the
window gives the best signal strength. Aim the surfaceof the antenna with the XM logo out the window. Note that
the antenna must also have an unobstructedview, with no trees or buildings
blocking its aim. If the antenna is aimed through a window,be aware that
blinds, screens, or any other non-glass elements such as thermal insulation
can sometimes cause receptionissues. If this is the case, you may want to use
another window or place the antenna outside of the window.
If you find a window that gives you good signal strength,you can place the
antenna on the windowsill. The antenna may need tobe placed on something
to raise it above the levelof the window frame.
If you are still unable to obtain a good signal, referto the User Guide which
accompanied your XMp3i Radio,or http://www.xmradio.com/help/index.xmc,
for instructions on how to mount the Indoor/Outdoor Home Antenna outside,
on a windowsill, wall, or soffit.
SOUTH
SOUTH
5 Activation
6 Using Your XMp3i
Before you can enjoyCommercial-Free Music, plus Sports, News, Talk & Entertainment, you need to activate your
XMp3i.
1 Make sure your XMp3i is properly installed,turned on, and receiving the XM signal so that you can hear
the audio on channel 1.
2 Make a noteof your XM Radio ID. You can find it on channel 0,on a label on the bottom of the giftbox, and
on the label on theback of your XMp3i.
NOTE! The XM Radio ID does not use the lettersI, O, S, or F.
3 Activate your service:
•Online: Go to www.xmradio.com and click on “ACTIVATE RADIO” in the top right corner
OR
•By phone: Call1-800-XM-RADIO(1-800-967-2346)
4 When your service is activated, yourXMp3i will receive all channels to which you have subscribed. At this
time, you use the Control Wheel or RemoteControl to tune other channels. Activation usually takes 10 to
15 minutes, but may take up toan hour. We recommend that your XMp3i remain on until activated.
The Four Main Menu Options
The XMp3i has four main menu options which can be selected by pressingthe menu button and turning the Control
Wheel to highlight and select one of the following fouroptions:
Live XM: Listento Live XM, browse channels or categories of channelssuch as
Pop, Rock,Country, etc.Check out the XM highlights, record songs, and set up
scheduled recordings.
My Music Library: Listen to, browse, and manage your XM recordings,
downloaded MP3 and WMA music files, and audio books.
Auto Recordings: Listen tocontent from your favorite XM channels that your
XMp3i can automatically save for you.
Settings: Make adjustments to the XMp3i’sbehavior, such as display brightness, audio equalizer settings,
and channel access. Select Info Extrasto display scrolling stock ticker or sports scores.
Using Your XMp3i (continued)
Listen to Live XM
Browse the channels by turning the
Control Wheel and pressing Select to
listen. Press Options to seta channel
as a Favorite.
Replay Live XM
Press Play/Pause ( ),
Rewind ( ), Fast-Forward ( ) to
pause and replay up to the last 30
minutes of Live XM.
Record Live XM
Press and hold Record (


