Sisgeo Archimede User manual

User Manual
PORTABLE DATALOGGER & ACCESSORIES
rev.5 -03.12.2019-
Archimede Datalogger
Archimede Datalogger
FW ver.0.7.0

2| P a g e
Archimede Portable Dataloggers User Manual
rev.5 -03.12.2019-
INDEX
NOTE ON SYSTEM UTILIZATION Pag.4
WASTE DISPOSAL Pag.5
SYMBOLOGY Pag.5
IDENTIFICATION PLATE Pag.6
DL OVERVIEW Pag.7
INTRODUCTION Pag.7
LEONARDO (0CDL200UN00) Pag.8
new LEONARDO (0CDL400N000) Pag.9
GALILEO (0CDL100VW00) Pag.10
ARCHIMEDE (0CDL300INCL) Pag.11
ACCESSORIES and SPARE PARTS Pag.12
DL STORAGE AND TRANSPORT Pag.12
BATTERIES Pag.13
Battery charger Pag.13
Internal temperature Pag.14
How to use the battery charge Pag.14
Charge cycle and LED indications Pag.14
KEYBOARD Pag.15
THE USER INTERFACE Pag.16
Text boxes Pag.20
Buttons Pag.21
Lists Pag.21
Radio buttons Pag.22
Tuning backlight Pag.22
On line help Pag.22
THE MAIN MENU Pag.23
CONFIGURING SITES Pag.24
CONFIGURING PROBES Pag.26
PROBE CALIBRATION (FOR ANALOG PROBE) Pag.31
POLYNOMIAL CALIBRATION (FOR ANALOG PROBE) Pag.32
CONFIGURING INCLINOMETER TUBES Pag.33
READING INCLINOMETER TUBES Pag.35
INCLINOMETER TESTS Pag.39

3| P a g e
Archimede Portable Dataloggers User Manual
rev.5 -03.12.2019-
SPIRALOMETER TESTS Pag.43
T-REX TEST Pag.44
INCLINOMETER READINGS VISUALIZATION Pag.46
Inclinometric Test Graph Pag.46
T-Rex Graph Pag.48
MANUAL READING Pag.50
USING THE USB INTERFACE Pag.52
USE WITH SMART EXPORT and SMART MANAGER Pag.52
USE WITH SMART DATACAL Pag.53
USE WITH SMART REMOTE Pag.54
UTILITIES Pag.56
SETTING DATE and TIME Pag.56
CHECKING DL STATUS Pag.57
CHECKING USER INTERFACE LANGUAGE Pag.58
TROUBLESHOOTING Pag.59
ASSISTANCE Pag.61
Recalibration Pag.61
Repairs and maintenances Pag.61
Phone assistance Pag.61
Technical assistance on site for the supplied instrumentations Pag.61
Training Pag.61
INSTRUMENTS LIST Pag.62
Probes / Digital Probles Pag.62
SPECIAL KEYBOARD COMBINATIONS Pag.63
Switch ON Pag.63
Switch OFF Pag.63
Emergency reset Pag.63
Firmware upgrade Pag.63
EARLIER FIRMWARE VERSION Pag.64

4| P a g e
Archimede Portable Dataloggers User Manual
rev.5 -03.12.2019-
To ensure a safe and efficient functioning, please read the following
instructions carefully before use.
Any unauthorized modification is considered a total responsibility of the user.
In addition to the standards listed above, the user must comply with the existing legislation on
safety and health of employees in the workplace.
Verify that the product is intact, without damages caused by transport.
Verify that your package includes all the standard accessories and any optional accessory required.
In case, contact SISGEO or the distributor.
The use of the portable datalogger shall be done only after the proper connections have been
done and following the necessary configuration, therefore the user must carefully perform all the
operations described herein.
SISGEO will not be liable for inconveniences, damages, accidents, etc. due to the lack of knowledge
(or non-application) of the requirements contained in this manual.
The use, any possible maintenance or repair of the equipment is allowed only to skilled and
authorized operators. These operators must be physically, professionally and intellectually capable.
For information or orders of spare parts, always specify the Serial Number written on the label on
the back side of the portable datalogger.
When replacing parts, use only ORIGINAL SPARE PARTS. The use of unoriginal SISGEO spare parts
may cause irregular functioning and dangers for people and objects
The product is not suitable for installations in small and/or unventilated environments, with a high
humidity range or in the presence of inflammable or explosive liquids. All the supplied instruments
and equipment are not suitable for installations in potential dangerous areas or where explosion-
proof components are used.
The electrical connections must be executed by a qualified technician, observing all the
regulations in force.
The manufacturer reserves the right to make changes, in case of any manufacturing or commercial
need, without notice. Even so, the manufacturer will attempt to ensure that user manuals are
updated in order to reflect functional product revisions.
NOTE ON SYSTEM UTILIZATION

5| P a g e
Archimede Portable Dataloggers User Manual
rev.5 -03.12.2019-
According to the European directive 2002/96/CE, the disused instrument must
be disposed correctly. The recyclable materials are recovered, in order to
avoid any environmental damage.
For more information please contact your waste disposal service or the
instrument retailer.
Here below are reported the symbols used in this manual to alert the reader:
Attention! This operation must be executed only by specialized personnel.
Pay particular attention to the following information.
WASTE DISPOSAL
SYMBOLOGY

6| P a g e
Archimede Portable Dataloggers User Manual
rev.5 -03.12.2019-
Each portable datalogger has two types of identification plates.
One of these reports the product registration Serial Number and it is positioned on the back side of
the DL.
It is important to communicate the Serial Number of the product when you are
requesting information about it.
The second plate is always located on the back side of the DL.
Follow the requirements on the plates. Failure to comply with these
requirements could result in damage to the device and danger to
the operator.
IDENTIFICATION PLATE

7| P a g e
Archimede Portable Dataloggers User Manual
rev.5 -03.12.2019-
Depending on the model of your portable DataLogger (DL), it is possible to read different
instruments:
Analog
Digital RS485
Modbus RTU
Probe
Vibrating wire
Leonardo
New Leonardo
Galileo
Archimede
For further details on instruments model, please see “INSTRUMENTS LIST”
paragraph.
INTRODUCTION
Keyboard
Display TFT
Jack Plug for battery charger
DL OVERVIEW
Archimede Datalogger
DL model
Mini USB Connector for
PC connection/ record key
MIL Connector for
instrument connection

8| P a g e
Archimede Portable Dataloggers User Manual
rev.5 -03.12.2019-
The Leonardo DL has been developed to make and store
readings obtained from different analog and digital
instruments (except for vibrating wire instruments);
Leonardo DL can’t perform inclinometer tests.
I
The Leonardo DL is mainly composed by:
Shoulder and shipment bag (0CDL0BAG927)
Battery charger for NiMH batteries (0ECAB12VNMB)
Flying cable: 1 MIL connector and 6 alligator clips + ground (0ECAV7P6A00)
IP68 USB cable for PC connection
USB flash drive (Manuals, Smart Manager Suite)
LEONARDO (0CDL200UN00)
Shipment bag
Shoulder bag
Flying cable
USB cable
Battery charger

9| P a g e
Archimede Portable Dataloggers User Manual
rev.5 -03.12.2019-
The new Leonardo DL has been developed to make and
store readings obtained from various instruments,
including analog, digital and vibrating wire instruments.
The new Leonardo DL is mainly composed by:
Shoulder and shipment bag (0CDL0BAG927)
Battery charger for NiMH batteries (0ECAB12VNMB)
Flying cable: 1 MIL connector and 6 alligator clips + ground (0ECAV7P6A00)
IP68 USB cable for PC connection
USB flash drive (Manuals, Smart Manager Suite)
new LEONARDO (0CDL400N000)
Shipment bag
Shoulder bag
Flying cable
USB cable
Battery charger

10 | P a g e
Archimede Portable Dataloggers User Manual
rev.5 -03.12.2019-
The Galileo DL has been developed to make and store
readings obtained from vibrating wire instruments
(and NTC thermistor).
The Galileo DL is mainly composed by:
Shoulder and shipment bag (0CDL0BAG927)
Battery charger for NiMH batteries (0ECAB12VNMB)
Flying cable: 1 MIL connector and 4 alligator clips + ground (0ECAV7P4A00)
IP68 USB cable for PC connection
USB flash drive (Manuals, Smart Manager Suite)
GALILEO (0CDL100VW00)
Shipment bag
Shoulder bag
Flying cable
USB cable
Battery charger

11 | P a g e
Archimede Portable Dataloggers User Manual
rev.5 -03.12.2019-
The Archimede DL has been developed to make
and store readings obtained from inclinometer
test (both analog and digital inclinometers).
The Archimede DL is mainly composed by:
Shoulder and shipment bag (0CDL0BAG927)
Battery charger for NiMH batteries (0ECAB12VNMB)
IP68 external button for data storage - Archimede DL (0CDL300REMC)
Flying cable: 2 MIL connectors M/F 7 pins (0ECAV07V200)
IP68 USB cable for PC connection
USB flash drive (Manuals, Smart Manager Suite)
ARCHIMEDE (0CDL300INCL)
Shipment bag
Shoulder bag
Flying cable
USB cable
Battery charger
IP68 external button

12 | P a g e
Archimede Portable Dataloggers User Manual
rev.5 -03.12.2019-
Flying cables:
1 MIL connector and 2 alligator clips + ground (0ECAV7P2A00)
1 MIL connector and 4 alligator clips + ground (0ECAV7P4A00)
1 MIL connector and 6 alligator clips + ground (0ECAV7P6A00)
2 MIL connectors M/F 7 pins (0ECAV07V200)
IP68 external button for data storage - Archimede DL only (0CDL300REMC)
Multiplexer measurement (0ECAV10MUX0)
External 12V battery pack (0CDL012EXBP)
Shoulder and shipment bag (0CDL0BAG927)
Battery charger for NiMH batteries (0ECAB12VNMB)
To correctly store the DL, it is suggested to use the supplied bag. Put carefully the DL in the suitable
compartment with the display turned inside.
During the transport it is suggested to use the shoulder bag and to avoid bumps.
ACCESSORIES AND SPARE PARTS
External 12V battery pack
Multiplexer measurement cable
DL STORAGE AND TRANSPORT

13 | P a g e
Archimede Portable Dataloggers User Manual
rev.5 -03.12.2019-
Each DL is powered by an internal rechargeable NiMh battery.
If properly used, the NiMH batteries have an estimated life of at least 500 discharge cycles.
An effect known as the "memory effect", which could degrade the readout performance during the
use, may occur if batteries are left under charge for some days or if they are repeatedly and
partially discharged. In order to prevent this, it is recommended to use exclusively the battery
charger supplied with the DL and to cycle (charge and fully discharge) the batteries at least once
every two/three weeks.
Batteries should be charged only when they are completely discharged and not
before. You could charge them before only in case of extreme need.
In addition, if the DL is not going to be used for an extended period, it is preferred to store it with
the batteries fully charged.
Well charged batteries provide at least 8 hours of continuous use: this means that batteries
provide charge for more than a working day.
If the DL is not used for several months, batteries lose their capacity due to the
auto-discharge. The first time a battery charger is connected, it could signal green
after few minutes also if the batteries are not fully charged: it is advised to repeat
the charge cycle twice.
Using a good battery, a full battery charge allows a non-stop use of at least 8 hours: this means
that with a full charge it is possible to work on site for more than a working day.
BATTERY CHARGER
The supplied battery charger is controlled by a microprocessor which manages a rapid charge in
less than 3 hours.
The input voltage range is universal (90-264 V ).
This battery charger utilises a method called “–dv detection”; this method is based on the fact that
the voltage drops over the NiMH cells when batteries are fully charged. This voltage drop is
detected when the voltage has decreased of a certain percentage from the highest value and the
charge will be automatically interrupted.
If this voltage drop does not occur, the battery charger has a safety timer which will interrupt the
charge after a certain period of time to avoid batteries overcharging.
If batteries have not been used for a long period of time, the voltage could decrease in the first
part of the charge cycle. For this reason, a start-timer is built into the battery charger to prevent –
dv detection in the first minutes of the charge cycle.
Don’t take instrument readings with battery charger connected to the DL.
BATTERIES

14 | P a g e
Archimede Portable Dataloggers User Manual
rev.5 -03.12.2019-
Don’t use a different type of battery charger than the one supplied
(0ECAB12VNMB)
INTERNAL TEMPERATURE
If the internal temperature of the DL is more than 70°C, there is a safety system
that disconnects the battery until the temperature decreases under 70°C.
Therefore, if after having charge the battery the DL won’t switch on, wait for the
battery cooling until it returns within an adequate temperature range.
HOW TO USE THE BATTERY CHARGER
The battery charger is activated connecting the jack to the readout and then connecting the
battery charger to the voltage line.
NOTE: To avoid malfunctioning, always insert the jack of the battery charger in
the DL before connecting the battery charger to the voltage line 90-264 VAC, 50-
60Hz. Similarly, before disconnecting the jack of the battery charger from the
readout, disconnect the battery charger from the voltage line.
The LED on the battery charger will be yellow before the fast charge starts and orange when the
carge has started. When the batteries are fully charged the LED will be green.
The battery charge does not remain connected to the DL more than 24 hours.
If the battery voltage is less than the normal one, the LED will indicate "error" by flickering green
and orange light.
CHARGE CYCLE AND LED INDICATIONS
LED
MODE
Yellow
Battery not connected
Yellow
Battery initialization and analysis
Orange
Fast charge
Green with intermittent yellow flash
Top-off charge
Green
Trickle charge
Alternating orange –green
Error
Connecting the battery charger to the voltage, the LED will be orange for the first 5-7 seconds,
then it turns to yellow when the initialisation and the analysis start. If the battery is connected, the
charge will start a few seconds later, when the LED changes to orange.
When the charge process has ended, the LED will be green in about 4 second. This is only a signal
to test the service. When –dv has been detected, the start of the completion charge is indicated
with a green LED with intermittent yellow flashes. The LED will be green during compensation
charge.

15 | P a g e
Archimede Portable Dataloggers User Manual
rev.5 -03.12.2019-
The Archimede datalogger keyboard is designed to work up to 60°C (maximum
operating temperature of the same datalogger). Over 50°C, it could happen a
flattening of the membrane buttons that doesn’t block their operation.
KEYBOARD

16 | P a g e
Archimede Portable Dataloggers User Manual
rev.5 -03.12.2019-
To switch the DL on, press the ON/OFF and INFO key pressed simultaneously, maintaining them
pressed for some second.
After a few seconds (about 5 sec.), the DL will switch on and the display will show the home page.
This page will display the type of DL and the version of the firmware. At the bottom of the display
the name of the DL will be shown up: this is a name assigned to the user, which could be used to
distinguish between different DLs.
It is important to maintain separated the names of the different DLs when
importing data to a PC, in order to be able to trace the source of data.
At the upper right corner the display shows the current status of the battery: the remaining charge
is shown by the number of bars.
Battery Status
DL type
Firmware
version
Unit Name
USER INTERFACE

17 | P a g e
Archimede Portable Dataloggers User Manual
rev.5 -03.12.2019-
When the battery voltage drops below a certain level, the bar turns red. At
about 10.5V the DL will stop any activity, and the forced turning off is
anticipated by an acoustic signal.
To save battery consumption, after three minutes without any user activity, the
display will be switched off. After ten minutes, the DL will switch off
automatically.
Press ENTER or wait a few seconds to display the Main menu.
To switch the DL off, press the ON/OFF key while keeping the ENTER key pressed. The DL will
display a window overlapping the current page with a charge bar at the bottom.
When the bar is completely filled, the DL will ask to release all keys and then it will switch off.
Other keys combinations are described in the Special keyboard combinations chapter.

18 | P a g e
Archimede Portable Dataloggers User Manual
rev.5 -03.12.2019-
The user interface is composed by a series of screens with a structure and a layout similar to the
interface used in Microsoft Windows operating systems.
Screens contain different items such as lists, buttons, text boxes and check or radio buttons.
Only one of the controls on the screen is active: the actual activated control is underlined and,
normally, action is performed pressing ENTER key.
If the active control is an text control, the characters typed on the keyboard will edit its content.
Active control

19 | P a g e
Archimede Portable Dataloggers User Manual
rev.5 -03.12.2019-
You could change the active control clicking on the PREVIOUS (scroll) and
NEXT (scroll) keys on the left side of the keyboard.
As all keys, they have an auto-repeat function when held pressed.
All elements of the user interface of the page are in a circular list so that, clicking NEXT (scroll)
when the last control is selected, the selection will move automatically to the first element of the
page. Similarly clicking PREVIOUS (scroll) on the first control, you will move to the last one.
Text control

20 | P a g e
Archimede Portable Dataloggers User Manual
rev.5 -03.12.2019-
TEXT BOXES
A text box is used to display and digit text. When the text to be inserted is a number, either an
integral number of a decimal number, the numeric keys and the decimal point are used to directly
type digits and decimal separators.
The +/-key is used to enter a +or –sign, while the eis used for the exponent.
Pressing the +/-key the DL will show a list of characters. Pressing repeatedly
the +/-key until the character you wish to insert is selected, then wait until
the list of characters disappears and the selected character will be inserted in
the text box.
During the text editing, this insertion typology is valid for each key: press any of these keys
repeatedly to enter the desired character.
Press the DEL key to delete the character at the left of the cursor. If you hold the DEL key pressed
for about a second, the content of the test box will be deleted (quick deleting).
The characters available for each key are:
+/-
- + ( ) % #
.
. , : ;
1
1 $ ° ε μ α / \
2
AB C 2 a b c
3
D E F 3 d e f
4
G H I 4 g h i
5
J K L5 j k l
6
M N O 6 m n o
7
PQ R S 7 p q r s
8
T U V 8 t u v
9
W XY Z 9 w x y z
0
0 (space) ! ?
This manual suits for next models
7
Table of contents
Popular Data Logger manuals by other brands
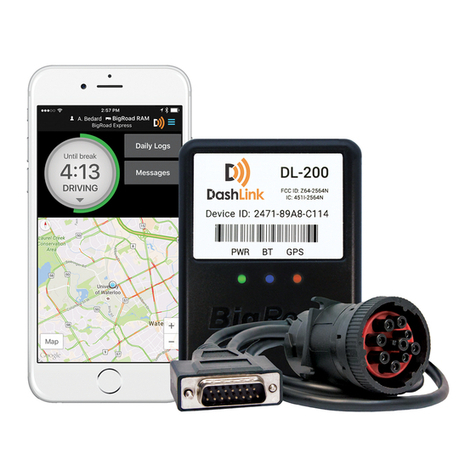
Fleet Complete
Fleet Complete BigRoad DashLink DL-200 user manual
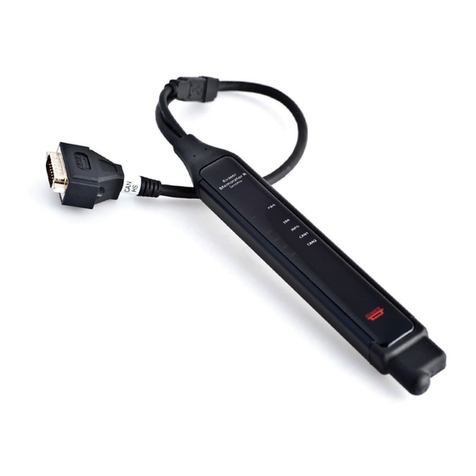
Kvaser
Kvaser Memorator R SemiPro user guide
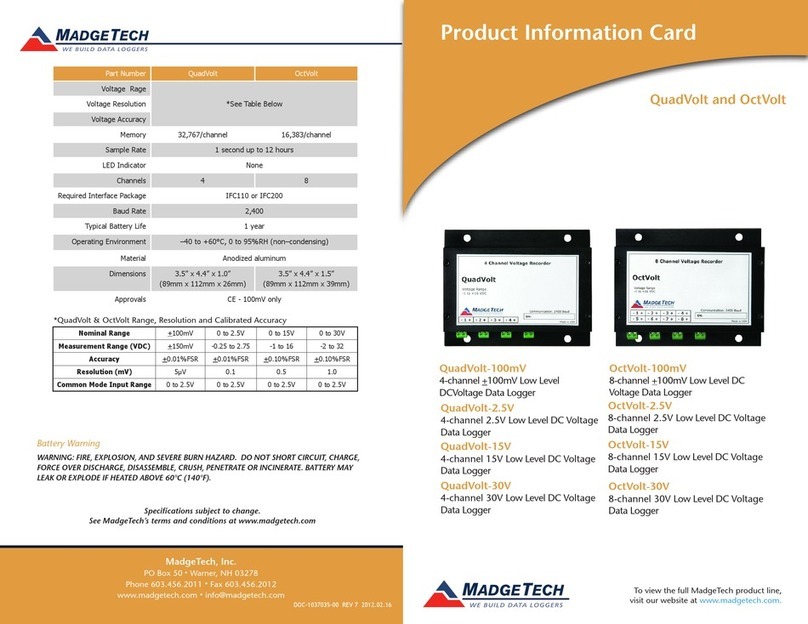
MadgeTech
MadgeTech QuadVolt Product Information Card
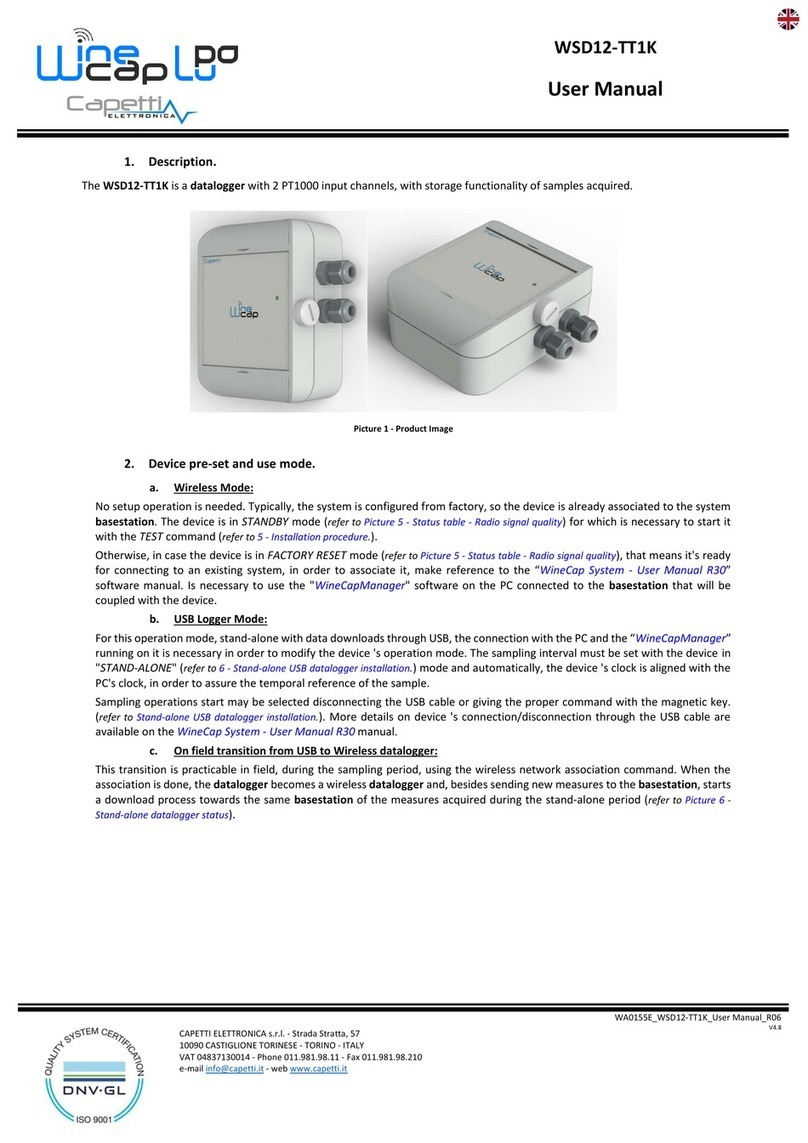
Capetti Elettronica
Capetti Elettronica WineCap WSD12-TT1K user manual

Evenmore
Evenmore DL-200BT user guide
VOLTCRAFT
VOLTCRAFT DL-200T operating instructions
