manuals.online logo
Brands
  1. Home
  2. •
  3. Brands
  4. •
  5. SkyLink
  6. •
  7. Accessories
  8. •
  9. SkyLink WD-318T User manual

SkyLink WD-318T User manual

Door/Window Sensor
1. INTRODUCTION
Model WD-318T
3. POWER UP THE DOOR/WINDOW SENSOR
Note: If you experience interference from a nearby system, which could
accidentally trigger your system, please change the code settings on
the sensor and receiver. The code setting on the sensor and receiver
should still match after changing the code setting.
2. SET UP THE DOOR/WINDOW SENSOR
Sensor
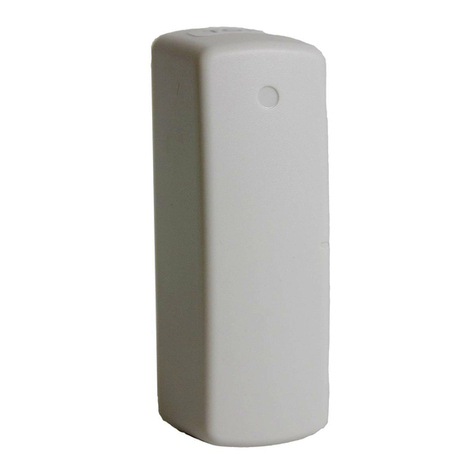
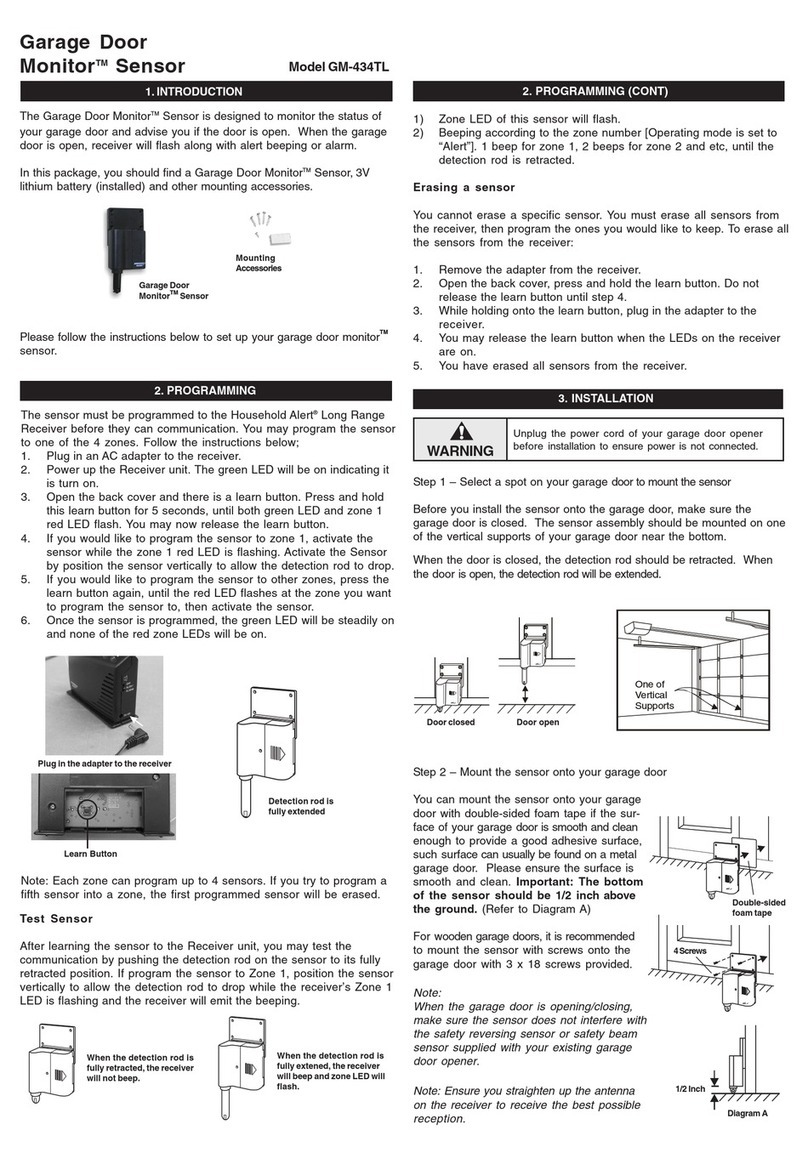
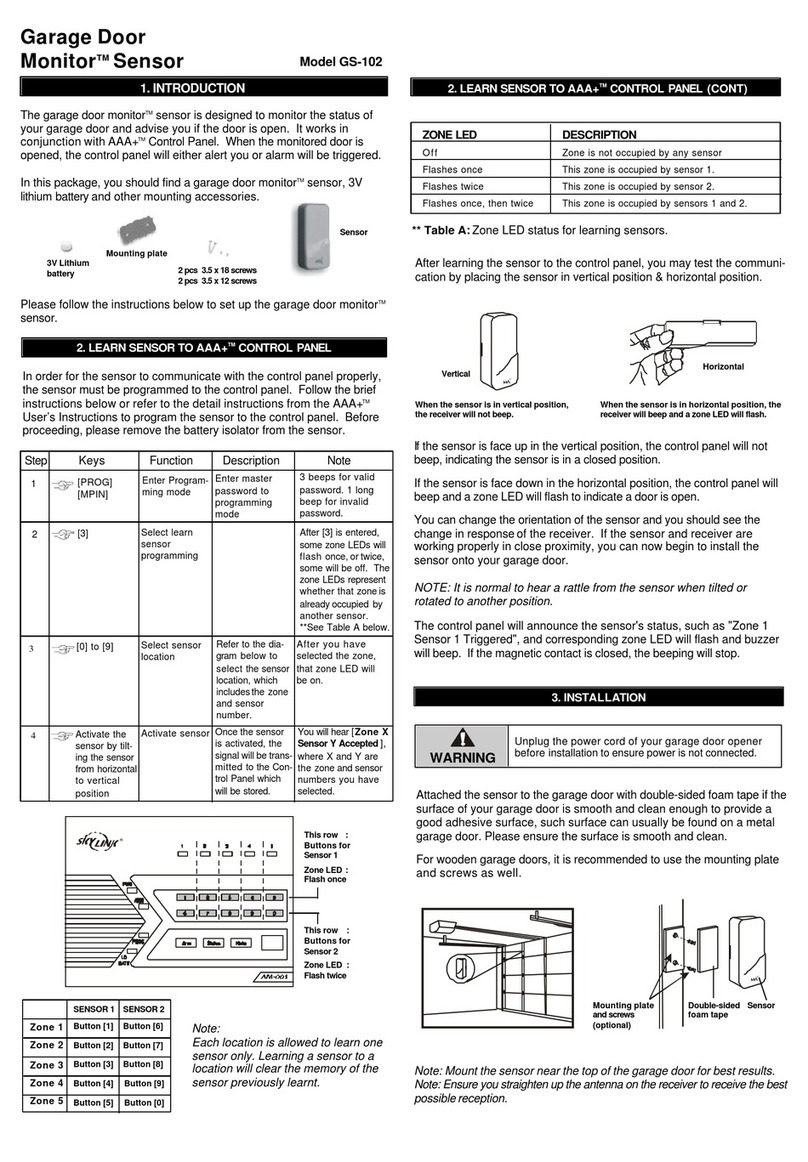
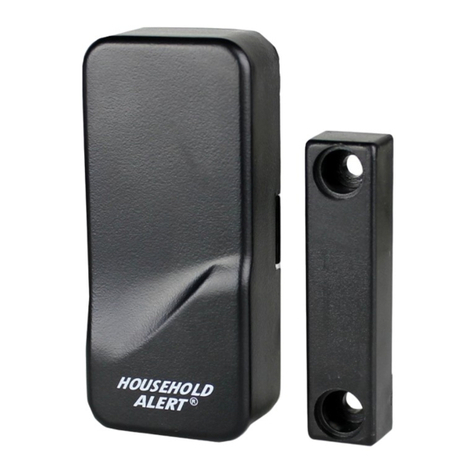
The Door/Window Sensor is designed to monitor any door or window
within your house. When the monitored window or door is opened, the
receiver will alert you. It will beep and flash.
In this package, you should find a sensor, a magnet, 3V lithium battery, a
clip and other mounting accessories.
Please follow the instructions below to set up the door / window sensor.
3V Lithium
battery
Mounting plate
2 pcs 3.5 x 18 screws
2 pcs 3.5 x 12 screws
Magnet
Clip
Code Connectors on Sensor
1. CODE CONNECTORS
In order for the sensor to communicate with the receiver properly, the
sensor’s code must match with the receiver’s code. Code connectors 1 to 6
can be found by opening the top cover of the sensor and the back cover of
thereceiver. User is required to set these code connectors randomly
and the code settings on the sensor and receiver must be the same.
Each position of the code connector can be set to “+”, “-” or “0” position.
Refer to the diagram belowto set the code connectors properly. If the
connector is placed on the top and middle posts, that column is set on “
+ ”. If the connector is placed on the middle and bottom posts, that
column is set on “ - ”. If the connector is removed completely, (not placed
on any posts), it is set to “ 0 ”. (see diagram for examples of how to set a
column to the three different positions).
Open the top cover
‘+’ ‘-’
‘0’
Clip
Note: A connector can be
removed with the clip,
as shown.
Each receiver can work with up to 4 different sensors (to represent 4
different zones on the receiver). There are 2 connectors that determine
the zone number 1, 2, 3 and 4. These 2 connectors can be found by
opening the top plastic cover, near the code connectors with marking
“A” & “B”. Please follow Table 1
to set the zone.
2. ZONE CONNECTORS
“+” in the table means the connector for
that position should be placed on the posts.
“-“ in the table means the connector for that
position should be removed.
A B
Zone 1 + +
Zone 2 +-
Zone 3 -+
Zone 4 - -Zone
connectors Table 1
After setting up all theconnectors,
the sensor is ready to be powered
up.
Remove the top cover ofthe
sensor and insert the 3V lithium
battery to the sensor as shown in
the diagram.
Before inserting the battery, keep the magnet away from the sensor. After
inserting the battery to the door / window sensor, the receiver will beep
and flash. If the door / window sensor is set to zone 1, zone 1 red LED
will flash. The beeping and flashing will continue until the magnetic contact
is close to the sensor.
You are now ready to install the sensorand themagnet toa dooror window.
Note: The receiver may not be able to receive the signal from the sensor
properly if they are too close to each other. Move the sensor further from
the receiver to test again.
When the magnetic contact is broken (open),
the receiver will beep and a LED will flash.
Insert 3V lithium battery to the sensor
“+” positive
side up
When the magnetic contact is closed,the
receiver will not beep.
4. INSTALLATION
The sensor should be mounted on the door / window frame and the
magnet should be mounted on the door / window itself. Mount the
sensor or magnet as high as possible.
You should find a grey alignment marking on one side of the sensor.
The magnet should be in contact with this marking when the door /
window is closed (Refer to Diagram A).
SELECT AMOUNTING LOCATION
SensorSensor
Magnet
Magnet
If the surface of the frame is flat
enough, double-sided foam tape
is sufficient, otherwise, it is
recommended to use the mount-
ing plate and screwsas well.
After mounting the sensor, put
the cover back on with the
Household Alert logo in the
upright position.
Double-sided
foam tape
Mounting plate and
screws (optional) Sensor
Diagram A
5. OPERATION
When the battery level on the sensor drops to a certain level, or the sensor
is out of the operating range, the receiver will show a “loss of signal”
indication. The red LED representing that zone will flash rapidly, i.e. if
zone 1 sensor is lost, the zone 1 red LED will flash rapidly.
When the loss of signal indication occurs, move the receiver closer to the
corresponding sensor and trigger that sensor. If the red LED stops flash-
ing rapidly, that means the receiver or sensor needs to be relocated. If the
“loss of signal” indication persists, replace the battery of that sensor.
6. LOSS OF SIGNAL INDICATION
7. OTHER HOUSEHOLD ALERT®SENSORS
The Household Alert®receiver can work with up to 4 different sensors:
garage door monitor sensors, door / window sensors, water sensors,
indoor/outdoor motion sensors, etc. Please visit www.skylinkhome.com
or contact us at [email protected] for more information of how
to fully utilize your Door/Window Sensor.
9. WARRANTY
If, within one year from date of purchase, this product should become
defective (except battery), due to faulty workmanship or materials, it will
be repaired or replaced, without charge. Proof of purchase and a Return
Authorization are required.
When the magnetic contact is broken, such as when the door or window
is open, the sensor will send a signal to the receiver, and the receiver will
beep and the corresponding zone red LED will flash.
If the sensor is set to zone 1, zone 1 red LED on the receiver will flash,
and the receiver will emit a continuous “single beep”, i.e. “beep” pause, “beep”,
pause…..etc.
If the sensor is set to zone 4, zone 4 red LED will flash, and the receiver will
emit a con-tinuous “4 beeps”, i.e. “beep beep beep beep” pause “beep beep
beep beep” pause ……etc.
By the number of beeps emitted by the receiver, user can identify which zone
is triggered.
This device complies with Part 15 of the FCC Rules. Operation is subject to the
following two conditions: (1) This device may not cause harmful interference, and
(2) This device must accept any interference received, including interference that
may cause undesired operation.
WARNING:
Changes or modifications to this unit not expressly approved by the party
responsible for compliance could void the user’s authority to operate the equipment.
NOTE:
This equipment has been tested and found to comply with the limits for a Class B
digital device, pursuant to Part 15 of the FCC Rules. These limits are designed to
provide reasonable protection against harmful interference in a residential installation.
This equipment generates, uses and can radiate radio frequency energy and, if not
installed and used in accordance with the instructions, may cause harmful inter-
ference to radio communications.
However, there is no guarantee that interference will not occur in a particular
installation. If this equipment dose cause harmful interference to radio or television
reception, which can be determined by turning the equipment off and on, the user is
encouraged to try to correct the interference by one or more of the following measures:
- Reorient or relocate the receiving antenna.
- Increase the separation between the equipment and receiver.
- Connect the equipment into an outlet on a circuit different from that to which the
receiver is connected.
- Consult the dealer or an experienced radio/TV technician for help.
8. FCC
CUSTOMER SERVICE
17 Sheard Avenue, Brampton, Ontario, Canada L6Y 1J3
Email:[email protected]
http://www.skylinkhome.com
P/N. 101A228-003 Rev.3
©2005 SKYLINK GROUP
If you would like to order Skylink’s products or have difficulty getting them to
work, please :
1. visit our FAQ section at www.skylinkhome.com , or
2. email us at [email protected], or
3. call our toll free at 1-800-304-1187 from Monday to Friday, 9 am to 5 pm EST.
Fax +800 286-1320
10. CUSTOMER SERVICE

Other SkyLink Accessories manuals

SkyLink PS-434A User manual

SkyLink

SkyLink PS-434A User manual

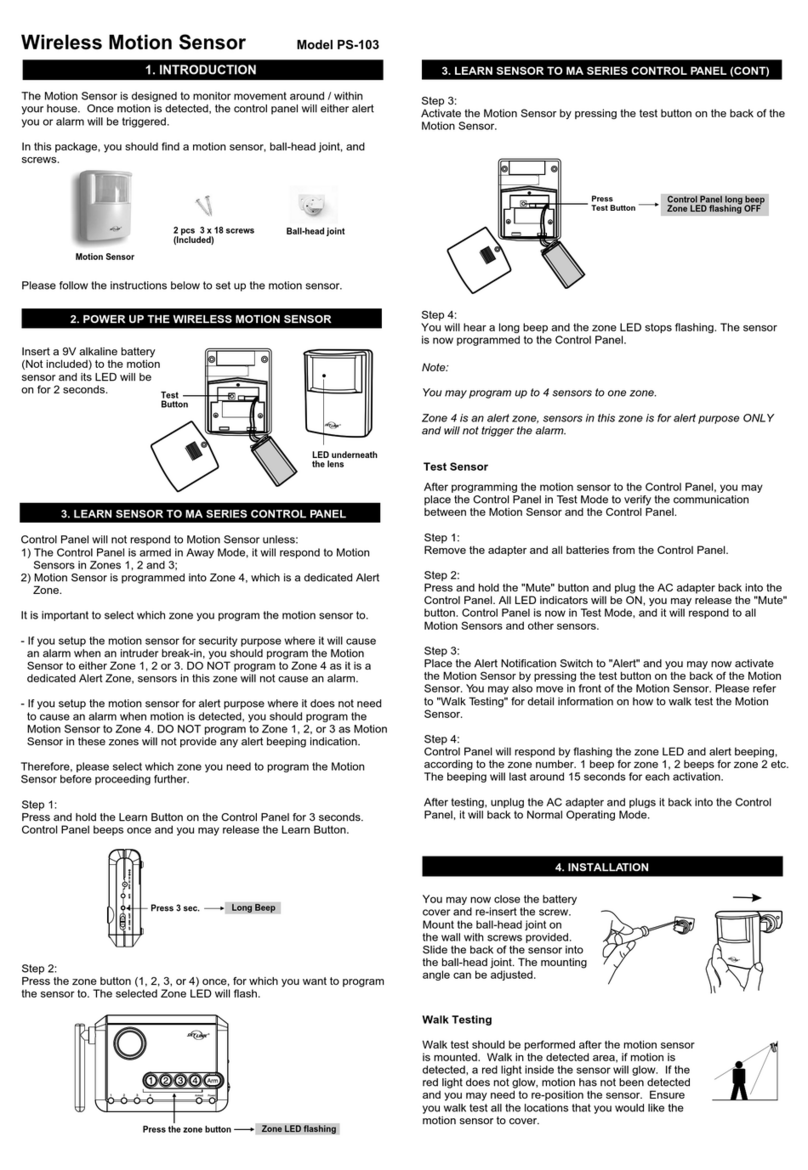
SkyLink PS-103 User manual

SkyLink

SkyLink PS-103 User manual

SkyLink WD-MT User manual

SkyLink

SkyLink WD-MT User manual

SkyLink WA-MT User manual

SkyLink

SkyLink WA-MT User manual

SkyLink GS-MT User manual

SkyLink

SkyLink GS-MT User manual

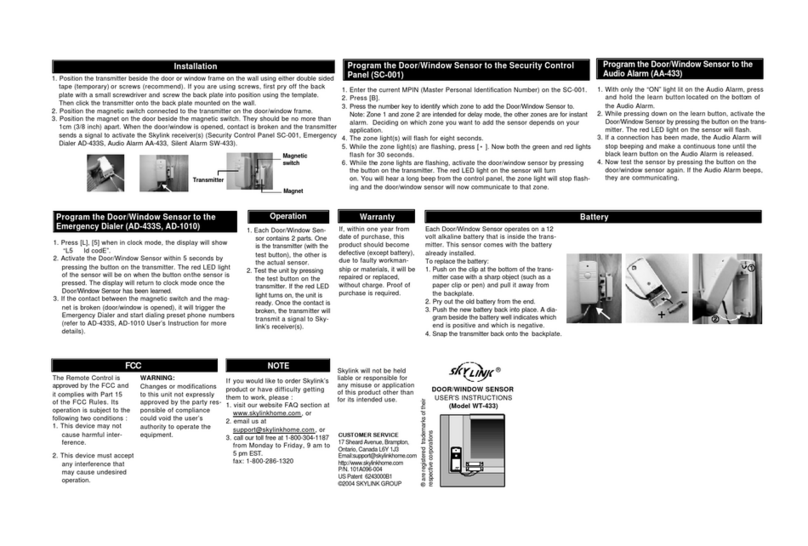
SkyLink WT-433 User manual

SkyLink

SkyLink WT-433 User manual

SkyLink PS-201 User manual

SkyLink

SkyLink PS-201 User manual

SkyLink Garage Door Monitor GM-318T User manual

SkyLink

SkyLink Garage Door Monitor GM-318T User manual

SkyLink WD-434T Manual

SkyLink

SkyLink WD-434T Manual

SkyLink FS-433 User manual

SkyLink

SkyLink FS-433 User manual

SkyLink ID-318 User manual

SkyLink

SkyLink ID-318 User manual

SkyLink HA-318T Guide User manual

SkyLink

SkyLink HA-318T Guide User manual

SkyLink HA-434TL User manual

SkyLink

SkyLink HA-434TL User manual

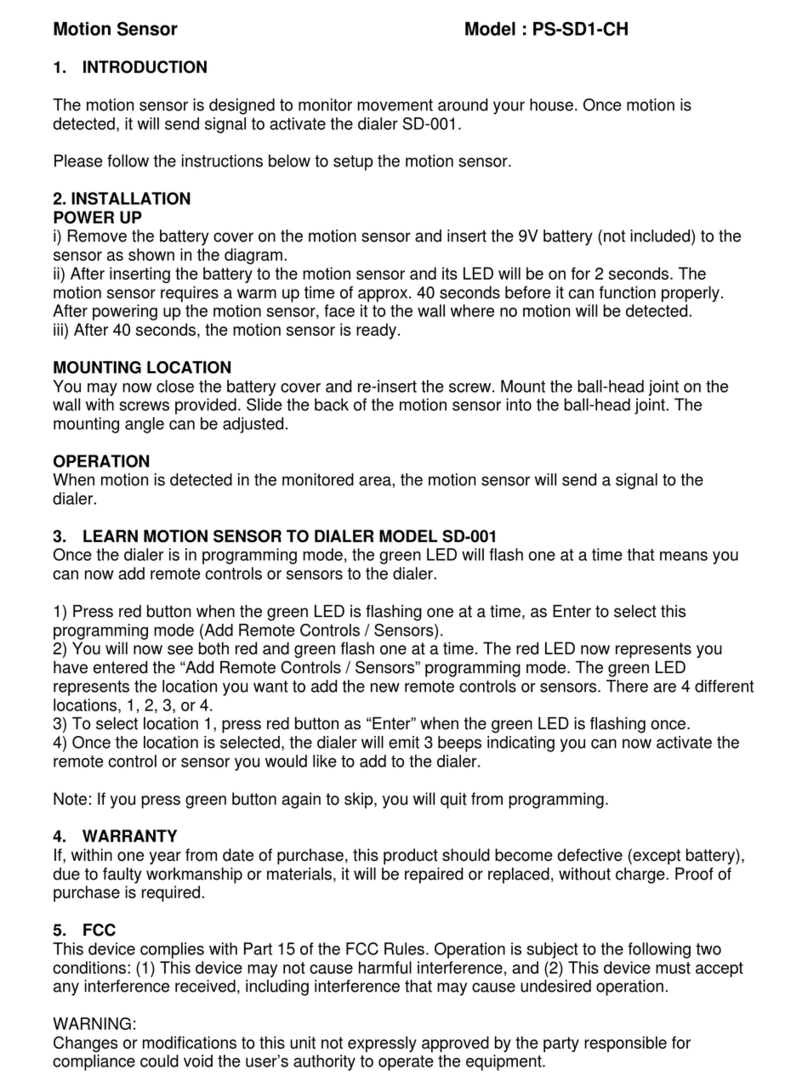
SkyLink PS-SD1-CH User manual

SkyLink

SkyLink PS-SD1-CH User manual

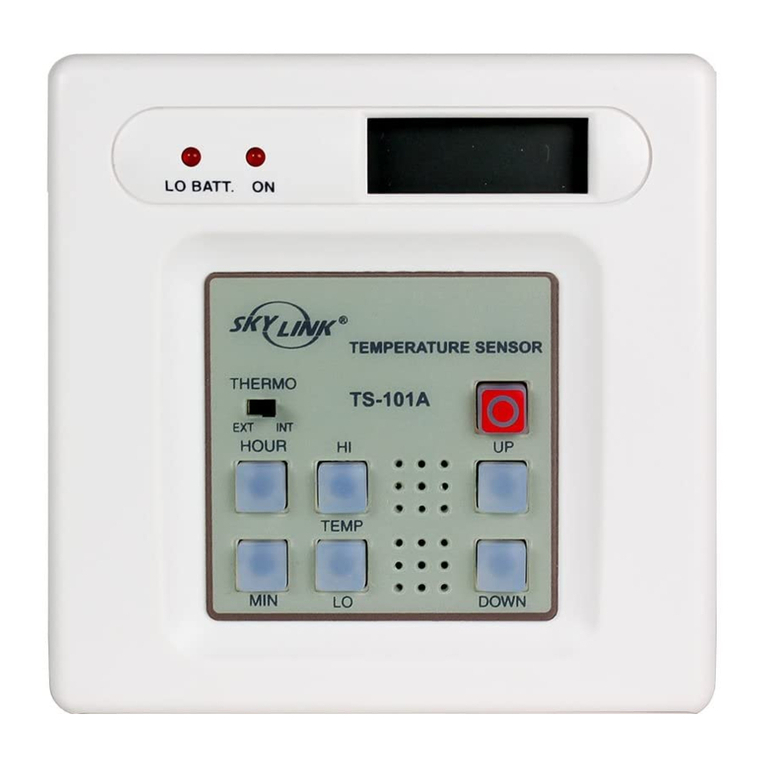
SkyLink TS-101A User manual

SkyLink

SkyLink TS-101A User manual

SkyLink HA-318T User manual

SkyLink

SkyLink HA-318T User manual

SkyLink Monitor GM-434TL Guide User manual

SkyLink

SkyLink Monitor GM-434TL Guide User manual

SkyLink Monitor GS-102 Guide User manual

SkyLink

SkyLink Monitor GS-102 Guide User manual

Popular Accessories manuals by other brands

Quincy lab 140AE-1 operating manual

Quincy lab

Quincy lab 140AE-1 operating manual

HomePro ZIR000 user manual

HomePro

HomePro ZIR000 user manual

DOL 20SCR Technical user guide

DOL

DOL 20SCR Technical user guide

RAB Smart Task installation manual

RAB

RAB Smart Task installation manual

Kemppi KMS 300 quick guide

Kemppi

Kemppi KMS 300 quick guide

Stearns 57,500 Series Installation and service instructions

Stearns

Stearns 57,500 Series Installation and service instructions

iGuzzini TWILIGHT COPENAGHEN manual

iGuzzini

iGuzzini TWILIGHT COPENAGHEN manual

Adelaide Annexe & Canvas Avan Deluxe installation guide

Adelaide Annexe & Canvas

Adelaide Annexe & Canvas Avan Deluxe installation guide

OHAUS 5000 instruction manual

OHAUS

OHAUS 5000 instruction manual

HOME8 WLS1300 quick start guide

HOME8

HOME8 WLS1300 quick start guide

MAXBOTIX MaxSonar quick start guide

MAXBOTIX

MAXBOTIX MaxSonar quick start guide

ioSmart iSmart56 Installation and user guide

ioSmart

ioSmart iSmart56 Installation and user guide

Focusrite Scarlett 18i8 user guide

Focusrite

Focusrite Scarlett 18i8 user guide

Velleman ED38105 user manual

Velleman

Velleman ED38105 user manual

JumpSport SkyBounce user manual

JumpSport

JumpSport SkyBounce user manual

Prima-Temp PRIYA Instructions for use

Prima-Temp

Prima-Temp PRIYA Instructions for use

Tefcold BC85I-BC85I W user manual

Tefcold

Tefcold BC85I-BC85I W user manual

Vaisala WMS302 user guide

Vaisala

Vaisala WMS302 user guide

manuals.online logo
manuals.online logoBrands
  • About & Mission
  • Contact us
  • Privacy Policy
  • Terms and Conditions

Copyright 2025 Manuals.Online. All Rights Reserved.