Slican VPS-802P User manual
Instruction manual
Release 1.1
2016-06-20
IP Phone VPS-802P

2
INSTRUCTION MANUAL VPS-802P
Spis treści
1. IP Phone VPS-802P............................................................................................... 5
1.1. Notice Information............................................................................................ 5
1.2 Packing List....................................................................................................... 6
2. Phone Installation................................................................................................ 8
2.1. Attach the Foot stand ....................................................................................... 8
2.2. Connect the Handset and optional Headset..................................................... 8
2.3. Connect the Network and Power...................................................................... 9
2.4.Initialization........................................................................................................ 9
3. Getting Familiar with Your Phone......................................................................... 11
3.1. Hardware Components Preview..................................................................... 11
3.2. Icon preview................................................................................................... 12
4. Phone Configuration............................................................................................. 14
4.1. Basic Features Configuration......................................................................... 14
4.2. Administrator Password ................................................................................. 15
4.3. Language ....................................................................................................... 16
4.4. Time and Date................................................................................................ 17
4.5. Screen Saver.................................................................................................. 19
4.6. Ring Tone....................................................................................................... 20
4.7. Ring volume ................................................................................................... 21
4.8. Directory –edit contact list ............................................................................. 22
4.9. Call log ........................................................................................................... 24
4.10. Network Configuration.................................................................................. 25
4.10.1. Configuration Internet port...................................................................... 25
4.10.2. Configuration PC port............................................................................. 26
5. Configuration VoIP Account.................................................................................. 26
5.1. Basic configuration VoIP Account ................................................................. 27
5.2. Advanced Configuration VoIP Account ......................................................... 27
5.3. Codecs........................................................................................................... 29

3
INSTRUCTION MANUAL VPS-802P
6. Basic Call Features............................................................................................... 30
6.1. Place a Call.................................................................................................... 30
6.2. End a Call....................................................................................................... 30
6.3. Receive a Call............................................................................................... 31
6.4. Redial a Call.................................................................................................. 31
6.5. Auto answer .................................................................................................. 31
6.6. Call Hold........................................................................................................ 32
6.7. Call Transfer................................................................................................... 32
6.8. Call Conference............................................................................................. 34
6.9. Call Forward................................................................................................... 35
6.10. Call Return - REDIAL ................................................................................... 37
6.11. Anonymous Call........................................................................................... 38
6.12. Call Mute...................................................................................................... 39
6.13. Do Not Disturb DND..................................................................................... 39
6.14. Key as Send................................................................................................. 39
6.15. No Key Entry Timeout .................................................................................. 40
6.16. Hot Line..................................................................................................... 40
7. Advanced Features............................................................................................... 42
7.1. Line ................................................................................................................ 42
7.2. Voice Message............................................................................................... 42
7.3. Intercom ......................................................................................................... 43
7.4. Speed Dial...................................................................................................... 44
7.5. Direct Pickup.................................................................................................. 45
7.6. Group Pickup.................................................................................................. 45
7.7. BLF(Busy Lamp Field).................................................................................... 46
7.8. Shared Line.................................................................................................... 47
7.9. Call Park......................................................................................................... 48
7.10. Paging.......................................................................................................... 49
7.11. DTMF ........................................................................................................... 49

4
INSTRUCTION MANUAL VPS-802P
7.12. Prefix............................................................................................................ 50
7.13. Action URL................................................................................................... 50
7.14. SMS ............................................................................................................. 51
7.15. Keypad Lock................................................................................................. 51
7.16. Setting LED status........................................................................................ 52
7.17. Dial plan ....................................................................................................... 52
7.18. Encrypted call handling - TLS/SRTP............................................................ 53
7.19. VLAN and QoS service ................................................................................ 54
7.20. Additional tools............................................................................................. 55
8. Management –Upgrade....................................................................................... 56
8.1. Start................................................................................................................ 56
8.2. Factory Reset................................................................................................. 56
8.3. Software update............................................................................................. 56
8.4. Download/restore configuration...................................................................... 57
8.5. Autoprovisioning HTTP/HTTPS...................................................................... 58
9. Troubleshooting.................................................................................................... 59
9.1. Why is the phone LCD screen blank? ............................................................ 59
9.2. Why does the phone display "Network Unavailable"?.................................... 59
9.3. Why can’t I get a dial tone? ............................................................................ 59
10. Annex ................................................................................................................. 60
10.1. Hardware Specifications............................................................................... 60
10.2. Technical Specifications............................................................................... 60

5
INSTRUCTION MANUAL VPS-802P
1. IP Phone VPS-802P
Thank you for purchasing the VPS-802P. It is a fully functional mobile web enables
voice communication over the network. This device works like a traditional phone:
You can make and receive calls and use other functions specific to a regular phone.
This phone has other features data services that are unavailable in traditional
phones.
This manual contains information on the features and services available on the
device.
1.1. Notice Information
Before you connect and start using your phone, please read the following
information. They are important, the unit will operate in a safe and reliable.
Safety cautions
1. To use the power adapter that delivered with the phone. Other power adapters
may damage the phone.
2. The phone is only for indoor use. And also avoid in high humidity, water and some
other liquids.
3. Do not use the phone during thunderstorms.
Disposal of the phone
This symbol indicates that the product is classified as electrical or
electronic equipment and should not be disposed of with other
commercial or household waste at the end of its working life.
Cleaning
To clean the device, use an anti-static cloth. Please avoid cleaning liquids as they
might damage the surface or internal electronics of the phone.
„The manufacturer reserves the right to make changes to the
product
without prior notice.”
www.slican.pl
e-mail: [email protected]

6
INSTRUCTION MANUAL VPS-802P
1.2 Packing List
The package contains the following parts, please check if all the items are not
missed:
PHONE
THE FOOTSTAND
HANDSET
7
INSTRUCTION MANUAL VPS-802P
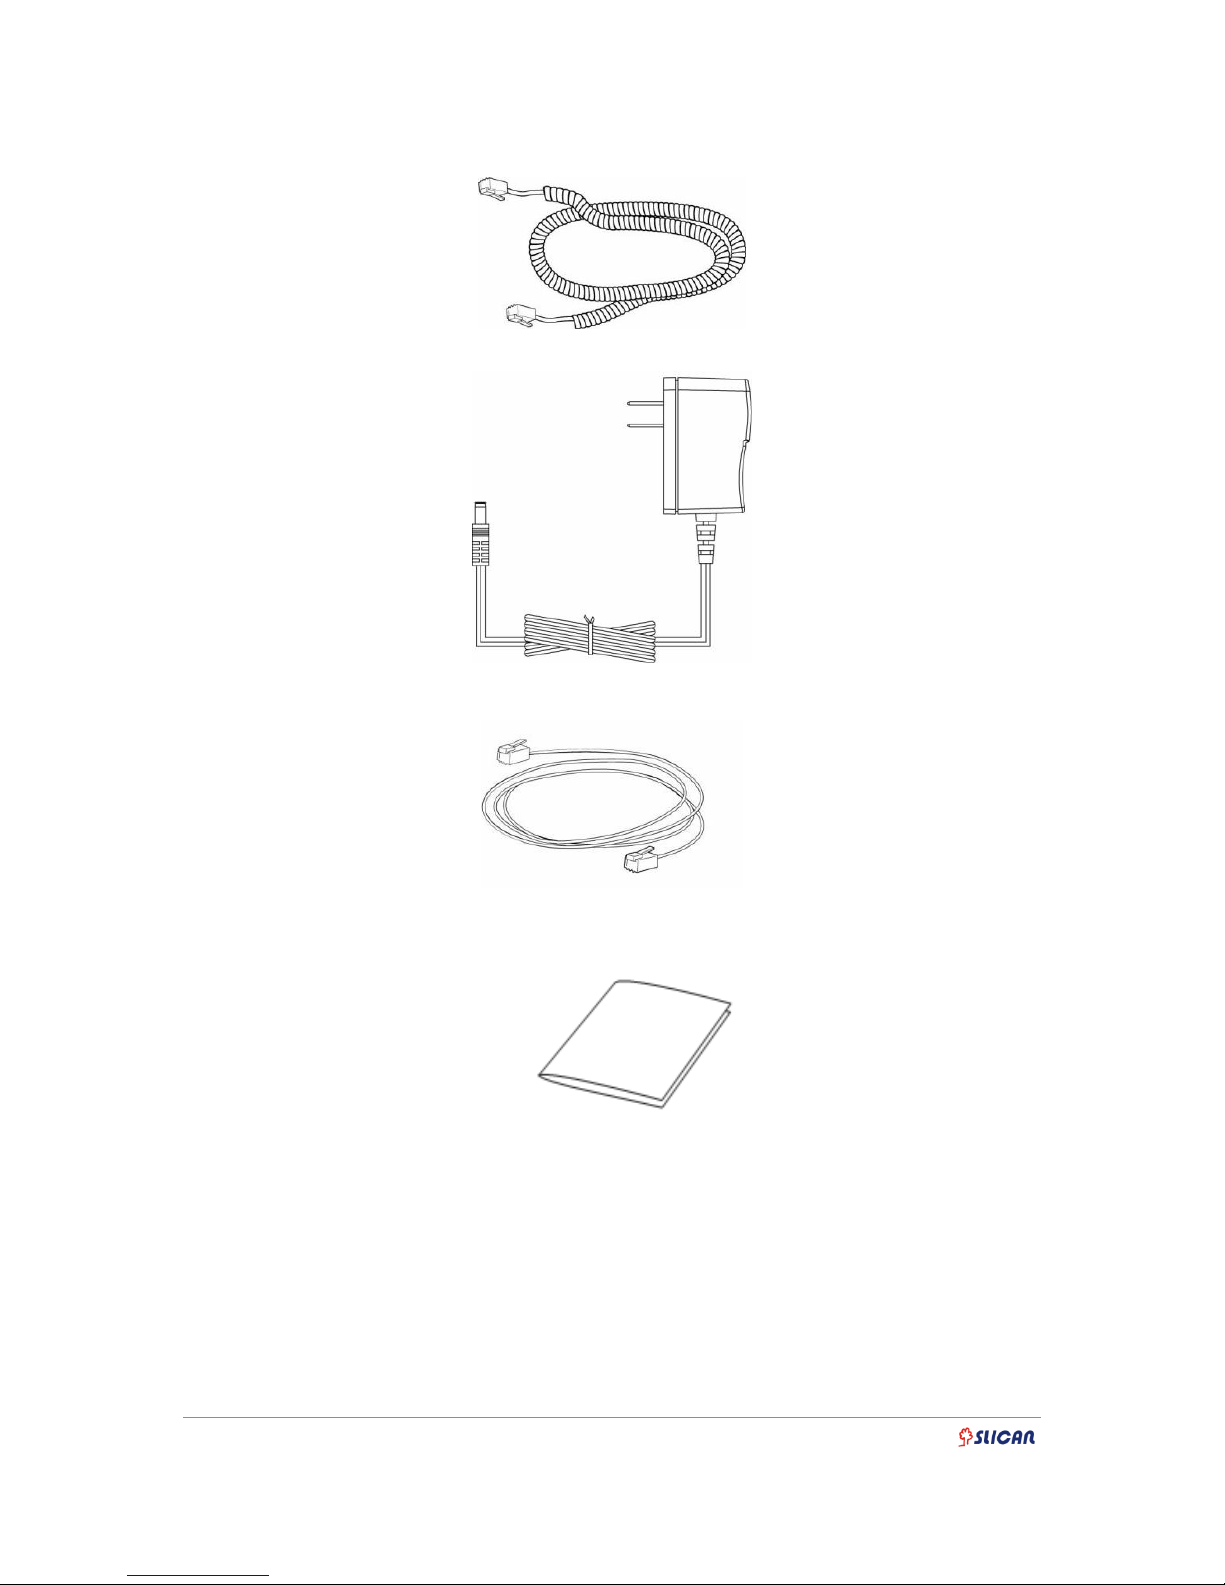
HANDSET CORD
POWER ADAPTER
ETHERNET CABLE
QUICK INSTALLATION REFERENCE

8
INSTRUCTION MANUAL VPS-802P
2. Phone Installation
2.1. Attach the Foot stand
2.2. Connect the Handset and optional Headset.

9
INSTRUCTION MANUAL VPS-802P
2.3. Connect the Network and Power
2.4. Initialization
After your phone has been powered up, the system boots up and performs the
following steps:
- automatic phone initialization
The phone finishes the initialization process by loading the saved configuration. The
phone LCD screen will display "Booting":
- and then show “Initializing “during the initialization process.

10
INSTRUCTION MANUAL VPS-802P
By default the phone attempts to contact a DHCP server in your network in order to
obtain its valid network settings, e.g. IP address, subnet mask, default gateway, DNS
server.

11
INSTRUCTION MANUAL VPS-802P
3. Getting Familiar with Your Phone
3.1. Hardware Components Preview
COMPONENT
DESCRIPTION
LCD screen
To Presentation all information about the date& time, accounts, soft
keys, messages, calls and other some information.
Power Indicator LED
To indicate the power status
Line keys
The phone supported up to 2 accounts
Steady green: idle interface, during a call.
Blink red: a call incoming
Soft keys
Labels automatically to identity their context-sensitive features.
Navigation keys
OK
Up arrow key: to move up of the selection shows on the
screen.
Right arrow key: to move right of the selection
shows on the screen.
12
INSTRUCTION MANUAL VPS-802P
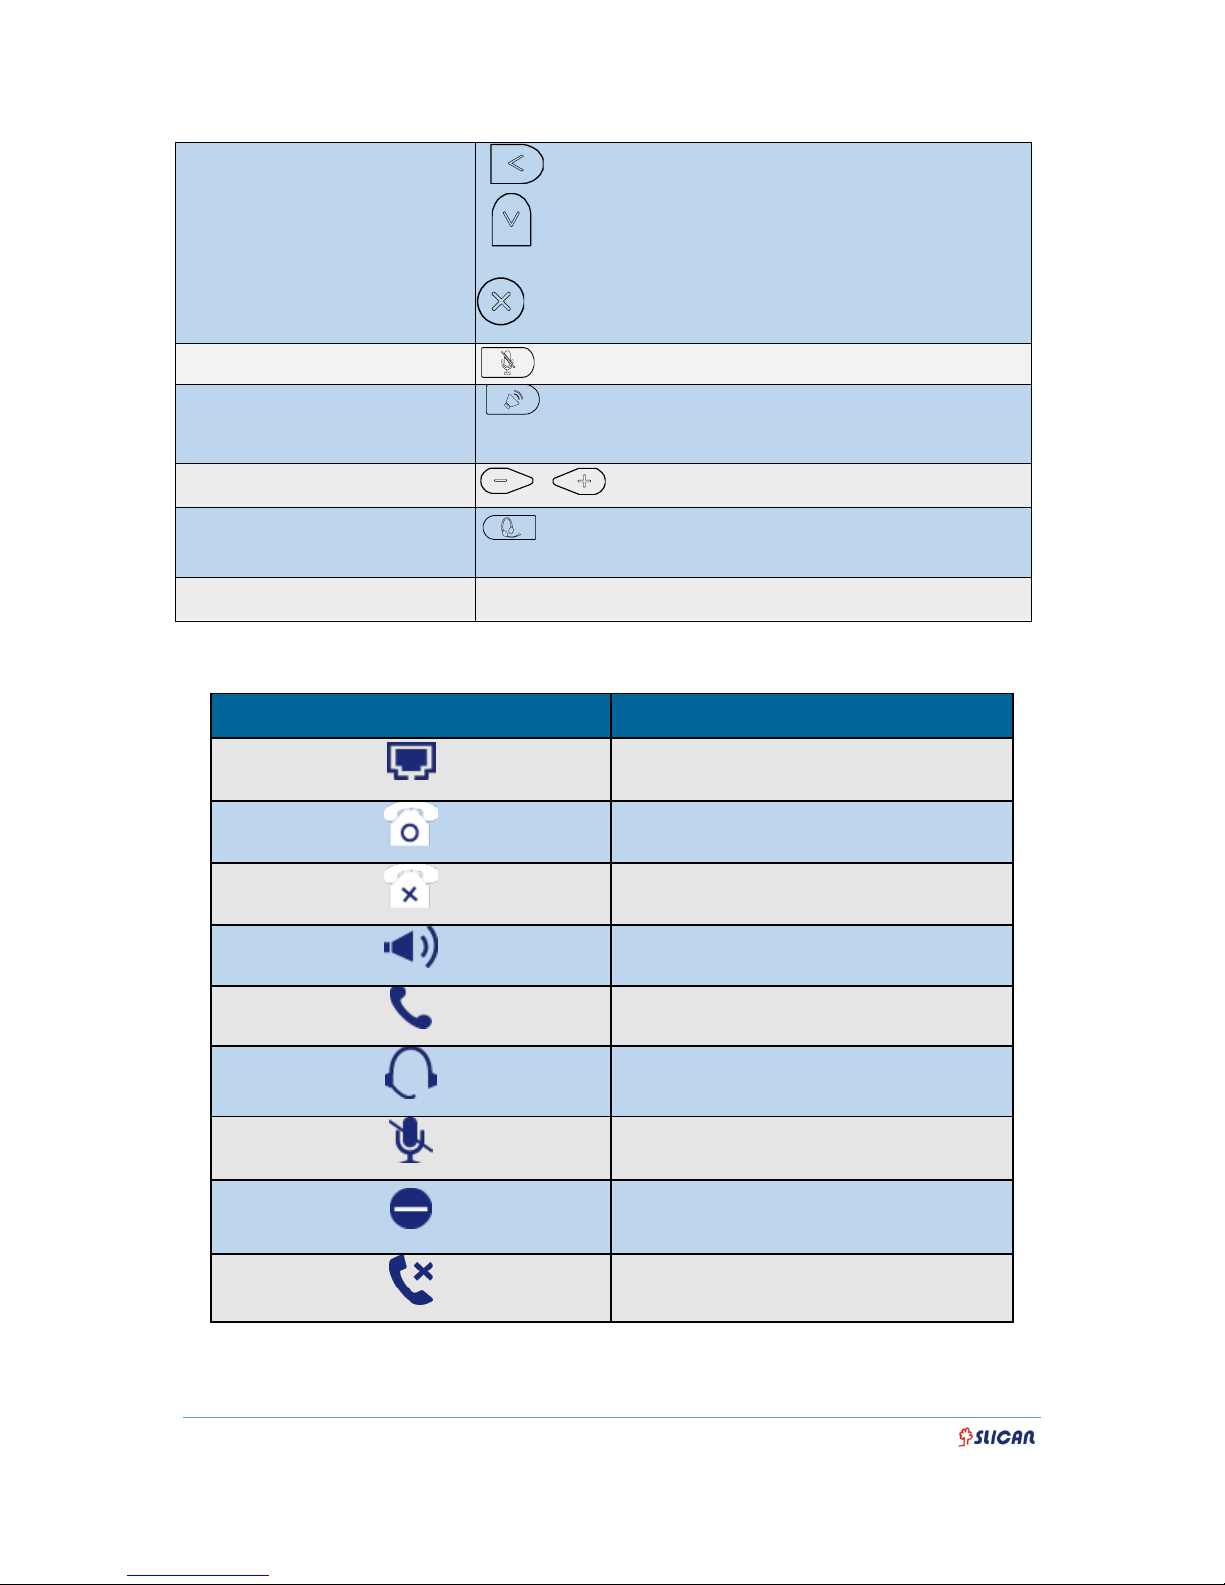
3.2. Icon preview
Left arrow key: To move left of the selection
shows on the screen.
Down arrow key: To move down of the selection
shows on the screen.
Cancel: to cancel the information or call on the
screen, retirn to idle screen
Mute key
Mute the voice during the call (green light).
Speaker
Press this button to place a call in hands-free
mode.
Volume
To increase/decrease the volume.
Headset
To indicate that the phone is or not in
Headset mode.
Alphanumeric keypad
To enter the phone numbers, letters and so on.
ICON
DESCRIPTION
Network
Registered succeed
Unregistered
Speakerphone mode
Handset mode
Headset mode
Mute
Do Not Disturb
Missed calls
13
INSTRUCTION MANUAL VPS-802P
Description of the behavior of LEDs on the phone
Power LED
STATUS LED
OPIS
Blinking green
Ringing or missed call
Steady green
Power on
Off
Power down
Account LED
STATUS LED
OPIS
Steady green
Talking or off the hook
Mrugająca czerwona
Ringing
Off
Idle
BLF LED
STATUS LED
OPIS
Steady green
Idle line
Steady red
Monitored line during a call or ringing
Blinking red
Monitored line during ringing
Off
Uknown status
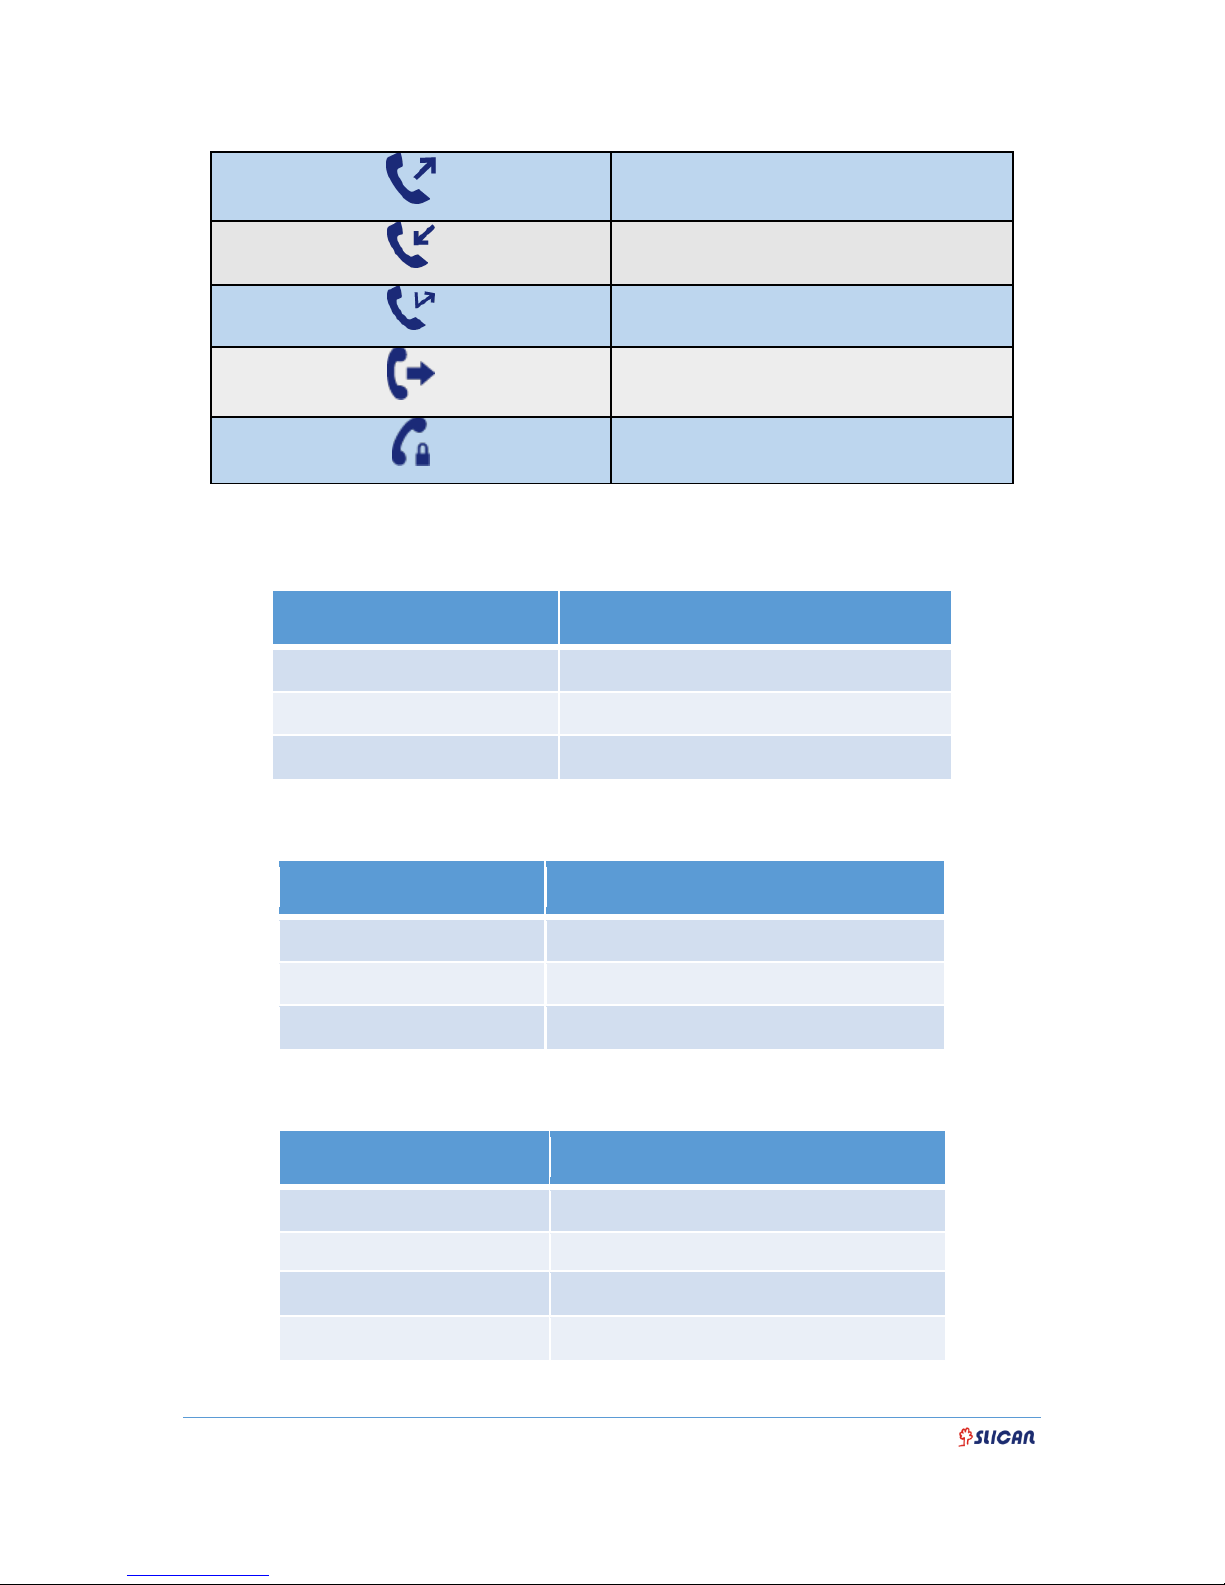
Dialed Calls
Received calls
Forward calls
Forward
Keypad locked
14
INSTRUCTION MANUAL VPS-802P
4. Phone Configuration
4.1. Basic Features Configuration
This part will mainly introduce the basic configuration as the Time, Language, and
Volume by the help of the LCD display.
Advanced features require knowing the password for configuration (default: admin)
Advanced phone features can be configured using a web browser. This requires
knowledge of the phone IP address.
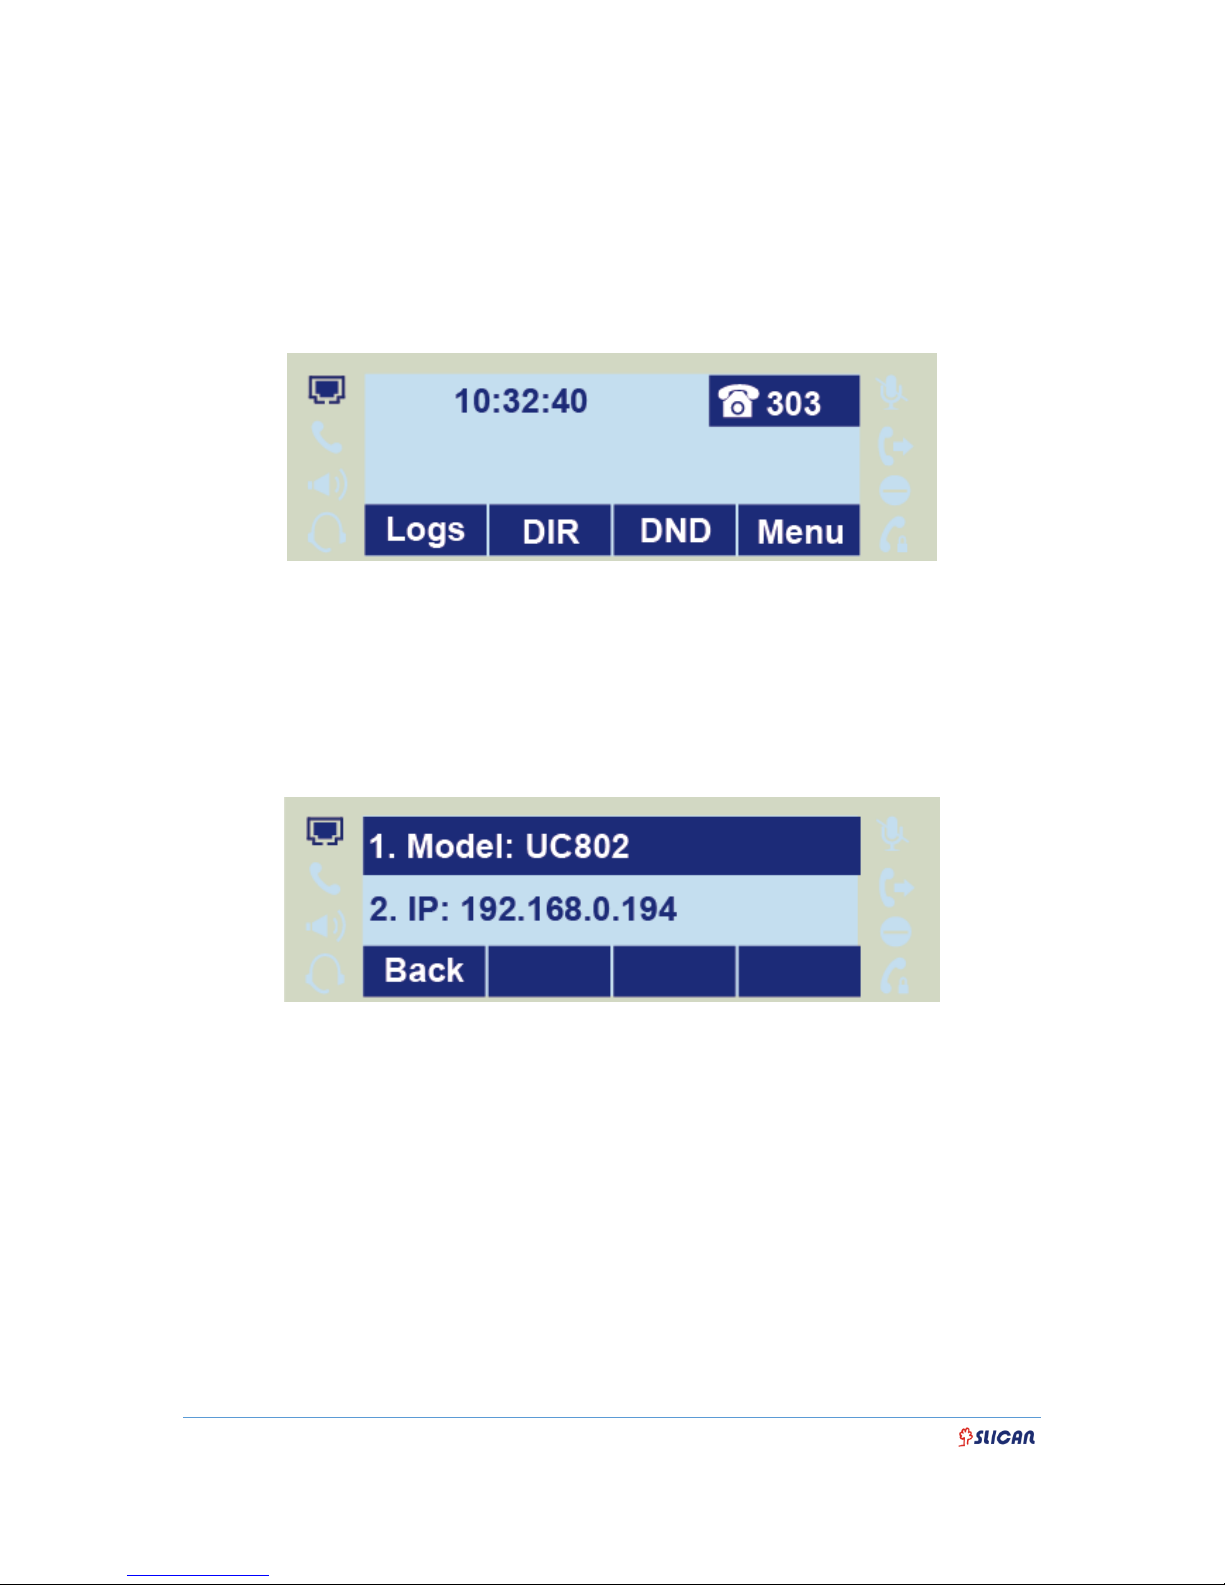
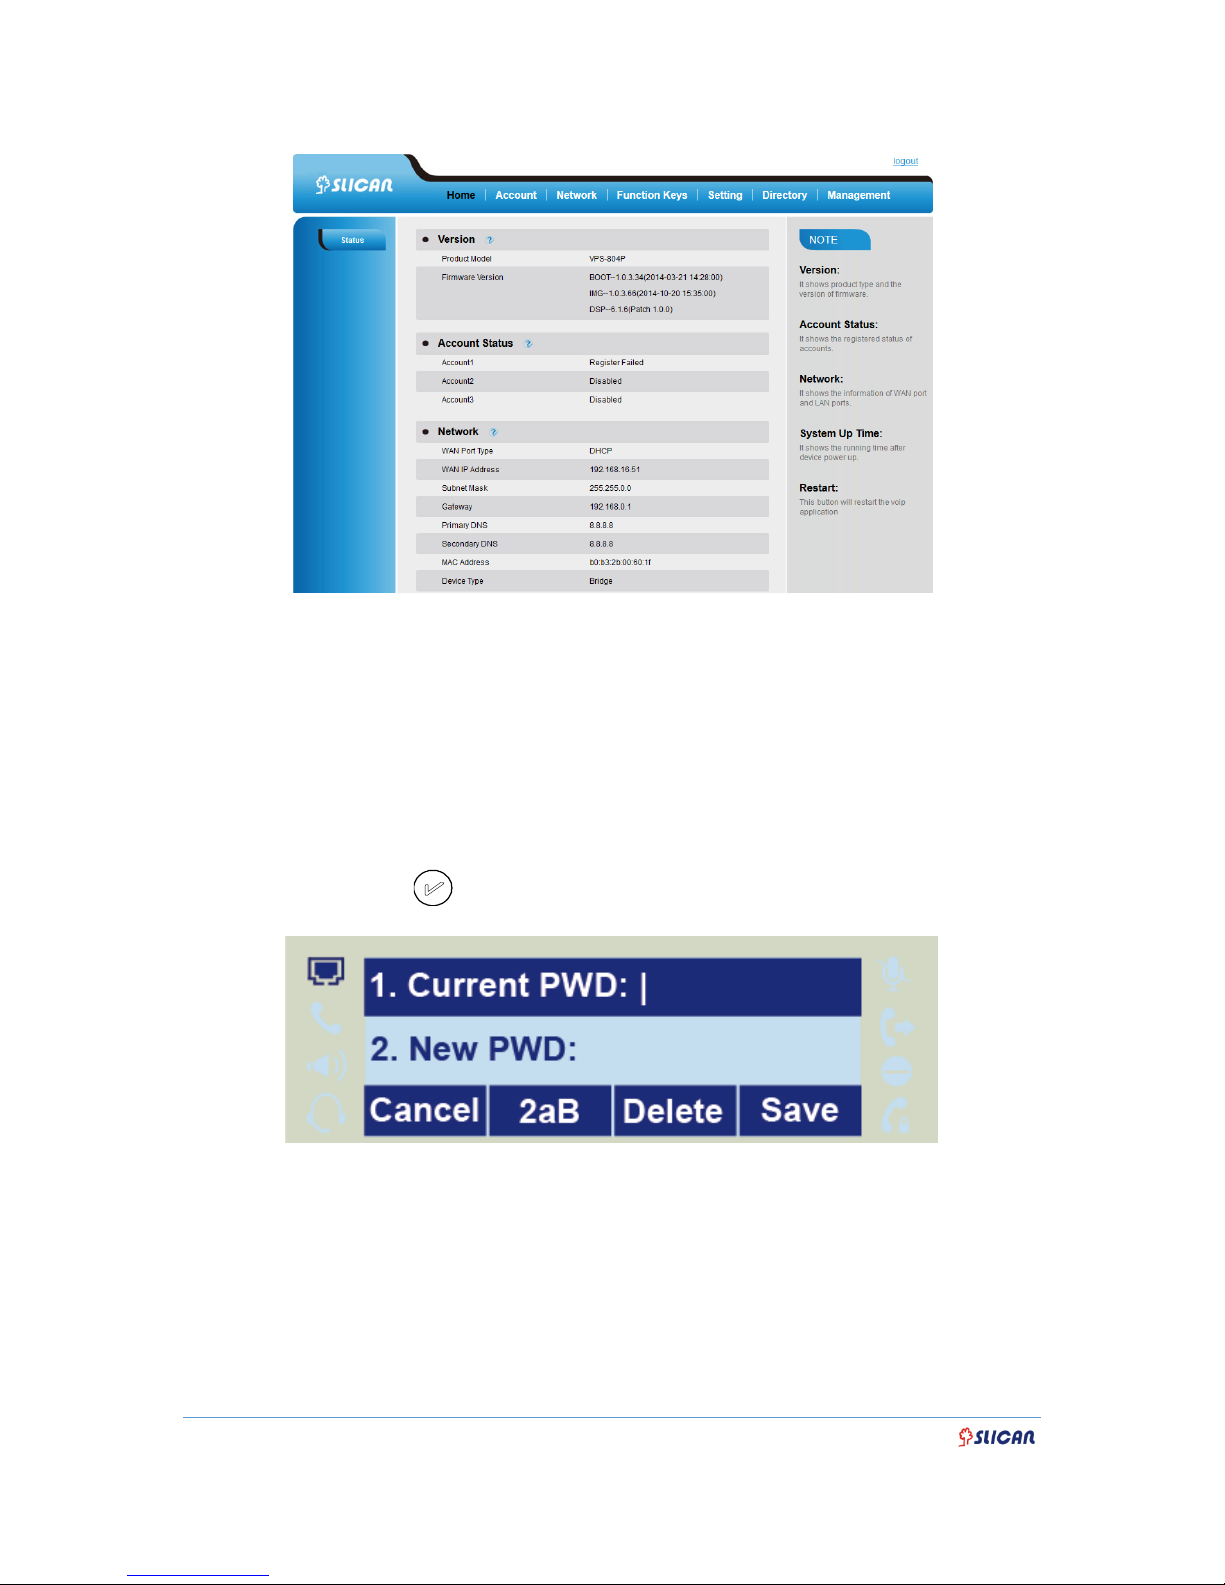
To get the IP address: Press Menu →Status→ Information (phone defaulted as a
DHCP client)
Input the IP Address in the web browser.
Enter user name: admin(default) and password: admin(deafult).
Login successfully.
15
INSTRUCTION MANUAL VPS-802P
4.2. Administrator Password
The password is mainly used for login the web interface or set the advanced settings
through phone interface. And the default password of the administrator is: admin
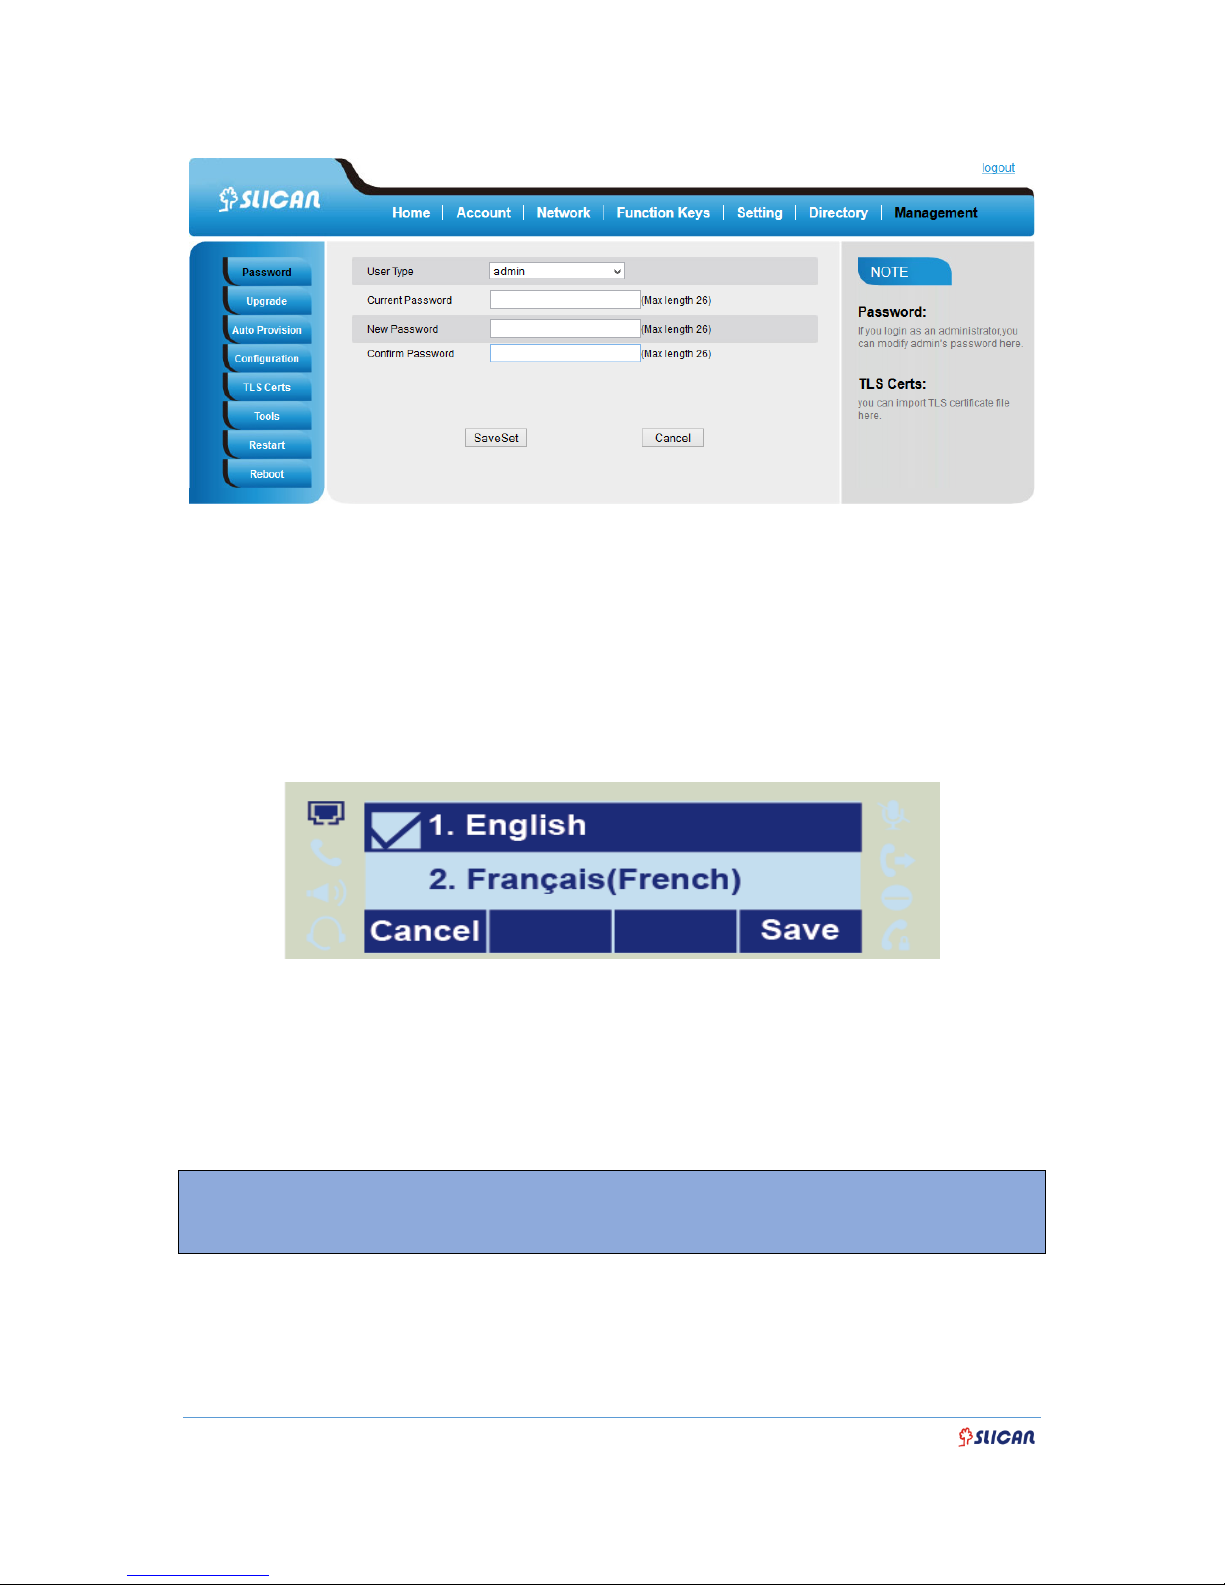
To change to password via Phone Interface
Press Menu→Setting→Advanced settings→password(default admin)→Phone
Setting→Set Password
Enter the current PWD (password), new password and confirm the new password.
Press save soft key or to save the new password.
To change to password via Web Interface
Management → Password
Fill the value: Current password, new password, confirm the password then click
Save to save the configuration.
16
INSTRUCTION MANUAL VPS-802P
4.3. Language
The default phone interface language is English (both LCD Menu and WEB
interface).
To change the language via Phone interface
Press: Menu→Settings→Basic Settings→Language.
Press: Save soft key to save the configuration.
To change the language via Web Interface
Select: Setting→Preference→Web Language
Select the necessary one.
Press : Save, to save the configuration.
Note:
All languages may not be available for selection. The available languages
depend on the language packs currently loaded to the IP phone.

17
INSTRUCTION MANUAL VPS-802P
4.4. Time and Date
The time and date show on the idle page, and it can be set and change by SNTP
server automatically or manual setting.
To configure the time and Date by SNTP setting
Press: Menu → Setting → Basic setting → Time & Date → SNTP Settings
Press or , or info soft key to change the Time zone.
NTP server
Fill the NTP server1, NTP server2 (default: tempus1.gum.gov.pl ).
Daylight Saving.
The choice: Auto, Daylight Saving Time on and off.
Press or Save soft key to save the configuration.
To configure time and date manually
To press : Menu → Setting → Basic setting → Time & Date → Manual Settings
Press and or change the right time, or you can input the right time.
Press or Save soft key to save the configuration.
To configure the Time & Date Format
To press: Menu → Setting → Basic setting → Time & Date Format
Press and or press Info to change between 12 Hour or 24 Hour.
Press and or press Info to change among Y-M-D(year-month-day), M-D-
Y(month-day-year), D-M-Y(day-month-year).
Press or Save soft key to save the configuration.
To configure the DHCP time
18
INSTRUCTION MANUAL VPS-802P
To press: Menu → Setting → Basic setting → DHCP time
Press and or press Info to change between Disable and Enable.
Press or Save soft key to save the configuration.
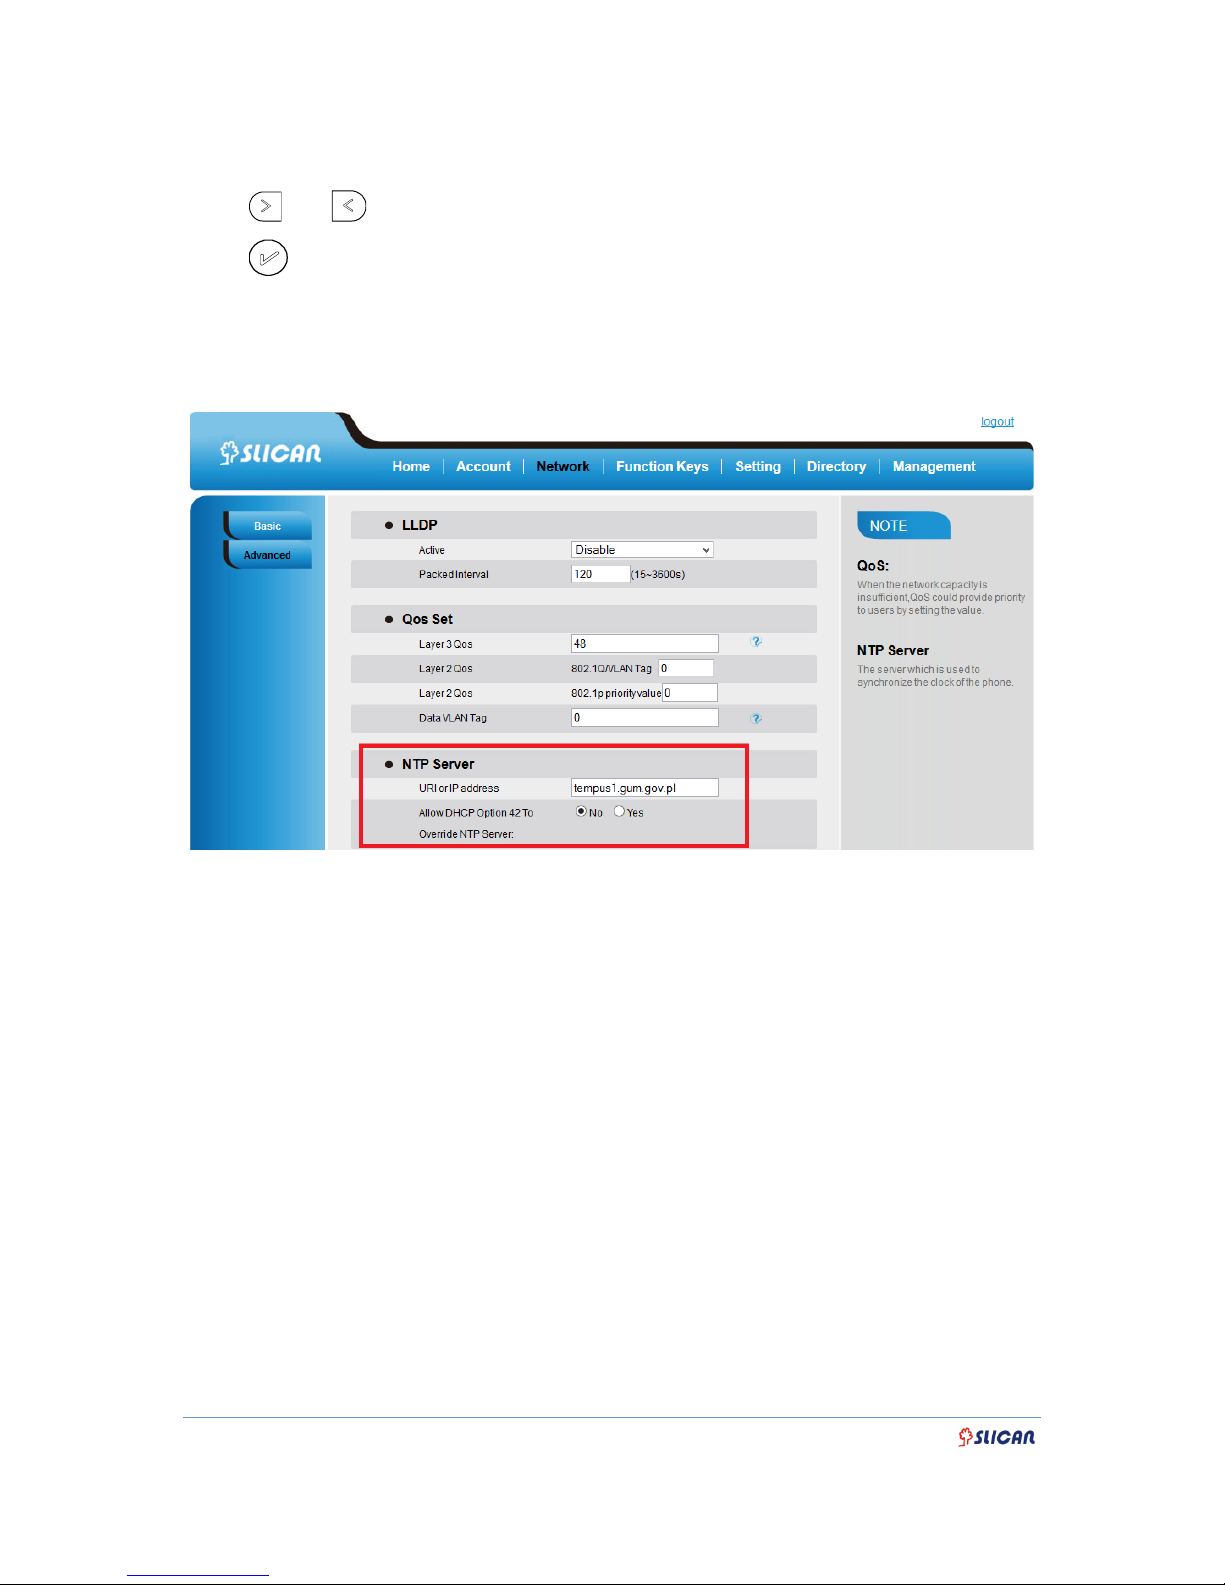
To configure the Time and Date by web interface
Select: Network → Advanced →NTP Server
Set IP address NTP server (default: tempus1.gum.gov.pl ).
To change the Time Zone and Date Display Format via web interface
Select: Setting → Preference →Time Zone
Select the necessary one. Press Save to save the configuration.

19
INSTRUCTION MANUAL VPS-802P
Note:
If the IP Phone cannot obtain the time and date from the Simple Network
Time Protocol (SNTP) server, please contact your system administrator for
more information.
4.5. Screen Saver
There are two types of screen saver:Backlight off, Time & Logo .
To enable screen saver via Phone
To press: Menu → Display → Screensaver...
Press and or press Switch soft key to Choose the Time-out as 1 min or
2/5/10/30 minute.
Enter the Screensaver Type to choose one of the type: Backlight off, Time & Logo.
Press or Save soft key to save the selected configuration.
To disable screen saver via Phone
To press: Menu → Display → Screensaver...
Press and or press Switch soft key to Choose the Time-out as off.
Press or Save soft key to save the selected configuration.
To Enable screen saver via Webpage
Select: Setting → Preference
To choose the Time-out as 1 min or 2/5/10/30 minute.
To select the screen Type as Backlight off or Time & Logo.
Click Saveset to save the configuration.

20
INSTRUCTION MANUAL VPS-802P
To Disable screen saver via Webpage
Select: Setting → Preference
To choose the Time-out as Off
Click Saveset to save the configuration.
4.6. Ring Tone
You can adjust the type and volume of the ring tone(8 types).
Change the ringing tone via phone interface
To press : Press Menu → Setting → Basic Settings → Ring Tone.
Press and to select the aimed one.
Press or Save soft key to save the configuration.
Change the ringing tone via WEB interface
Selekt: Account → Advanced → Account Ring Tone
Make Your choice
Click to Save to save the configuration.
Table of contents
Other Slican IP Phone manuals


