Smarthome Group Bio-Eagle User manual

Bio-Eagle Users Manual
1
Bio-Eagle
Biometrics
Time Attendance
&
Access Control

2
Directory
1. Introduction........................................................4
1.1 Basic Concepts.................................................... 6
1.1.1 User Enrollment........................................................................6
1.1.2 User Verification.......................................................................7
1.1.3 Match Threshold Levels ...........................................................7
1.1.4 User ID Numbers......................................................................8
1.1.5 Authority (status) Levels...........................................................8
1.1.6 Start-up window........................................................................8
2.1 How to place the finger....................................... 9
2. Enrollment and Verification Procedures .......... 11
2.1 Enrolling Users.................................................. 11
2.2 Testing an Enrollment ....................................... 17
2.3 Enrolling a User with the Display Finger Option
On............................................................................ 17
2.4 Verifying Your Identity...................................... 17
2.4.1 Start-up window......................................................................18
2.4.2 Password Verification.............................................................18
2.4.3 ID number & Fingerprint........................................................19
2.5 Hints for Successful Enrollments...................... 20
3. System Options................................................22
3.1 System Options ................................................. 22
3.1.1 Date Time ...............................................................................23
3.1.2 Changing the Default Language.............................................23
3.1.3 Advanced Options...................................................................23
3.2 Power Manager ................................................. 24
3.3 Communication Option..................................... 25
3.4 Log Options....................................................... 26
3.5 Access Options.................................................. 26
3.6 Auto Test............................................................ 27
4. Download fingerprints & AC Records.............27

Bio-Eagle Users Manual
3
4.1 Install Attendance Management System........... 27
4.2 Connect PC and Bio-Eagle with RS232 ........... 28
4.3 Setup PC Com port rate:115200 or 9600.......... 28
4.4 Connecting and Download AC Records ........... 31
4.5 Upload staff's name to TAP-01 ......................... 35
4.6 Connect PC and TAP-01 with TCP/IP.............. 38
5. System Information..........................................39
6. Trouble shooting ..............................................39

4
1. Introduction
This chapter shows the Bio-Eagle Fingerprint T&A basic concepts
and how to place the finger.
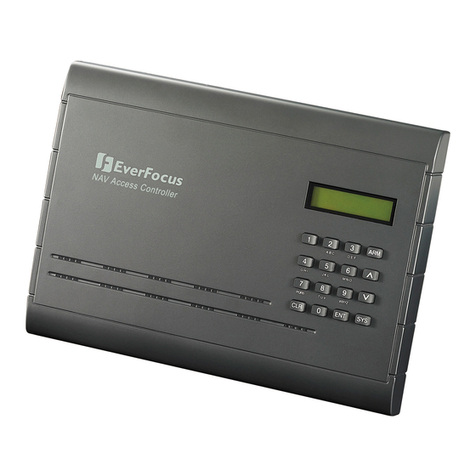
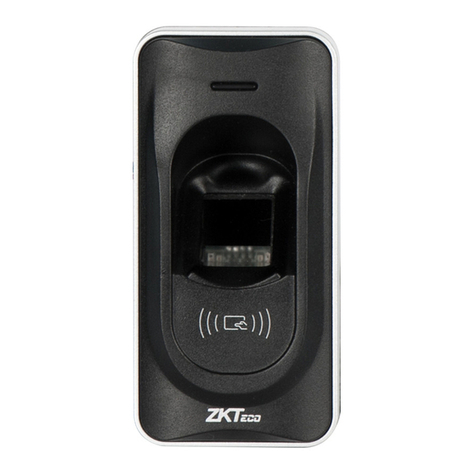
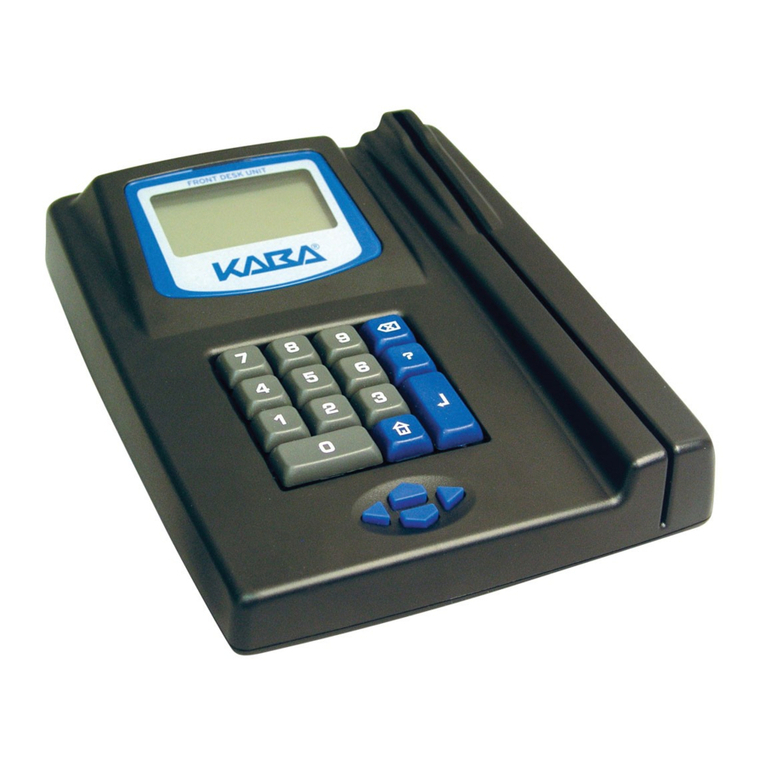
Figure (Model: Bio-Eagle)
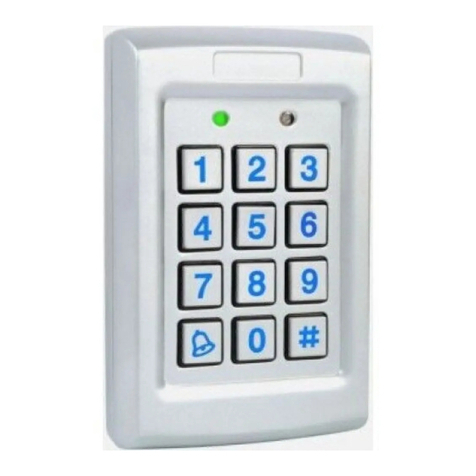
Figure (Model: Bio-Eagle) keypad
1 2 3 ESC
4 5 6 ▲
7 8 9 ▼
~ 0 OK MENU

Bio-Eagle Users Manual
5
Keypad Definition
Confirm the current present.
Access to manage.
Escape or cancel.
Scroll up.
Scroll down.
Power button.
ˉˉ :Numerical key.

6
1.1 Basic Concepts
This section contains definitions and descriptions of Time Recorder
Fingerprint T&A Concepts, including:
·User Enrollment
·User Verification
·Match Threshold Levels
·User ID Numbers
·Authority (Status) Levels
The two most important TimeClock Fingerprint T&A Functions
are user enrollment and user verification.
1.1.1 User Enrollment
Enrollment is the process of create an ID number and scanning a
user’s finger to create a template three times. This template is
associated with a user ID number and stored.
During user verification, the stored template is compared to the
current fingerprint scan to confirm the user’s identity.
Enrollment is performed at designated Time Recorder units. The
user can verify on the time recorder that enroll his fingerprint. The
enrollment process takes approximately 2 seconds.
Up to ten fingers can be enrolled for the same ID number, so the
user may have more verifications way.
Ideally, everyone finger on each hand should be enrolled so that if
the user injures the enrolled finger had, an alternate finger template is

Bio-Eagle Users Manual
7
available. While recording the finger type is optional, it is
recommended such as left or right index, so that at verification the
user is prompted as to which finger to use.
1.1.2 User Verification
Verification occurs when a user either enters an ID number or
places a finger in the fingerprint sensor, then input password for
comparison with the stored template.
1.1.3 Match Threshold Levels
The Mach Threshold is a number that represents the degree to
which verification is examined to ensure that the person is the person
claimed.
The Match Threshold Levels establishes a balance between False
Acceptance Rate (FAR) and False Rejection Rate (FRR). FAR measures
how often a non-authorized user is falsely recognized and granted
access to the system. FRR measures how often an enrolled and
authorized user, who should be granted access to the system, is
denied on the basis that the system did not recognize him.
You can set match threshold levels on a per-use basis. For the
fingerprint verification is difficult, you can adopt ID & Fingerprint
verification (match one to one).
Raising the threshold increases security, while lowering it
increases throughout. The correct balance is essential.
For users with worn or damaged fingers, match threshold levels
can (and should) be reduced.
Different sites have different requirements.
Table 1-1 Suggested Match Threshold Settings
FRR FAR One-to-many One-to-one

8
High Low 45 25
Middle Middle 35 15
Low High 25 10
1.1.4 User ID Numbers
Before beginning fingerprint enrollment, a user is assigned User
ID Number. This ID number is used to call up the fingerprint
template each time that verification is requested.
ID numbers are normally called up via the keypad, but they can be
called up through other means such as RF Card.
1.1.5 Authority (status) Levels
TAS Clock Fingerprint T&A has four authority or status levels:
·Users are people whose identity must be verified, such to gain
access to a facility or to have their attendance recorded.
·Managers can do other operations, except set advanced option
and enroll manager’s authority.
Note: Without Manager status in the system, the Enroller will
enroll them.
1.1.6 Start-up window
Click the power button and the screen showed on, a display of a
window was called the Start-up window. The following appears:
Welcome
04
-
01
-
02
Thu

Bio-Eagle Users Manual
9
2.1 How to place the finger
1.The correct way is:
Place a finger flatwise on the sensor surface
Place it to the center of the sensor surface
2.When registering, please place finger on sensor surface for about 1
second.
3.If the quality of finger registry is very bad, please register another
fingers to instead of.
Notice :
Correct Ways:
① The area of finger on the sensor surface should be
larger.
② Place a finger flatwise on the sensor surface
③ Place finger to the center of the sensor surface

10
Incorrect Ways
①Touching ②put on the left ③Put on the right
④not straight ⑤Put on the lower place
Note: Please adopt the correct way to place the finger; this
company assumes no responsibility for errors from the use
of the Time Recorder. This company reserves the right to
revise document and to make changes from time to time in
the contents here of without obligation to notify any person

Bio-Eagle Users Manual
11
of such revision or changes.
2. Enrollment and Verification Procedures
This chapter describes how to enroll and verify users on the
Fingerprint T&A verification system.
The following topics are included:
·Enrolling User
·Testing an Enrollment
·Enrolling a User with the Display Finger Option On
·Verifying Your Identity
·Hints for Successful Enrollments
Note: You must have Enroller, Manager, or Supervisor status to
enroll users. For information on status levels, see “Authority (Status)
Levels” on 1.1.5.
2.1 Enrolling Users
If this is the first enrollment in a new or empty system, everyone
will become an enroller.
If there is a manager in the system, you will have Manager status
to enroll a new user.
There are three ways of enrollment; fingerprint enrollment,
password enrollment, fingerprint & password are suitable for three
differences crowds. Fingerprint enrollment suited the most people

12
who have better quality fingerprints; Fingerprint & Password suited
few people who enrolling successful, but verification was difficult;
Password enrollment suited 1% people who verification
unsuccessful.
To start the enrollment process, identify yourself firstly-press
[Menu], enter your ID number or fingerprint, and then verify your
identity.
Note: If this is the first enrollment in a new or empty system, you
will not be prompted for verification.
The following message appears on the display:
Press [OK], access the User Manager, the following message
display:
Press [OK], access the User Enrollment, the following message
display:
MENU
User Manage
Option
Sys Info
User Manage
Enroll User
EnrollAdmin
Delete
Enroll User
Enroll FP
EnrollPwd
Fp & Pwd

Bio-Eagle Users Manual
13
Fingerprint Enrollment
(1) Access the Enroll Fingerprint to press [OK], the following
display:
(2) Press [OK], the following appears:
(3) Input the enrolling number (the range is 1 to 65534), press [OK],
the following appears:
(4) If the test is successful three times in a row, the following
appears:
Note:00008-1
Enroll Fp
New Enroll?
New Enroll
Enroll No. 0
00
00
00
08
8
ESC OK
New Enroll
Place Finger……
New Enroll
00008-1
ESC OK

14
The last number 1 means the first fingerprint.
Press [OK], the previous message continues to be displayed while the
template is created.
If your identity cannot be verified, you are prompted to try again.
And you must restart the verification procedure (step 3).
2. Password Enrollment
(1) Access the password enrollment, press [OK], the following
appears:
(2) Press [OK], the following appears:
(3) Input the enroll number (the range is 1 to 65534), press [OK], the
following appears:
Note: The password range is 1 to 5.
Enroll Pwd
New Enroll?
New Enroll
Enroll No. 0
00
00
00
08
8
ESC
OK
New Enroll
Input Pwd *****
ESC
OK

Bio-Eagle Users Manual
15
(4) Input the password, press [OK], the following appears:
(5) Input the password again, press [OK], the following appears:
Note: 00008-P
The last letter P means password.
Press [OK], the previous message continues to be displayed while the
template is created.
3.Fingerprint & Password
Access the Fingerprint& Password, press [OK], the following
appears:
(2) Press [OK], the following appears:
New Enroll
Input Pwd *****
Pwd Affirm *****
ESC
OK
New Enroll
00008-P
ESC
OK
Fp & Pwd
New Enroll?
New Enroll
Enroll No 0
00
00
00
08
8
ESC
OK

16
(3) Input the password (range is 1 to 65534), press [OK], the
following appears:
(4) If the test is successful three times in a row, the following
appears:
(5) Input your password, the following appears:
(6) Input the password again, press [OK], the following appears:
Note: 00008-1P
The second from the last 1 means one fingerprint
The last letter P means password.
New Enroll
Place Finger……
New Enroll
Input Pwd *****
ESC
OK
New Enroll
Input Pwd *****
Pwd Affirm *****
ESC
OK
New Enroll
00008-1P
ESC
OK

Bio-Eagle Users Manual
17
Press [OK], the previous message continues to be displayed while
the template is created.
2.2 Testing an Enrollment
Ask the users to place their finger to perform a test verification. If
the test was successful, you will adopt Fingerprint enrollment. If the
poor quality of fingerprint, you will be recommended to use
Fingerprint & Password.
2.3 Enrolling a User with the Display Finger Option
On
Press [ESC] to the Display Dinger Option On, the following
appears:
Note: Where system memory permits, it is advisable to have at
least two fingers enrolled for a long-term user.
2.4 Verifying Your Identity
The workers used Fingerprint T&A to verify their identity. The system
defaults to three ways of verification: Fingerprint verification, Password
Enroll Fp
New Enroll?
Backup Enroll
Enroll No 00008
ESC OK
ESC

18
verification, ID number & Fingerprint. The following appears
2.4.1 Start-up window
Place the finger on the sensor surface, the following appears:
It continues for about 0.5 seconds. If the test is successful, it will
say “Thank you”, the following appears:
If your identity cannot be verified, you are prompted to try again,
the following appears:
.
It continues for about 0.5 seconds, return to the start-up window.
2.4.2 Password Verification
To start the enrollment process, enter your ID number, the
Fp Verify
Pls. Move finger
Fp Verify
Enroll No 00008
if
id
!
Fp Verify
Place finger Agn!

Bio-Eagle Users Manual
19
following appears:
Press [OK], the following appears:
Input correct password, press [OK], the following appears:
If the password cannot be verified, the following appears:
2.4.3 ID number & Fingerprint
To start the enrollment process, enter your ID number, the
following appears:
1:1 Fp Match
Enroll No 0008
Pwd Affirm
Enroll No 0008
In
p
ut Pwd *****
Pwd Affirm
Enroll No 0008
Verfied
Pwd Affirm
Enroll No 0008
EPd
!

20
If your identity is verified, the following appears:
2.5 Hints for Successful Enrollments
The fingerprint is of good quality, the verification speed will fast;
otherwise, it will verify slowly or occur to FRR.
In order to improve the fingerprint verification quality, the
following hint appears:
Table 2-1 Enrolled unsuccessful or the fingerprint of poor quality
Dry or dirty fingerprints Solve the dry problems that rub the
dry finger and palm.
If the fingerprint is dry, you will
adopt the way of wetting up the
finger, such as rub the forehead
Have no enough to bring
pressure
The user should place a finger
firmly and squarely on the sensor
surface.
How to select the finger? Recommend to left or right index or
1:1 Fp Match
Enroll No 0008
1:1 Fp Match
Enroll No 00008
Table of contents

