manuals.online logo
Brands
  1. Home
  2. •
  3. Brands
  4. •
  5. Smartwares
  6. •
  7. Switch
  8. •
  9. Smartwares SH4-99574FR User manual

Smartwares SH4-99574FR User manual

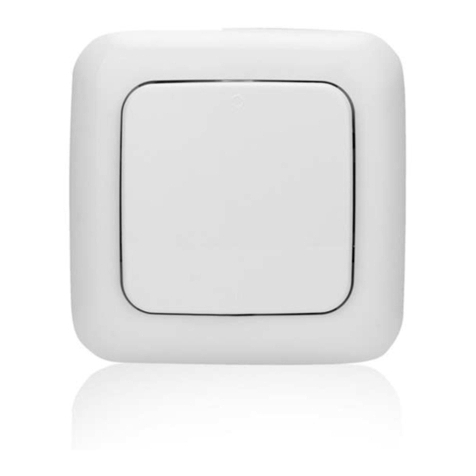
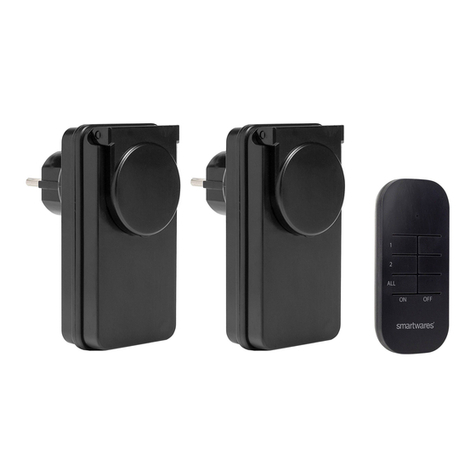
SH4-99574FR
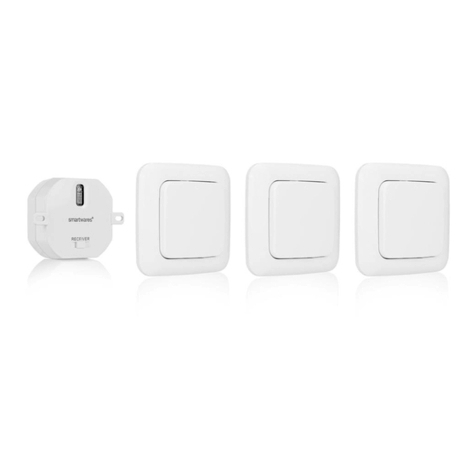
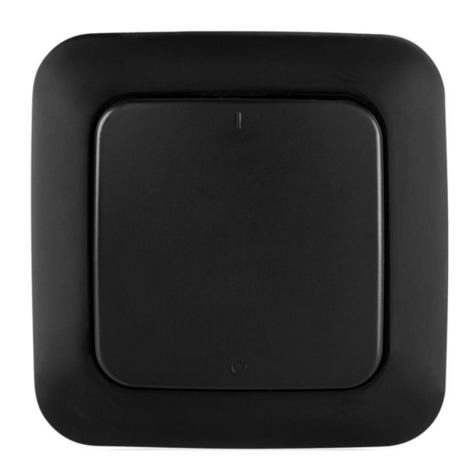
EN Wirelessswitchset
NL Draadloze schakelset
DE Funkschalter-Set
FR Kit d'interrupteurs sans fil
PL Zestaw bezprzewodowego przełącznika ściennego
nego
IT Set interruttori wireless
ES Interruptor de pared inalámbrico
EN Instruction manual
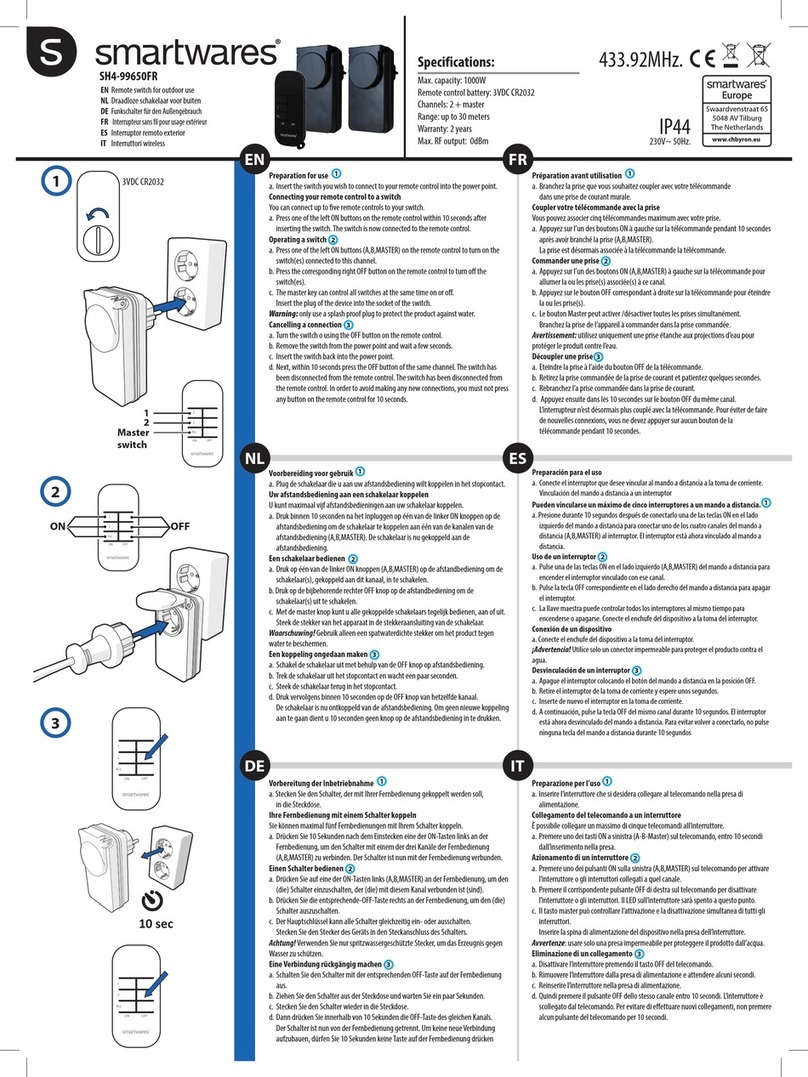
PREPARATION BEFORE USE
Insert battery
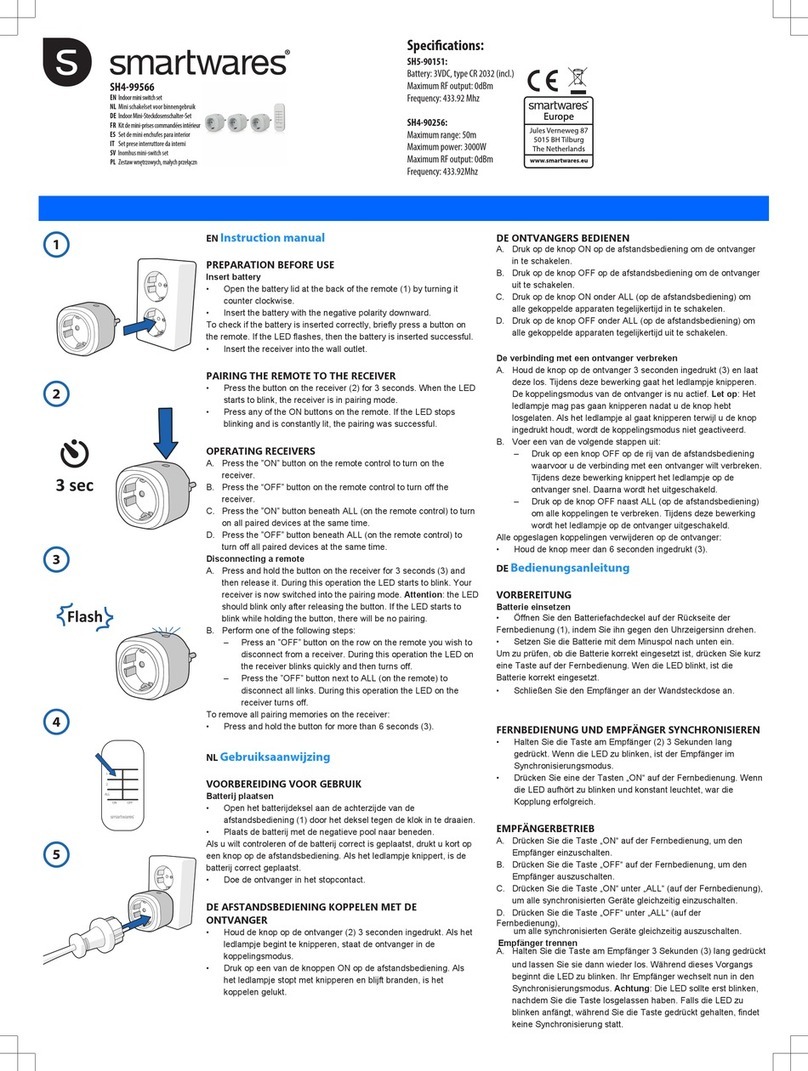
• Open the battery lid at the back of the remote (1) by turning it
counter clockwise.
• Insert the battery with the negative polarity downward.
To check if the battery is inserted correctly, briefly press a button on
the remote. If the LED flashes, then the battery is inserted successful.
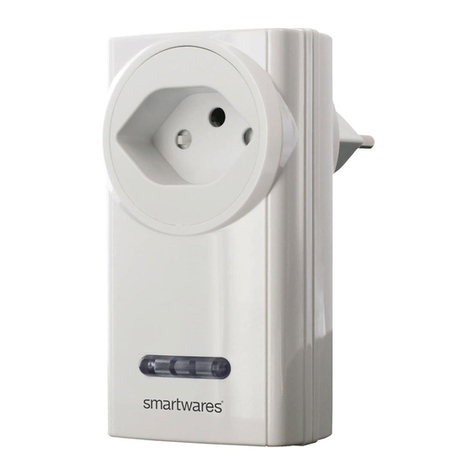
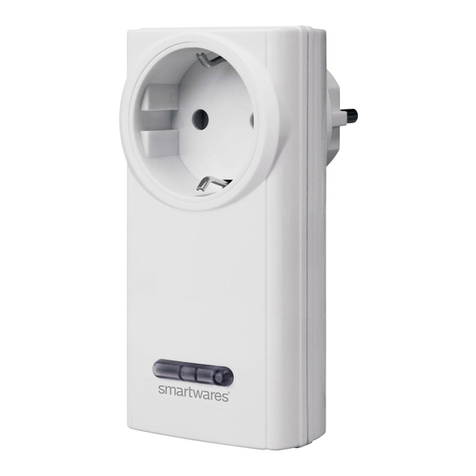
• Insert the receiver into the wall outlet.
NOTE: The socket-outlet must be installed close to the equipment
and must be easily accessible.
PAIRING THE REMOTE TO THE RECEIVER
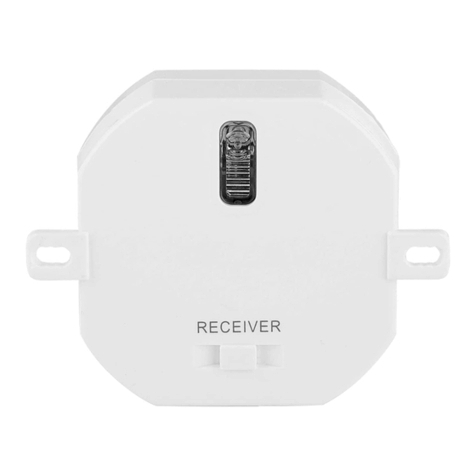
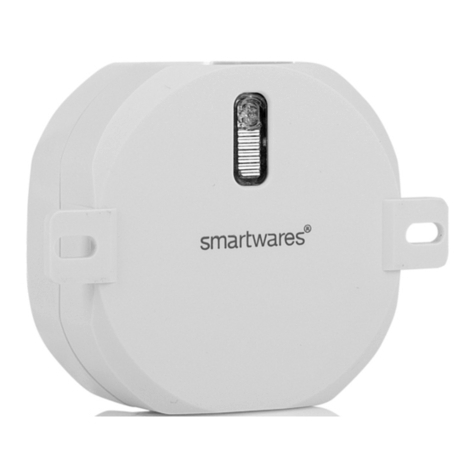
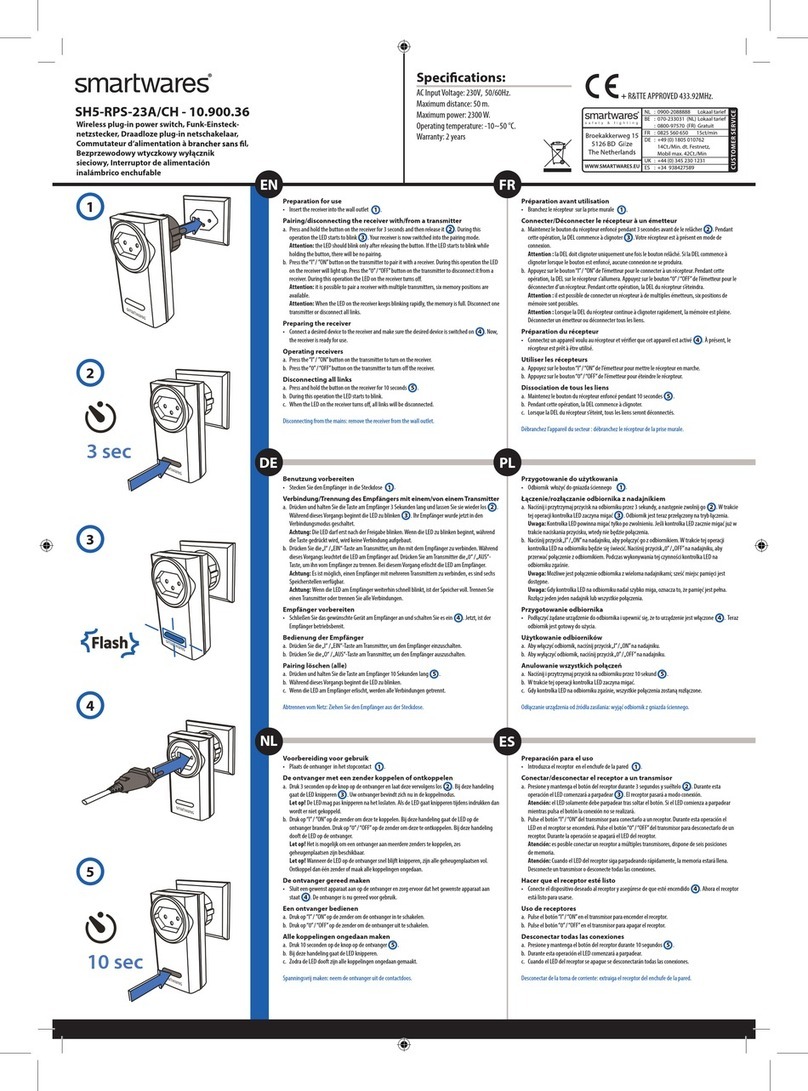
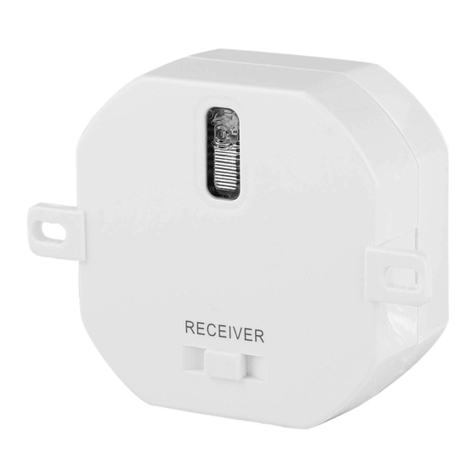
• Press the button on the receiver (2) for 3 seconds. When the
LED starts to blink, the receiver is in pairing mode.
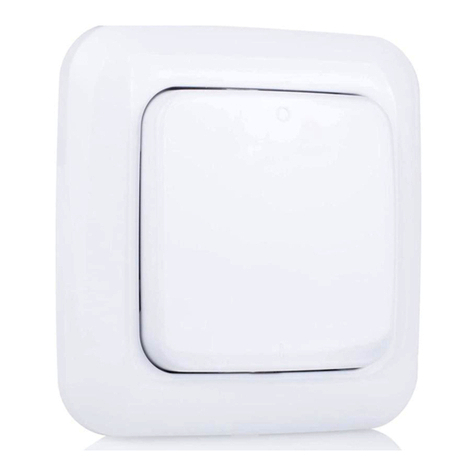
• Press any of the ON buttons on the remote. If the LED stops
blinking and is constantly lit, the pairing was successful.
OPERATING RECEIVERS
A. Press the ”ON” button on the remote control to turn on the
receiver.
B. Press the “OFF” button on the remote control to turn off the
receiver.
C. Press the ”ON” button beneath ALL (on the remote control) to
turn on all paired devices at the same time.
D. Press the ”OFF” button beneath ALL (on the remote control) to
turn off all paired devices at the same time.
Disconnecting a remote
A. Press and hold the button on the receiver for 3 seconds (3) and
then release it. During this operation the LED starts to blink. Your
receiver is now switched into the pairing mode.
B. Press an ”OFF” button on the row on the remote you wish to
disconnect from a receiver. During this operation the LED on the
receiver blinks quickly and then turns off.
To remove all pairing memories on the receiver:
• Press and hold the button for more than 6 seconds (3).
NL Gebruiksaanwijzing
VOORBEREIDING VOOR GEBRUIK
Batterij plaatsen
• Open het batterijdeksel aan de achterzijde van de
afstandsbediening (1) door het deksel tegen de klok in te
draaien.
• Plaats de batterij met de negatieve pool naar beneden.
Als u wilt controleren of de batterij correct is geplaatst, drukt u kort op
een knop op de afstandsbediening. Als het ledlampje knippert, is de
batterij correct geplaatst.
• Doe de ontvanger in het stop contact.
LET OP: De wandcontactdoos moet dicht bij het apparaat
geïnstalleerd worden en moet gemakkelijk toegankelijk zijn.
DE AFSTANDSBEDIENING KOPPELEN MET DE ONTVANGER
• Houd de knop op de ontvanger (2) 3seconden ingedrukt. Als het
ledlampje begint te knipperen, staat de ontvanger in de
koppelingsmodus.
• Druk op een van de knoppen ON op de afstandsbediening. Als
het ledlampje stopt met knipperen en blijft branden, is het
koppelen gelukt.
DE ONTVANGERS BEDIENEN
A. Druk op de knop ON op de afstandsbediening om de ontvanger
in te schakelen.
B. Druk op de knop OFF op de afstandsbediening om de ontvanger
uit te schakelen.
C. Druk op de knop ON onder ALL (op de afstandsbediening) om
alle gekoppelde apparaten tegelijkertijd in te schakelen.
D. Druk op de knop OFF onder ALL (op de afstandsbediening) om
alle gekoppelde apparaten tegelijkertijd uit te schakelen.
De verbinding met een ontvanger verbreken
A. Houd de knop op de ontvanger 3seconden ingedrukt en laat
deze los. Tijdens deze bewerking gaat het ledlampje knipperen.
De koppelingsmodus van de ontvanger is nu actief.
B. Druk op een knop OFF op de rij van de afstandsbediening
waarvoor u de verbinding met een ontvanger wilt verbreken.
Tijdens deze bewerking knippert het ledlampje op de ontvanger
snel. Daarna wordt het uitgeschakeld.
Alle opgeslagen koppelingen verwijderen op de ontvanger:
• Houd de knop meer dan 6seconden ingedrukt (3).
DE Bedienungsanleitung
VORBEREITUNG
Batterie einsetzen
• Öffnen Sie den Batteriefachdeckel auf der Rückseite der
Fernbedienung (1), indem Sie ihn gegen den Uhrzeigersinn
drehen.
• Setzen Sie die Batterie mit dem Minuspol nach unten ein.
Um zu prüfen, ob die Batterie korrekt eingesetzt ist, drücken Sie kurz
eine Taste auf der Fernbedienung. Wen die LED blinkt, ist die
Batterie korrekt eingesetzt.
• Schließen Sie den Empfänger an der Wandsteckdose an.
HINWEIS: Die Steckdose muss nahe der Einrichtung angebracht und
leicht zugänglich sein.
FERNBEDIENUNG UND EMPFÄNGER SYNCHRONISIEREN
• Halten Sie die Taste am Empfänger (2) 3Sekunden lang
gedrückt. Wenn die LED zu blinken, ist der Empfänger im
Synchronisierungsmodus.
• Drücken Sie eine der Tasten „ON“ auf der Fernbedienung. Wenn
die LED aufhört zu blinken und konstant leuchtet, war die
Kopplung erfolgreich.
EMPFÄNGERBETRIEB
A. Drücken Sie die Taste „ON“ auf der Fernbedienung, um den
Empfänger einzuschalten.
B. Drücken Sie die Taste „OFF“ auf der Fernbedienung, um den
Empfänger auszuschalten.
C. Drücken Sie die Taste „ON“ unter „ALL“ (auf der Fernbedienung),
um alle synchronisierten Geräte gleichzeitig einzuschalten.
D. Drücken Sie die Taste „OFF“ unter „ALL“ (auf der
Fernbedienung), um alle synchronisierten Geräte gleichzeitig
auszuschalten.
Empfänger trennen
A. Halten Sie die Taste am Empfänger 3Sekunden lang gedrückt
und lassen Sie sie dann wieder los. Während dieses Vorgangs
beginnt die LED zu blinken. Ihr Empfänger wechselt nun in den
Synchronisierungsmodus.
B. Drücken Sie eine Taste „OFF“ in der Reihe der Fernbedienung,
die von einem Empfänger getrennt werden soll. Während dieses
Vorgangs blinkt die LED am Empfänger schnell und erlischt
dann.
Um alle Synchronisierungsspeicher am Empfänger zu löschen:
• Drücken und halten Sie die Taste 6 Sekunden lang (3).
3VDC CR2032
ON OFF
1
2
ON
OF
F
ALL
3 sec.
Flash
10 sec.
Specifications:
EU plug (SH4-90268FR)
Maximum power: 2300W
AC input: 230V ~ 50Hz
Maximum RF output: 0dBm
Remote control (SH4-90150):
Remote control battery: 3VDC, type CR 2032 (incl.)
Maximum RF output: 0dBm
SH4-99574FR:
Frequency: 433.92MHz
Maximum range: 30 m
FR Manuel d'instructions
PRÉPARATION AVANT UTILISATION
Insérer la pile
• Ouvrir le couvercle du compartiment à piles à
l'arrière de la télécommande (1) en le tournant dans
le sens inverse des aiguilles d'une montre.
• Insérer la pile avec la polarité négative vers le bas.
Pour vérifier si la pile est correctement insérée, appuyer
brièvement sur une touche de la télécommande. Si la
LED clignote, la pile est insérée correctement.
• Insérer le récepteur dans la prise murale.
NOTE : La prise de courant doit être installée à proximité
de l'équipement et doit être facilement accessible.
APPARIEMENT DE LA TÉLÉCOMMANDE AU
RÉCEPTEUR
• Appuyer pendant 3 secondes sur la touche du
récepteur (2). Lorsque la LED commence à
clignoter, le récepteur est en mode appairage.
• Appuyer sur l'une des touches ON de la
télécommande. Si la LED cesse de clignoter et est
allumée en permanence, cela signifie que
l'appairage a réussi.
RÉCEPTEURS DE COMMANDE
A. Appuyer sur la touche «ON» de la télécommande
pour allumer le récepteur.
B. Appuyer sur la touche «OFF» de la télécommande
pour éteindre le récepteur.
C. Appuyer sur la touche «ON» sous ALL (sur la
télécommande) pour allumer tous les appareils
couplés en même temps.
D. Appuyer sur la touche «OFF» sous ALL (sur la
télécommande) pour éteindre tous les appareils
couplés en même temps.
Déconnexion d'une télécommande
A. Appuyer sur le bouton du récepteur et le maintenir
enfoncé pendant 3 seconde, puis le relâcher.
Pendant cette opération, la LED commence à
clignoter. Votre récepteur est maintenant en mode
d'appairage.
B. Appuyer sur une touche «OFF» sur la ligne de la
télécommande que vous souhaitez déconnecter d'un
récepteur. Pendant cette opération, la LED du
récepteur clignote rapidement puis s'éteint.
Pour supprimer toutes les mémoires d'appairage sur le
récepteur:
• Appuyer et maintenir le bouton enfoncé pendant
plus de 6secondes (3).
PL Instrukcje użytkowania
PRZYGOTOWANIE PRZED UŻYCIEM
Włóż baterię
• Otwórz pokrywę baterii z tyłu pilota (1), obracając ją
w lewo.
• Włóż baterię biegunem ujemnym do dołu.
Aby sprawdzić, czy bateria jest włożona poprawnie,
krótko naciśnij któryś przycisk na pilocie. Jeśli kontrolka
LED zamiga, bateria jest włożona prawidłowo.
• Włóż odbiornik do gniazdka elektrycznego.
UWAGA: Gniazdo musi być zainstalowane w pobliżu
urządzenia i musi być łatwo dostępne.
PAROWANIE PILOTA Z ODBIORNIKIEM
• Naciśnij przycisk na odbiorniku (2) przez 3sekundy.
Gdy kontrolka LED zacznie migać, odbiornik jest w
trybie parowania.
• Naciśnij któryś przycisk ON (wł.) na pilocie. Gdy
kontrolka LED przestanie migać i będzie stale
zapalona, oznacza to, że parowanie się udało.
OBSŁUGA ODBIORNIKÓW
A. Naciśnij przycisk „ON” (wł.) na pilocie, aby włączyć
odbiornik.
B. Naciśnij przycisk „OFF” (wył.) na pilocie, aby
wyłączyć odbiornik.
C. Naciśnij przycisk „ON” (wł.) pod ALL (wszystkie) (na
pilocie), aby włączyć wszystkie sparowane
urządzenia naraz.
D. Naciśnij przycisk „OFF” (wył.) pod ALL (wszystkie)
(na pilocie), aby wyłączyć wszystkie sparowane
urządzenia naraz.
Rozłączanie pilota
A. Naciśnij przycisk na odbiorniku iprzytrzymaj go
przez 3sekundy, następnie go puść. W trakcie tej
czynności kontrolka LED zaczyna migać. Odbiornik
jest teraz w trybie parowania.
B. Naciśnij któryś przycisk „OFF” (wył.) w rzędzie na
pilocie, który chcesz odłączyć od odbiornika. W
trakcie tej czynności kontrolka LED na odbiorniku
szybko zamiga, następnie zgaśnie.
Aby usunąć wszystkie zapamiętane sparowania w
odbiorniku:
• Naciśnij iprzytrzymaj przycisk przez ponad
6sekund (3).
IT Istruzioni per l'uso
PREPARAZIONE PER L’USO
Inserire la batteria
• Aprire il coperchio della batteria sul retro del
telecomando (1) ruotandolo in senso antiorario.
• Inserire la batteria con il polo negativo rivolto verso il
basso.
Per verificare se la batteria è inserita correttamente,
premere brevemente un pulsante del telecomando. Se il
LED lampeggia, la batteria è inserita correttamente.
• Inserire il ricevitore nella presa elettrica.
NOTA: La presa di corrente deve essere installata vicino
all'apparecchiatura e deve essere facilmente accessibile.
ASSOCIAZIONE DEL TELECOMANDO AL RICEVITORE
• Tenere premuto il pulsante sul ricevitore (2) per 3
secondi e rilasciarlo. Quando il LED inizia a
lampeggiare, il ricevitore è in modalità di
associazione.
• Premere un pulsante qualsiasi del telecomando. Se
il LED smette di lampeggiare e rimane acceso fisso,
l'associazione è avvenuta correttamente.
UTILIZZO DEI RICEVITORI
A. Premere il tasto “ON” del telecomando per
accendere il ricevitore.
B. Premere il tasto “OFF” del telecomando per
spegnere il ricevitore.
C. Premere il tasto “ON” sotto ALL (del telecomando)
per accendere contemporaneamente tutti i dispositivi
associati.
D. Premere il tasto “OFF” sotto ALL (del telecomando)
per spegnere contemporaneamente tutti i dispositivi
associati.
Disconnessione di un telecomando
A. Tenere premuto il pulsante sul ricevitore per 3
secondi e rilasciarlo. Durante questa operazione il
LED inizia a lampeggiare. Ora il ricevitore è in
modalità di associazione.
B. Premere un pulsante "OFF" sulla riga del
telecomando che si desidera scollegare da un
ricevitore. Durante questa operazione il LED sul
ricevitore lampeggia rapidamente e si spegne.
Per eliminare permanentemente tutte le associazioni dal
ricevitore:
• Tenere premuto il pulsante per 6 secondi (3).
ES Manual de instrucciones
PREPARACIÓN ANTES DEL USO
Introducción de la pila
• Para abrir la tapa de la pila, situada en la parte
posterior el mando (1), gírela hacia la izquierda.
• Introduzca la pila con el polo negativo orientado
hacia abajo.
Para comprobar si ha introducido la pila correctamente,
presione brevemente un botón del mando a distancia. Si
el LED parpadea, significa que ha introducido
correctamente la pila.
• Inserte el receptor en la toma de pared.
NOTA: La toma de corriente debe estar instalada cerca
del equipo y debe ser fácilmente accesible.
EMPAREJAMIENTO DEL MANDO A DISTANCIA CON
EL RECEPTOR
• Pulse el botón del receptor (2) durante 3 segundos.
Cuando el LED comience a parpadear, el receptor
estará en el modo de emparejamiento.
• Pulse cualquiera de los botones ON del mando a
distancia. Si el LED deja de parpadear y permanece
encendido de manera continua, el emparejamiento
es correcto.
FUNCIONAMIENTO DE LOS RECEPTORES
A. Pulse el botón “ON” del mando a distancia para
encender el receptor.
B. Pulse el botón “OFF” del mando a distancia para
apagar el receptor.
C. Pulse el botón “ON” situado debajo de ALL (en el
mando a distancia) para encender todos los
dispositivos emparejados al mismo tiempo.
D. Pulse el botón “OFF” situado debajo de ALL (en el
mando a distancia) para apagar todos los
dispositivos emparejados al mismo tiempo.
Desconexión de un mando a distancia
A. Mantenga pulsado el botón del receptor durante 3
segundos y, a continuación, suéltelo. Durante esta
operación, el LED empieza a parpadear. Ahora el
receptor está en el modo de emparejamiento.
B. Pulse un botón “OFF” en la fila del mando a
distancia que desee desconectar del receptor.
Durante esta operación, el LED del receptor
parpadea rápidamente y, a continuación, se apaga.
Para eliminar todas memorizaciones de emparejamiento
en el mando a distancia:
• Mantenga pulsado el botón durante más de 6
segundos (3).

Other Smartwares Switch manuals

Smartwares SH4-99653 User manual

Smartwares

Smartwares SH4-99653 User manual

Smartwares SH4-99652 User manual

Smartwares

Smartwares SH4-99652 User manual

Smartwares SH4-90260 User manual

Smartwares

Smartwares SH4-90260 User manual

Smartwares SH4-90162 User manual

Smartwares

Smartwares SH4-90162 User manual

Smartwares SH4-99650 User manual

Smartwares

Smartwares SH4-99650 User manual

Smartwares SH4-90451 User manual

Smartwares

Smartwares SH4-90451 User manual

Smartwares 10.037.12 User manual

Smartwares

Smartwares 10.037.12 User manual

Smartwares SH5-RBD-01A User manual

Smartwares

Smartwares SH5-RBD-01A User manual

Smartwares SH4-90159 User manual

Smartwares

Smartwares SH4-90159 User manual

Smartwares 10.037.08 User manual

Smartwares

Smartwares 10.037.08 User manual

Smartwares SH4-90268 User manual

Smartwares

Smartwares SH4-90268 User manual

Smartwares SH4-99650FR User manual

Smartwares

Smartwares SH4-99650FR User manual

Smartwares SH4-99562 User manual

Smartwares

Smartwares SH4-99562 User manual

Smartwares SH4-99573 User manual

Smartwares

Smartwares SH4-99573 User manual

Smartwares SH5-RPS-36A/FR User manual

Smartwares

Smartwares SH5-RPS-36A/FR User manual

Smartwares SH8-90604 User manual

Smartwares

Smartwares SH8-90604 User manual

Smartwares SH4-99552FR User manual

Smartwares

Smartwares SH4-99552FR User manual

Smartwares SH4-90259 User manual

Smartwares

Smartwares SH4-90259 User manual

Smartwares SH4-90260 User manual

Smartwares

Smartwares SH4-90260 User manual

Smartwares SH4-99565AT User manual

Smartwares

Smartwares SH4-99565AT User manual

Smartwares SH5-RPS-36A User manual

Smartwares

Smartwares SH5-RPS-36A User manual

Smartwares SH4-90261 User manual

Smartwares

Smartwares SH4-90261 User manual

Smartwares 10.900.36 User manual

Smartwares

Smartwares 10.900.36 User manual

Smartwares SH4-99567 User manual

Smartwares

Smartwares SH4-99567 User manual

Popular Switch manuals by other brands

socomec ATyS Series instruction manual

socomec

socomec ATyS Series instruction manual

Eaton Power Xpert PXES4P Series Installation and user guide

Eaton

Eaton Power Xpert PXES4P Series Installation and user guide

eicos FH12B02-M12 manual

eicos

eicos FH12B02-M12 manual

Asante AsanteBridge 1012 installation guide

Asante

Asante AsanteBridge 1012 installation guide

steute ZS 71 Extreme Mounting and wiring instructions

steute

steute ZS 71 Extreme Mounting and wiring instructions

Waversasystems WSmartHUB owner's manual

Waversasystems

Waversasystems WSmartHUB owner's manual

Ruddog RP-0522 manual

Ruddog

Ruddog RP-0522 manual

Woxcon SCU42 user manual

Woxcon

Woxcon SCU42 user manual

Cisco Nexus 1000V Configuration guide

Cisco

Cisco Nexus 1000V Configuration guide

TP-Link TL-SG5426 - installation guide

TP-Link

TP-Link TL-SG5426 - installation guide

D-Link DGS-3000-28SC Quick installation guide

D-Link

D-Link DGS-3000-28SC Quick installation guide

Vigitron MaxiiNet Vi3205 installation manual

Vigitron

Vigitron MaxiiNet Vi3205 installation manual

Digitus DS-48304 Quick installation guide

Digitus

Digitus DS-48304 Quick installation guide

Cisco Nexus 1000V troubleshooting guide

Cisco

Cisco Nexus 1000V troubleshooting guide

Comtech EF Data CRS-300 Installation and operation manual

Comtech EF Data

Comtech EF Data CRS-300 Installation and operation manual

CNET CSH-1600W user guide

CNET

CNET CSH-1600W user guide

Reely RE-5631033 operating instructions

Reely

Reely RE-5631033 operating instructions

Telebyte 458-LM-A8-18A manual

Telebyte

Telebyte 458-LM-A8-18A manual

manuals.online logo
manuals.online logoBrands
  • About & Mission
  • Contact us
  • Privacy Policy
  • Terms and Conditions

Copyright 2025 Manuals.Online. All Rights Reserved.