manuals.online logo
Brands
  1. Home
  2. •
  3. Brands
  4. •
  5. Smartwares
  6. •
  7. Switch
  8. •
  9. Smartwares SH4-90261 User manual

Smartwares SH4-90261 User manual

SH4-90261
EN
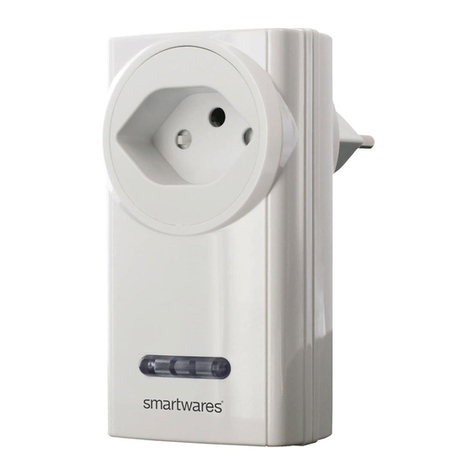
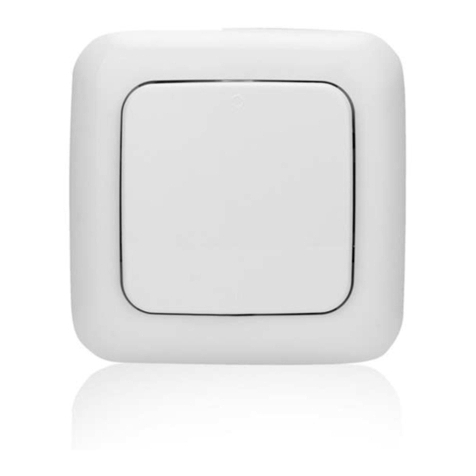
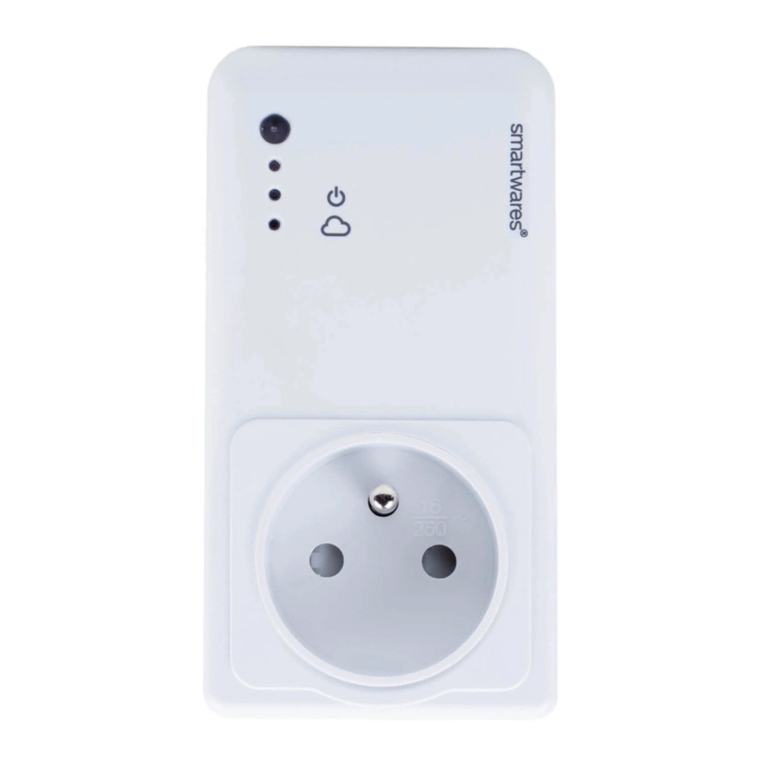
Wirelessplug-in powerswitch
NL Plug-in schakelaar
DE
Funk-Netzschalter
FR Prise commandée sans fil
ES Enchufe inalámbrico
IT Presa interruttore wireless
SV
Trådlös strömomkopplare
PL
Bezprzew Wyłącznik
EN Instruction manual
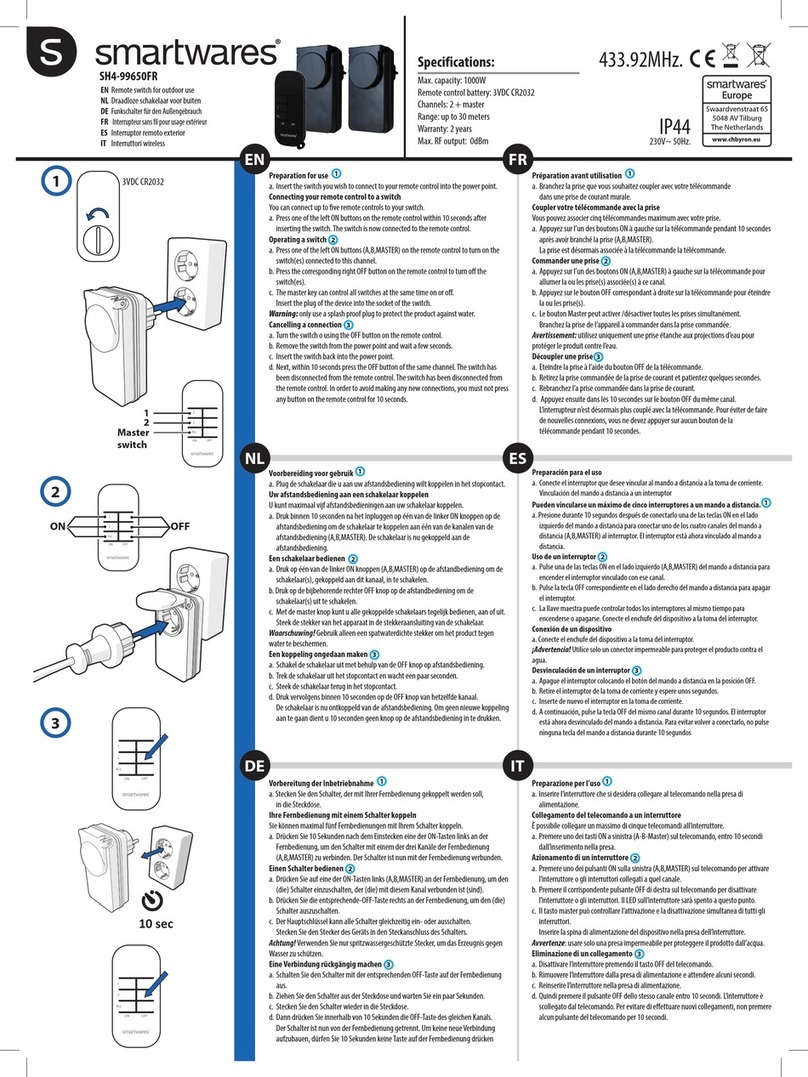
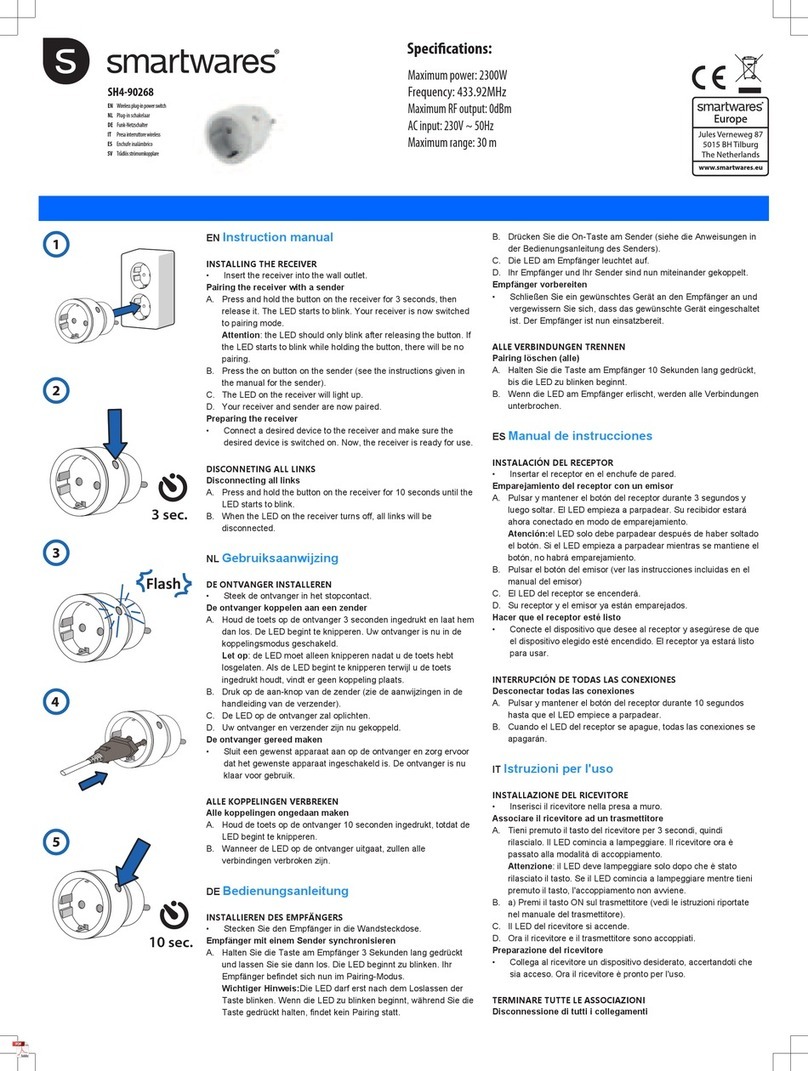
INSTALLING THE RECEIVER
• Insert the receiver into the wall outlet.
Pairing the receiver with a sender
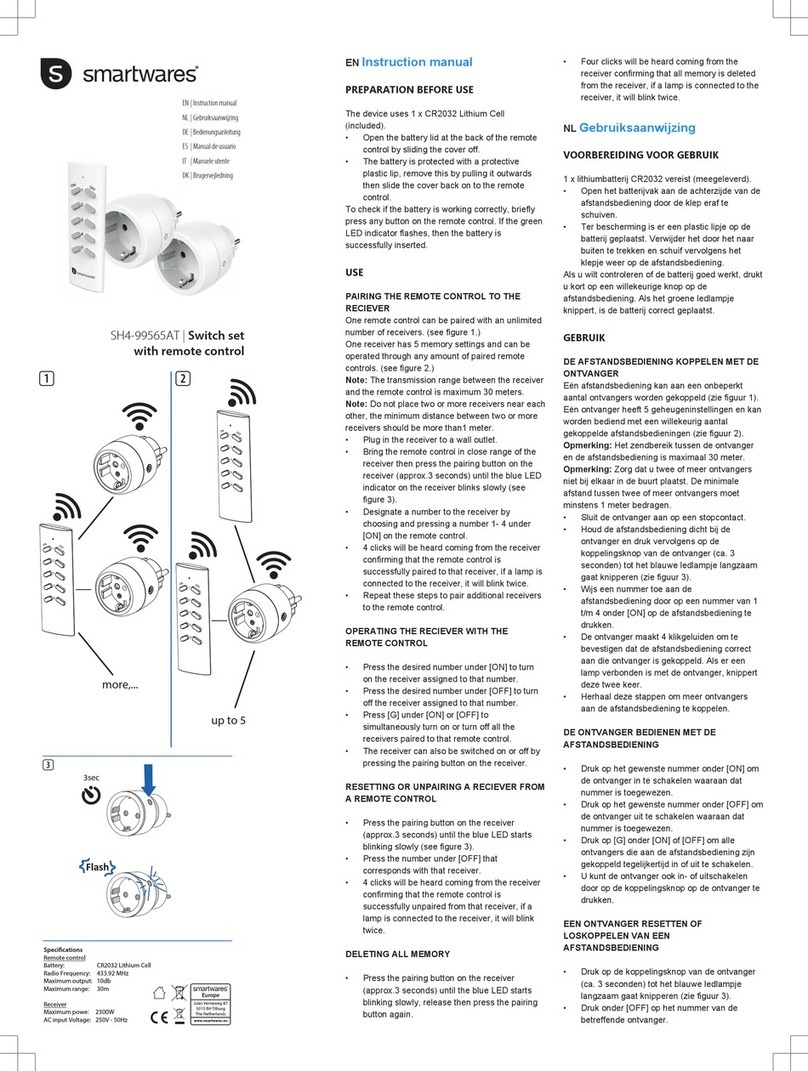
A. Press and hold the button on the receiver for 3 seconds, then
release it. The LED starts to blink. Your receiver is now switched
to pairing mode.
Attention: the LED should only blink after releasing the button. If
the LED starts to blink while holding the button, there will be no
pairing.
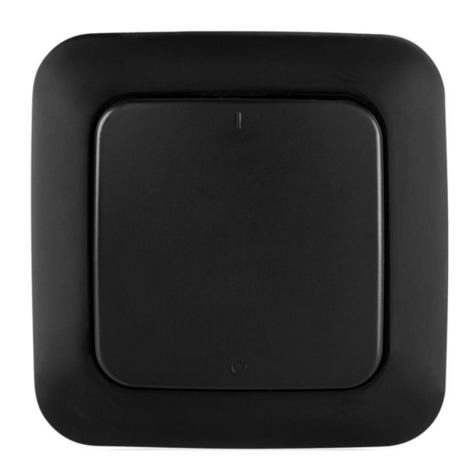
B. Follow the instructions of the sender to pair it with a receiver. The
LED on the receiver will light up and the LED on the sender will
start blinking rapidly.
Your receiver and sender are now paired.
Preparing the receiver
• Connect a desired device to the receiver and make sure the
desired device is switched on. Now, the receiver is ready for use.
DISCONNETING ALL LINKS
Disconnecting all links
A. Press and hold the button on the receiver for 10 seconds until the
LED starts to blink.
B. When the LED on the receiver turns off, all links will be
disconnected.
NL Gebruiksaanwijzing
DE ONTVANGER INSTALLEREN
• Doe de ontvanger in het stopcontact.
De ontvanger koppelen aan een zender
A.
B.
Houd de knop op de ontvanger 3seconden ingedrukt en laat deze
los . Het ledlampje gaat knipperen. De koppelingsmodus van de
ontvanger is nu actief.
Let op: Het ledlampje mag pas gaan knipperen nadat u de knop
hebt losgelaten. Als het ledlampje al gaat knipperen terwijl u de
knop ingedrukt houdt, wordt de koppelingsmodus niet geactiveerd.
Houd de PAIR-knop op de zender 2seconden ingedrukt om deze
met een ontvanger te koppelen. Het ledlampje op de ontvanger
gaat branden en het ledlampje op de zender gaat snel knipperen.
De ontvanger en zender zijn nu gekoppeld.
De ontvanger gereed maken
• Verbind het gewenste apparaat met de ontvanger en controleer of
het gewenste apparaat is ingeschakeld . De ontvanger is nu klaar
voor gebruik.
ALLE KOPPELINGEN VERBREKEN
Alle koppelingen ongedaan maken
A. Houd de knop op de ontvanger 10seconden ingedrukt tot het
ledlampje gaat knipperen.
B. Als het ledlampje op de ontvanger wordt uitgeschakeld, zijn alle
koppelingen verbroken.
DE Bedienungsanleitung
INSTALLIEREN DES EMPFÄNGERS
• Schließen Sie den Empfänger an der Wandsteckdose an.
Empfänger mit einem Sender synchronisieren
A. Halten Sie die Taste am Empfänger 3Sekunden lang gedrückt
und lassen Sie sie dann wieder los. Die LED beginnt zu
blinken. Ihr Empfänger befindet sich jetzt im
Synchronisierungsmodus.
Achtung: die LED sollte nur blinken, nachdem die Taste
losgelassen wurde. Falls die LED zu blinken anfängt, während Sie
die Taste gedrückt gehalten, findet keine Synchronisierung statt.
B. Halten Sie die Verbindungstaste am Sender 2Sekunden lang
gedrückt, um ihn mit einem Empfänger zu synchronisieren.
Die LED am Empfänger leuchtet auf, und die LED am Sender
fängt an schnell zu blinken.
Empfänger und Sender sind nun miteinander verbunden.
Empfänger vorbereiten
• Schließen Sie das gewünschte Gerät am Empfänger an und
achten Sie darauf, dass es eingeschaltet ist. Der Empfänger ist
nun einsatzbereit.
ALLE VERBINDUNGEN TRENNEN
Pairing löschen (alle)
A. Drücken und halten Sie die Taste am Empfänger 10Sekunden
lang, bis die LED zu blinken beginnt (8).
B. Wenn die LED am Empfänger erlischt, sind alle Verbindungen
getrennt.
FR Manuel d'instructions
INSTALLATION DU RÉCEPTEUR
• Insérer le récepteur dans la prise murale.
Couplage du récepteur à un émetteur
A. Appuyez sur le bouton du récepteur et maintenez-le enfoncé
pendant 3 secondes, puis relâchez-le. La LED commence à
clignoter. Votre récepteur est maintenant commuté en mode
d'appairage.
Attention: la LED ne doit clignoter qu'une fois le bouton relâché.
Si la LED commence à clignoter lorsque vous maintenez le
bouton enfoncé, le mode appariement n'est pas activé.
B. Appuyez sur le bouton «PAIR» de l'émetteur pendant 2
secondes pour le coupler avec un récepteur. La LED sur le
récepteur s'allume et la LED sur l'émetteur commence à clignoter
rapidement.
Votre récepteur et votre émetteur sont maintenant appariés.
Préparation du récepteur
• Connectez un appareil de votre choix au récepteur et
assurez-vous que celui-ci est allumé. Le récepteur est
maintenant prêt à être utilisé.
DÉCONNEXION DE TOUTES LES LIAISONS
Dissociation de tous les liens
A. Appuyez sur le bouton du récepteur et maintenez-le enfoncé
pendant 10 secondes jusqu'à ce que la LED commence à
clignoter.
B. Lorsque la LED sur le récepteur s'éteint, toutes les liaisons sont
déconnectées.
ES Manual de instrucciones
INSTALACIÓN DEL RECEPTOR
• Inserte el receptor en la toma de pared.
Emparejamiento del receptor con un emisor
A. Mantenga pulsado el botón del receptor durante 3 segundos y, a
continuación, suéltelo. El LED empieza a parpadear. Ahora el
receptor está en el modo de emparejamiento.
Atención: El LED solo debe parpadear después de soltar el
botón. Si el LED empieza a parpadear mientras se mantiene
pulsado el botón, no se realizará el emparejamiento.
B. Pulse el botón “PAIR” del emisor durante 2 segundos y, a
continuación, enlácelo con un receptor. El LED del receptor se
iluminará y el del emisor comenzará a parpadear deprisa.
Flash
3 sec
10 sec
Specifications:
Max. wattage: 3600W
Frequency: 433.92MHz
Maximum RF output: 0dBm
Input AC Voltage: 220V ~ 240V, 50/60Hz
El receptor y el emisor estarán ahora emparejados.
Hacer que el receptor esté listo
• Conecte el aparato que desee al receptor y
asegúrese de que el aparato esté encendido.
Ahora, el receptor está listo para el uso.
INTERRUPCIÓN DE TODAS LAS CONEXIONES
Desconectar todas las conexiones
A. Mantenga pulsado el botón del receptor durante 10
segundos hasta que el LED comience a parpadear.
B. Cuando el LED del receptor se apague, todas las
conexiones se interrumpirán.
IT Istruzioni per l'uso
INSTALLAZIONE DEL RICEVITORE
• Inserire il ricevitore nella presa elettrica.
Associare il ricevitore ad un trasmettitore
A. Tenere premuto il pulsante sul ricevitore per 3
secondi e rilasciarlo. Il LED inizia a lampeggiare. Il
ricevitore si trova ora in modalità di associazione.
Attenzione: il LED deve lampeggiare solo dopo aver
rilasciato il pulsante. Se il LED inizia a lampeggiare
mentre il pulsante è premuto, l’associazione non
verrà eseguita.
B. Tenere premuto il pulsante "PAIR" sul trasmettitore
per 2 secondi per associarlo al ricevitore. Il LED sul
ricevitore si accende e il LED sul trasmettitore inizia
a lampeggiare rapidamente.
L'associazione tra ricevitore e trasmettitore è
avvenuta correttamente.
Preparazione del ricevitore
• Collegare un dispositivo al ricevitore e verificare che
il dispositivo sia acceso. A questo punto, il ricevitore
è pronto all'uso.
TERMINARE TUTTE LE ASSOCIAZIONI
Disconnessione di tutti i collegamenti
A. Tenere premuto il pulsante sul ricevitore per 10
secondi, finché il LED inizia a lampeggiare.
B. Quando il LED sul ricevitore si spegne, tutte le
associazioni sono state annullate.
SV Instruktionshandbok
INSTALLERA SÄNDAREN
• Sätt i mottagaren i vägguttaget.
Parkoppla mottagaren med en sändare
A. Håll knappen på mottagaren nedtryckt i 3 sekunder,
släpp sedan. LED-lampan börjar att blinka.
Mottagaren är nu i parkopplingsläge.
Observera!LED-lampan ska börja blinka först efter
att du har släppt knappen. Om LED-lampan börjar
blinka medan du håller knappen nedtryckt har
parkopplingsläget inte aktiverats.
B. Håll ”PAIR”-knappen på sändaren nedtryckt i 2
sekunder för att parkoppla den med en mottagare.
LED-lampan på mottagaren tänds och LED-lampan
på sändaren börjar blinka snabbt.
Mottagaren och sändaren är nu parkopplade.
lordningställning av mottagaren
• Anslut önskad enhet till mottagaren och se till att
enheten är påslagen. Nu är mottagaren klar att
användas.
KOPPLA BORT ALLA LÄNKAR
Avlänkning av alla länkar
A. Håll knappen på mottagaren nedtryckt i 10 sekunder
tills LED-lampan börjar att blinka.
B. När LED-lampan på mottagaren släcks är alla länkar
bortkopplade.
PL Instrukcje użytkowania
INSTALACJA ODBIORNIKA
• Włóż odbiornik do gniazdka elektrycznego.
Parowanie odbiornika z nadajnikiem
A. Naciśnij przycisk na odbiorniku iprzytrzymaj go
przez 3sekundy, następnie go puść. Kontrolka
LED zaczyna migać. Odbiornik jest teraz w trybie
parowania.
Uwaga: kontrolka LED powinna migać dopiero po
puszczeniu przycisku. Jeśli kontrolka LED zacznie
migać, gdy przycisk jest wciśnięty, parowanie nie
zadziała.
B. Naciśnij przycisk „PAIR” (parowanie) na nadajniku
iprzytrzymaj go przez 2sekundy, aby sparować
nadajnik z odbiornikiem. Włączy się kontrolka LED
na odbiorniku, a kontrolka LED na nadajniku
zacznie szybko migać.
Odbiornik i nadajnik są teraz sparowane.
Przygotowanie odbiornika
• Podłącz wybrane urządzenie do odbiornika i upewnij
się, że jest włączone. Odbiornik jest gotowy do
użytku.
ROZŁĄCZANIE WSZYSTKICH POWIĄZAŃ
Anulowanie wszystkich połączeń
A. Naciśnij iprzytrzymaj przycisk na odbiorniku przez
10sekund, aż kontrolka LED zacznie migać.
B. Gdy kontrolka LED na odbiorniku się wyłączy,
wszystkie powiązania zostaną rozłączone.

Other Smartwares Switch manuals

Smartwares SH4-90159 User manual

Smartwares

Smartwares SH4-90159 User manual

Smartwares SH4-99567 User manual

Smartwares

Smartwares SH4-99567 User manual

Smartwares SH5-RPS-23A/CH User manual

Smartwares

Smartwares SH5-RPS-23A/CH User manual

Smartwares SH4-99652 User manual

Smartwares

Smartwares SH4-99652 User manual

Smartwares SH4-99751 Technical specifications

Smartwares

Smartwares SH4-99751 Technical specifications

Smartwares SH4-90262 User manual

Smartwares

Smartwares SH4-90262 User manual

Smartwares SH4-99650 User manual

Smartwares

Smartwares SH4-99650 User manual

Smartwares SH5-RPS-36A User manual

Smartwares

Smartwares SH5-RPS-36A User manual

Smartwares 10.900.36 User manual

Smartwares

Smartwares 10.900.36 User manual

Smartwares SH8-90604 User manual

Smartwares

Smartwares SH8-90604 User manual

Smartwares SH4-99565AT User manual

Smartwares

Smartwares SH4-99565AT User manual

Smartwares 10.037.12 User manual

Smartwares

Smartwares 10.037.12 User manual

Smartwares SH4-99562 User manual

Smartwares

Smartwares SH4-99562 User manual

Smartwares 10.037.12 User manual

Smartwares

Smartwares 10.037.12 User manual

Smartwares SH4-99559 User manual

Smartwares

Smartwares SH4-99559 User manual

Smartwares SH4-99566FR User manual

Smartwares

Smartwares SH4-99566FR User manual

Smartwares SH4-99653 User manual

Smartwares

Smartwares SH4-99653 User manual

Smartwares SH4-90160 User manual

Smartwares

Smartwares SH4-90160 User manual

Smartwares SH4-99578 User manual

Smartwares

Smartwares SH4-99578 User manual

Smartwares SHS-51001-EU User manual

Smartwares

Smartwares SHS-51001-EU User manual

Smartwares SH4-99552FR User manual

Smartwares

Smartwares SH4-99552FR User manual

Smartwares SH5-RBS-04A User manual

Smartwares

Smartwares SH5-RBS-04A User manual

Smartwares SH4-90259 User manual

Smartwares

Smartwares SH4-90259 User manual

Smartwares 10.037.07 User manual

Smartwares

Smartwares 10.037.07 User manual

Popular Switch manuals by other brands

NETGEAR M4250 Series Configuration

NETGEAR

NETGEAR M4250 Series Configuration

Vitek VT-8P125 manual

Vitek

Vitek VT-8P125 manual

LevelOne GSW-1657 user guide

LevelOne

LevelOne GSW-1657 user guide

Edimax EU-HB4S Specification sheet

Edimax

Edimax EU-HB4S Specification sheet

LEGRAND pass & seymour LightSense PSWS installation instructions

LEGRAND

LEGRAND pass & seymour LightSense PSWS installation instructions

Bühler technologies NS 1-G1-AM Brief instructions

Bühler technologies

Bühler technologies NS 1-G1-AM Brief instructions

Sven HB-012 user manual

Sven

Sven HB-012 user manual

Data Video HS-1200 instruction manual

Data Video

Data Video HS-1200 instruction manual

TRENDnet TPE-S160 Specifications

TRENDnet

TRENDnet TPE-S160 Specifications

Xunison Hub D60 5G quick start guide

Xunison

Xunison Hub D60 5G quick start guide

Juniper EX8200 Series Connecting

Juniper

Juniper EX8200 Series Connecting

Broadcast Pix Slate 3000 Series Installation planning guide

Broadcast Pix

Broadcast Pix Slate 3000 Series Installation planning guide

ATEN KN1132VB Series user manual

ATEN

ATEN KN1132VB Series user manual

Comtrend Corporation GS-7620 Quick installation guide

Comtrend Corporation

Comtrend Corporation GS-7620 Quick installation guide

HP FlexFabric 5700 series Configuration guide

HP

HP FlexFabric 5700 series Configuration guide

prophecy Gofanco PRO-KVMDP-2P user guide

prophecy

prophecy Gofanco PRO-KVMDP-2P user guide

Sunix Powered USB HUB user manual

Sunix

Sunix Powered USB HUB user manual

Belkin F1DG102Wuk Quick installation guide

Belkin

Belkin F1DG102Wuk Quick installation guide

manuals.online logo
manuals.online logoBrands
  • About & Mission
  • Contact us
  • Privacy Policy
  • Terms and Conditions

Copyright 2025 Manuals.Online. All Rights Reserved.