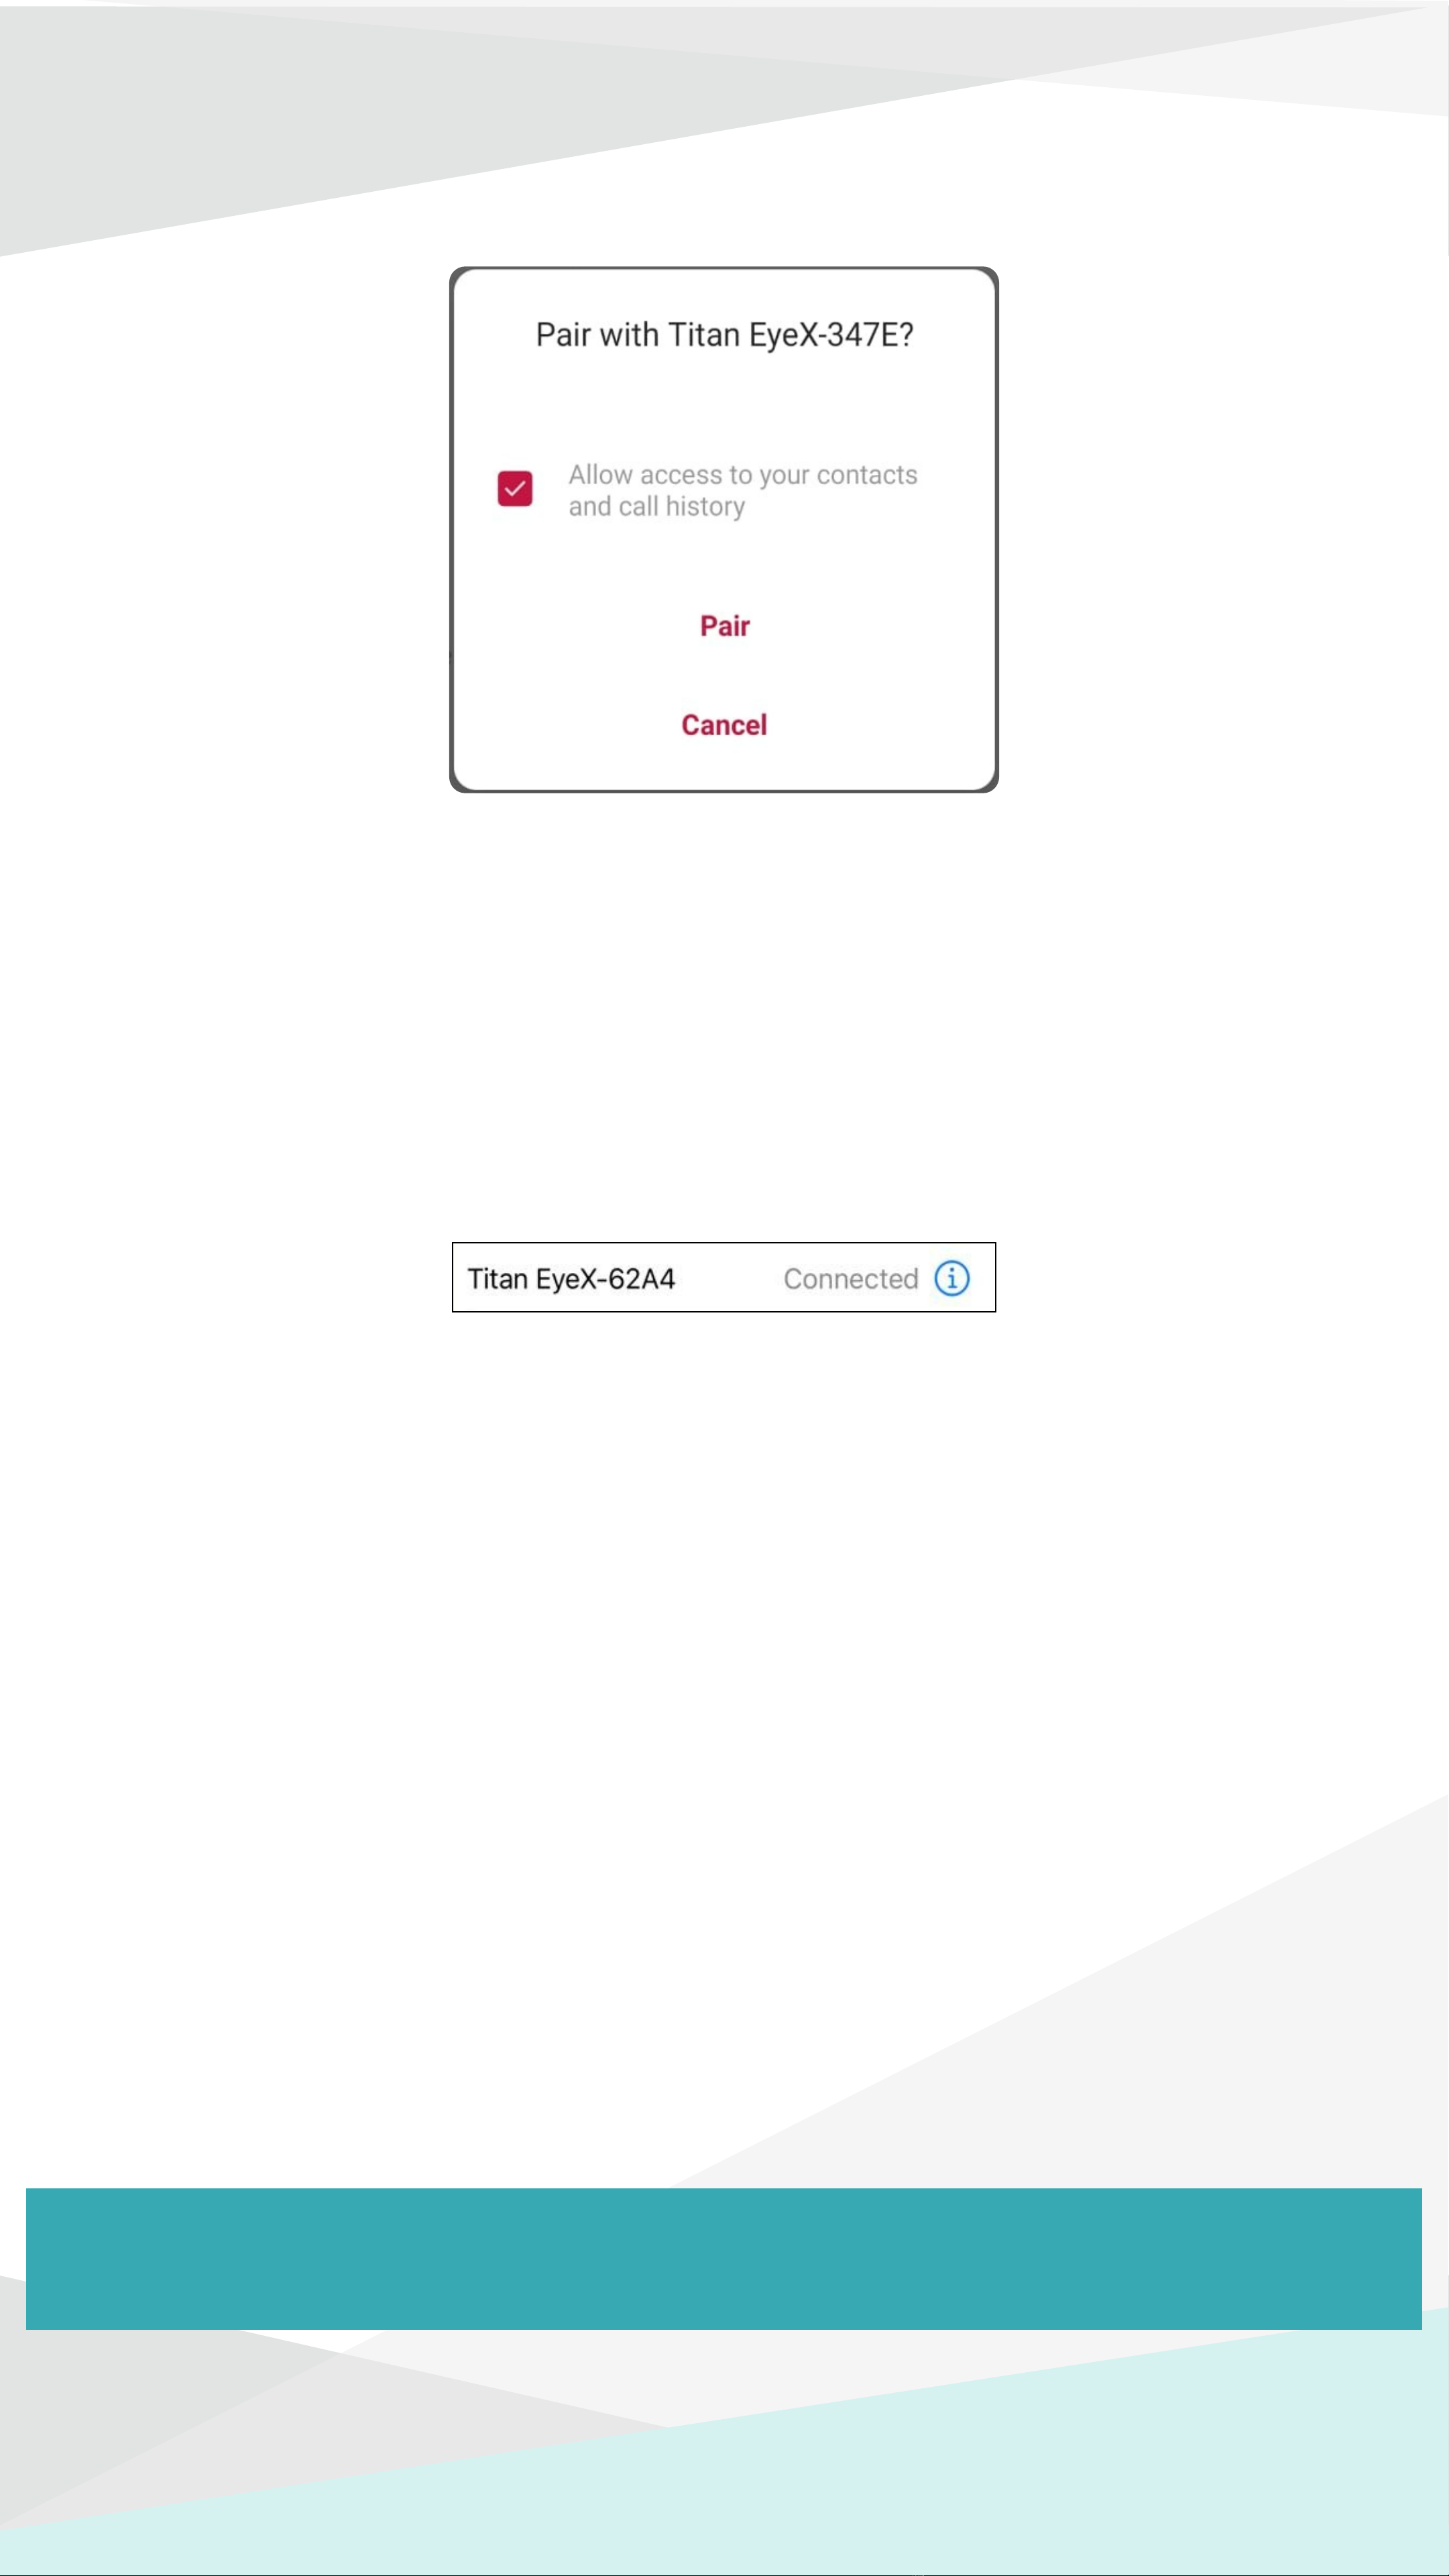
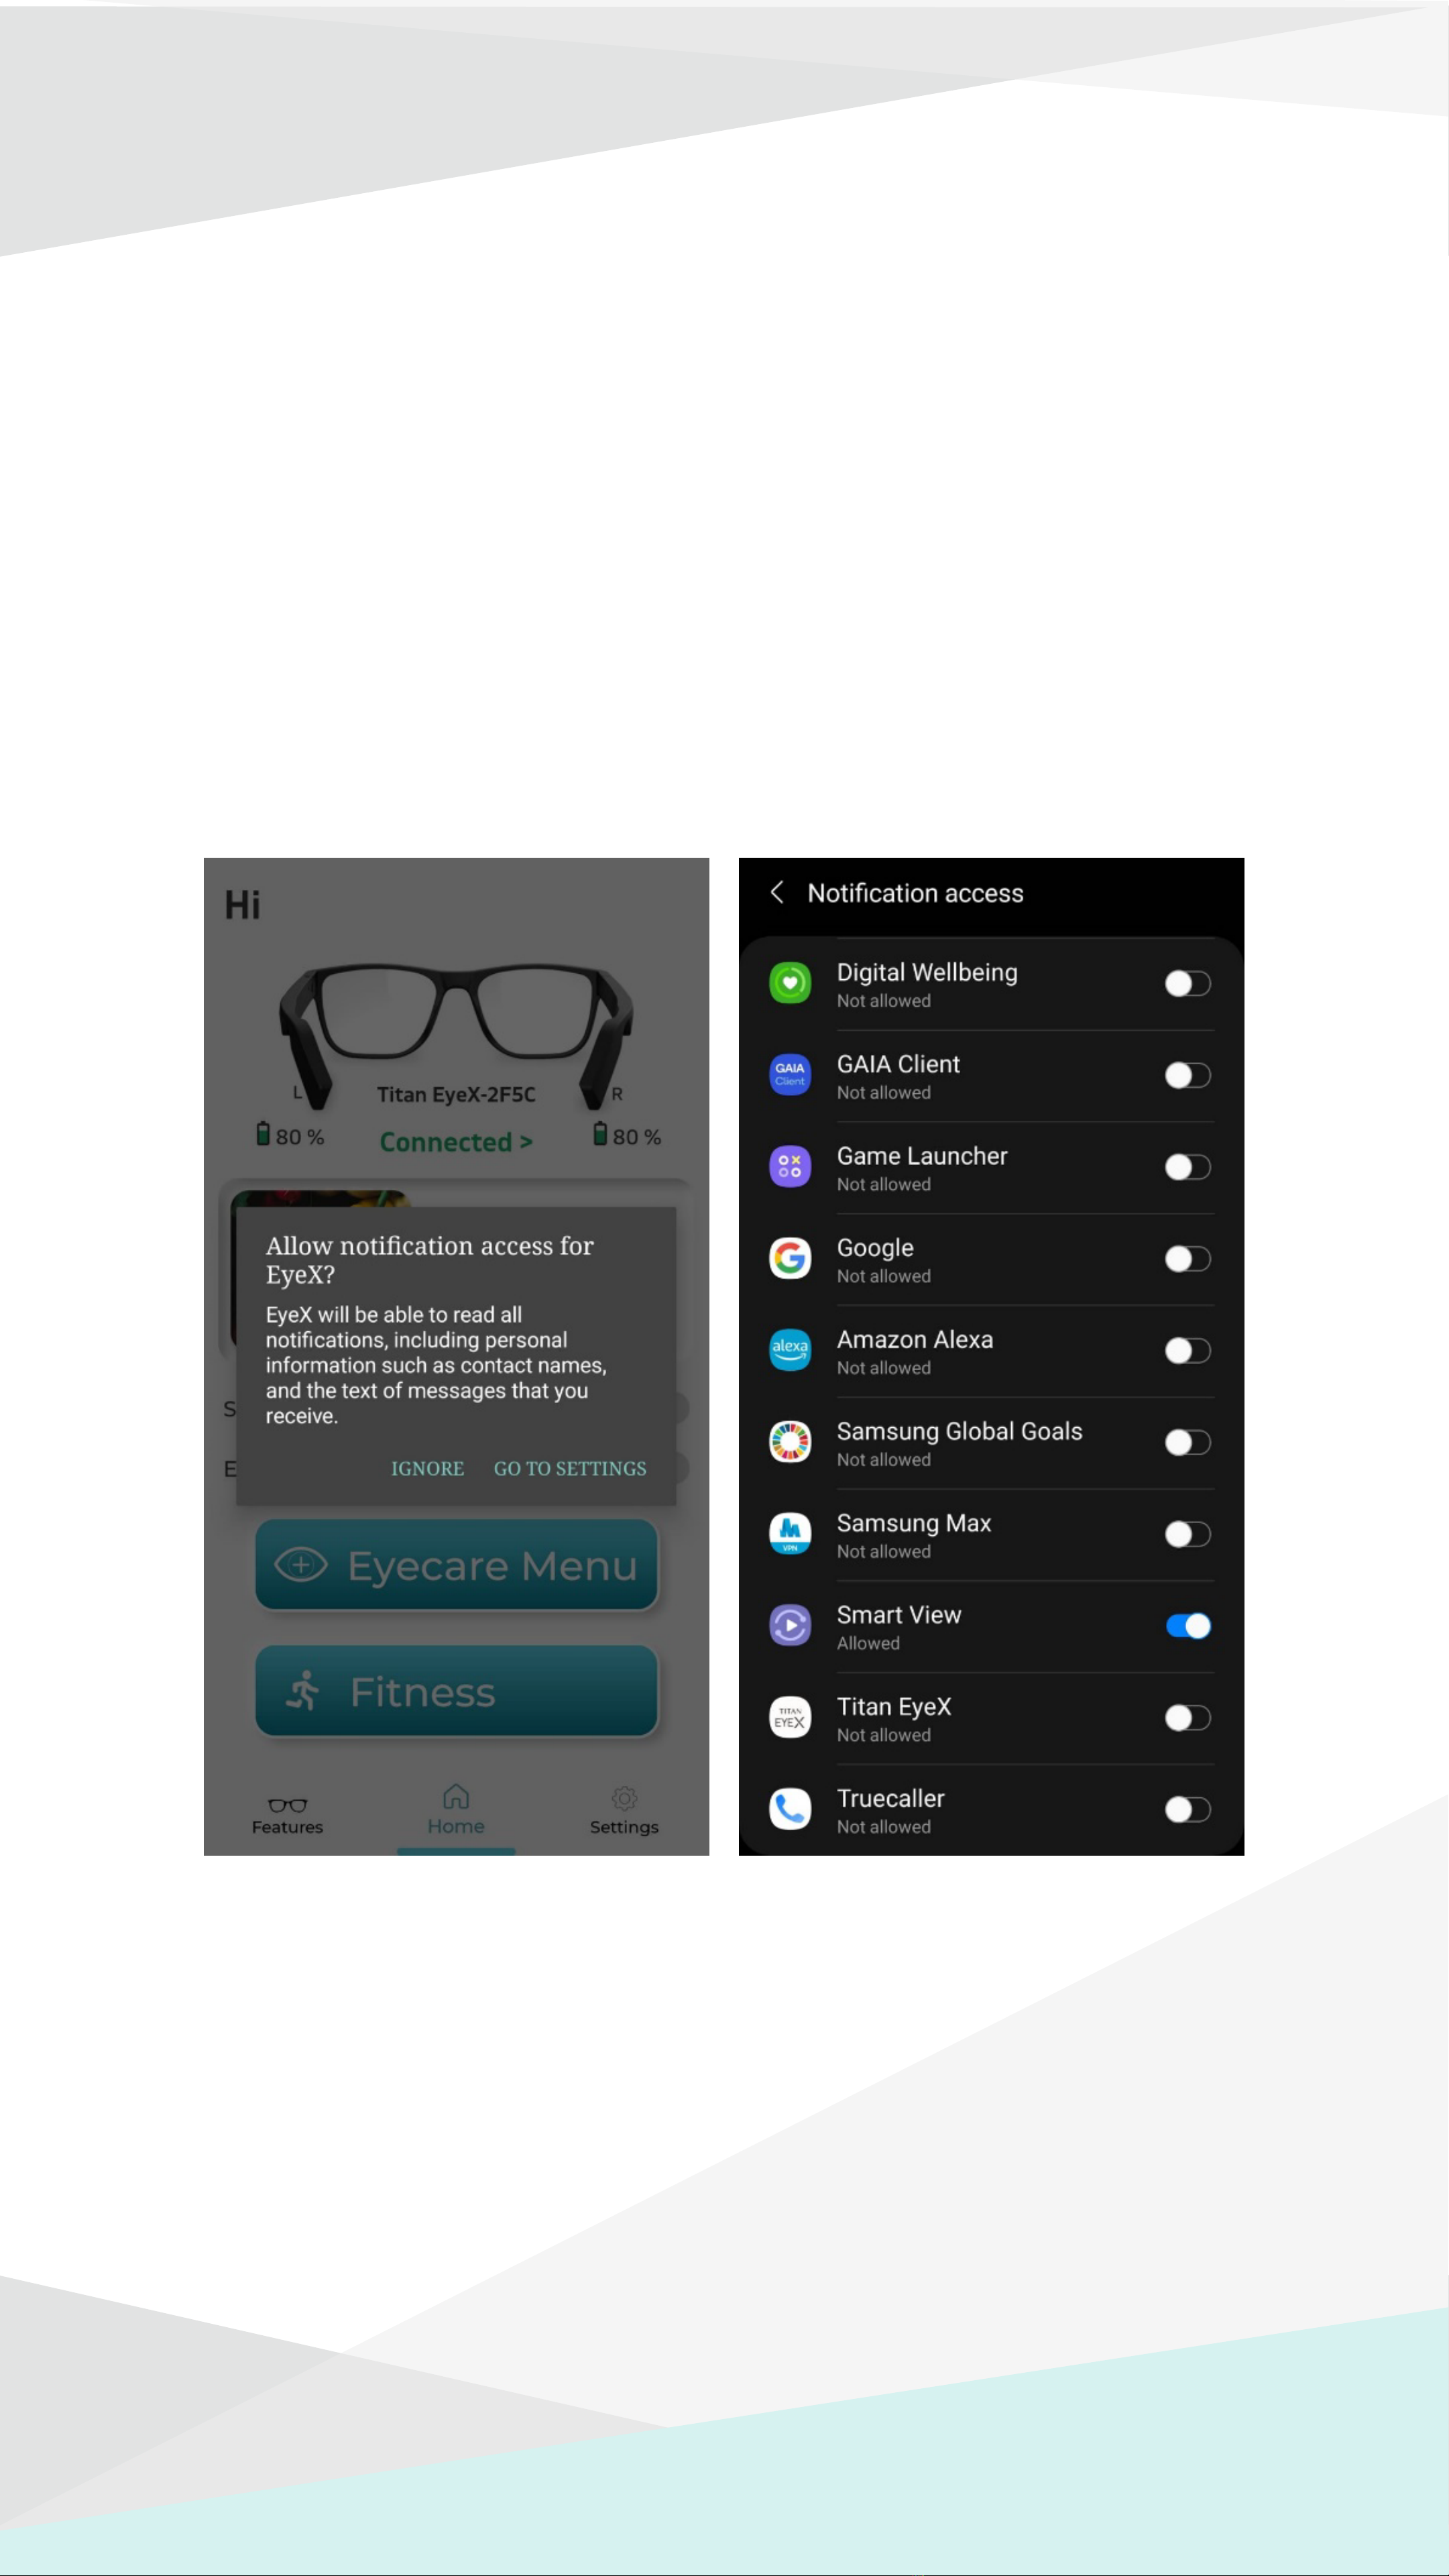
Checking Battery Level and Connection Status
Functions Supported by Default
Without the App
To answer the call: Swipe forward on the right temple.
To reject the call: Swipe backward on the right temple.
To end the call: Swipe backward on the right temple.
To increase volume: Swipe forward on the left temple.
To decrease volume: Swipe backward on the left temple.
While on a phone call in EyeX, swipe forward on the right
temple. To unmute again, swipe forward on the right temple.
Swipe forward and backward within one second on either temple.
An audio message will play the level of the battery and
connection status.
Yellow LED will blink 1-4 times, indicating the battery level of
the glasses.
One additional blink for the left temple status is indicated below:
Green LED will blink once if the peer is connected.
Red LED will blink if the peer is not connected.
One last blink for the right temple status is indicated below:
Green LED will blink once if the phone is connected.
Red LED will blink if the phone is not connected.
At low battery, an additional audio prompt will play, "low battery
please charge”.
Phone Call
Call Mute
Device Usage
Note: If there is no LED indication, the device may be powered off.
Switch on the device by swiping forward or backward. If there is
still no indication, please charge the device.