manuals.online logo
Brands
  1. Home
  2. •
  3. Brands
  4. •
  5. Smith's Heating First
  6. •
  7. Heater
  8. •
  9. Smith's Heating First External Control Harness Caspian UVC User manual

Smith's Heating First External Control Harness Caspian UVC User manual

Products with this symbol (crossed out wheelie bin) cannot be disposed as household waste.
Old electrical and electronic equipment must be recycled at a facility capable of handling these
products and their waste by-products. If you are purchasing replacement equipment your
retailer may offer a 'take back' scheme, or will be able to give details of the nearest approved
authorised treatment facility. Proper recycling and waste disposal will help conserve resources
whilst preventing detrimental effects on our health and the environment.
WEEE Registered Code: WEE/ED0093VW
Smith’s Environmental Products Ltd,
Blackall Industrial Estate, South Woodham Ferrers, Chelmsford Essex CM3 5UW
Tel: 01245 324900 After Sales: 01245 324560 Fax: 01245 324422
E-mail: i[email protected] Web: www.smiths-env.com
For Ireland (Republic & Northern), contact MT Agencies on 00 353 1 864 3363
In light of our policy of continuous development Smith’s Environmental Products Ltd
reserve the right to alter specifications without prior notice.
Iss:1 8 AUG 015
External Control Harness
Caspian UVC
(Universal Concealed)
Installation and User Guide
User Information.
Installation of this product must be carried out by a qualified electrician.
This appliance can be used by children aged from 8 years and above
and persons with reduced physical, sensory or mental capabilities or
lack of experience and knowledge if they have been given supervision
or instruction concerning use of the appliance. Cleaning and user
maintenance shall not be made by children without supervision. (Refer
EN 60335-1 clause 7.12).
Introduction
This harness is for use with Smith’s Caspian Universal concealed range of products. The wall
mounted control enables the fan speed to be adjusted and controlled remotely from the heater.
This accessory can also be used in addition with Smith’s Adjustable low temperature cut-out.
Note: To facilitate remote wall mounting of the speed controller the user will need to
prepare a suitable single gang pattress box (not supplied) for the wall plate to attach
too.
Warning:
Isolate the power supply to the Caspian unit. Do not reconnect the power supply until the
installation has been completed.
ALL ELECTRICAL INSTALLATIONS CONNECTIONS MUST COMPLY WITH THE LATEST
EDITION OF THE IEE WIRING REGULATIONS (BS7671), AND ANY RELEVANT LOCAL
AUTHORITY BYE-LAWS. CHECK THE VOLTAGE ON THE HEATER IS CORRECT FOR
YOUR SUPPLY. IF IN DOUBT, CONSULT A QUALIFIED ELECTRICIAN.
Please note the guarantee may be invalidated if this product is not installed and used in
accordance with these instructions.
Before commencing with the installation please check box contents:
1. 12 metre harness in two parts (connected) with connection plugs fitted.
2. Single pattress wall plate to accommodate the controller.
3. Cable clamp and screws
4. Instructions.
Items required that are not supplied (When using the harness to facilitate remote wall
mounting)
1. Single gang pattress. Suitable for the type of wall where the controller is to be
installed.
Installation:
ENSURE THAT THE ELECTRICAL SUPPLY TO THE PRODUCT HAS BEEN ISOLATED.
NOTE. THE USER WILL NEED TO IDENTIFY A SITE AND INSTALL A SUITABLE SINGLE
GANG PATRESS BOX
2
__________________NOTES__________________
__________________________________________
__________________________________________
__________________________________________
__________________________________________
__________________________________________
__________________________________________
__________________________________________
__________________________________________
__________________________________________
__________________________________________
__________________________________________
__________________________________________
__________________________________________
__________________________________________
__________________________________________
__________________________________________
__________________________________________
__________________________________________
7
Electrical Panel
(Remove x5 screws)
Front Panel
(Remove x4 screws)
Installing the harness or harnesses to link a maximum of four machines together.
The harness should only be used to link heaters together when the master controller has been
removed from the master heater and mounted on the wall.
It is possible to connect the slave heaters into the spare plug on the harness adjacent to the
wall mounted controller or the spare plug on the harness inside the master heater.
1. Connect the harness to the spare plug adjacent to the wall mounted controller or the
spare plug in the heater. If using the plug in the heater feed the harness out through
the square aperture in the rear of the heater (See Fig 6). Ensure the cable is then fed
through one of the round slotted holes at the bottom of the aperture and secure the
black plastic bush already fitted to the cable in the slotted hole.
2. Route the harness to the heater to be connected (slave) and feed the cable in
through the square aperture at the rear of the heater and secure black plastic boss.
3. Disconnect the 4 way plug(s) connecting the fan(s) (depending on model) to the
controller in the slave heater and connect the motor plugs to the harness.
4. Secure the harness to the electrical panel with the clamp and screws provided.
If connecting another slave unit repeat procedure as above.
5. Secure front panels and switch on electric supply to heaters.
6. Ensure boiler is turned on and any other external controls are calling for heat.
7. Adjust master controller to desired speed and check that heaters are working
correctly.
(See page 5, Figure 7 for a diagram of linking multiply units together)
6
Follow these instructions when using the harness to mount the controller externally
from the heater:
ENSURE THAT THE ELECTRICAL SUPPLY TO THE PRODUCT HAS BEEN ISOLATED
1. Identify the front panel and the electrical panel (Shown in red, Fig 1).
FIG 1
2. Remove the screws attaching the front panel (retain this panel for later), then remove
the electrical panel to the chassis so that it becomes free (See fig 1).
Do not disconnect any wires at this point.
3. Turn the electrical panel over to reveal the circuit board of the speed controller.
Remove the four wires connected to the speed controller and trace the lead back to
the 4 way plugs which connect to the fans (This lead will be referred to as a “Control
Harness”). Separate this harness from the rest of the heaters wiring and remove it.
(Controller shown attached to a wall plate)
4. Turn the electrical panel back over and remove the screw securing the control knob.
Unscrew the nut securing the controller to the electrical panel and remove controller.
Retain all parts for future use. (Figure 4)
5. Connect the Control Harness to the 12m harness included in this kit. There are three
plugs on this end of the 12m harness and you can use any of these. Depending on
the model one or two of these will not be used.
3
VR1 HIGH
VR2 LOW
Back Front
Figure 3
Note:
If your heater was built before
20/09/14 or the colours shown
in Fig 2 do not match those on
your unit please refer to the
below Key:
+10V (Red) = Blue
Control (Yellow) = Grey
Ground (Blue) = Black
Tacho (White) = Brown
6. On the back side of the electrical panel there will be a stain relief cable clamp,
Unscrew and fasten onto the exiting harness to the electrical panel (See Fig 5).
(Actual electrical panel may vary)
7. Refit the electrical panel. Ensure wiring is clear from fan mouths using provided cable
ties if necessary.
8. Attach the controller previously removed from machine to the wall plate supplied
ensure that when the knob is turned fully anti clockwise it aligns with the low mark on
the plate. (Fig 4)
9. Route the 10mm cable (harness) that has been attached to the heater to the pre fitted
pattress box and connect the wires as shown in fig 3.
10. Attach the controller and wall plate to the patress box and secure with the screws
provided.
11. Refit front panel to machine.
12. Turn on electrical supply and any other external controls (room stat / timer etc.) and
check that the machine is working correctly by adjusting speed controller.
__________________NOTES__________________
__________________________________________
__________________________________________
__________________________________________
__________________________________________
__________________________________________
4
Linking multiple units together
UVC90/120
Fan Fan
M
FM
F
F M
Fan Fan
M
FM
F
F
F
M
F
SpeedController
12m
Lead
12m
Lead
12m
Lead
Male
Connector
Female
Connector
Fan Fan
M
FM
F
F M
UVC90/120
UVC90/120
(Diagram showing three Caspian UVC units being linked with three separate External Control Harnesses (Shown in different colours))
5
Fig 4
TOFAN
CABLEEXIT
FIX CABLE CLAMP TO
HOLESON THE BACK OF
THEBRACKET
Fig 5

Other Smith's Heating First Heater manuals

Smith's Heating First Eco-Powerad 500 Operation manual

Smith's Heating First

Smith's Heating First Eco-Powerad 500 Operation manual

Smith's Heating First Signature Operation manual
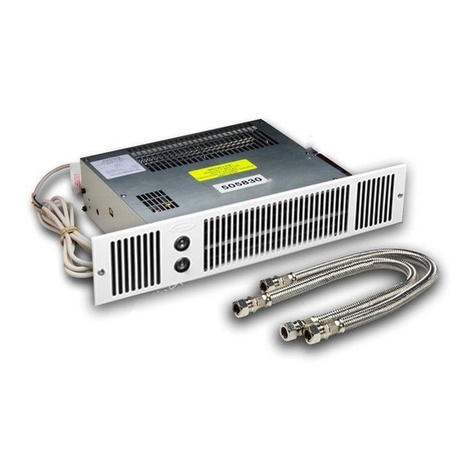
Smith's Heating First

Smith's Heating First Signature Operation manual

Smith's Heating First Caspian 60 Operation manual

Smith's Heating First

Smith's Heating First Caspian 60 Operation manual

Smith's Heating First Sterling 3 EL Operation manual

Smith's Heating First

Smith's Heating First Sterling 3 EL Operation manual

Smith's Heating First SS2E/5 User manual

Smith's Heating First

Smith's Heating First SS2E/5 User manual

Smith's Heating First PROFILE Series User manual

Smith's Heating First

Smith's Heating First PROFILE Series User manual

Smith's Heating First Solano Guide

Smith's Heating First

Smith's Heating First Solano Guide

Smith's Heating First Caspian 60 Operation manual

Smith's Heating First

Smith's Heating First Caspian 60 Operation manual

Smith's Heating First Ostro Guide

Smith's Heating First

Smith's Heating First Ostro Guide

Smith's Heating First Caspian 60 Operation manual

Smith's Heating First

Smith's Heating First Caspian 60 Operation manual

Smith's Heating First STR7-12V User manual

Smith's Heating First

Smith's Heating First STR7-12V User manual

Smith's Heating First SS5/Dual User manual
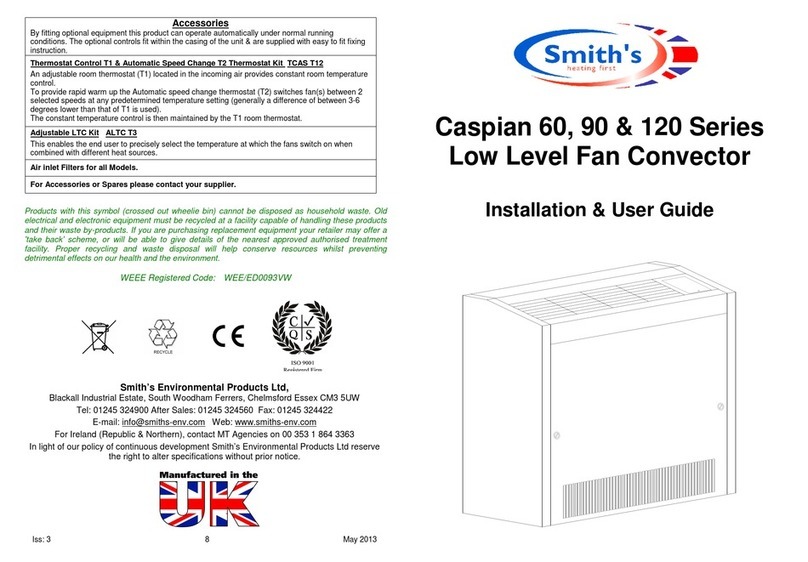
Smith's Heating First

Smith's Heating First SS5/Dual User manual

Smith's Heating First Space saver SS7 User manual

Smith's Heating First

Smith's Heating First Space saver SS7 User manual

Smith's Heating First PWU 4/6 Operation manual
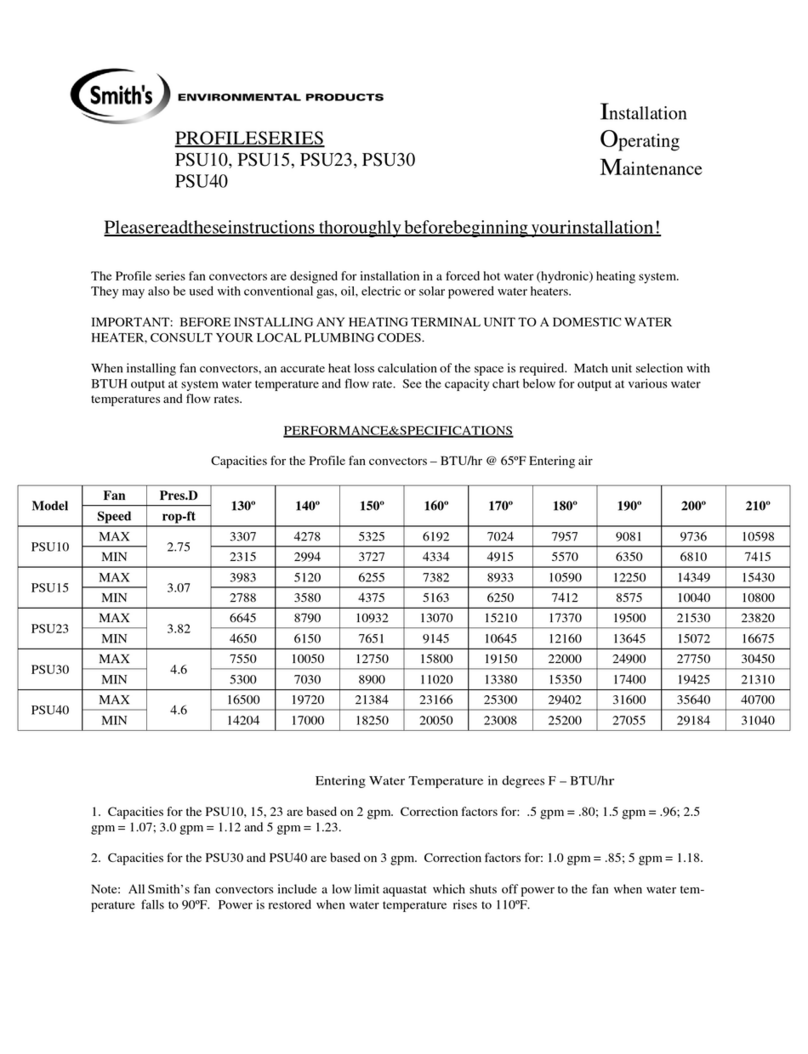
Smith's Heating First

Smith's Heating First PWU 4/6 Operation manual

Smith's Heating First Caspian EC Series Guide

Smith's Heating First

Smith's Heating First Caspian EC Series Guide

Smith's Heating First ECOVECTOR LL 1200 Operation manual

Smith's Heating First

Smith's Heating First ECOVECTOR LL 1200 Operation manual
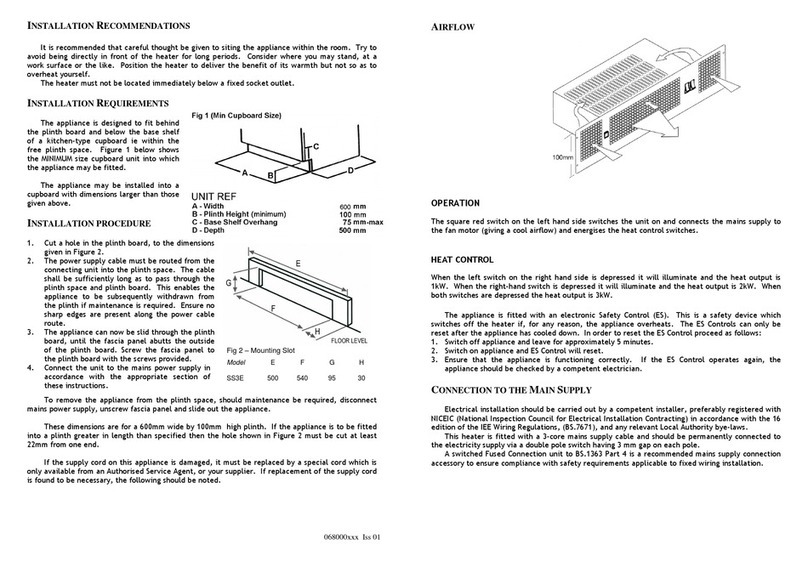
Smith's Heating First SS80E User manual

Smith's Heating First

Smith's Heating First SS80E User manual

Smith's Heating First SS3E User manual
Smith's Heating First

Smith's Heating First SS3E User manual

Popular Heater manuals by other brands
Kogan KGNPHT22VA user manual

Kogan

Kogan KGNPHT22VA user manual

Webasto Air Top Evo 5500 B installation manual

Webasto

Webasto Air Top Evo 5500 B installation manual

Winterwarm DXB Series instruction manual

Winterwarm

Winterwarm DXB Series instruction manual

Goldair GECO200 Ecosave operating instructions

Goldair

Goldair GECO200 Ecosave operating instructions

Trotec IDS 100 operating manual

Trotec

Trotec IDS 100 operating manual

Webasto Thermo 90 S Operating and maintenance instructions

Webasto

Webasto Thermo 90 S Operating and maintenance instructions

Klarstein 10030917 manual

Klarstein

Klarstein 10030917 manual

Midea NF20-16BA instruction manual

Midea

Midea NF20-16BA instruction manual

Dimplex EPX 500 Installation and operating instructions

Dimplex

Dimplex EPX 500 Installation and operating instructions

TriStar KA-5062 instruction manual

TriStar

TriStar KA-5062 instruction manual

Silvercrest SKD 2300 A1 operating instructions

Silvercrest

Silvercrest SKD 2300 A1 operating instructions

BENSON ULTRA 035(EC) Installation, service and user instructions

BENSON

BENSON ULTRA 035(EC) Installation, service and user instructions

heat4all ICONIC Series Mounting manual

heat4all

heat4all ICONIC Series Mounting manual

Ambirad Scorpio SC 12 owner's manual

Ambirad

Ambirad Scorpio SC 12 owner's manual

Broan QTX100HL Specification sheet

Broan

Broan QTX100HL Specification sheet

Electro Industries EM-WX01-120-1-06 quick start guide

Electro Industries

Electro Industries EM-WX01-120-1-06 quick start guide

BIEMMEDUE GE 20 instruction manual

BIEMMEDUE

BIEMMEDUE GE 20 instruction manual

Webasto Thermo Top V Operating and servicing manual

Webasto

Webasto Thermo Top V Operating and servicing manual

manuals.online logo
manuals.online logoBrands
  • About & Mission
  • Contact us
  • Privacy Policy
  • Terms and Conditions

Copyright 2025 Manuals.Online. All Rights Reserved.