manuals.online logo
Brands
  1. Home
  2. •
  3. Brands
  4. •
  5. Smith's Heating First
  6. •
  7. Heater
  8. •
  9. Smith's Heating First Eco-Powerad 500 Operation manual

Smith's Heating First Eco-Powerad 500 Operation manual

IMPORTANT
-The appliance is not to be used by children or persons with reduced
physical, sensory or mental capabilities, or lack of experience and
knowledge, unless they have been given supervision or instruction
-Children should not be permitted to play with the appliance
-Ensure that the fan is switched off from the supply mains before
removing the guard
-If the supply cord is damaged., it must be replaced by the
manufacturer, its srvice agent or similarly qualified persons in order to
avoid hazard.
Products with this symbol (crossed out wheelie bin) cannot be disposed as
household waste. Old electrical and electronic equipment must be recycled at a
facility capable of handling these products and their waste by-products. If you are
purchasing replacement equipment your retailer may offer a 'take back' scheme, or
will be able to give details of the nearest approved authorised treatment facility.
Proper recycling and waste disposal will help conserve resources whilst preventing
detrimental effects on our health and the environment.
WEEE Registered Code: WEE/ED0093VW
This Installation and User Guide is printed on 100% re-cycled paper.
Smith’s Environmental Products Ltd.
1-2 Blackall Industrial Estate, South Woodham Ferrers,
Chelmsford, Essex CM3 5UW
Tel: 01245 324900, Fax: 01245 324422, After Sales: 01245 324560
E-mail: info@smiths-env.com Web: www.smiths-env.com
For Ireland (Republic & Northern), contact MT Agencies on 00 353 864 3363
In light of our policy of continuous development Smith’s Environmental Products Ltd reserve
the right to alter specifications without prior notice.
04-1144 8 June 11
Versatile, energy efficient heating
Eco-Powerad
®
Models
500, 1000, 1500 & 2000
INSTALLATION & USER GUIDE
INTRODUCTION
In the event of items missing or visible damage please contact us on 01245
324560.
This heating appliance is intended for mounting on a wall at low level. The
minimum recommended installation height is 150cm (6 inches) from the floor.
There is no clearance required on either side of the heater. The maximum
installation height from the floor is 500mm.
This heater must not be used in bathrooms or other high humidity areas.
Eco-Powerad
®
units are designed for use on two-pipe pumped central
heating systems and are suitable for use on low temperature systems where
the hot water is generated from renewable sources. This product is not
suitable for one-pipe heating systems. Pipe connections are 15mm.
We recommend the use of 15mm compression thermostatic radiator valves
(TRV) and radiator lockshied valves for the pipe work connections.
Eco-Powerad®is classified as a fixed appliance and electrical connection
should be via a switchable double pole 3A fused spur situated no more than
1metre away from the appliance and which must be accessible after
completion of the installation. If the pre-wired mains cable is damaged, it
must be replaced by the manufacturer, its service agent or similarly qualified
persons. The appliance must be earthed.
To avoid possibility of vibration, this product must be installed on a flat, even
surface.
To comply with Building Regulations Part L (Part J in Scotland) this heater
should be fitted and controlled by a thermostatic radiator valve or zone
control thermostat.
Please note the guarantee may be invalidated if this product is not
installed and used in accordance with this guide.
MOUNTING THE UNIT
Remove both the EZ Hanger and the lower mounting bracket from the back of the
heater.
2
7
FAULT FINDING
Fan does not run.
•Check the power source is switched ON
•Check fuse in the fused spur
•Check wiring connections at the fused spur
•Check the central heating system is on and water temperature 35°C +
No heat output
•Check the power supply is switched ON
•Ensure the Thermostatic Radiator Valve (TRV) is calling for heat
•Balance the central heating system and increase the circulating pump
speed if required.
In the event of difficulty please contact us on 01245 324560. It will be more
helpful if you do not remove the product from the central heating system.
Please leave this installation & operation guide and the guarantee registration
card with the owner of the property.
USER GUIDE
Your product is covered by a free 5-year parts and labour guarantee; please
complete and return the Guarantee Registration Card to us as soon as
possible to ensure that should you require assistance, we can help you
quickly and efficiently.
Your Eco-Powerad
®
heater is designed to operate as part of your central
heating system in the same way as a panel radiator .II will switch on and off
automatically with you central heating system.
Heat from your central heating system passes through a heat exchanger
transferring its heat to the aluminium fins, room air is drawn in the top grille
and heated as it passes through the heat exchanger before being gently
expelled back into the room at floor level.
6
Fix to the lower mounting bracket / air deflector to the chassis of the heater
as shown below.
Fix the EZ easy hanger to the wall, position the heater on the EZ hanger and
mark the fixing holes of the lower mounting bracket /air deflector.
EZ HANGER STRIP
CENTRLINE OF ECO POWERAD
525 MINIMUM
FLOOR
ECO POWERAD OUTLINE
MOUNTING SCREW HOLES
Remove the heater from the EZ hanger and drill the marked holes for suitable
fixings.
Position the unit on the EZ bracket and fix the lower mounting bracket /air
deflector with suitable fixings (not supplied). See overleaf.
3
Align tags on fixing
strip into square holes
on lower rear chassis and
push downwards to attach
PIPE WORK
This product should be connected to the system flow and return pipes using a
15mm compression type thermostatic radiator valve (TRV) and lockshield
valve (refer to TRV manufacturer’s instructions)
Take care not to stress or over tighten fittings as this could damage the unit
pipe work.
Check for water leaks. Remove any trapped air from the system via the vent
valve via the access holes on the left hand side of the unit.
Do not over tighten the air vent.
ELECTRICAL CONNECTION
ALL ELECTRICAL INSTALLATIONS CONNECTIONS MUST COMPLY
WITH BS7671, 1992 AND THE IEE REGULATIONS. CHECK THE
VOLTAGE ON THE HEATER IS CORRECT FOR YOUR SUPPLY. IF IN
DOUBT, CONSULT A QUALIFIED ELECTRICIAN.
If the pre-wired mains cable is damaged, it must be replaced by the
manufacturer, its service agent or similarly qualified persons.
4
Isolate the supply and connect the heater three core mains lead to the
switchable fused spur (3A) in accordance with the instructions provided on
the mains lead label. (The supply wire which is coloured green or green and
yellow must be connected to the terminal marked Eon the appliance, the
supply wire which is coloured black or blue must be connected to the terminal
marked Non the appliance and the supply wire which is coloured red or
brown must be connected to the terminal marked Lon the appliance).
The switchable fused spur must not be directly above the heater and at a
distance of no more than 1 metre from the heater and must be accessible
after completion of the installation.
COMMISSIONING
This heater is equipped with a low temperature cut out thermostat which
requires the water in the heating system to be at least 35°C before the fan(s)
will run.
Turn on the electrical supply at the fused spur, switch on the central heating
system, set the thermostatic radiator valve (TRV) to maximum. Once the
water within the heating system reaches + 35°C the fan(s) should run.
1. Turn on the electrical supply at the fused spur.
2. Turn on the central heating system.
3. Set thermostatic radiator valve (TRV) to maximum.
4. Balance the central heating system if required.
5. If the installation is working correctly remember to set the
thermostatic radiator valve (TRV) to its normal/ desired setting.
HEAT OUTPUT PERFORMANCE
Water
Temperature
Eco-
Powerad
500
Btu (kW)
Eco-Powerad
1000
Btu (kW)
Eco-Powerad
1500
Btu (kW)
Eco-Powerad
2000
Btu (kW)
40° 1025 (0.30) 2400 (0.70) 3075 (0.90) 4600 (1.35)
50° 1700 (0.50) 3400 (1.00) 5125 (1.50) 6825 (2.00)
75° 2900 (0.85) 7150 (2.10) 8200 (2.40) 11950 (3.50)
Based on exiting water temperature, average temperature drop is 4°C.
5
BLEED POINT
ON LEFT SIDE

This manual suits for next models

3

Other Smith's Heating First Heater manuals

Smith's Heating First Ostro Guide

Smith's Heating First

Smith's Heating First Ostro Guide
Smith's Heating First SS2E/5 User manual
Smith's Heating First

Smith's Heating First SS2E/5 User manual

Smith's Heating First Caspian EC Series Guide
Smith's Heating First

Smith's Heating First Caspian EC Series Guide

Smith's Heating First PROFILE Series User manual

Smith's Heating First

Smith's Heating First PROFILE Series User manual

Smith's Heating First External Control Harness Caspian UVC User manual

Smith's Heating First

Smith's Heating First External Control Harness Caspian UVC User manual
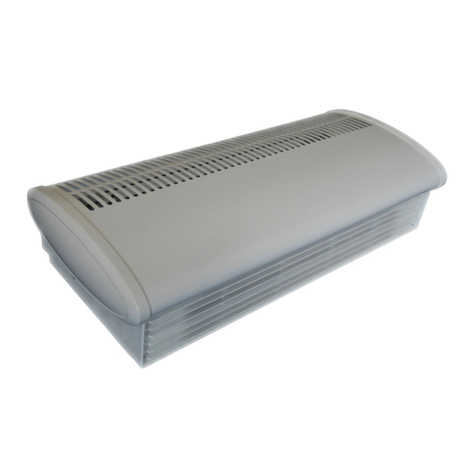
Smith's Heating First Sterling 3 EL Operation manual

Smith's Heating First

Smith's Heating First Sterling 3 EL Operation manual

Smith's Heating First Caspian 60 Operation manual
Smith's Heating First

Smith's Heating First Caspian 60 Operation manual

Smith's Heating First Solano Guide

Smith's Heating First

Smith's Heating First Solano Guide

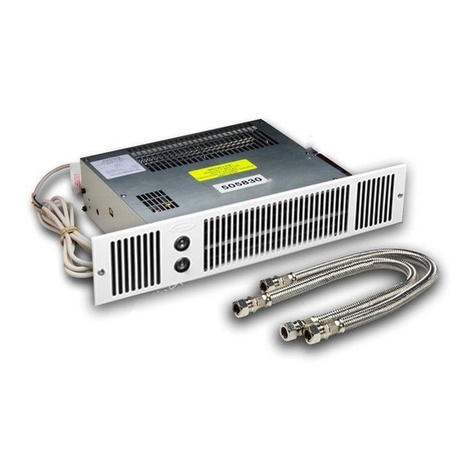
Smith's Heating First Caspian 60 Operation manual
Smith's Heating First

Smith's Heating First Caspian 60 Operation manual

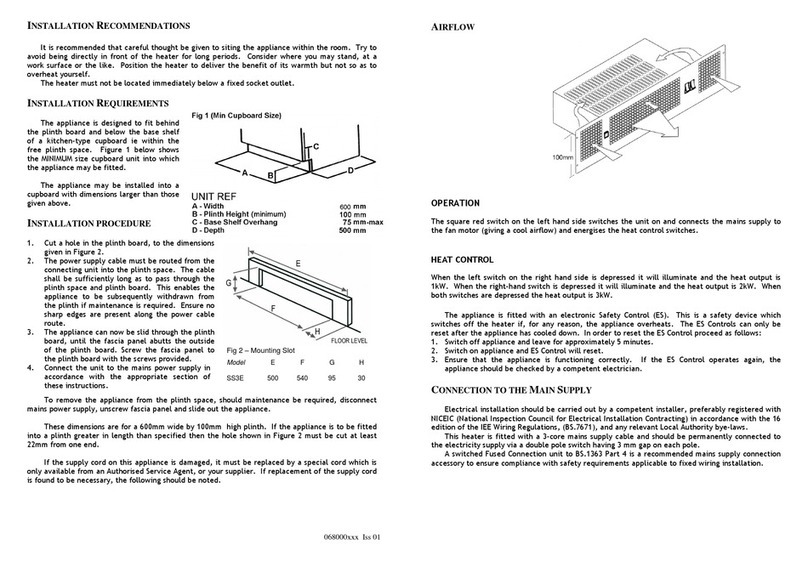
Smith's Heating First SS5/Dual User manual
Smith's Heating First

Smith's Heating First SS5/Dual User manual

Smith's Heating First SS3E User manual
Smith's Heating First

Smith's Heating First SS3E User manual

Smith's Heating First Caspian 60 Operation manual
Smith's Heating First

Smith's Heating First Caspian 60 Operation manual

Smith's Heating First Signature Operation manual
Smith's Heating First

Smith's Heating First Signature Operation manual

Smith's Heating First Space saver SS7 User manual
Smith's Heating First

Smith's Heating First Space saver SS7 User manual

Smith's Heating First SS80E User manual
Smith's Heating First

Smith's Heating First SS80E User manual

Smith's Heating First PWU 4/6 Operation manual

Smith's Heating First

Smith's Heating First PWU 4/6 Operation manual

Smith's Heating First STR7-12V User manual
Smith's Heating First

Smith's Heating First STR7-12V User manual

Smith's Heating First ECOVECTOR LL 1200 Operation manual

Smith's Heating First

Smith's Heating First ECOVECTOR LL 1200 Operation manual

Popular Heater manuals by other brands

Tulikivi SS036 manual

Tulikivi

Tulikivi SS036 manual

MediaTec PocketHeater PH-01 use instructions

MediaTec

MediaTec PocketHeater PH-01 use instructions

Heat Storm HS-1000-WA user manual

Heat Storm

Heat Storm HS-1000-WA user manual

cecotec Ready Warm 6550 Turbo Convection Design instruction manual

cecotec

cecotec Ready Warm 6550 Turbo Convection Design instruction manual

anko FH221B instruction manual

anko

anko FH221B instruction manual

ALURAD Atlantis DIRECTIONS FOR MOUNTING AND USE

ALURAD

ALURAD Atlantis DIRECTIONS FOR MOUNTING AND USE

RHINO H02073 Instruction booklet

RHINO

RHINO H02073 Instruction booklet

Taurus ALPATEC PRMB 1600 manual

Taurus

Taurus ALPATEC PRMB 1600 manual

Consort CSL2SC Installation & Control Guide

Consort

Consort CSL2SC Installation & Control Guide

HOMCOM 820-296V90 manual

HOMCOM

HOMCOM 820-296V90 manual

HOM Maxi Xilo Installation instruction

HOM

HOM Maxi Xilo Installation instruction

Argo IP24 operating instructions

Argo

Argo IP24 operating instructions

EOS Gracil Series Assembly and operating instructions

EOS

EOS Gracil Series Assembly and operating instructions

Toyotomi DR-3000 Operation and maintenance instructions

Toyotomi

Toyotomi DR-3000 Operation and maintenance instructions

STA-RITE SR200NA Service manual

STA-RITE

STA-RITE SR200NA Service manual

Cadco PHR-1C Use & care manual

Cadco

Cadco PHR-1C Use & care manual

Unold 86315 Instructions for use

Unold

Unold 86315 Instructions for use

HJM RCL Original operating instructions

HJM

HJM RCL Original operating instructions

manuals.online logo
manuals.online logoBrands
  • About & Mission
  • Contact us
  • Privacy Policy
  • Terms and Conditions

Copyright 2025 Manuals.Online. All Rights Reserved.