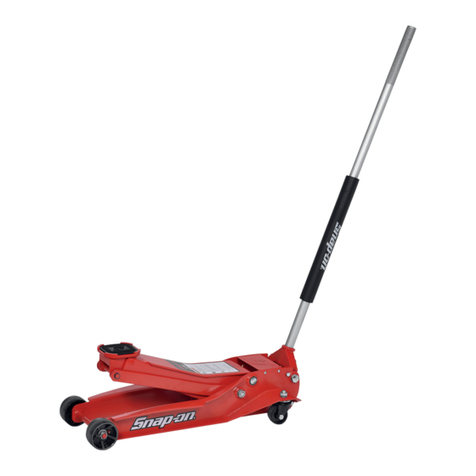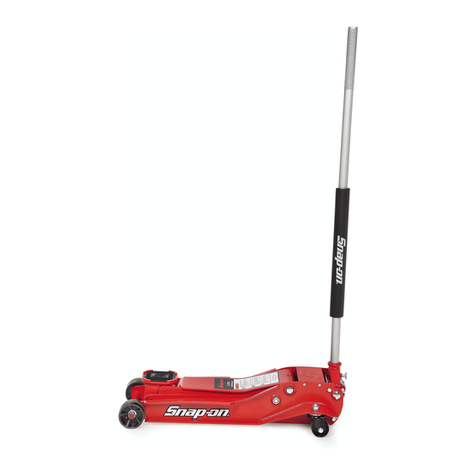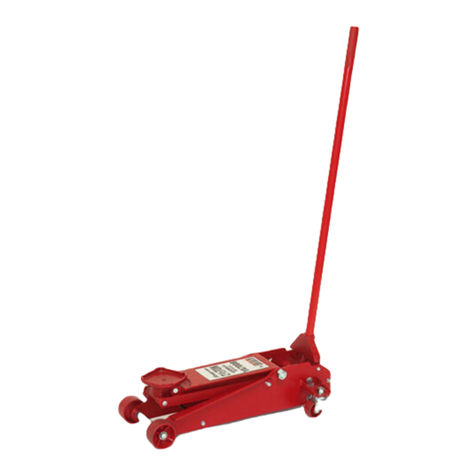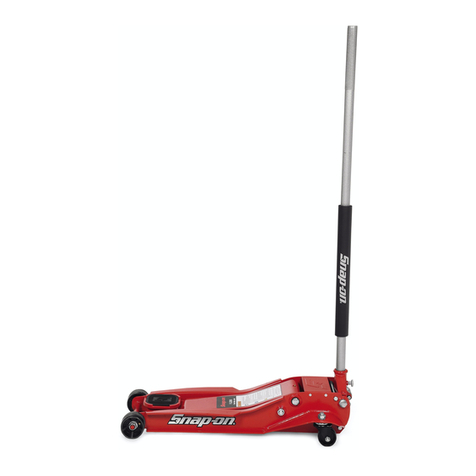
EELS901A Installation, Operation and Maintenance Manual
Rev. 2/26/20
EAZ0080V55A
INSTALLATION
1) Place jack assembly on lift rack rails
2) Once side members are adjusted and jack is centered between the rails,
tighten the (4) hex bolts (2 per side) to lock in place.
3) Connect jack airline to the deck.
a. Attach the coiled hose to the Tee in the runway and to the jacks.
b. Remove two NPT 1/4’ PLUG’s before connecting the short pigtail with
the swivel end to the tee.
c. Install at driver side deck.
Operation
Note: Before lifting a vehicle, operate the jack through a couple of cycles
to become familiar with the controls.
1) Roll jack forward before moving vehicle on lift rack. Be sure
vehicle is centered on rack, apply parking brake and chock
wheels.
2) Roll jack(s) to the vehicle manufacturer’s recommended pick-
up points. Extend lift pad arms to proper lift points. Use lift pad
spacers if necessary.
3) Raise jack by pushing on foot pedal on pump.
4) Raise vehicle to desired height.
5) Lower jack onto lock.
6) To lower jack completely, raise off of lock and while holding lock release handle open lower jack. Push lift pad
arms in, remove lift pad spacers (if used). Roll jack forward before moving vehicle off rack.
Loss of power
If for any reason the lift will not raise off the locks or the locks will not retract, consult factory authorized personnel.
DO NOT OVERRIDE ANY SAFETY FEATURE IN AN ATTEMPT TO LOWER THE LIFT.
Maintenance
Daily: Inspect jack and it’s components for damage or excessive wear. Replace parts as required. See parts list.
Inspect air/hydraulic system for leaks. Check in-line lubricator oil level.
Annually: Check hydraulic pump fluid level. When jack is completely lowered remove breather plug and check oil
level. Oil should be at top of filler plug hole.
IMPORTANT!
Failure to keep lift free of corrosive agents and solvents will lead to reduced service life, which could result in property
damage and/or personal injury. If any problems are encountered, contact your local service representative.


