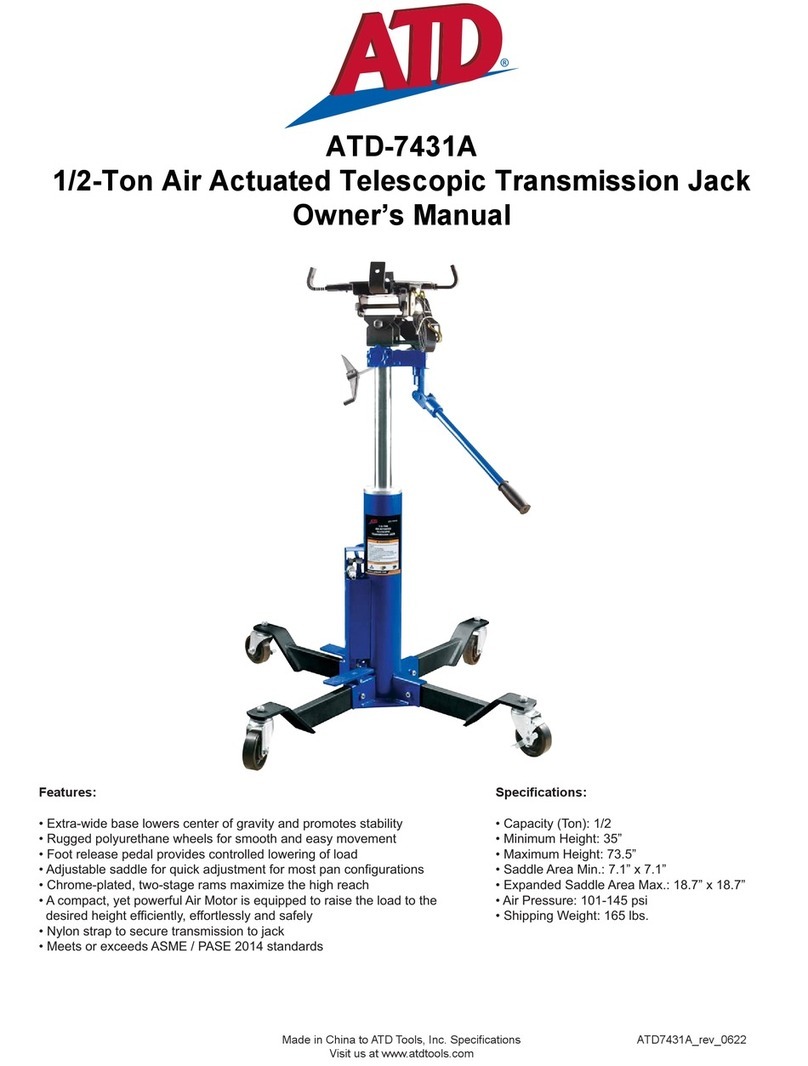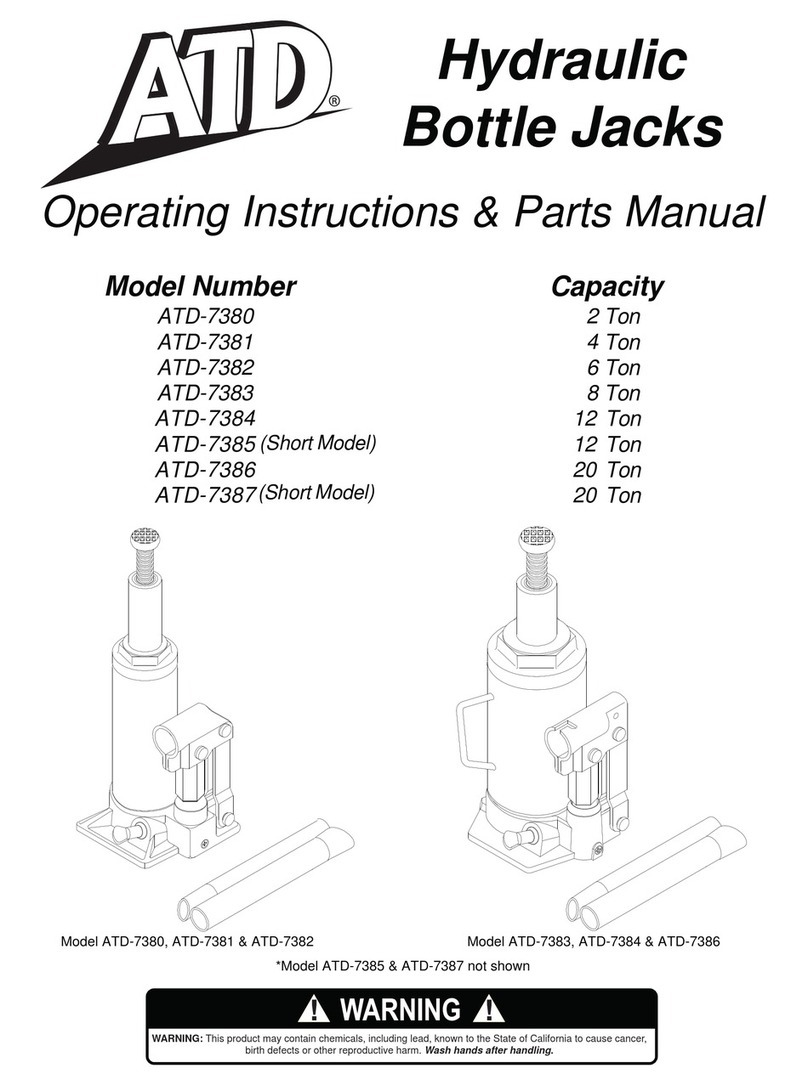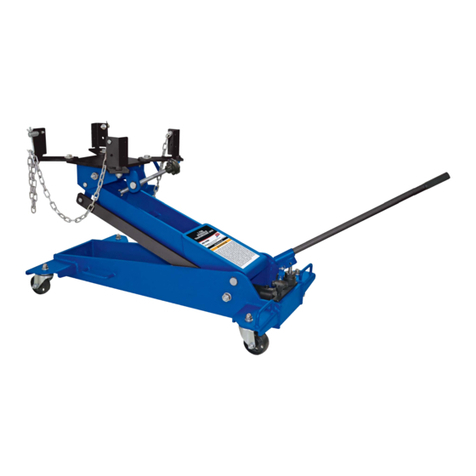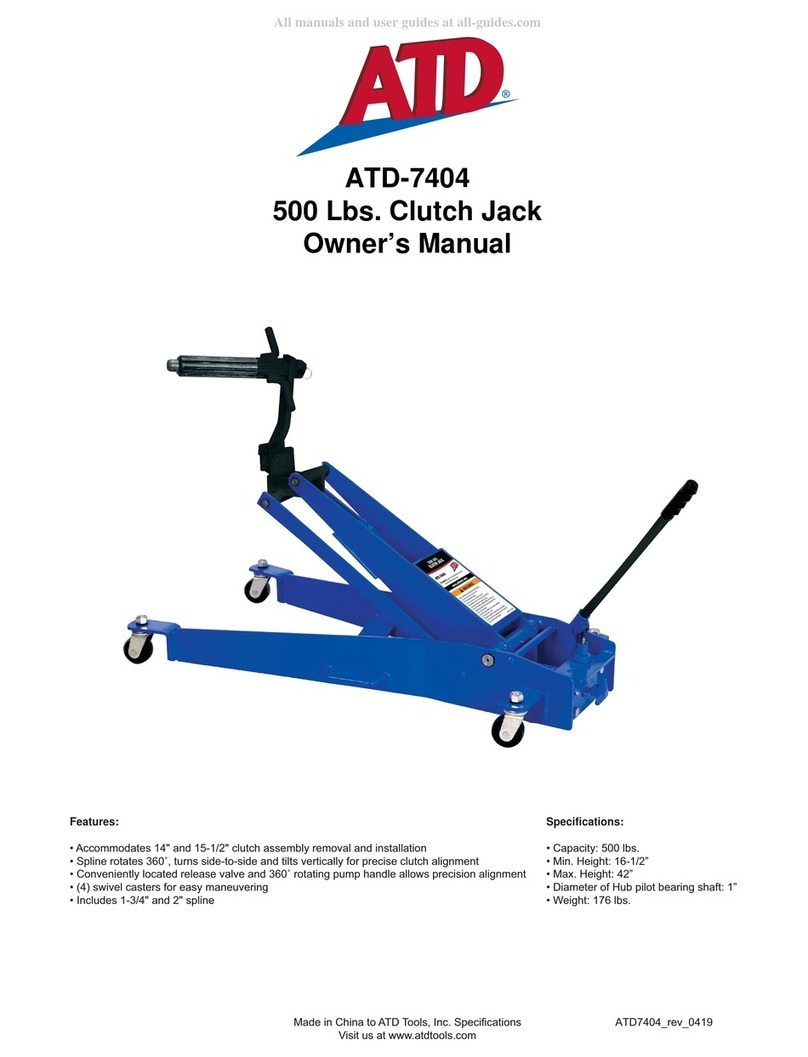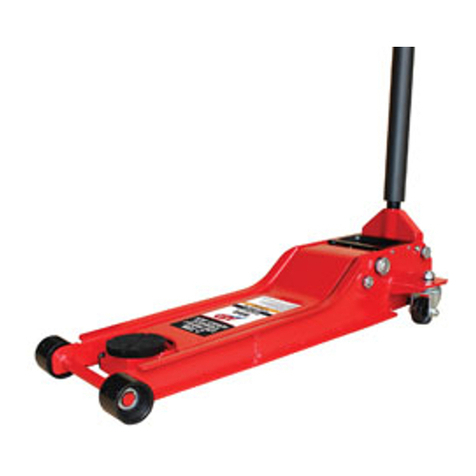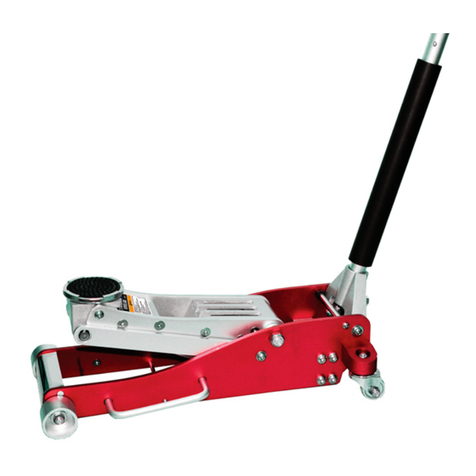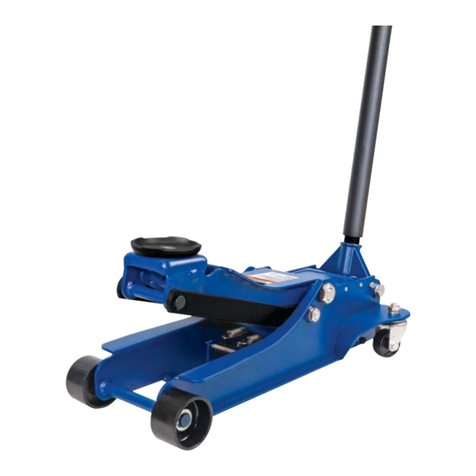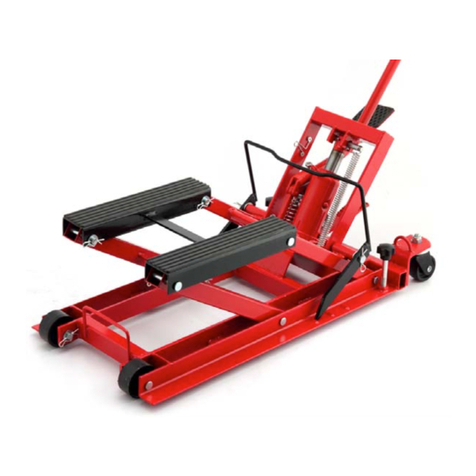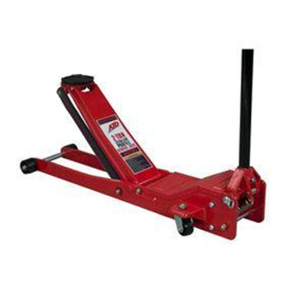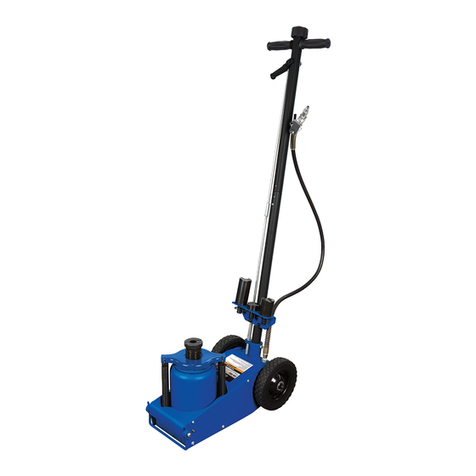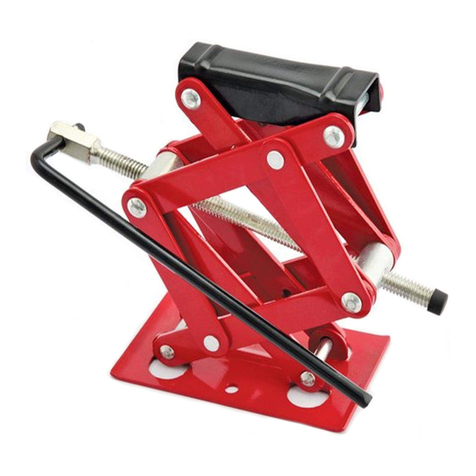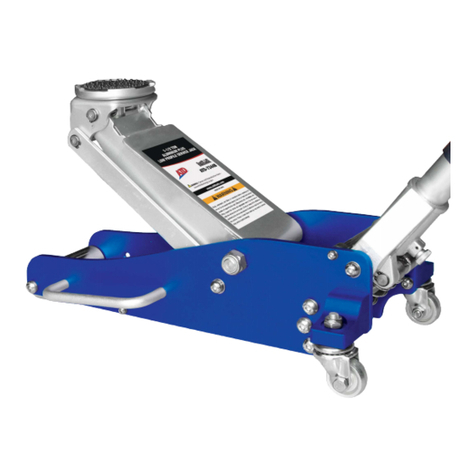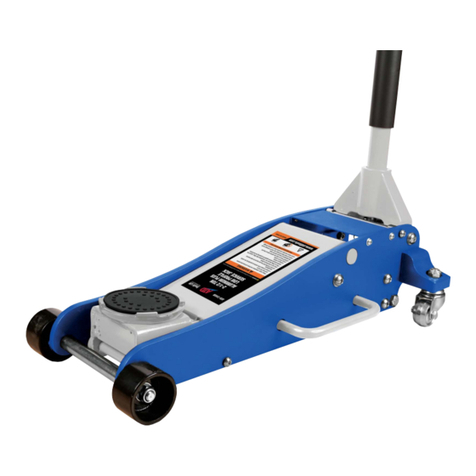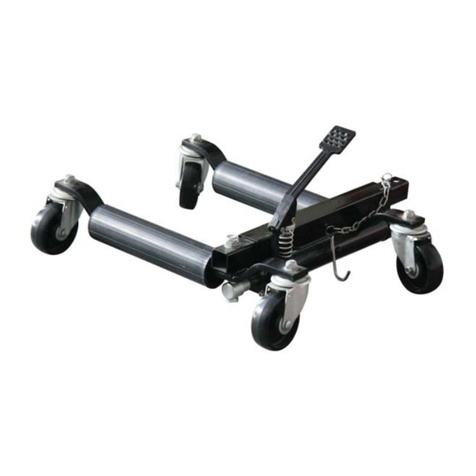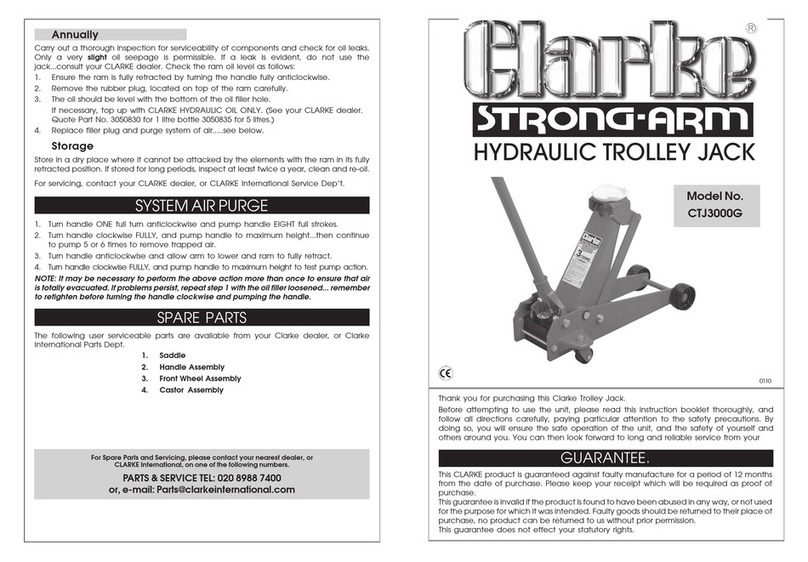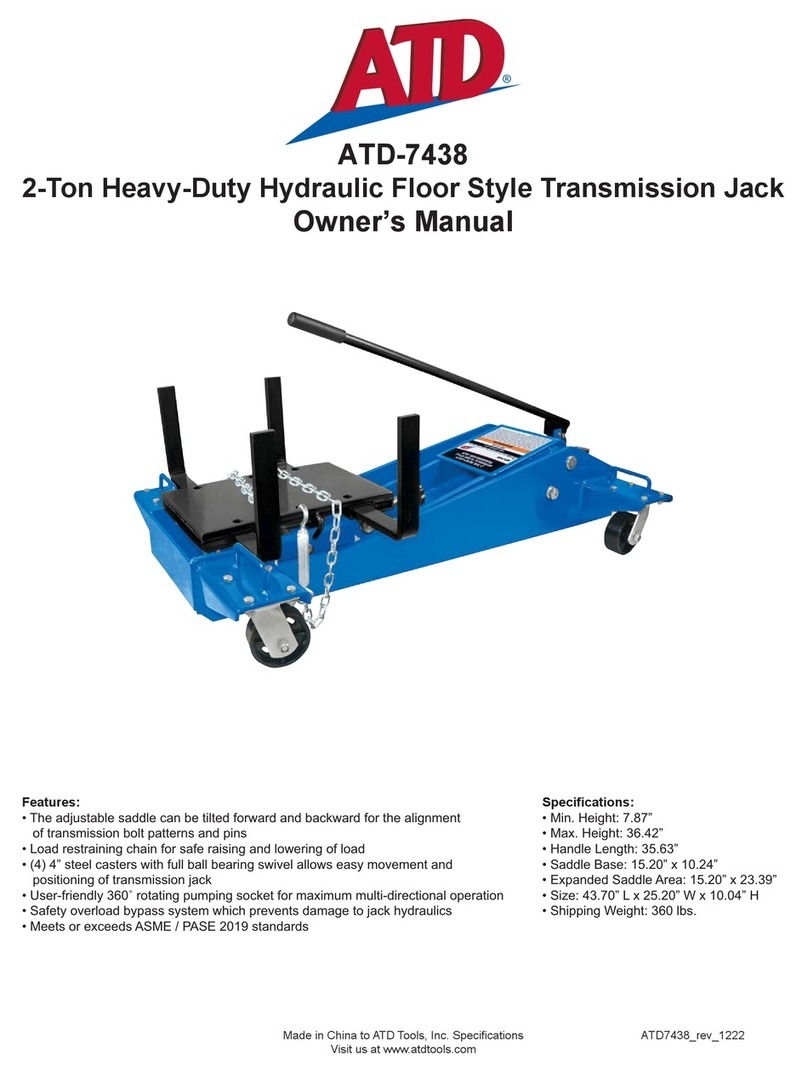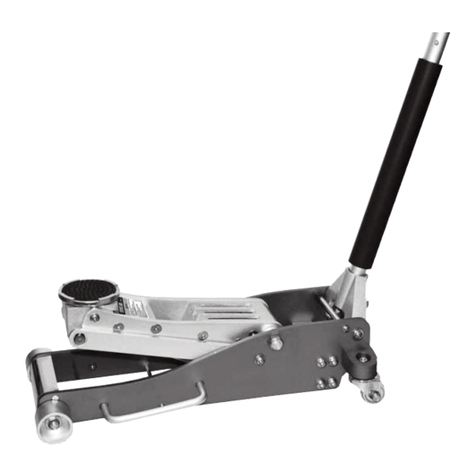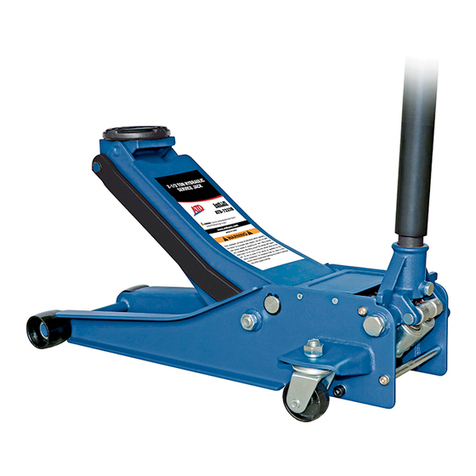
Figure 1 - ATD-7304 nomenclature
!WARNING
Study, understand, and follow all printed
materials provided with/on this product before use.
Do not exceed rated capacity.
8VHonly on hard, level surface.
This is a lifting device only!
Immediately after lifting, support the load with
a pair of appropriately rated jack stands.
/LIWonlyRQDUHDVRIWKHYHKLFOHDVVSHFL¿HGE\
the vehicle manufacturer.
Do not move or dolly the vehicle while on the jack.
1RDOWHUDWLRQVVKDOOEHPDGHWRWKLVSURGXFW
Failure to heed these markings may result in
personal injury and/or property damage.
To avoid crushing and related injuries:
Never work on, under or around a load supported
RQO\E\K\GUDXOLFMDFN
Always use adequately rated jack stands.
&KRFNHDFKXQOLIWHGWLUHLQERWKGLUHFWLRQV
Do not use this device to lift, level, lower, support nor
PRYHDKRXVHPRELOHKRPHWUDYHOWUDLOHr, camper or
DQ\EXLOGLQJVWUXFWXUH
Be alert and sober when using this product. Do not
RSHUDWHXQGHUWKHLQÀXHQFHRIGUXJVRUDOFRKRO
!WARNING X
3
!
OPERATION
Lifting
Only attachments and/or adapters supplied
by the manufacturer shall be used. Lift only
RQDUHDRIWKHYHKLFOHDVVSHFL¿HGE\WKHYHKLFOH
manufacturer.
1. Follow the vehicle manufacturer’s recommended
guidelines for lifting. Engage the emergency EUDNH
and chock each unlifted wheel in ERWK directions to
prevent inadvertent vehicle movement.
2.
&ORVH release valve E\ turning it with the stamped end
RIKDQGOHFORFNZLVHXQWLO¿UPUHVLVWDQFHLVIHOW
3. Refer to the vehicle manufacturer owner’s manual to
locate approved lifting points on the vehicle. &HQWHU
jack saddle under lift point.
4. Verify lift point, then pump handle to contact lift
point. To lift, pump handle until load reaches desired
height.
5.Transfer the loadimmediately to appropriately rated
jack stands.
NEVER use hydraulic jack as a stand
alone
device! ALWAYS transfer the lifted load
IMMEDIATELY to a pair of appropriately rated jack
stands. Use one pair of jack stands per vehicle.
Rated capacity is per pair only! Do not exceed rated
capacity.
Lowering
Be sure all tools and personnel are clear before
loweringload. Slowly open the release valve!
The more you turn the handle counter-clockwise, the
fasterthe loadwill comedown. Maintain control of the
rate of speed at which the load lowers at all times!
1. Raise load high enough to clear the jack stands.
2.
Remove jack stands carefully (always used in pairs).
3. Slowly turn the handle counter-clockwise, EXW no
more than 1/2 full turn. If the load fails to lower:
D8VHDQRWKHUMDFNWRUDLVHWKHYHKLFOHKLJK
enough to reinstall jack stands.
E5HPRYHWKHPDOIXQFWLRQLQJMDFNDQGWKHQWKH
jack stands.
c.
8VHWKHIXQFWLRQLQJMDFNWRORZHUWKH
vehicle.
4. After removing jack from under the vehicle, fully
lower the saddle to reduce ram exposure to rust and
contamination.
!
!
Handle
Release
Valve
Oil Filler Plug
(Remove cover
plate to access)
Handle
Sleeve
5HDU&DVWHU
Front
Wheel
/LIWLQJ Arm
Saddle
