Technical Specifications:
1. Solar panel: 0.55W, 17% efficiency
2. Li-ion battery: 3.7V 800mAh
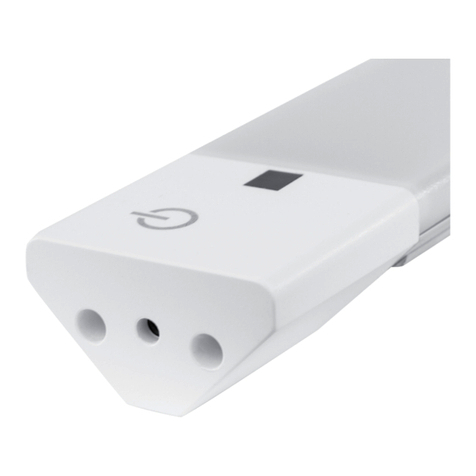
3. Key switch pin: turn the light: On/Off
4. LED: 16pcs, SMD 3528, 1Watt,100Lumens
5. Lighting modes: Off / Bright
Bright: All LEDs on when motion is detected
6. Inbuilt circuitry protection: overcharging, discharging
7. StainlessMaterial: ABS + aluminium (sand blasting )
Operating the Light:
Usage Cycle
3. Unlock and activate thedevice
Use the key pin in the “on/off” socket on the underside
of the light to unlock the light ready for use.
1. Installing the light
Please usethe supplied rawl plugs and screws to mount
the light unit on the wall.
2. Charging the light
A south facing wall is best for charging the light. Make sure
the panel is not mounted behind glass or in the shade.
Remove the protective film from the solar panel. Allow
three days for the light to charge.
4. Night sensor function
The Light is flashing
The Light won’t activate
The motion sensor will activate the Bright mode when motion
is detected and revert back to standby mode 30 seconds
after motion ceases.
The light is running low on charge. Turn the light off and
let it charge for 3 days with no activations to build up a
good base charge in the battery.
If the Curve won’t activate after dusk the light may
be low on charge.
Is there another light source hitting the panel, tricking it
into thinking it’s still daylight? Cover the panel with your
hand to simulate total darkness. If light activates you
may need to reconsider where the light is installed.
Turn the light off and
let it charge for 3 days with no activations to build up a
good base charge in the battery.
Tips: Troubleshooting:
Use the supplied key
to activate the light.
Drill holes, then fix to the wall using the
supplied screws and rawl plugs.
Solar panel charges the
internal battery during the day
Standby mode is
activated at dusk.
Bright light mode is activated
when motion is detected.
Once motion ceases the light reverts to
standby mode.
Package includes:
1. Key pin x 1
2. Rawl Plugs x 2
3. Screws x 2
4. Curve light unit
Mounting Holes
Solar panel
Rawl Plugs
Screws
User Manual
s
o
l
a
r
m
o
t
i
o
n
l
i
g
h
t
c
u
r
v
e
TM
Do NOT charge
behind glass
E
W
S
Ensure your solar
panel is South facing
or as near as possible
Do NOT place your
solar panel in shaded
areas.
Clean your solar
panel from time
to time
For customer support please contact:
The Solar Centre Ltd
Unit 5, Dencora Centre
Campfield Road
St Albans
Hertfordshire
AL1 5HN
T: 0845 094 1250
W: www.solarcentre.co.uk
RoHS
Made in China to Solar Centre Specification
solarcentreR
making solar that works
