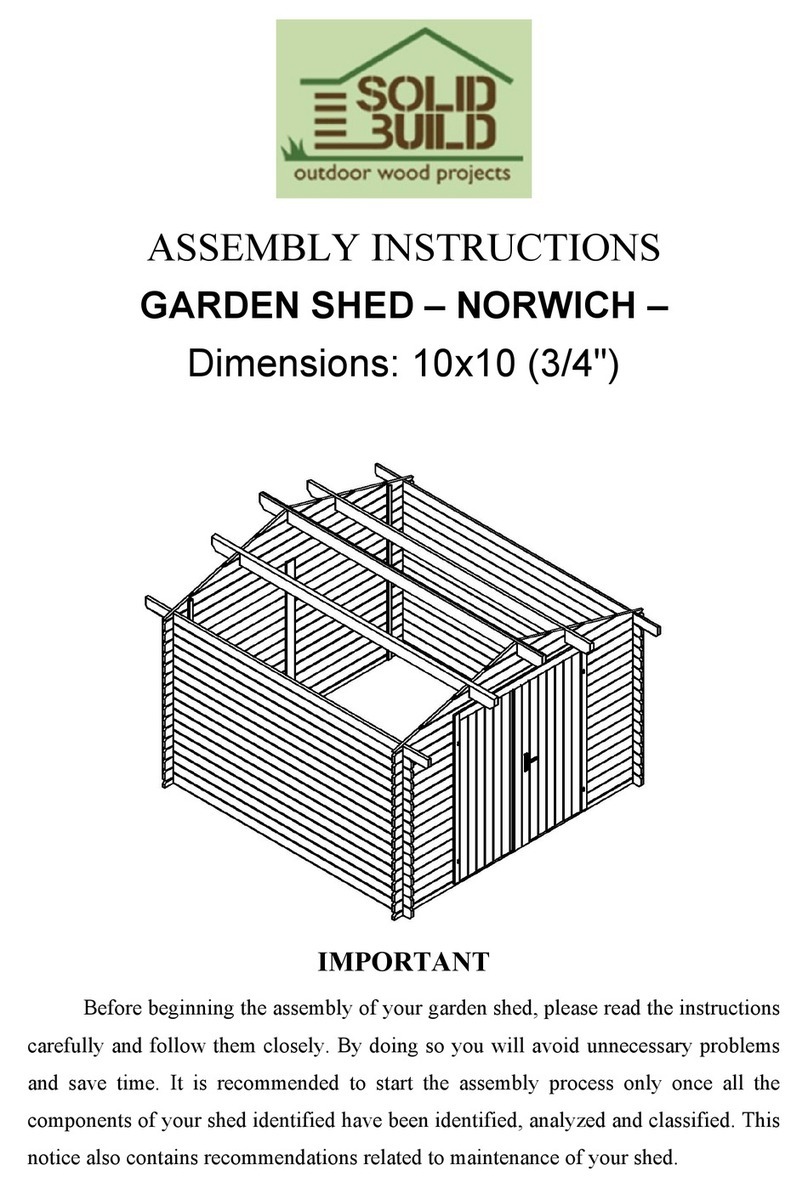
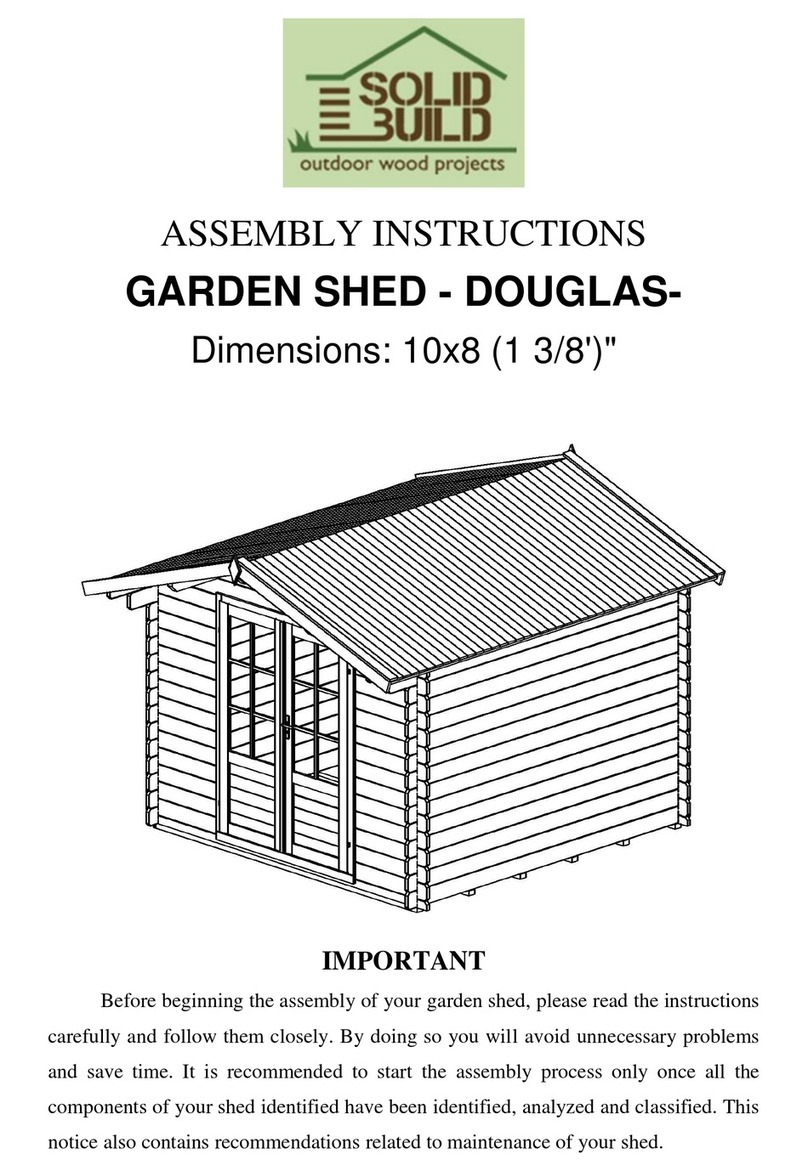
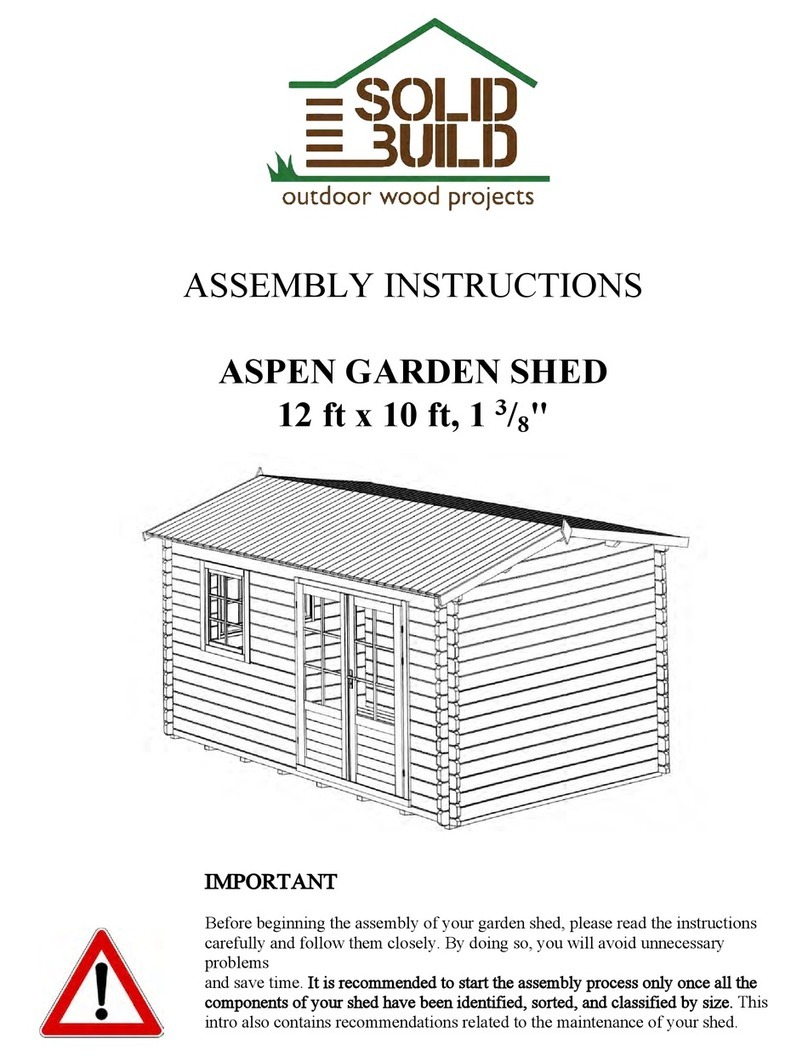
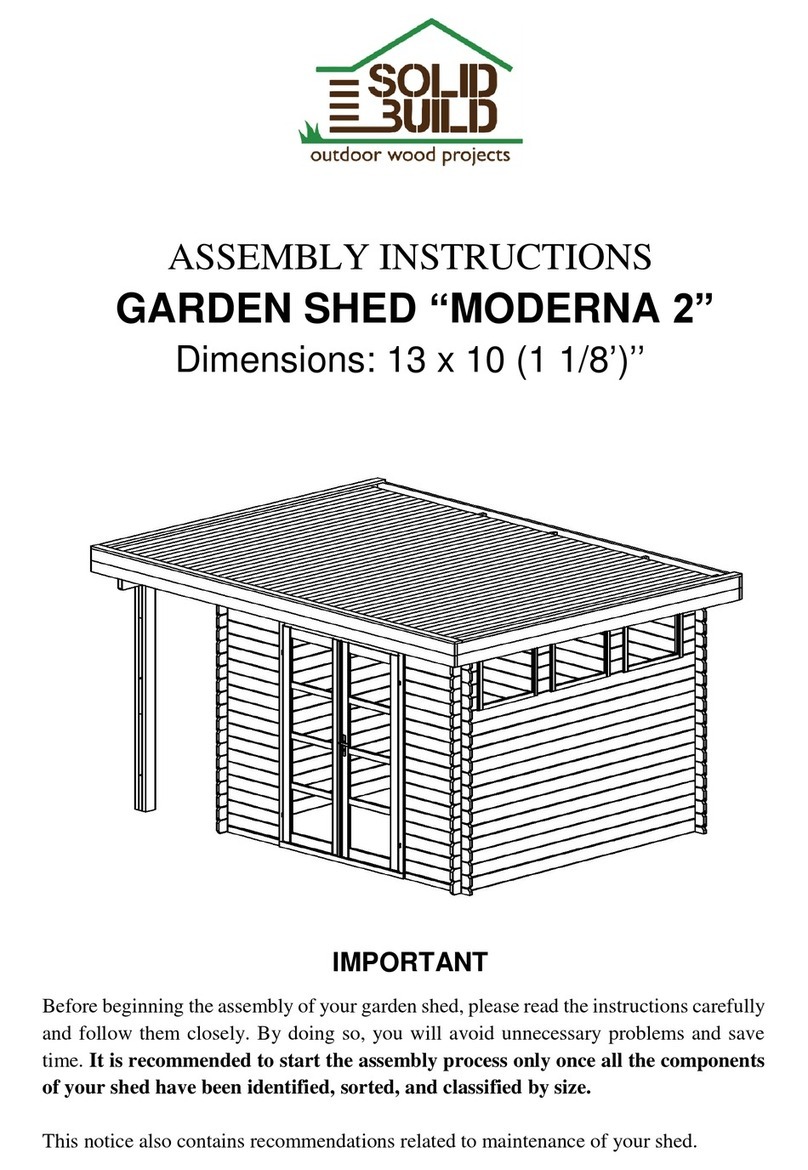
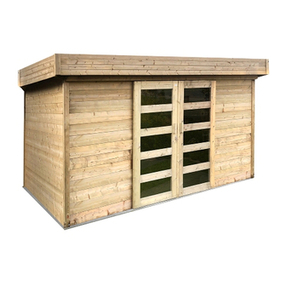
Solid Build ASPEN User manual

ASSEMBLY INSTRUCTIONS
GARDEN SHED - ASPEN-
Dimensions: 12x10 (1 1/8')"
IMPORTANT
Before beginning the assembly of your garden shed, please read the instructions
carefully and follow them closely. By doing so you will avoid unnecessary problems
and save time. It is recommended to start the assembly process only once all the
components of your shed identified have been identified, analyzed and classified. This
notice also contains recommendations related to maintenance of your shed.

SOLID BUILD GARDEN SHED –ASPEN –12x10 (1 1/8')"
2
What you need to know prior to assembly
Characteristics of wood. Wood has a set of specific characteristics that are
natural and inherent to it. Those characteristics include colour, density and the extent
to which it is affected by humidity.
Longitudinal cut, in most cases, will reveal a nice, decorative and often very
appreciable look, which is called a texture.
It should be added that wood has a specific smell, given by attars, resins and
fermented substances, while freshly cut wood has a more pleasant scent. A very
important attribute of timber is the ease with which it absorbs humidity.
When timber dries, it shrinks. Similarly, when timber absorbs humidity, it
increases in volume.
Downsides. One of the downsides of timber is that it chaps and warps. When
timber dries, the moisture firstly evaporates from the surface and outer layers and only
then from the inside layers. Thus, when the outer layers start shrinking, the inside
layers, due to stronger moisture, oppose to shrinking. Firstly the surface starts
chapping, then the inside layers. When timber dries it can get a longitudinal warp or a
cross warp. A longitudinal warp is when the drying straight balk bends, a flat plank
twists and gets the form of the propeller. Wood has a set of specific technological
characteristics. It easily splits along the fibre nicely holding metal fastenings; it can
flex easily and is not very sensitive to depreciation. Screws hold timber extremely
well. Screws have a much better grip with timber than nails.
Taints: branchy timber, cracks, abnormal structure, infractions made by fungus
or parasites. As timber is of biological origin, it is so varied that terms “normal
timber” and “abnormal timber” are not strictly defined. Within the variety of sawn
wood and sawn timber some taints due to fungus may occur: mould, brownness.
Mould funguses generally do not affect physical and mechanical characteristics of
timber.
When timber is affected by biological (fungus), physical (environmental
temperature and humidity) and chemical factors, it decomposes.

SOLID BUILD GARDEN SHED –ASPEN –12x10 (1 1/8')"
3
Timber may last a long time, but fluctuations in humidity and temperature of
the environment reduces its longevity. A variety of cracks may emerge, which will
then both damage the integrity of timber and will facilitate infection with (and rapid
development of) fungus. Generally speaking, the older the wood, the better the
durability of its lumber.
The most effective way to protect wood from insects and decay is to soak it
with substances which are toxic to fungus and insects.
Protection. Assembling the shed should be carried out in dry weather
conditions. If rain should start during the assembly process, wood should be covered.
Once you have erected the shed, finish with a coat of paint or appropriate treatment.
Foundation. Before erecting the shed it is important to make a firm and plain
foundation, ideally using concrete, concrete slabs or concrete blocs. It is very
important to have the foundation corners at right angles and completely level. As long
as there remain any spaces in the wall between windows and doors, water can get into
the shed.
ATTENTION: You will find boards for hammering the wall-boards in the
package. Do not hit the wall board using only the hammer. Please follow the
instruction in the picture above or use a rubber hammer.

SOLID BUILD GARDEN SHED –ASPEN –12x10 (1 1/8')"
4
PREPARATION OF ASSEMBLY
POSITION
DESIGNATION
DIMENSION (inch)
QUANTITY
1
Nicked lower starter front
wall-board
149.60 x 2.16 x 1.1
1
2
Lower back wall-board
149.60 x 2.16 x 1.1
1
3
Side wall-board
116.53 x 4.33 x 1.1
30 + (1*)
To form the core framework begin with a nicked lower front starter wall-board (part no. 1), a
lower back wall-board (part no. 2) and side wall-boards (part no. 3) ensuring the lock of corners
and positioning the groove of a wall-boards to the bottom and the tongue to the top.

SOLID BUILD GARDEN SHED –ASPEN –12x10 (1 1/8')"
5
ASSEMBLY OF WALLS
POSITION
DESIGNATION
DIMENSION
(inch)
QUANTITY
4
Front wall-board
72.04 x 4.33 x 1.1
9
5
Short front wall-board
21.65 x 4.33 x 1.1
25
6
Intermediate front wall-
board
22.24 x 4.33 x 1.1
8
7
Short side wall- board
31.49 x 4.33 x 1.1
16
8
Back wall- board
149.60 x 4.33 x 1.1
18 + (1*)
Continue with front wall-boards (part no. 4, 5 and 6), back wall-boards (part no. 8)
and short side wall-boards (part no. 7) till the 17th level of side walls.

SOLID BUILD GARDEN SHED –ASPEN –12x10 (1 1/8')"
6
FINISHING OF WALLS
POSITION
DESIGNATION
DIMENSION
(inch)
QUANTI
TY
9
Window
36.81 x 30.31
1
10
Double window
36.81 x 55.51
1
11
Lower strip of double door (horizontal)
55.51 x 2.95 x 2.51
1
12
Side strip of double door (vertical)
75.19 x 3.54 x 2.51
2
13
Top strip of double door (horizontal)
55.51 x 3.54 x 2.51
1
It is time to install (slide in) window (part no. 9 and 10) and continue mounting walls
with wall-boards (part no. 3 and 8). If necessary, you can fasten the frame of the
window into wall boards with eight 0.15x1.96 inch screws, 4 at each side.
When the walls are finished you can put in the double door. First build the frame for
the double door made from the lower strip of the door (part no. 11), the side strip of
the door (part no. 12) and the top strip of the door (part no. 13) with 0.19x3.54 inch
screws, 1 at each corner and slide it in the space created.

SOLID BUILD GARDEN SHED –ASPEN –12x10 (1 1/8')"
7
MOUNTING THE GABLE
POSITION
DESIGNATION
DIMENSION
(inch)
QUANTITY
14
Double door
69.88 x 25.98
1 + 1
15
Top wall-boards
156.69 x 4.33 x 1.1
2
16
Gable
116.18 x 16.02 x 1.1
2
After having built the frame, you can position the double door (part no. 14) in the
space created. Now, you can fasten the frame of the double door into front wall boards
with eight 0.15x1.96 inch screws, 4 at each side.
Top wall-boards (part no. 15) fix to the crossing of wall boards with 0.19x2.75 inch
screws.
Mounting prefabricated gables (part no. 16) above top wall-boards.

SOLID BUILD GARDEN SHED –ASPEN –12x10 (1 1/8')"
8
ASSEMBLING ROOF BEAMS
Fixing of protective wind studs
Pick. 1
Fix the protective wind
studs to the gable with
0.23x2.3 inch screw in
the middle of groove
Pick. 2
Fix the protective wind
studs to the lower wall-
board with a 0.15x1.5 inch
screw.
POSITION
DESIGNATION
DIMENSION
(inch)
QUANTITY
17
Central beam
156.69 x 5.51 x 1.73
1
18
Beam
156.69 x 5.51 x 1.73
2
19
Protective wind studs
84.25 x 1.57 x 0.62
4
When the gable is well positioned, the beams (part no. 17 and 18) can be put into
place. Please fix them to the gable with 0.19x2.75 inch screws.
Strengthen the construction with the protective wind studs (part no. 19) as shown in
the picture 1 and 2.

SOLID BUILD GARDEN SHED –ASPEN –12x10 (1 1/8')"
9
INSTALLING THE ROOF BOARD
POSITION
DESIGNATION
DIMENSION
(inch)
QUANTITY
20
Roof board
62.59 x 3.34 x 0.7
94 + (2*)
Before installing the roofing, ensure that walls are quite right and nail roof boards
(part no. 20) from face side to the back side. If needed, cut the last roof board to due
width.
Attention! If you are assembling your shed during prolonged dry weather conditions,
it is recommended to leave a gap of about 1/16 inch between each roof board, thus
allowing wood to take its normal position in wet period.

SOLID BUILD GARDEN SHED –ASPEN –12x10 (1 1/8')"
10
INSTALLING FASCIA
POSITION
DESIGNATION
DIMENSION
(inch)
QUANTITY
21
Fascia
64.17 x 3.54 x 0.74
4
21a
Top fascia
62.59 x 3.54 x 0.74
4
22
Roof decoration
8.66 x 3.93 x 0.74
2
23
Roof end boards
58.26 x 1.57 x 0.63
4
After installing the chosen roofing, fix fascia (part no. 21) to the sides of roofing and
decoration (part no. 22) with screws as shown in the image above. Roof end boards
(part no. 23) should be fixed to ends of roof boards to the bottom side.

SOLID BUILD GARDEN SHED –ASPEN –12x10 (1 1/8')"
11
LIST OF ALL PARTS OF THE GARDEN SHED
POSITI
ON
DESIGNATION
DIMENSION (inch)
QUANTITY
1
Nicked lower starter front wall-board
149.60 x 2.16 x 1.1
1
2
Lower back wall-board
149.60 x 2.16 x 1.1
1
3
Side wall-board
116.53 x 4.33 x 1.1
30 + (1*)
4
Front wall-board
72.04 x 4.33 x 1.1
9
5
Short front wall-board
21.65 x 4.33 x 1.1
25
6
Intermediate front wall-board
22.24 x 4.33 x 1.1
8
7
Short side wall- board
31.49 x 4.33 x 1.1
16
8
Back wall- board
149.60 x 4.33 x 1.1
18 + (1*)
9
Window
36.81 x 30.31
1
10
Double window
36.81 x 55.51
1
11
Lower strip of double door (horizontal)
55.51 x 2.95 x 2.51
1
12
Side strip of double door (vertical)
75.19 x 3.54 x 2.51
2
13
Top strip of double door (horizontal)
55.51 x 3.54 x 2.51
1
14
Double door
69.88 x 25.98
1 + 1
15
Top wall-boards
156.69 x 4.33 x 1.1
2
16
Gable
116.18 x 16.02 x 1.1
2
17
Central beam
156.69 x 5.51 x 1.73
1
18
Beam
156.69 x 5.51 x 1.73
2
19
Protective wind studs
84.25 x 1.57 x 0.62
4
20
Roof board
62.59 x 3.34 x 0.7
94 + (2*)
21
Fascia
64.17 x 3.54 x 0.74
4
21a
Top fascia
62.59 x 3.54 x 0.74
4
22
Roof decoration
8.66 x 3.93 x 0.74
2
23
Roof end boards
58.26 x 1.57 x 0.63
4
BOLTS
SCREWS
NAILS
4 units
Protective wind
studs
(Ø 0.23x2.3inch)
(Ø 6x60mm)
20 units
Roof decoration, fascia,
protective wind stud
(Ø 0.15x1.5 inch)
(Ø 4x40mm)
300 units
Roof board
(Ø 0.08x1.57
inch)
(Ø 2 x 40mm)
4 units
Protective wind
studs
(Ø M6)
30 units
Finish door and window
(Ø 0.15x1.96 inch)
(Ø 4x50mm)
8 units
Protective wind
studs
(Ø M6)
10 units
Top wall-board, beam
(Ø 0.19x2.75 inch)
(Ø 5x70mm)
32 units
Roof and boards, top fascia
(Ø 0.12x1.2 inch)
(Ø 3x30mm)
8 units
Strips of double door
(Ø 0.19x3.54inch)
(Ø 5x90mm)
*The number in brackets shows the number of existing spare details.
Other manuals for ASPEN
1
Other Solid Build Garden House manuals
Popular Garden House manuals by other brands

total sheds
total sheds Pent Play House 8x4ft Assembly manual

Palmako
Palmako PM70-8252 installation manual

Mercia Garden Products
Mercia Garden Products 0634AXNE0503HGDD2MW-V1 manual

OLT
OLT CB128-AK-METAL Assembly manual

Eden
Eden 6 Series Assembly instructions

Lemeks
Lemeks 108586 Assembly, installation and maintenance manual