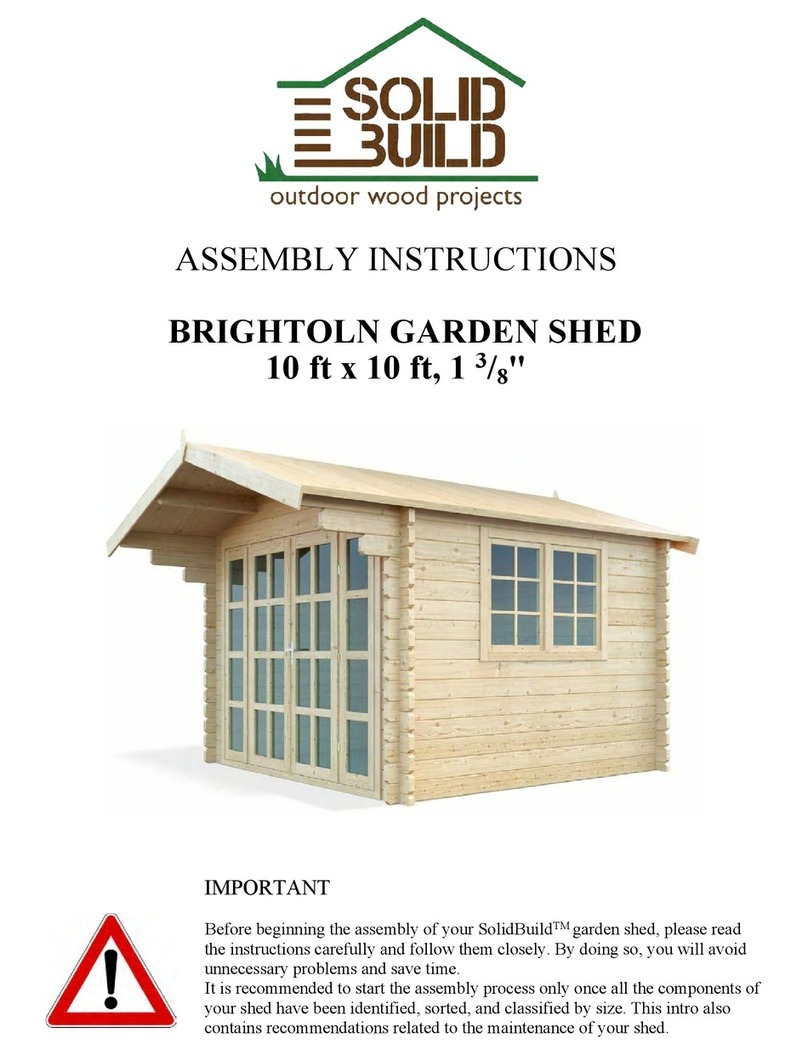
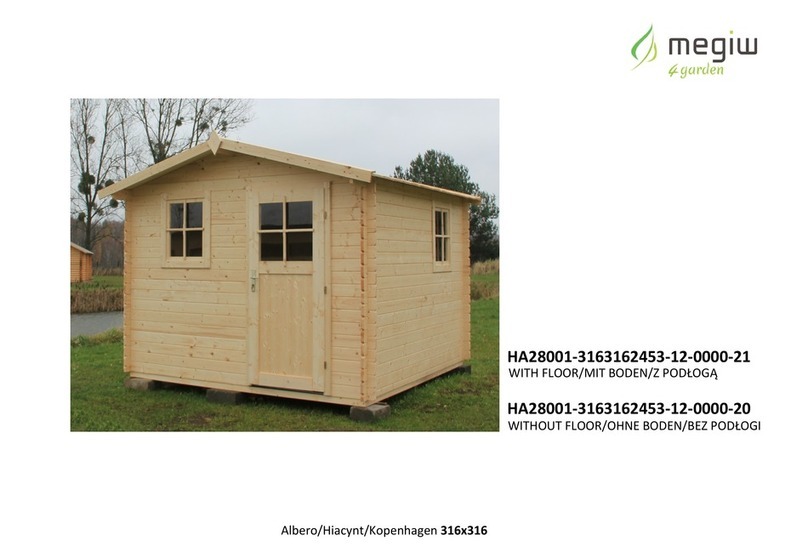
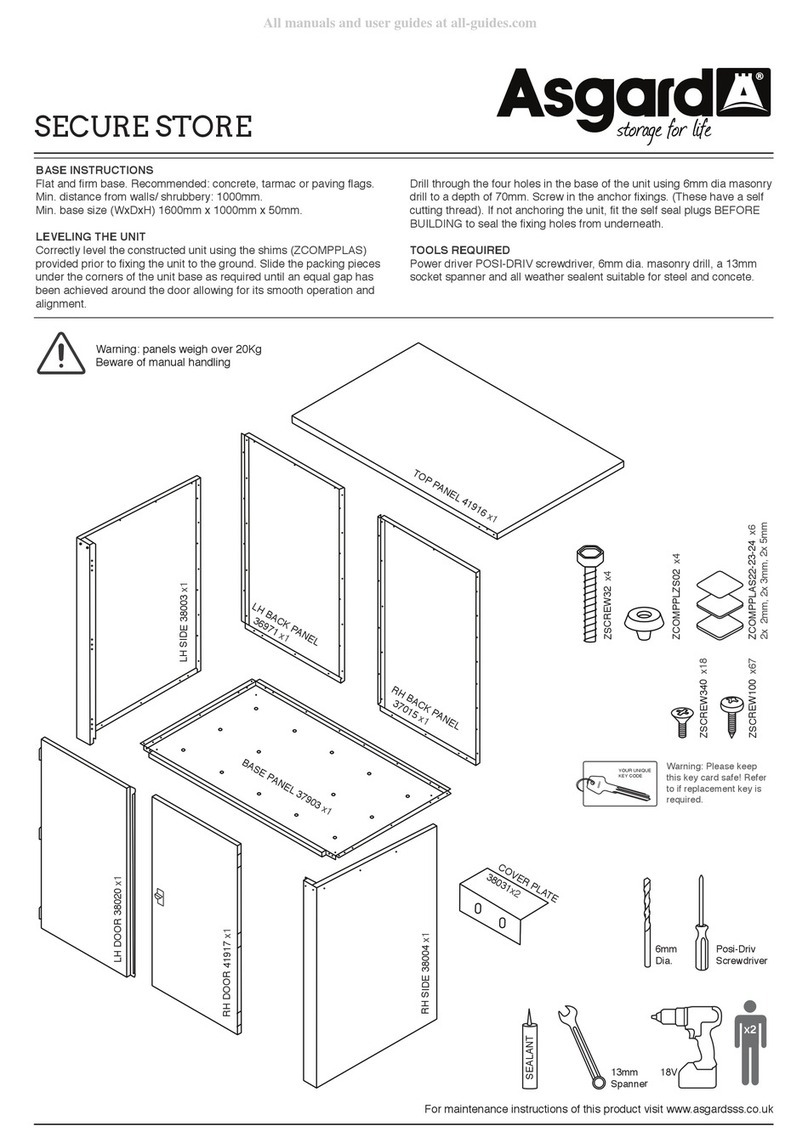
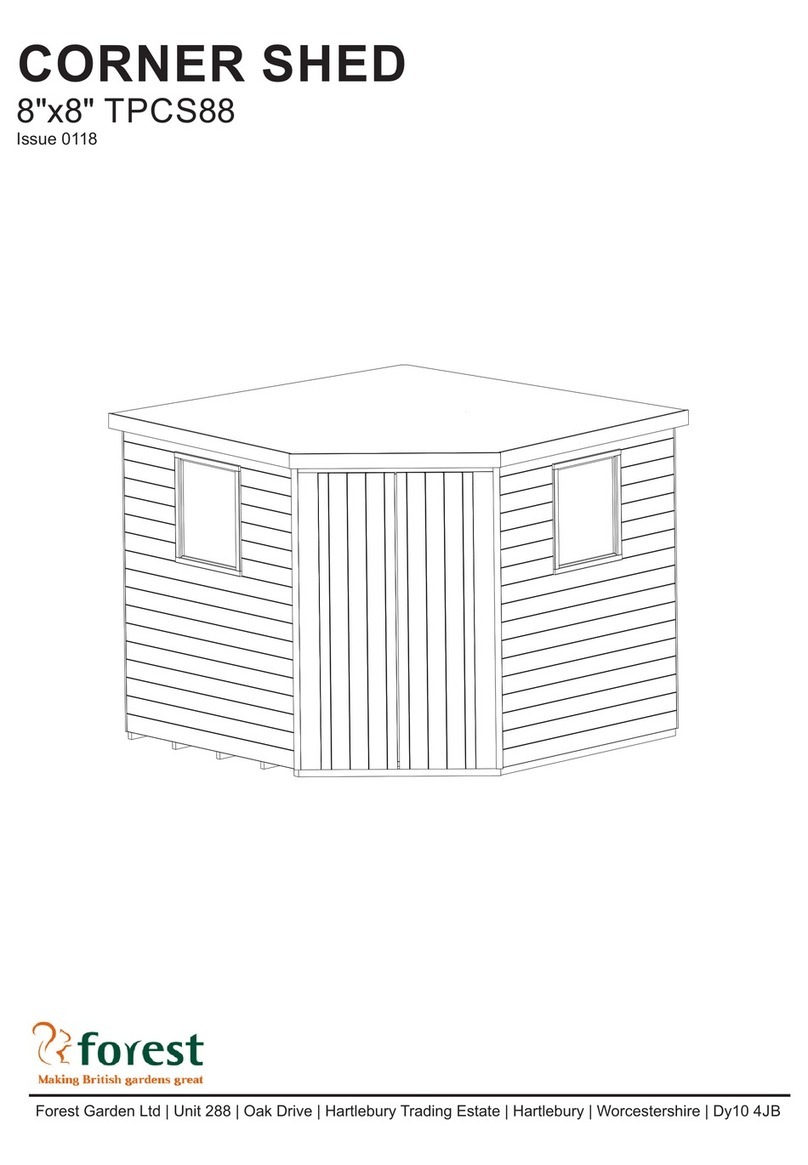
Solid Build NORWICH User manual

ASSEMBLY INSTRUCTIONS
GARDEN SHED – NORWICH –
Dimensions: 10x10 (3/4")
IMPORTANT
Before beginning the assembly of your gar en she , please rea the instructions
carefully an follow them closely. By oing so you will avoi unnecessary problems
an save time. It is recommen e to start the assembly process only once all the
components of your she i entifie have been i entifie , analyze an classifie . This
notice also contains recommen ations relate to maintenance of your she .

What you need to know prior to assembly
Characteristics of wood Woo has a set of specific characteristics that are
natural an inherent to it. Those characteristics inclu e colour, ensity an the extent
to which it is affecte by humi ity.
Longitu inal cut, in most cases, will reveal a nice, ecorative an often very
appreciable look, which is calle a texture.
It shoul be a e that woo has a specific smell, given by attars, resins an
fermente substances, while freshly cut woo has a more pleasant scent. A very
important attribute of timber is the ease with which it absorbs humi ity.
When timber ries, it shrinks. Similarly, when timber absorbs humi ity, it
increases in volume.
Downsides One of the ownsi es of timber is that it chaps an warps. When
timber ries, the moisture firstly evaporates from the surface an outer layers an only
then from the insi e layers. Thus, when the outer layers start shrinking, the insi e
layers, ue to stronger moisture, oppose to shrinking. Firstly the surface starts
chapping, then the insi e layers. When timber ries it can get a longitu inal warp or a
cross warp. A longitu inal warp is when the rying straight balk ben s, a flat plank
twists an gets the form of the propeller. Woo has a set of specific technological
characteristics. It easily splits along the fibre nicely hol ing metal fastenings; it can
flex easily an is not very sensitive to epreciation. Screws hol timber extremely
well. Screws have a much better grip with timber than nails.
Taints: branchy timber, cracks, abnormal structure, infractions ma e by fungus
or parasites. As timber is of biological origin, it is so varie that terms “normal
timber” an “abnormal timber” are not strictly efine . Within the variety of sawn
woo an sawn timber some taints ue to fungus may occur: moul , brownness.

Moul funguses generally o not affect physical an mechanical characteristics of
timber.
When timber is affecte by biological (fungus), physical (environmental
temperature an humi ity) an chemical factors, it ecomposes.
Timber may last a long time, but fluctuations in humi ity an temperature of
the environment re uces its longevity. A variety of cracks may emerge, which will
then both amage the integrity of timber an will facilitate infection with (an rapi
evelopment of) fungus. Generally speaking, the ol er the woo , the better the
urability of its lumber.
The most effective way to protect woo from insects an ecay is to soak it
with substances which are toxic to fungus an insects.
Protection. Assembling the she shoul be carrie out in ry weather
con itions. If rain shoul start uring the assembly process, woo shoul be covere .
Once you have erecte the she , finish with a coat of paint or appropriate treatment.
Foundation Before erecting the she it is important to make a firm an plain
foun ation, i eally using concrete, concrete slabs or concrete blocs. It is very
important to have the foun ation corners at right angles an completely level. As long
as there remain any spaces in the wall between win ows an oors, water can get into
the she .

ATTENTION: You will fin boar s for hammering the wall-boar s in the
package. Do not hit the wall boar using only the hammer. Please follow the
instruction in the picture above or use a rubber hammer.

SOLID BUILD GARDEN SHED – NORWICH – 10x10 (3/4")
PREPARATION OF ASSEMBLY
POSITION DESIGNATION DIMENSION (inch) QUANTITY
1 Nicke lower starter front
wall-boar
116.53 x 2.16 x 0.74 1
2 Lower back wall-boar 116.53 x 2.16 x 0.74 1
3 Si e wall-boar 116.53 x 4.33 x 0.74 30
4 Long back wall-boar 116.53 x 4.33 x 0.74 2
5 Profile ‘H’ 60.07 x 3.54 x 2.24 1
To form the core framework begin with a nicked lower starter front wall-board
(part no. 1), a lower back wall-board (part no. 2) an side wall-boards (part no. 3)
ensuring the lock of corners an positioning the groove of a wall-boar s to the bottom
an the tongue to the top.
Place a long back wall-board (part no. 4) an profile ‘H’ (part no. 5) on the back.
5

SOLID BUILD GARDEN SHED – NORWICH – 10x10 (3/4")
ASSEMBLY OF WALLS
POSITION DESIGNATION DIMENSION
(inch)
QUANTITY
6 Front wall-boar 27.75 x 4.33 x 0.74 30
7 Back wall-boar 57.28 x 4.33 x 0.74 26
Continue with si e wall-boar s (part no. 3), front wall-boards (part no. 6), back
wall-boards (part no. 7) an long back wall-boar (part no. 4) till the 15th level of si e
walls.
6

SOLID BUILD GARDEN SHED – NORWICH – 10x10 (3/4")
FINISHING OF WALLS
POSITIO
N
DESIGNATION DIMENSION (inch) QUANTITY
8 Top wall-boar s 124.4 x 4.33 x 0.74 2
9 Si e strip of ouble oor
(vertical)
67.71 x 2.95 x 2.28 2
10 Top strip of ouble oor
(horizontal)
60.82 x 2.95 x 2.28 1
11 Double oor 64.17 x 28.93 1 + 1
Continue mounting walls with top wall-boards (part no. 8). Fix them to the crossing
of wall boar s with 0.19x2.75 inch screws.
When the walls are finishe you can put in the double door (part no. 11). Firstly buil
the frame for the ouble oor ma e from the side strip of the door (part no. 9) an
the top strip of the door (part no. 10). Fit the oor into the space create an fasten
this frame into si e wall boar s with eight 0.15x1.96 inch screws, 4 at each si e.
7

SOLID BUILD GARDEN SHED – NORWICH – 10x10 (3/4")
ASSEMBLING GABLE AND ROOF BEAMS
Fixing of protective wind studs
Pick 1
Fix the protective win
stu s to the gable with
0.23x2.3 inch screw in
the mi le of groove
Pick 2
Fix the protective win
stu s to the lower wall-
boar with a 0.15x1.5 inch
screw.
POSITION DESIGNATION DIMENSION (inch) QUANTITY
12 Gable 116.18 x 17.32 x 0.74 2
13 Beam 124.4 x 5.51 x 1.73 2
14 Central beam 124.4 x 5.51 x 1.73 1
15 Protective win stu s 69.68 x 1.57 x 0.62 4
Now, you can position the prefabricate gables (part no. 12) above top wall-boar s.
When the gable is well positione , the beams (part no. 13 an 14) can be put into
place. Please fix them to the gable with 0.19x2.75 inch screws.
Strengthen the construction with the protective wind studs (part no. 15) as shown in
the picture 1 an 2.
8

SOLID BUILD GARDEN SHED – NORWICH – 10x10 (3/4")
INSTALLING FASCIA
POSITION DESIGNATION DIMENSION (inch) QUANTITY
16 Fascia 63.77 x 3.54 x 0.74 4
17 Top fascia 63.77 x 3.54 x 0.74 4
18 Roof ecoration 8.66 x 3.93 x 0.74 2
19 Roof en boar s 62.2x 1.57 x 0.63 4
After installing the chosen roofing, fix fascia (part no. 15 an 16) to the si es of
roofing an decoration (part no. 17) with screws as shown in the image above. Roof
end boards (part no. 18) shoul be fixe to en s of roof boar s to the bottom si e.
We hope you are going to enjoy the assembly of your gar en she an wish you a
pleasant work experience.
9

SOLID BUILD GARDEN SHED – NORWICH – 10x10 (3/4")
LIST OF ALL PARTS OF THE GARDEN SHED
POSIT
ION
DESIGNATION DIMENSION (inch) QUANTITY
1 Nicke lower starter front wall-
boar
116.53 x 2.16 x 0.74 1
2 Lower back wall-boar 116.53 x 2.16 x 0.74 1
3 Si e wall-boar 116.53 x 4.33 x 0.74 30
4 Long back wall-boar 116.53 x 4.33 x 0.74 2
5 Profile ‘H’ 60.07 x 3.54 x 2.24 1
6 Front wall-boar 27.75 x 4.33 x 0.74 30
7 Back wall-boar 57.28 x 4.33 x 0.74 26
8 Top wall-boar s 124.4 x 4.33 x 0.74 2
9 Si e strip of ouble oor (vertical) 67.71 x 2.95 x 2.28 2
10 Top strip of ouble oor (horizontal) 60.82 x 2.95 x 2.28 1
11 Double oor 64.17 x 28.93 1 + 1
12 Gable 116.18 x 17.32 x 0.74 2
13 Beam 124.4 x 5.51 x 1.73 2
14 Central beam 124.4 x 5.51 x 1.73 1
15 Protective win stu s 69.68 x 1.57 x 0.62 4
16 Fascia 63.77 x 3.54 x 0.74 4
17 Top fascia 63.77 x 3.54 x 0.74 4
18 Roof ecoration 8.66 x 3.93 x 0.74 2
19 Roof en boar s 62.2x 1.57 x 0.63 4
BOLTS SCREWS
4 units
Protective win stu s
(Ø 0.23x2.3 inch)
(Ø 6x60mm) 24 units
Roof ecoration, fascia,
protective win stu
Profile H
(Ø 0.15x1.5 inch)
(Ø 4x40mm)
5 units
Protective win stu s,
profile H
(Ø M6) 10 units
Top wall-boar , beam
(Ø 0.19x2.75 inch)
(Ø 5x70mm)
10 units
Protective win stu s,
profile H
(Ø M6) 32 units
Top fascia, roof an
boar s
(Ø 0.12x1.2 inch)
(Ø 3x30mm)
1 unit
Profile H
(Ø 0.23x2.75 inch)
(Ø 6x70 mm) 10 units
Finish oor
(Ø 0.15x1.96inch)
(Ø 4x50mm)
1
Table of contents
Other Solid Build Garden House manuals
Popular Garden House manuals by other brands
Forest garden
Forest garden Overlap Apex Shed 6 x 4 manual

OLT
OLT SM812-FJ-Cedar Assembly manual

Mercia Garden Products
Mercia Garden Products OIDTOVRA1006SDFW-V1 manual

Forest garden
Forest garden OPR86 quick start guide
Sentry Buildings
Sentry Buildings The Jefferson Assembly Book
Werth-Holz
Werth-Holz 71099 Assembly

Palmako
Palmako FR44-4738 installation manual

Mercia Garden Products
Mercia Garden Products 01OVLPP0705SDFW-V1 manual

Lemeks
Lemeks Palmako PA44-3535 Assembly, installation and maintenance manual
gardenas
gardenas 8101EXT manual
Mercia Garden Products
Mercia Garden Products 0628RASH0302FBSDNW-V1 manual

Luoman
Luoman Lillevilla Iisvesi Assembly and Maintenance
