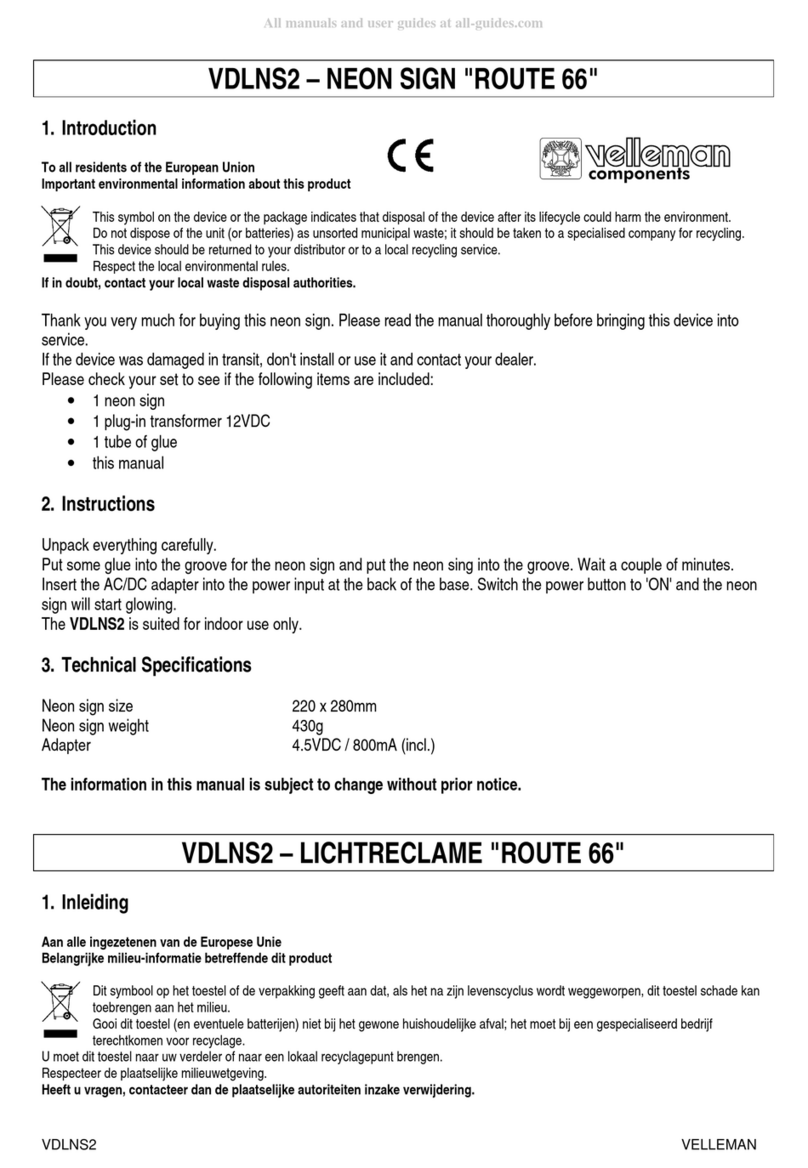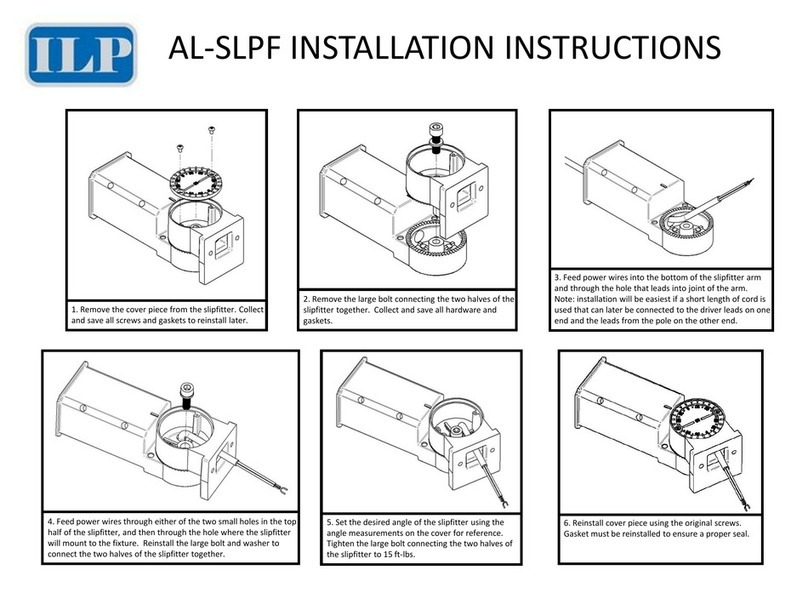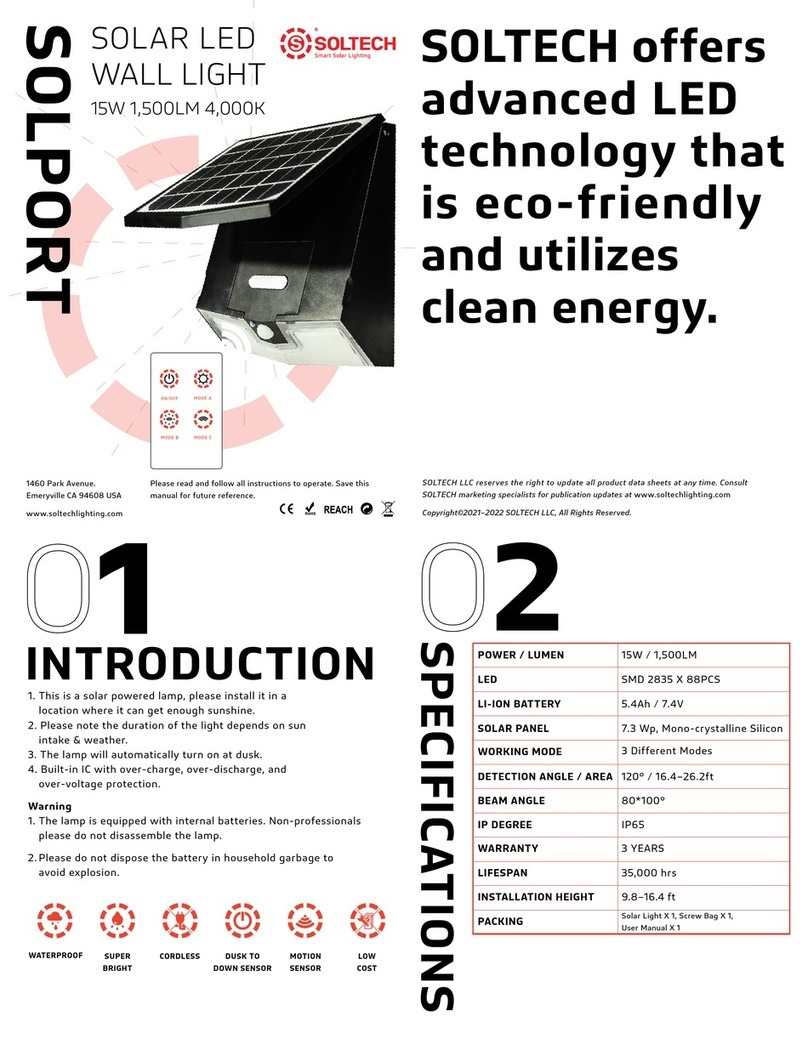
INSTALLATION
03
04
1. Remove the mounting plate from the lamp
• Remove the screws on the side of the
mounting plate.
• Slide the mounting plate down to remove
from lamp.
2. Fix the mounting plate on the wall
• Put the mounting plate on the wall and
mark 5 hole positions.
• Drill 5 holes of 8mm with depth 60–65mm
on the wall.
• Fix expansion plugs into the holes.
• Fix the mounting plate to the wall with screws
using a screwdriver.
3. Fix lamp onto the mounting plate
• Position the lamp on the mounting plate then
slide down to fasten.
• Tighten the screws on the side of the
mounting plate to secure.
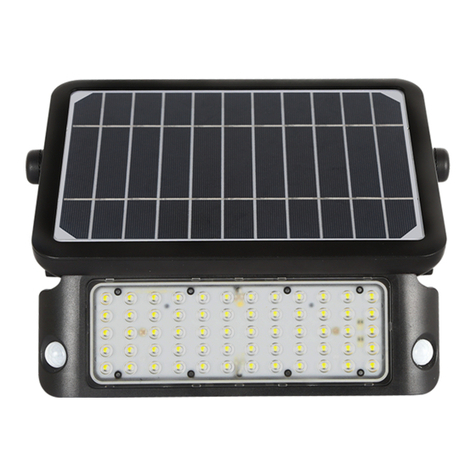
4.Adjust solar panel angle and program
operating mode
• Loosen the screws on both sides of the lamp
• Adjust the solar panel to the appropriate
angle then tighten the screws on both sides
of the lamp
• Press the Power Button to activate the lamp
& the remote control.
Expansion
Plug X 5
Mounting
Plate X 1
Screws X 5 Side
Screw X 1
8mm
When you switch to a different operating mode,
the lamp will flash one time to indicate that the
operating mode has been changed successfully
ON/OFF button with memory of the operating
mode before it was turned off.
OPERATING
MODES
MODE A
Automatically turns on at dusk and remains
at a constant 50% brightness (motion sensor
disabled). After 5 hours or when battery capacity
is below 30%, it will turn to Mode C.
MODE B
Main light automatically turns on to full brightness
(700LM) when motion is detected in the range of
26.2 ft (bottom wall washing light is off). After
20 seconds of no motion, main light turns off and
the bottom wall washing light
automatically turns on.
MODE C
Main light automatically turns on to full bright-
ness (700LM) when motion is detected in the
range of 26.2 ft (bottom wall washing light is
off). After 20 seconds of no motion, the whole
light turns off.
0°PANEL ANGLE 15° 30° 45° 75°
Power Button
Please press the power button on the lamp to
activate the lamp and remote control.
IR Remote Control
Control
Distance:≤ 39.4ft
120° 120°
120° 120°
