manuals.online logo
Brands
  1. Home
  2. •
  3. Brands
  4. •
  5. SOMFY
  6. •
  7. Garage Door Opener
  8. •
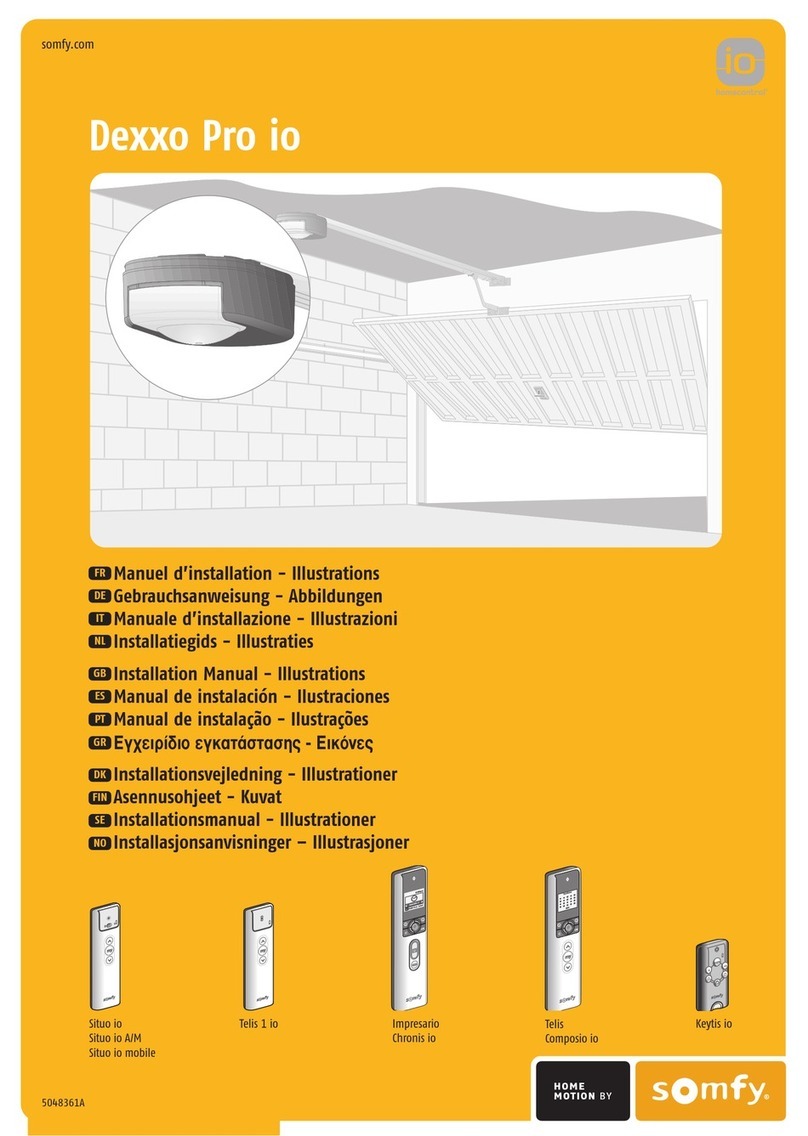
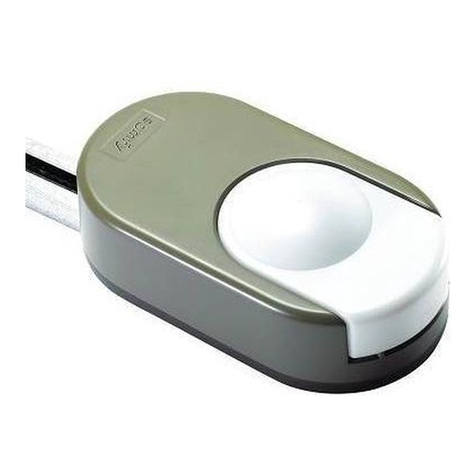
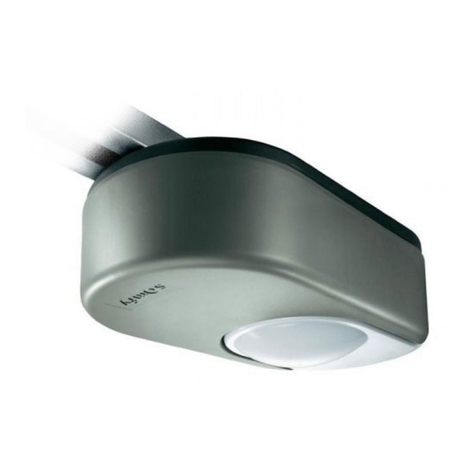
  9. SOMFY Dexxo Series User manual

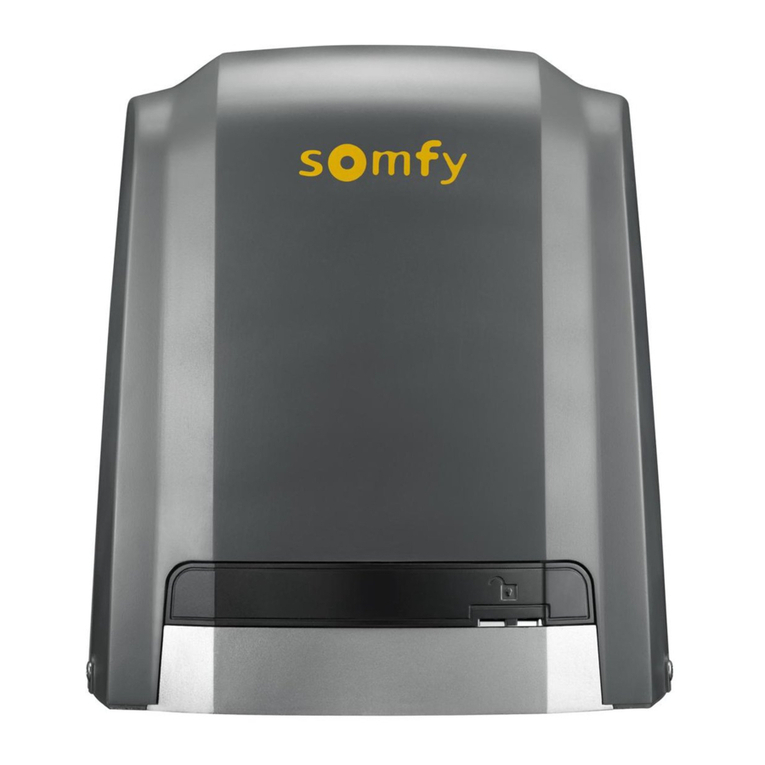
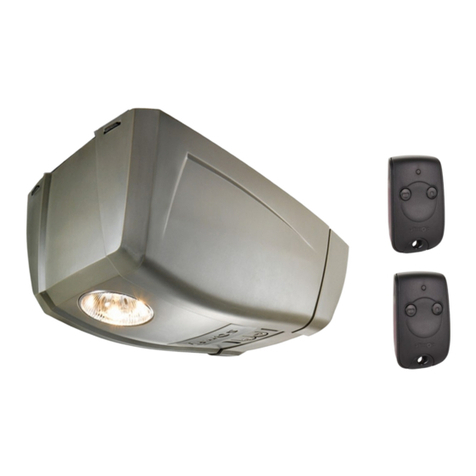
SOMFY Dexxo Series User manual

Quick Commissioning Guide
Dexxo
Page 2 Page 3
CONTENTS
Dexxo installation ....................................................................................................................Page 3
Dexxo Pre-power up adjustments and checks ..............................................................Page 4
Dexxo Pro RTS .................. .......................................................................................................Page 5
Dexxo Optimo RTS ..................................................................................................................Page 6
Dexxo Compact ........................................................................................................................Page 7
- Please be advised this is a quick ‘commissioning’ guide, for installation. Please refer to the
install guide and install diagrams supplied with every motor.
- For perimeter adjustion adding products, locking out the panel, battery install please refer to
installation guides.
- Can my door be motorised? As a guide rule a door needs to close manually one hand prior
to motorisation. Apposing forces need alternative solutions.
- It is advised the user manual be left with the consumer/end user.
Needs to open manually before moterising.
Pre installation and commissioning checks
Pre head fixing - ensure that the shuttle (built into the chain belt) is positioned so
the carrage (built into the manual release) can connect to the elbow/arm freely.
This is to ensure the shuttle is positioned to engage/disengage with the carrage.
!
Failure to do so may force the shuttle in to the carrousel at each end of the
raic causing damage.
Caution-buttons could be sequential.
Carrage
Door
Shuttle
Elbow
!
!
Page 4 Page 5
Dexxo Pre-power up adjustments and checks
90°
P
0
P
0P
1
+
S
ET
P
R
OG
-
P1
P0
P
0P1
+
S
E
T
PR
OG
-
P
1
P
0
P
0P
1
+
S
E
T
PR
OG
-
P
1
90°
P
0
P
0P
1
+
S
ET
P
R
OG
-
P1
P0
P
0P1
+
S
E
T
PR
OG
-
P
1
P
0
P
0P
1
+
S
E
T
PR
OG
-
P
1
Positioning 1 and securing the open limit stop
Power up On power up
Programming, description of the programming buttons
Chain and belt rail tension
Slot the adjustable
limit travel stop into
the rail and turn it
90°.
Slide the limit travel
stop on the rail until
it meets with the
carriage.
Tighten (but not
over-tighten) the
securing bolt to
fix the limit stop in
place.
Release the trolley from the
runner using the manual
release pulley and move the
door to the open position.
LCD screen
displays ‘S1’
The
indicator
flashes
Secure the light bulb
into position.
Connect the 230Vac
mains supply and
refit the cover.
!
90°
P
0
P
0P
1
+
S
ET
P
R
OG
-
P1
P0
P
0P1
+
S
E
T
PR
OG
-
P
1
P
0
P
0P
1
+
S
E
T
PR
OG
-
P
1
!ATTENTION! - Dexxo chain and belt rails are supplied pre-tensioned.
Please check the tension and only adjust if necessary.
90°
P
0
P
0P
1
+
S
ET
P
R
OG
-
P1
P0
P
0P1
+
S
E
T
PR
OG
-
P
1
P
0
P
0P
1
+
S
E
T
PR
OG
-
P
1
Dexxo Pro
Dexxo Optimo
A B indicator light key
off
flashing
Mains on B flashes twice continually.
Dexxo Pro RTS 800 & 1000
Dexxo Pro RTS control panel
SET button
Start programming functions and reset the system
LCD display providing visual feedback
Move up through parameter values
Start learning cycle & confirm settings
Program and delete controls
Modify parameter values and operate the rail drive
Move down through parameter values
System prepartion and self learn cycle
Programming remote controls
CLACK !
CLACK !
A
A
Engage the carriage by pressing either the ‘-’ or ‘+’ buttons
until the chain/belt shuttle links with the carriage. Operate the
door until it reaches the closed position. ATTENTION! - do not
apply excess force during this procedure.
Press the ‘SET’ button until
the Dexxo light comes on.
‘S2’ is displayed.
CLACK !
CLACK !
B
With the door in the closed position, press the ‘OK’ button to start the self-learn cycle. The door runs
through a complete open/close cycle and the LCD screen displays ‘C1’.
CLACK !
CLACK !
Press and hold the ‘PROG’
button until the Dexxo light
comes on.
Press the desired button
on the remote control.
The light flashes for
5 seconds confirming the
control is recorded.
5s
Page 6 Page 7
Dexxo Optimo RTS 800
Dexxo Pro RTS control panel
Program and delete controls
Operation indicator
Self-learning indicator
Modify parameter values and operate the rail drive
Start programming functions and reset the system
PO parameter indicator
P1 parameter indicator
System prepartion and self learn cycle
Programming remote controls
CLACK !
CLACK !
A
A
Engage the carriage by pressing either the ‘-’ or ‘+’ buttons
until the chain/belt shuttle links with the carriage. Operate the
door until it reaches the closed position. ATTENTION! - do not
apply excess force during this procedure.
Press the ‘SET’ button until
the Dexxo light comes on.
The indicator flashes.
CLACK !
CLACK !
B
With the door in the closed position, press the ‘SET’ button to start the self-learn cycle. The door
runs through a complete open/close cycle - the indicator goes out and the indicator stays on.
CLACK !
CLACK !
=
Press and hold the ‘PROG’
button until the Dexxo light
comes on.
Press the desired button
on the remote control.
The light flashes for
5 seconds confirming the
control is recorded.
5s
=
=
CLACK !
CLACK !
Dexxo Compact 600
Description of the programming buttons
System prepartion and self learn cycle
Programming remote controls
A B Warning light legend
off
flashing
Mains on B flashes twice continually
CLACK !
CLACK !
A
A
B
SEQ
=
The light flashes for
5 seconds confirming the
control is recorded.
5s
=
=
Auto-programming
A Control the motor with button “A” so that the transmission shuttle is engaged on the carriage and bring the door to the closed
position:
- Keep pressing button “A” to cause the shuttle to move.
- Release the button to stop the movement.
- Press button “A” again to trigger movement in the opposite direction.
Release button “A” before forcing the motor on the door.
B Adjust the closed position using button “A”.
Release button “A” before forcing the motor on the door.
C Press “B” to launch the auto-programming cycle.
The door performs a complete Opening-Closing cycle.
- If the auto-programming is correct, warning light B goes out.
- If the auto-programming cycle was not successful, warning light B continues to flash (2 flashes).
During auto-programming:
- If the door is moving, the movement is stopped and auto-programming is interrupted if any of the buttons are pressed.
It is possible to access auto-programming mode at any moment including when the auto-programming cycle has already
been completed.
Press and hold the
‘B’ button until the Dexxo
light comes on.
Press the desired button
on the remote control.
CLACK !
CLACK !
SOM112 – Copyright © 2018 Somfy – Dexxo Quick Guide BtoB - Guide v01.04-18
Somfy Ltd
Unit 7, Lancaster Way
Airport West
Yeadon Leeds
West Yorkshire
LS19 7ZA
0113 391 3030
[email protected]
www.somfy.co.uk

This manual suits for next models

4

Other SOMFY Garage Door Opener manuals

SOMFY Dexxo Pro 800 RTS User manual

SOMFY

SOMFY Dexxo Pro 800 RTS User manual

SOMFY AXORN 65 User manual

SOMFY

SOMFY AXORN 65 User manual

SOMFY GDK User manual

SOMFY

SOMFY GDK User manual

SOMFY DEXXO SMART io User manual

SOMFY

SOMFY DEXXO SMART io User manual

SOMFY Freevia 280 User manual

SOMFY

SOMFY Freevia 280 User manual

SOMFY Dexxo Compact RTS User manual

SOMFY

SOMFY Dexxo Compact RTS User manual

SOMFY DEXXO SMART io User manual

SOMFY

SOMFY DEXXO SMART io User manual

SOMFY axovia 400C User manual

SOMFY

SOMFY axovia 400C User manual

SOMFY Dexxo Pro io User manual

SOMFY

SOMFY Dexxo Pro io User manual

SOMFY Dexxo RTS Pro User manual

SOMFY

SOMFY Dexxo RTS Pro User manual

SOMFY Home motion Dexxo Pro io User manual

SOMFY

SOMFY Home motion Dexxo Pro io User manual

SOMFY Wisniowski Metro 800 io User manual

SOMFY

SOMFY Wisniowski Metro 800 io User manual

SOMFY Dexxo Pro io User manual

SOMFY

SOMFY Dexxo Pro io User manual

SOMFY GDK 700 Installation guide

SOMFY

SOMFY GDK 700 Installation guide

SOMFY Rollixo RTS User manual

SOMFY

SOMFY Rollixo RTS User manual

SOMFY DEXXO SMART io User manual

SOMFY

SOMFY DEXXO SMART io User manual

SOMFY GDK User manual

SOMFY

SOMFY GDK User manual

SOMFY KEASY L+ User manual

SOMFY

SOMFY KEASY L+ User manual

SOMFY Dexxo Compact RTS User manual

SOMFY

SOMFY Dexxo Compact RTS User manual

SOMFY Dexxo Optimo RTS User manual

SOMFY

SOMFY Dexxo Optimo RTS User manual

SOMFY Dexxo Optimo RTS User manual

SOMFY

SOMFY Dexxo Optimo RTS User manual

SOMFY Dexxo Pro 800 User manual

SOMFY

SOMFY Dexxo Pro 800 User manual

SOMFY GDO BATTERY KIT User manual

SOMFY

SOMFY GDO BATTERY KIT User manual

SOMFY Home motion Dexxo Pro io User manual

SOMFY

SOMFY Home motion Dexxo Pro io User manual

Popular Garage Door Opener manuals by other brands

CAME F4000 Series installation manual

CAME

CAME F4000 Series installation manual

Chamberlain HD520EVP manual

Chamberlain

Chamberlain HD520EVP manual

Craftsman 139.18867 owner's manual

Craftsman

Craftsman 139.18867 owner's manual

Chamberlain Whisper Drive Security+ HD900D owner's manual

Chamberlain

Chamberlain Whisper Drive Security+ HD900D owner's manual

Chamberlain 1265-267 owner's manual

Chamberlain

Chamberlain 1265-267 owner's manual

Chamberlain CG40 Series owner's manual

Chamberlain

Chamberlain CG40 Series owner's manual

Chamberlain Merlin MT5580 Installation and operation instructions

Chamberlain

Chamberlain Merlin MT5580 Installation and operation instructions

RADEMACHER Rolloport SX5 Operating and assembly manual

RADEMACHER

RADEMACHER Rolloport SX5 Operating and assembly manual

Aprimatic AT 50 Series Installation instruction

Aprimatic

Aprimatic AT 50 Series Installation instruction

Westfalia 82 63 73 instruction manual

Westfalia

Westfalia 82 63 73 instruction manual

Automatic Technology ATS Series instruction manual

Automatic Technology

Automatic Technology ATS Series instruction manual

Cardin Elettronica 311/GL124EBSS instruction manual

Cardin Elettronica

Cardin Elettronica 311/GL124EBSS instruction manual

ACDC RAPTOR Installation instructions and user guide

ACDC

ACDC RAPTOR Installation instructions and user guide

Assa Abloy SL300 user manual

Assa Abloy

Assa Abloy SL300 user manual

Rollerdor RD77 installation guide

Rollerdor

Rollerdor RD77 installation guide

Cumberland FLX-5363 Operation manual

Cumberland

Cumberland FLX-5363 Operation manual

Chamberlain ATS 211 owner's manual

Chamberlain

Chamberlain ATS 211 owner's manual

DTS 1000 installation manual

DTS

DTS 1000 installation manual

manuals.online logo
manuals.online logoBrands
  • About & Mission
  • Contact us
  • Privacy Policy
  • Terms and Conditions

Copyright 2025 Manuals.Online. All Rights Reserved.