6(E)
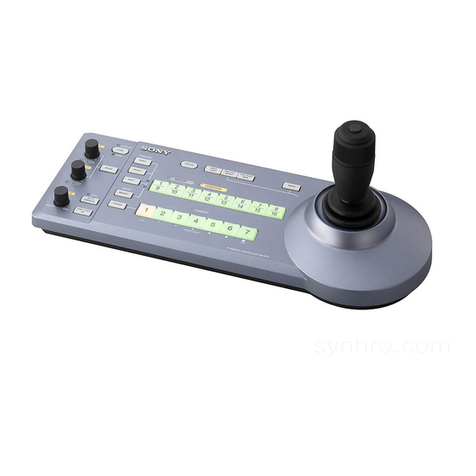
qa Menu operation block
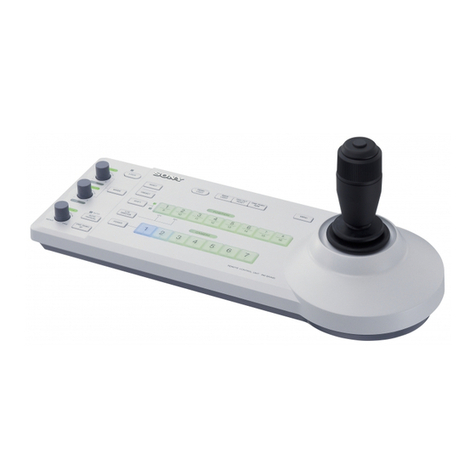
ARM menu select/camera menu set buttons
MONITOR: When this button is unlit, you can
select the menus of this unit using the other
buttons (RM Menu mode in which the functions
indicated with white letters for the buttons are
valid).
Press and light this button to display the video
signal (SDTV signal only) from the connected
camera on the LCD. When you selected “Control
Enable” for “VF Menu” with a menu operation,
pressing and lighting this button permits the
menus of the camera to be operated from this unit
(the functions indicated with blue letters for the
buttons and the leftmost control knob are valid).
FUNCTION/VF DISP (viewfinder display): The
Function menu of this unit appears on the LCD
when you press and light this button.
When you selected “Control Enable” for “VF
Menu” with a menu operation, the character
display of the camera is turned on when you press
and light this button with the MONITOR button
lit.
MAINTENANCE/VF MENU (viewfinder menu):
The Maintenance menu of this unit appears on the
LCD when you press and light this button.
When you selected “Control Enable” for “VF
Menu” with a menu operation, the unit enters
Camera Menu mode when you press and light this
button with the MONITOR button lit. The main
menu of the camera appears on the LCD.
SCENE/CANCEL: The Scene File menu of this unit
appears on the LCD when you press and light this
button.
When you selected “Control Enable” for “VF
Menu” with a menu operation, you can cancel the
setting of the camera menu item selected on the
LCD by pressing this button with the MONITOR
button lit.
PAINT/ENTER: The Paint menu of this unit appears
on the LCD when you press and light this button.
When you selected “Control Enable” for “VF
Menu” with a menu operation, you can register the
setting of the camera menu item selected on the
LCD by pressing this button with the MONITOR
button lit.
When none of the buttons are lit, the status display
(page 10(E)) is obtained.
For the items of each menu, see “Menu Items” on page 14(E).
For details on the camera menus, refer to the Operation
Manual or the System Manual for the camera.
BLCD/touch panel
Normally displays the statuses (see page 10(E)).
When you press and light the MONITOR button, it
displays the video signal from the connected camera
(SDTV signal only. HDTV signal will not be
displayed.).
In RM Menu or Camera Menu mode, the selected
menu is displayed to permit you to operate the menu.
CControl knobs (rotary encoders)
In RM Menu mode, adjust the selected items on the
touch panel.
In Camera Menu mode, select and adjust the menu
items using the leftmost knob.
When the video signal from a camera is displayed on
the LCD, you can adjust the following items:
With the second knob from the left, you can adjust the
brightness of the picture being monitored.
With the third knob from the left, you can adjust the
contrast of the picture being monitored.
With the rightmost knob, you can adjust the vertical
position of the viewfinder character displays and
images. This function is valid when FUNCTION/
VF DISP and MAINTENANCE/VF MENU are set
to ON and the position setting is stored in memory.
You can enable/disable this function using the
Maintenance menu.
(The brightness and contrast of the menu display are adjusted with
the Maintenance menu items.)
Locations and Functions of Parts
MONITOR
FUNCTION
VF DISP
MENU SELECT
MAINTENANCE
VF MENU
SCENE
CANCEL
PAINT
ENTER
BRIGHT CONTRAST
CControl knobs
ARM menu select/camera
menu set buttons BLCD/touch panel


