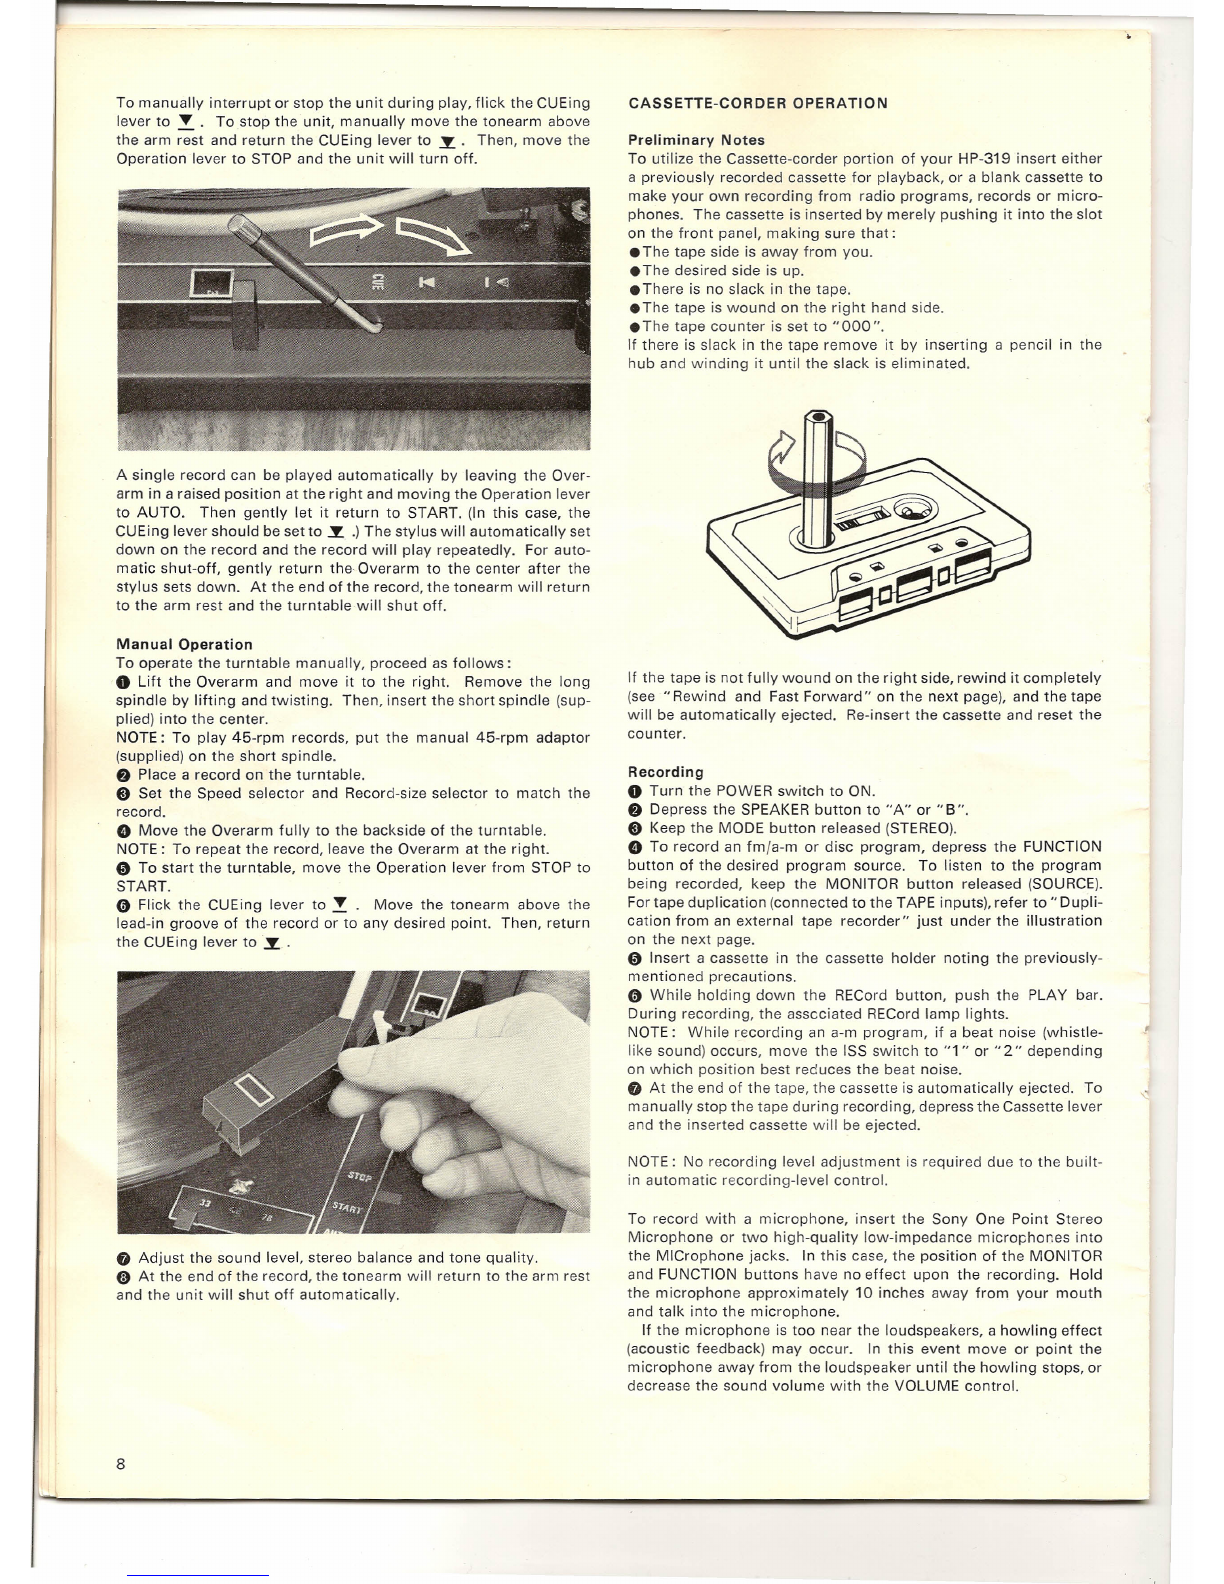
To manually interrupt or stop the unit during play, flick the CUEing
lever to
T .
To stop the unit, manually move the tonearm above
the arm rest and return the CUEing lever to ~. Then, move the
Operation lever to STOP and the unit will turn off.
A single record can be played automatically by leaving the Over-
arm in a raised position at the right and moving the Operation lever
to AUTO. Then gently let it return to START. (In this case, the
CUEing lever should be set to ~ .) The stylus will automatically set
down on the record and the record will play repeatedly. For auto-
matic shut-off, gently return the Overarm to the center after the
stylus sets down. At the end of the record, the tonearm will return
to the arm rest and the turntable will shut off.
Manual Operation
To operate the turntable manually, proceed as follows:
o
Lift the Overarm and move it to the right. Remove the long
spindle by lifting and twisting. Then, insert the short spindle (sup-
plied) into the center.
NOTE: To play 45-rpm records, put the manual 45-rpm adaptor
(supplied) on the short spindle.
f)
Place a record on the turntable.
e
Set the Speed selector and Record-size selector to match the
record.
o
Move the Overarm fully to the backside of the turntable.
NOTE: To repeat the record, leave the Overarm at the right.
o
To start the turntable, move the Operation lever from STOP to
START.
o
Flick the CUEing lever to
. :.
Move the tonearm above the
lead-in groove of the record or to any desired point. Then, return
the CUEing lever to .~ .
o
Adjust the sound level, stereo balance and tone quality.
o
At the end of the record, the tonearm will return to the arm rest
and the unit will shut off automatically.
8
CASSETTE-CORDER OPERATION
Preliminary Notes
To utilize the Cassette-corder portion of your HP-319 insert either
a previously recorded cassette for playback, or a blank cassette to
make your own recording from radio programs, records or micro-
phones. The cassette is inserted by merely pushing it into the slot
on the front panel, making sure that:
• The tape side is away from you.
• The desired side is up.
• There is no slack in the tape.
• The tape is wound on the right hand side.
• The tape counter is set to "000 ",
If there is slack in the tape remove it by inserting a pencil in the
hub and winding it until the slack is eliminated .
•
If the tape is not fully wound on the right side, rewind it completely
(see "Rewind and Fast Forward" on the next page), and the tape
will be automatically ejected. Re-insert the cassette and reset the
counter.
Recording
o
Turn the POWER switch to ON.
f)
Depress the SPEAKER button to "A" or "B".
e
Keep the MODE button released (STEREO).
o
To record an frnja-m or disc program, depress the FUNCTION
button of the desired program source. To listen to the program
being recorded, keep the MONITOR button released (SOURCE).
For tape duplication (connected to the TAPE inputs), refer to" Dupli-
cation from an external tape recorder" just under the illustration
on the next page.
o
Insert a cassette in the cassette holder noting the previously-
mentioned precautions.
o
While holding down the RECord button, push the PLAY bar.
During recording, the asscciated RECord lamp lights.
NOTE: While recording an a-m program, if a beat noise (whistle-
like sound) occurs, move the ISS switch to "1" or "2" depending
on which position best reduces the beat noise.
o
At the end of the tape, the cassette is automatically ejected. To
manually stop the tape during recording, depress the Cassette lever
and the inserted cassette will be ejected.
NOTE: No recording level adjustment is required due to the built-
in automatic recording-level control.
To record with a microphone, insert the Sony One Point Stereo
Microphone or two high-quality low-impedance microphones into
the MICrophone jacks. In this case, the position of the MONITOR
and FUNCTION buttons have no effect upon the recording. Hold
the microphone approximately 10 inches away from your mouth
and talk into the microphone.
If the microphone is too near the loudspeakers, a howling effect
(acoustic feedback) may occur. In this event move or point the
microphone away from the loudspeaker until the howling stops, or
decrease the sound volume with the VOLUME control.
..