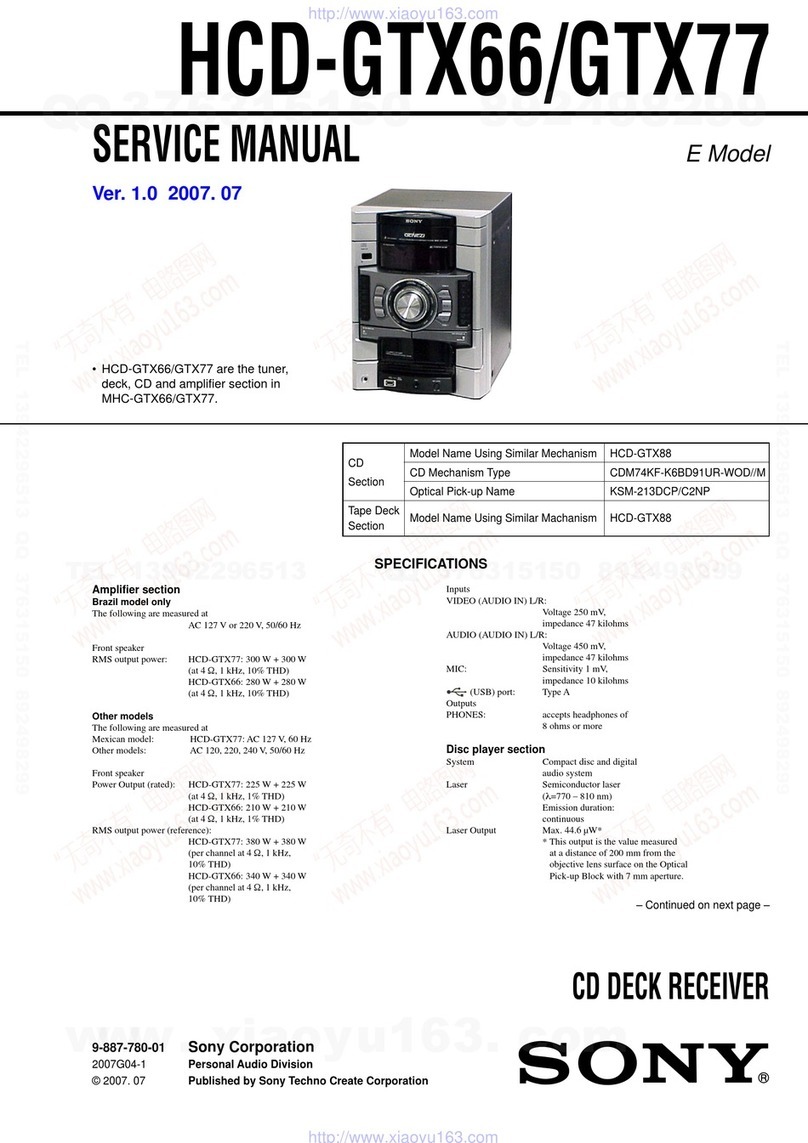
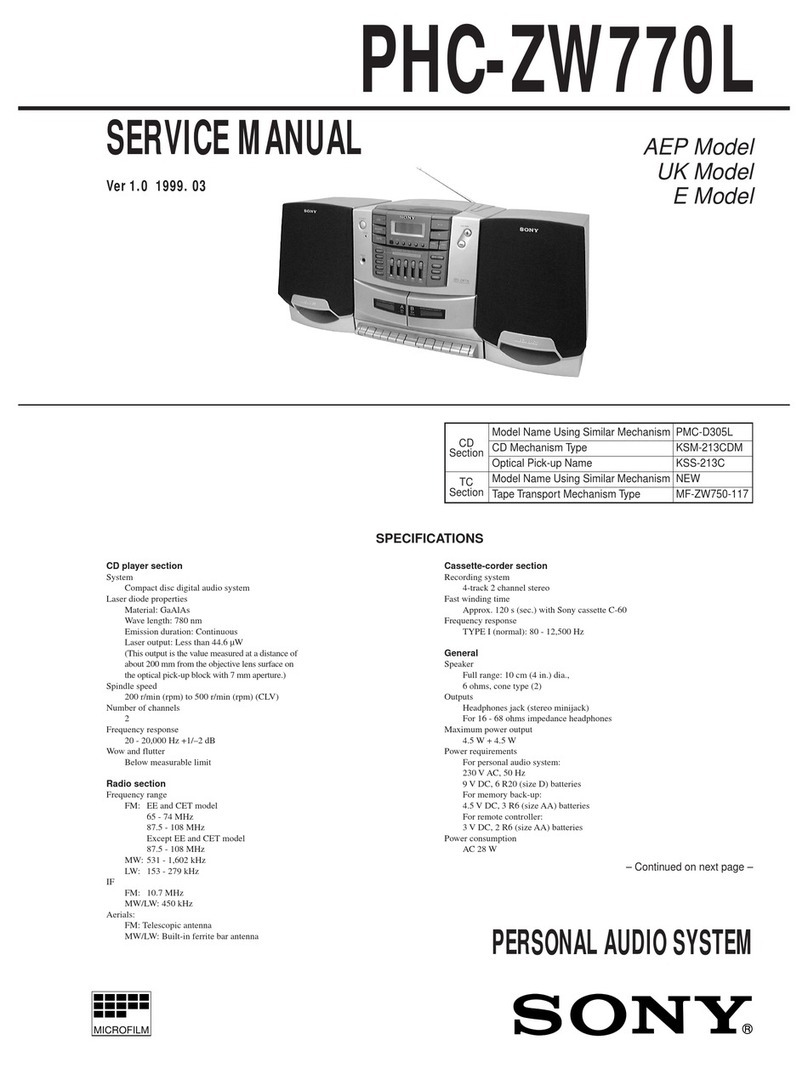
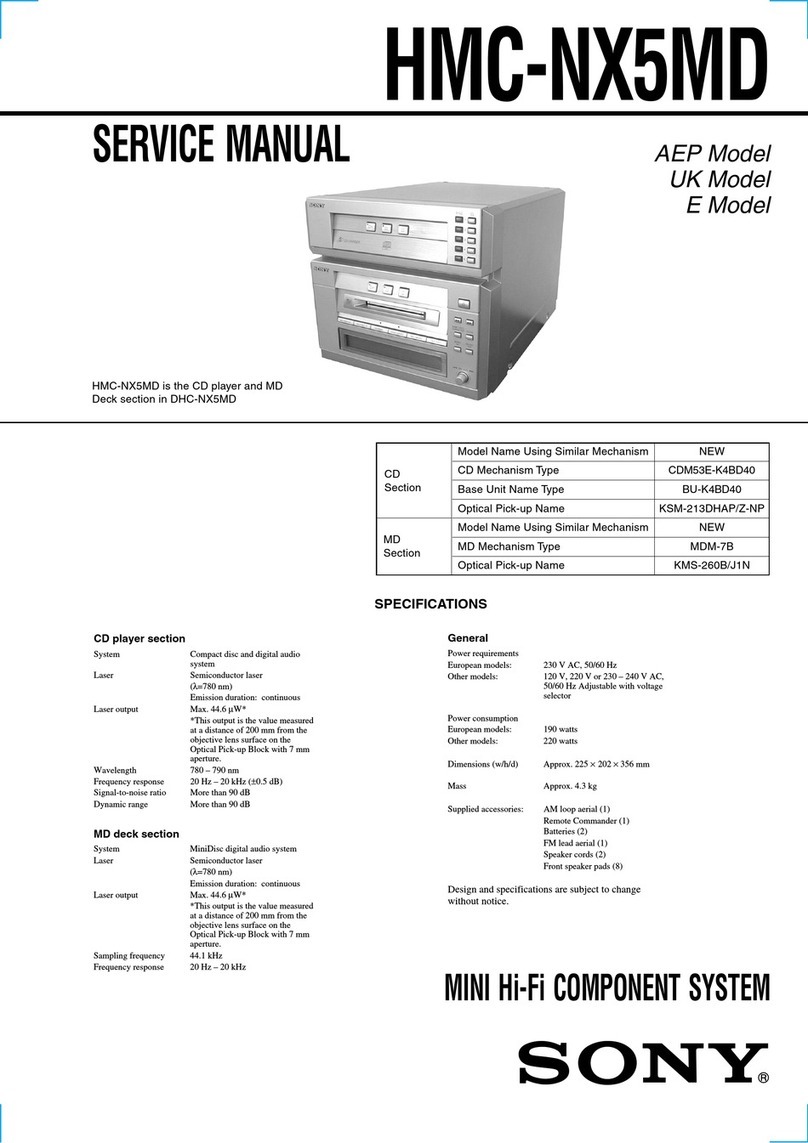
Sony SRS-X9 User manual

SERVICE MANUAL
Sony Corporation
Published by Sony Techno Create Corporation
SRS-X9
SPECIFICATIONS
PERSONAL AUDIO SYSTEM
9-893-947-02
2014C33-1
© 2014.03
US Model
Canadian Model
AEP Model
UK Model
Australian Model
Chinese Model
Singapore Model
Taiwan Model
Korean Model
Thai Model
Ver. 1.1 2014.03
Note:
Be sure to keep your PC used for service and
checking of this unit always updated with the
latest version of your anti-virus software.
In case a virus affected unit was found during
service, contact your Service Headquarters.
Section for Speaker
Speakers
Super tweeter (Top): Approx. 19 mm (3/4 inches) diameter × 2 /
Super tweeter (Front): Approx. 19 mm (3/4 inches) diameter × 2 /
Midrange: Approx. 50 mm (2 inches) diameter × 2 /
Subwoofer: Approx. 94 mm (3 3/4 inches) diameter × 1
Section for Amplier
POWER OUTPUT AND TOTAL HARMONIC DISTORTION:
Power Output (reference)
Super tweeter (Top): 2 W × 2 (at less than 10 % harmonic distortion,
20 kHz) / Super tweeter (Front): 25 W × 2 (at less than 10 % harmonic
distortion, 10 kHz) / Midrange: 25 W × 2 (at less than 10 % harmonic
distortion, 1 kHz) / Subwoofer: 25 W × 2 (at less than 10 % harmonic
distortion, 100 kHz)
Section for Network
Compatible standards
IEEE 802.11 b/g (WEP 64 bit, WEP 128 bit, WPA/WPA2-PSK (AES), WPA/
WPA2-PSK (TKIP))
Radio frequency (US, Canadian and Taiwan models)
2.412 GHz – 2.462 GHz (2.4 GHz ISM Band, 11 Channels)/
Channel 1 – Channel 11
Radio frequency (Except US, Canadian and Taiwan models)
2.412 GHz – 2.472 GHz (2.4 GHz ISM Band, 13 Channels)/
Channel 1 – Channel 13
Section for BLUETOOTH
Output
BLUETOOTH Specication Power Class 2
Maximum communication range
Line of sight Approx. 10 m (about 30 ft)*1
Radio frequency
2.4 GHz band (2.4000 GHz – 2.4835 GHz)
Communication System
BLUETOOTH Specication Version 3.0
Compatible BLUETOOTH Proles*2
A2DP (Advanced Audio Distribution Prole)/AVRCP (Audio Video
Remote Control Prole)
Supported codec*3
SBC (Subband Codec)*4/AAC*5/aptX
Transmission bandwidth (A2DP)
20 Hz – 20,000 Hz (with 44.1 kHz sampling)
*1The actual range will vary depending on factors such as obstacles
between devices, magnetic elds around a microwave oven, static
electricity,reception sensitivity,aerial’s performance, operating
system, software application, etc.
*2BLUETOOTH standard proles indicate the purpose of BLUETOOTH
communication between devices.
*3Codec: Audio signal compression and conversion format
*4Subband Codec
*5Advanced Audio Coding
Section for USB port
USB A port ( A)
You can connect a compatible device such as an Android
smartphone,iPhone, etc., to this system, using a USB cable (not
supplied).
Supported format*1
MP3 (MPEG 1 Audio Layer-3): 16 kbps – 320 kbps, CBR/VBR
AAC: 16 kbps – 320 kbps, CBR/VBR
WMA9 Standard: 16 kbps – 320 kbps, CBR/VBR
WAV: 32 kHz – 192 kHz, 16 bit PCM
32 kHz – 192 kHz, 24 bit PCM
FLAC: 8 kHz – 192 kHz, 16 bit FLAC
44.1 kHz – 192 kHz, 24 bit FLAC
Transfer speed
High-speed
Supported USB device
Mass Storage Class (MSC)
Maximum output current
2.1 A MAX
USB B port ( B)
You can connect a compatible device such as a computer,etc., to this
system, using a USB cable (not supplied).
Supported format*1
PCM (44.1 k/48 k/88.2 k/96 k/176.4 k/192 kHz, 16/24/32bit)
*1Compatibility with all encoding/writing software, recording
devices and recording media cannot be guaranteed.
General
AUDIO IN
ANALOG Φ 3.5 mm stereo mini jack
Network port
10BASE-T/100BASE-TX (Auto Polarity)
Power requirements
AREA Power requirements
US, Canadian 120 V AC,60Hz
Taiwan 110 V AC,50Hz/60Hz
Except US, Canadian, Taiwan 220 V – 240 V AC,50Hz/60Hz
Power consumption
50 W
Power consumption (during standby mode)
Less than 0.5 W
Power consumption (during BLUETOOTH/network
standby mode)
Less than 3 W
Dimensions (w/h/d) (including projecting parts and
controls)
Approx. 430 mm × 133 mm × 125 mm (169.3 inches × 52.4 inches ×
49.2 inches)
Mass
Approx. 4.6 kg (162.3 oz)
Supplied accessories:
Remote control (RMT-CX9) (1)/ AC power cord (1) (Except AEP and UK models)/
AC power cord (2) (AEP and UK models)/ AAA size batteries for the remote
control (2) (for trial use)/ Cleaning cloth (1)/ Speaker grille detach tool (2)/
Start Guide “Enjoy Music over Your Wi-Fi Network”/ Reference Guide/
Warranty card (US, Canadian, AEP, UK, Chinese, Korean and Thai models)
Design and specications are subject to change without notice.

SRS-X9
2
SAFETY-RELATED COMPONENT WARNING!
COMPONENTS IDENTIFIED BY MARK 0OR DOTTED LINE
WITH MARK 0ON THE SCHEMATIC DIAGRAMS AND IN
THE PARTS LIST ARE CRITICAL TO SAFE OPERATION.
REPLACE THESE COMPONENTS WITH SONY PARTS
WHOSE PART NUMBERS APPEAR AS SHOWN IN THIS
MANUAL OR IN SUPPLEMENTS PUBLISHED BY SONY.
NOTES ON CHIP COMPONENT REPLACEMENT
• Never reuse a disconnected chip component.
• Notice that the minus side of a tantalum capacitor may be dam-
aged by heat.
SAFETY CHECK-OUT
After correcting the original service problem, perform the follow-
ing safety check before releasing the set to the customer:
Check the antenna terminals, metal trim, “metallized” knobs,
screws, and all other exposed metal parts for AC leakage.
Check leakage as described below.
LEAKAGE TEST
The AC leakage from any exposed metal part to earth ground and
from all exposed metal parts to any exposed metal part having a
return to chassis, must not exceed 0.5 mA (500 microamperes.).
Leakage current can be measured by any one of three methods.
1. A commercial leakage tester, such as the Simpson 229 or RCA
WT-540A. Follow the manufacturers’ instructions to use these
instruments.
2. A battery-operated AC milliammeter. The Data Precision 245
digital multimeter is suitable for this job.
3. Measuring the voltage drop across a resistor by means of a
VOM or battery-operated AC voltmeter. The “limit” indication
is 0.75 V, so analog meters must have an accurate low-voltage
scale. The Simpson 250 and Sanwa SH-63Trd are examples
of a passive VOM that is suitable. Nearly all battery operated
digital multimeters that have a 2 V AC range are suitable. (See
Fig. A)
1.5 kΩ0.15 μF
AC
voltmeter
(0.75 V)
To Exposed Metal
Parts on Set
Earth Ground
Fig. A. Using an AC voltmeter to check AC leakage.
ATTENTION AU COMPOSANT AYANT RAPPORT
À LA SÉCURITÉ!
LES COMPOSANTS IDENTIFIÉS PAR UNE MARQUE 0SUR
LES DIAGRAMMES SCHÉMATIQUES ET LA LISTE DES
PIÈCES SONT CRITIQUES POUR LA SÉCURITÉ DE FONC-
TIONNEMENT. NE REMPLACER CES COMPOSANTS QUE
PAR DES PIÈCES SONY DONT LES NUMÉROS SONT DON-
NÉS DANS CE MANUEL OU DANS LES SUPPLÉMENTS
PUBLIÉS PAR SONY.
On Copyrights
SONY,Sony Entertainment Network and the logos are trademarks
of Sony Corporation.
Windows, the Windows logo,and Windows Media are either
registered trademarks or trademarks of Microsoft Corporation in
the United States and/or other countries.
This product is protected by certain intellectual property rights of
Microsoft Corporation. Use or distribution of such technology
outside of this product is prohibited without a license from
Microsoft or an authorized Microsoft subsidiary.
Pandora, the Pandora logo,and the Pandora trade dress are
trademarks or registered trademarks of Pandora Media, Inc., used
with permission.
Spotify and Spotify logos are trademarks of the Spotify Group.
Apple,the Apple logo,AirPlay,iPad, iPhone,iPod, iPod classic, iPod
nano,iPod touch, iTunes, Mac and OS X are trademarks of Apple
Inc., registered in the U.S. and other countries. App Store is a
service mark of Apple Inc.
“Made for iPod,”“Made for iPhone,” and “Made for iPad” mean that
an electronic accessory has been designed to connect specically
to iPod, iPhone,or iPad, respectively,and has been certied by the
developer to meet Apple performance standards. Apple is not
responsible for the operation of this device or its compliance with
safety and regulatory standards. Please note that the use of this
accessory with iPod, iPhone, or iPad may aect wireless
performance.
Macintosh and Mac OS are trademarks of Apple Inc., registered in
the U.S. and other countries.
“” is a mark of the Wi-Fi Alliance.
Wi-Fi®, Wi-Fi Protected Access® and Wi-Fi Alliance® are registered
marks of the Wi-Fi Alliance.
Wi-Fi CERTIFIED™, WPA™, WPA2™ and Wi-Fi Protected Setup™ are
marks of the Wi-Fi Alliance.
DLNA™, the DLNA Logo and DLNA CERTIFIED™ are trademarks,
service marks, or certication marks of the Digital Living Network
Alliance.
© 2013 CSR plc and its group companies.
The aptX® mark and the aptX logo are trade marks of CSR plc or
one of its group companies and may be registered in one or more
jurisdictions.
“S-Master” is a trademark of Sony Corporation.
ClearAudio+ and are trademarks of Sony
Corporation.
“DSEE” and are trademarks of Sony Corporation.
MPEG Layer-3 audio coding technology and patents licensed from
Fraunhofer IIS and Thomson.
The BLUETOOTH® word mark and logos are owned by the
Bluetooth SIG, Inc. and any use of such marks by Sony Corporation
is under license.Other trademarks and trade names are those of
their respective owners.
The N Mark is a trademark or registered trademark of NFC Forum,
Inc. in the United States and in other countries.
Google Play and Android are trademarks of Google Inc.
“Xperia” and “Xperia Tablet” are trademarks of Sony Mobile
Communications AB.
WALKMAN® and WALKMAN® logo are registered trademarks of
Sony Corporation.
The system names and product names indicated in this manual are
generally the trademarks or registered trademarks of the
manufacturer.
™ and ® marks are omitted in this manual.
Ver. 1.1
SRS-X9
3
1. SERVICING NOTES ............................................. 4
2. DISASSEMBLY
2-1. Disassembly Flow........................................................... 11
2-2. Grille Assy ...................................................................... 12
2-3. Bottom Panel Assy.......................................................... 12
2-4. Baffle Block .................................................................... 13
2-5. Speaker Wire (L-ch, R-ch).............................................. 14
2-6. LED Board, Light Guide (C) .......................................... 15
2-7. Satellite Cabinet (L, R) Block......................................... 16
2-8. Loudspeaker 2.2 cm (L-ch, R-ch) (SP2, SP4) ................ 17
2-9. Loudspeaker 5.4 cm (L-ch, R-ch) (SP5, SP6) ................ 18
2-10. Plate (U) (US, Canadian models) ................................... 19
2-11. Loudspeaker (9.4 cm) (SP7) ........................................... 19
2-12. Loudspeaker (6.8 × 9.5 cm) Passive (L-ch, R-ch)
(SP8, SP9)....................................................................... 20
2-13. Bluetooth Module (BT1) ................................................ 20
2-14. Flexible Flat Cable (14 Core) (FFC2)............................. 21
2-15. Shield Plate Block........................................................... 21
2-16. MAIN Board Block ........................................................ 22
2-17. WiFi Module (WIFI1), MAIN Board ............................. 22
2-18. Power Unit (PU1) ........................................................... 23
2-19. JACK Board.................................................................... 24
2-20. Ferrite Core (FC1) .......................................................... 24
2-21. AC Inlet (2P) (AC1) ....................................................... 25
3. TEST MODE ............................................................ 26
TABLE OF CONTENTS
4. DIAGRAMS
4-1. Block Diagram - MAIN Section -................................... 28
4-2. Block Diagram - AMP Section - ..................................... 29
4-3. Block Diagram
- PANEL, POWER SUPPLY Section -........................... 30
4-4. Printed Wiring Boards - MAIN Section (1/2) - .............. 32
4-5. Printed Wiring Boards - MAIN Section (2/2) - .............. 33
4-6. Schematic Diagram - MAIN Section (1/6) -................... 34
4-7. Schematic Diagram - MAIN Section (2/6) -................... 35
4-8. Schematic Diagram - MAIN Section (3/6) -................... 36
4-9. Schematic Diagram - MAIN Section (4/6) -................... 37
4-10. Schematic Diagram - MAIN Section (5/6) -................... 38
4-11. Schematic Diagram - MAIN Section (6/6) -................... 39
5. EXPLODED VIEWS
5-1. Overall Section ............................................................... 47
5-2. Super Tweeter (Front) Section ........................................ 48
5-3. Baffle Section.................................................................. 49
5-4. MAIN Board Section ...................................................... 50
5-5. Rear Cabinet Section ...................................................... 51
6. ELECTRICAL PARTS LIST .............................. 52
Accessories are given in the last of the electrical parts list.

SRS-X9
4
SECTION 1
SERVICING NOTES
UNLEADED SOLDER
Boards requiring use of unleaded solder are printed with the lead-
free mark (LF) indicating the solder contains no lead.
(Caution: Some printed circuit boards may not come printed with
the lead free mark due to their particular size)
: LEAD FREE MARK
Unleaded solder has the following characteristics.
• Unleaded solder melts at a temperature about 40 °C higher
than ordinary solder.
Ordinary soldering irons can be used but the iron tip has to be
applied to the solder joint for a slightly longer time.
Soldering irons using a temperature regulator should be set to
about 350 °C.
Caution: The printed pattern (copper foil) may peel away if
the heated tip is applied for too long, so be careful!
• Strong viscosity
Unleaded solder is more viscous (sticky, less prone to flow)
than ordinary solder so use caution not to let solder bridges
occur such as on IC pins, etc.
• Usable with ordinary solder
It is best to use only unleaded solder but unleaded solder may
also be added to ordinary solder.
NOTE OF REPAIRING THE BOARDS
When boards other than the MAIN board installed by this unit are
defective, individual electrical parts that the mount is done cannot
be exchanged.
Exchange the mounted board, or exchange the whole parts includ-
ing an applicable board.
NOTE THE CN401, IC001, IC012, IC905 AND IC906
ON THE MAIN BOARD REPLACING
CN401, IC001, IC012, IC905 and IC906 on the MAIN board
cannot exchange with single. When these parts are damaged, ex-
change the complete mounted board.
NOTE OF BAFFLE REPLACING
The washers (twelve places) may be attached to the baffle of this
unit.
When replacing baffle, it is not necessary to newly attach the wash-
ers.
Please attach a new baffle in the state where there are no washers.
When replacing baffle,
twelve washers are not necessary.
baffle (inside)
NOTE OF WiFi MODULE REPLACING
When the WiFi module is replaced, the MAC address and DTCP-
IP ID have been changed.
Print the page 7 and 9, and pass it to the customer with the repaired
unit when you return the customer the repaired unit.
PROCESSING OF REPLACING THE WiFi MODULE
When replacing the WiFi module (Ref. No. WIFI1), peel the de-
vice ID label stuck on the bottom side of the unit, and stick on the
new device ID label enclosed with the new WiFi module (Ref. No.
WIFI1).
1Peel the device
ID label.
– Bottom view –
Model number label
indication
2Stick on the new
device ID label.
Device ID: XXXXXXXXXXXX
MAC Address: XX-XX-XX-XX-XX-XX

SRS-X9
5
CHECKING METHOD OF NETWORK CONNECTION
It is necessary to check the network connection, when replacing
the WiFi module (Ref. No. WIFI1). Check the connection of wire-
less LAN, according to the following method.
1. Checking the wireless LAN connection
Necessary Equipment:
• Access point supporting WPS
Procedure:
1. Touch the [?/1] button to turn the power on. Check that the
[LINK] LED is turns off.
2. Touch the [NETWORK] button to select the network function.
3. Press and hold the [WPS] button, the beep sound occurs, the
[LINK] LED is green blinking.
4. Press the [WPS] key on the access point.
5. Wireless LAN connection is completed. Check that the [LINK]
LED is green lights up.
2. Checking the wired LAN connection
Necessary Equipment:
• Router
• LAN cable
Procedure:
1. Connect the unit to the router with the network LAN cable.
2. Touch the [?/1] button to turn the power on.
3. Touch the [NETWORK] button to select the network function.
4. Wired LAN connection is completed. Check that the [LINK]
LED is orange lights up.
ABOUT THE DELETION METHOD OF USER REGIS-
TRATION OF SEN SERVICE
By checking device ID label, user registration of the internet video
of this unit can be compulsorily reset.
(Device ID label is “the hexadecimal number of 12 figures”)
When this unit needs compulsive reset, please check device ID
label and consult with a service headquarters.
Procedure:
1. Check the device ID label stuck on the bottom side of the unit.
2. Device ID indicated on the label is recorded on a memorandum
etc.
(Device ID label is “the hexadecimal number of 12 figures”)
– Bottom view –
Device ID: XXXXXXXXXXXX
MAC Address: XX-XX-XX-XX-XX-XX
Device ID

SRS-X9
6
MODEL IDENTIFICATION
Distinguish by model number label printed on the bottom side of a main unit.
Note: The printed contents of following figure model number label may be different from the model number label of a main unit.
– Bottom view –
MODEL NUMBER LABEL
US and Canadian models
AEP and UK models
Australian model
Chinese model
Korean modelRussian model
Singapore model
Thai model
Taiwan model
Ver. 1.1

SRS-X9
7
Note of the MAC address change:
The MAC address of this unit was changed along with this repair.
Please set it again if you are using the MAC address filtering function
of access point device of connection destination.
Please refer to the Help guide “Precautions” for the confirm method of
MAC address.
• Please cut out along the dotted line and use it.

SRS-X9
8
MEMO

SRS-X9
9
Request of the DLNA re-setup:
The DTCP-IP ID of this unit was changed along with this repair.
When registration of client devices to the DLNA server device is not
automatic, it is necessary to register this unit into a server again.
Please refer to the Help guide “Listening to music via home network”
for the re-setup method.
• Please cut out along the dotted line and use it.

SRS-X9
10
MEMO

SRS-X9
11
SECTION 2
DISASSEMBLY
• This set can be disassembled in the order shown below.
2-1. DISASSEMBLY FLOW
SET
2-3. BOTTOM PANEL ASSY
(Page 12)
2-2. GRILLE ASSY
(Page 12)
2-4. BAFFLE BLOCK
(Page 13)
2-5. SPEAKER WIRE (L-ch, R-ch)
(Page 14)
2-15. SHIELD PLATE BLOCK
(Page 21)
2-20. FERRITE CORE (FC1)
(Page 24)
2-21. AC INLET (2P) (AC1)
(Page 25)
2-16. MAIN BOARD BLOCK
(Page 22)
2-6. LED BOARD,
LIGHT GUIDE (C)
(Page 15)
2-7. SATELLITE CABINET
(L, R) BLOCK
(Page 16)
2-8. LOUDSPEAKER 2.2 cm
(L-ch, R-ch) (SP2, SP4)
(Page 17)
2-9. LOUDSPEAKER 5.4 cm
(L-ch, R-ch) (SP5, SP6)
(Page 18)
2-10. PLATE (U) (US, Canadian models)
(Page 19)
2-19. JACK BOARD
(Page 24)
2-13. BLUETOOTH MODULE (BT1)
(Page 20)
2-14. FLEXIBLE FLAT CABLE (14 CORE) (FFC2)
(Page 21)
2-11. LOUDSPEAKER
(9.4 cm) (SP7)
(Page 19)
2-12. LOUDSPEAKER
(6.8 × 9.5 cm) PASSIVE
(L-ch, R-ch) (SP8, SP9)
(Page 20)
2-17. WiFi MODULE (WIFI1),
MAIN BOARD
(Page 22)
2-18. POWER UNIT (PU1)
(Page 23)

SRS-X9
12
2-3. BOTTOM PANEL ASSY
Note: Follow the disassembly procedure in the numerical order given.
2-2. GRILLE ASSY
• The grille assy can be easily removed, if the speaker grille detach tool of the accessories of this unit is used.
Note: Please spread a sheet under
a unit not to injure top panel.
– Front bottom view –
2two tapping screws
(P B2.6)
2two tapping screws
(P B2.6)
2tapping screw
(P B2.6)
4Peel off the adhesive sheet (bottom).
1two cushions (foot)
1cushion (foot)
1two cushions (foot)
3two foots 3foot
3two foots
5bottom panel assy
2grille assy
1six magnets
(grille)
1six magnets
(grille)

SRS-X9
13
2-4. BAFFLE BLOCK
2S tight screw
(PTTWH M3 u8)
3ring (screw)
– Front bottom view –
1six screws
(#3 HEX)
1six screws
(#3 HEX)
qs terminal (wide) (L-ch)
[brown]
(See Fig. B)
6Remove wires from the clamp.
(See Fig. A)
< Fig. A >
< Fig. B > < Fig. C >
6Remove wires from the clamp.
(See Fig. A)
4Remove baffle block in
the direction of an arrow.
qd baffle block
A
A
clamp clamp loudspeaker 2.2 cm (L-ch) loudspeaker 2.2 cm (R-ch)
qa connector
(CN502)
0connector
(CN504)
9connector
(CN503)
8connector
(CN501)
7connector
(CN099)
qs terminal (narrow) (L-ch)
[black]
(See Fig. B)
[brown]
(wide)
[red]
(wide)
[black]
(narrow)
[black]
(narrow)
qs terminal (wide) (R-ch) [red]
(See Fig. C)
qs terminal (narrow) (R-ch) [black]
(See Fig. C)
Note: Please spread a sheet under
a unit not to injure top panel.
:ire VettinJ
:ire VettinJ
(US, Canadian)
5filament tape
(sub material)
filament tape
(sub material)
:ire VettinJ
filament tape
(sub material)
5filament tape
(sub material)

SRS-X9
14
2-5. SPEAKER WIRE (L-ch, R-ch)
– Baffle block top rear view –
:ire VettiQJ :ire VettiQJ
1Cut the binding band (taiton).
1Cut the binding
band (taiton).
binding band
(taiton)
binding band
(taiton)
2midrange terminal (wide) (R-ch)
[yellow]
2midrange terminal (wide) (L-ch)
[orange]
4speaker wire (L-ch)
4speaker wire (R-ch)
3subwoofer terminal (wide)
(left side) [red]
3subwoofer terminal (wide)
(right side) [white]
2midrange terminal (narrow) (R-ch)
[black]
2midrange terminal (narrow) (L-ch)
[black]
3subwoofer terminal (narrow)
(left side) [black]
3subwoofer terminal (narrow)
(right side) [black]
Note: In reassembling, use new binding band (taiton)
to fasten the clamp same as before.
[yellow]
[black]
[yellow]
[black]
[black]
[white]
[orange]
[red]
[black] [black]
[yellow]
[black]

SRS-X9
15
2-6. LED BOARD, LIGHT GUIDE (C)
filament tape (sub material)
loudspeaker 2.2 cm (R-ch)
1
filament tape
(sub material)
4screw 4screw
7LED board
6cushion
(LED PWB)
2Remove the
solder.
[white]
2Remove the solder.
[black]
3Remove the solder.
[black]
3Remove the solder.
[red]
3Remove the solder.
[white]
– Baffle block top rear view –
:ire VettiQJ
LED board
REMOTE board
[black] [red]
[white]
[black]
[white]
5Remove the LED board block
in the direction of an arrow.
8light guide (C)
Note: When assembling, be careful
not to forget installing.

SRS-X9
16
2-7. SATELLITE CABINET (L, R) BLOCK
2satellite cabinet (L) block
satellite cabinet (L) block
2satellite cabinet (R) block
1two tapping screws
(BV B3)
1two tapping screws
(BV B3)
1two tapping screws
(BV B3) 1two tapping screws
(BV B3)
:LUHVHWWLQJ
:LUHVHWWLQJ
satellite cabinet (R) block
ditch
loudspeaker 5.4 cm (L-ch)
loudspeaker 5.4 cm (R-ch)
ditch
–%DIIOHEORFNWRSUHDUYLHZ–

SRS-X9
17
2-8. LOUDSPEAKER 2.2 cm (L-ch, R-ch) (SP2, SP4)
2tapping screw
(BV B3)
2tapping screw
(BV B3)
2tapping screw
(BV B3)
2tapping screw
(BV B3)
3loudspeaker 2.2 cm
(L-ch) (SP2)
3loudspeaker 2.2 cm
(R-ch) (SP4)
loudspeaker 2.2 cm
(L-ch) (SP2)
loudspeaker 2.2 cm
(R-ch) (SP4)
1terminal (wide) (L-ch)
[blue]
1terminal (wide) (R-ch)
[brown]
1terminal (narrow) (L-ch)
[black]
1terminal (narrow) (R-ch)
[black]
[brown]
[blue]
[blue]
[blue]
[black]
[black]
[black]
[black]
:LUHVHWWLQJ
:LUHVHWWLQJ
–
%DIIOHEORFNWRSUHDUYLHZ–

SRS-X9
18
2-9. LOUDSPEAKER 5.4 cm (L-ch, R-ch) (SP5, SP6)
&XVKLRQZLUHVHWWLQJ/FK
&XVKLRQZLUHVHWWLQJ5FK
75 mm
35 mm
50 mm
75 mm
cushion (wire)
cushion (wire)
cushion (wire)
cushion (wire)
1four tapping screws
(BV B3)
1four tapping screws
(BV B3)
3cushion
(wire)
3cushion
(wire)
3cushion (wire)
3cushion (wire)
:LUHVHWWLQJ
–%DIIOHEORFNWRSUHDUYLHZ–
2Remove loudspeaker 5.4 cm block
(L-ch) in the direction of an arrow.
4loudspeaker 5.4 cm
(L-ch) (SP5)
loudspeaker 5.4 cm
(L-ch) (SP5)
loudspeaker 5.4 cm
(R-ch) (SP6)
4loudspeaker 5.4 cm
(R-ch) (SP6)
2Remove loudspeaker
5.4 cm block (R-ch) in
the direction of an
arrow.
[black]
(narrow)
[black]
(narrow)
[yellow]
(wide)
[yellow]
(wide)
Note: Do not touch this portion
of the loudspeaker 5.4 cm
(R-ch) (SP6).
cushion (wire)cushion (wire)
ditch
Note: Do not touch this portion
of the loudspeaker 5.4 cm
(L-ch) (SP5).
ditch
:LUHVHWWLQJ
cushion (wire)cushion (wire)

SRS-X9
19
2-10. PLATE (U) (US, Canadian models)
2-11. LOUDSPEAKER (9.4 cm) (SP7)
1two tapping screws
(BV B3)
2plate (U)
– Baffle block bottom rear view –
1tapping screw
(BV B3)
1tapping screw
(BV B3)
1two tapping screws
(BV B3)
2loudspeaker (9.4 cm)
(SP7)
– Baffle block top rear view –
(Except US, Canadian)
Ver. 1.1

SRS-X9
20
2-12. LOUDSPEAKER (6.8 × 9.5 cm) PASSIVE (L-ch, R-ch) (SP8, SP9)
2-13. BLUETOOTH MODULE (BT1)
2loudspeaker (6.8 u9.5 cm) passive
(L-ch) (SP8)
2loudspeaker (6.8 u9.5 cm) passive
(R-ch) (SP9)
1three tapping screws
(BV B3)
1four tapping screws
(BV B3)
– Baffle block top rear view –
1tapping screw
(BV B3)
(Except US, Canadian)
2tapping screw
(P B2.6)
1flexible flat cable (14 core)
3bluetooth module
(BT1)
Ver. 1.1
Other manuals for SRS-X9
5
Table of contents
Other Sony Stereo System manuals

Sony
Sony MHC-EX5 User manual

Sony
Sony SS-CCQ1 User manual

Sony
Sony SRS-XB2 User manual

Sony
Sony HCD-VX88 User manual

Sony
Sony HCD-DC1 User manual

Sony
Sony HCD-RG333 User manual

Sony
Sony ZS-BTG905 User manual

Sony
Sony HCD-GZR7D User manual

Sony
Sony SRS-X7 User manual

Sony
Sony CMT-ED2U - Compact Component System User manual

Sony
Sony game sync lbt-xg900av User manual

Sony
Sony SRS-XB3 User manual

Sony
Sony STR-DH130 Use and maintenance manual

Sony
Sony H.ear go SRS-HG1 User manual

Sony
Sony ZS-SN10 User manual

Sony
Sony MHC-GN1000D User manual

Sony
Sony LBT-XGR600 - Compact Hi-fi Stereo System User manual

Sony
Sony CMT-J3MD User manual

Sony
Sony SA-PSD5 User manual

Sony
Sony LBT-G1000 User manual