Sony IPELA PCS-TL33 Quick setup guide

TL33 KIOSK Mode Manual_E_071023.pdf
Sony PCS-TL33 and PCS-TL30
System Integration Manual
(KIOSK mode) 1st Edition, Release 2
October, 2007
by IPELA Department 1
B2B Solutions Business Group
Sony Corporation
NOTE: This manual is for Sony authorized System Integrators.
This manual describes about the KIOSK mode, new feature of the PCS-TL33 and
PCS-TL30 Ver2.0 and later versions.
KIOSK mode target application examples:
- Remote consultation in banking stores, and financial stores
- Virtual receptionist
- Sign language translation
- Language training
- Travel bureau
- Etc.
In above situation, administrator may want to restrict clients operation because
clients may not be familiar with system operation, and hide any privacy information
from clients (ex. IP address, phonebook entry). In the KIOSK mode, the
PCS-TL33/TL30 will show only one-touch dial buttons, and clients can make a call
to one of them with single click.
Image of KIOSK mode (one-touch dial)
1

TL33 KIOSK Mode Manual_E_071023.pdf
Section 1. How to setup the KIOSK mode
Please change setup configuration from the WEB interface to setup KIOSK mode.
(GUI setup menu is not available because this feature is opened only for
administrator)
1. Select KIOSK mode in the Setup > General > Launcher mode.
a) Administrator can select Normal mode to restore setup.
b) Administrator can select Skeleton mode if administrator doesn’t want to
show any menus, icons, and messages. (see Section 3B)
2. Select one of sample background images in the Setup > General >
Background.
a) Administrator can select Default to restore setup.
b) Administrator can select Pattern 1 (Japanese), Pattern 2 (English), or
Pattern 3 (Chinese).
System is automatically rebooted when all changes are saved.
Note:These images are only available in the KIOSK mode and the
Skeleton mode. (Default image is always effective in the Normal mode.)
c) Administrator can also customize the background image. (see Sections 4
and 5 )
Note:The custom background image is available in any modes
(Normal/KIOSK/Skeleton).
2

TL33 KIOSK Mode Manual_E_071023.pdf
Default (default background image)
Pattern 1 (Japanese sample image)
Pattern 2 (English sample image)
Pattern 3 (Chinese sample image)
3

TL33 KIOSK Mode Manual_E_071023.pdf
Section 2. How to restore setup without using WEB interface
<IMPORTANT>
In emergency situation, please press MIC button ( ) on the front panel for more
than ten seconds. This will force the system from the KIOSK mode to the Normal
mode, and it will also force the background image to the Default. The system will
restart automatically.
Section 3. Functions at each mode
3A. KIOSK mode
In the KIOSK mode,
1. Clients can make a call by clicking one of the one-touch dial buttons.
a) Clients can see all indexes up to six at the same time.
b) The maximum number of the one-touch dial buttons is 30 (up to 6 in each
five tabs.)
2. Clients can disconnect communication by pressing MENU button ( ) on the
front panel. (Usually, the connection may be disconnected from the
administrator at the remote site.)
3. Clients can change the volume level by pressing VOL+/VOL- button ( ) on
the front panel.
4. Other clients operations such as phonebook edition, setup configuration change,
camera adjustment, microphone off are restricted in the KIOSK mode.
(see Section 7 for details)
5. IP address information will not be shown in the KIOSK mode.
3B. Skeleton mode
Administrator can use the Skeleton mode if administrator doesn’t want to show any
menus, icons, and messages on the screen. The Skeleton mode is for fully
integrated application with external PC (ex. ATM machine).
In the Skeleton mode,
1. Administrator can control the system from the external control command (Telnet,
RS-232C or WEB).
2. Clients can NOT disconnect communication even by pressing MENU button
( ) on the front panel. In the Skeleton mode.
4

TL33 KIOSK Mode Manual_E_071023.pdf
3. Clients can change the volume level by pressing VOL+/VOL- button ( ) on
the front panel.
4. Other operations such as phonebook edition, setup configuration, camera
adjustment, microphone off are restricted in the Skeleton mode.
(see Section 7 for details)
5. IP address information will not be shown in the Skeleton mode.
6. Administrator can show Custom massage in the Skeleton mode.
(see Section 6)
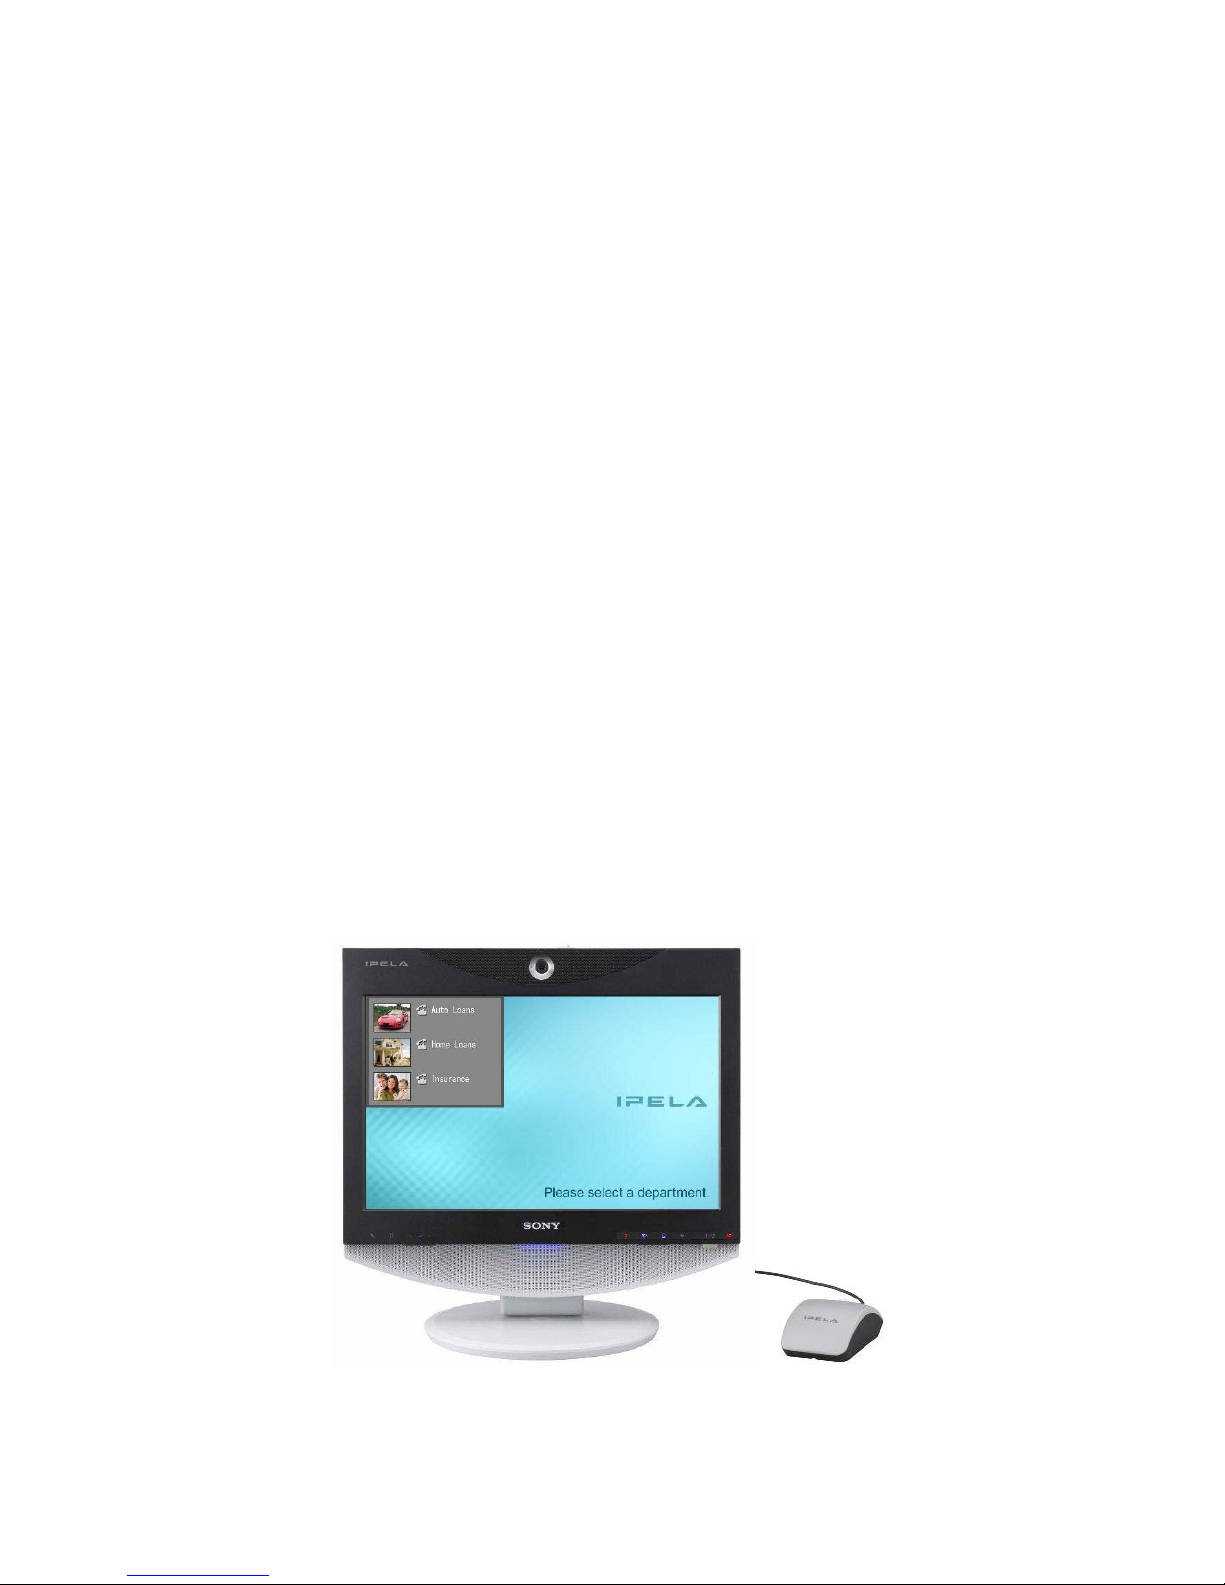
Section 4. How to customize the background image
Administrator can customize the background image by FTP, and restore the default
background image by TELNET.
1. To customize the background image
Connect to the PCS-TL33/TL30 by FTP.
Then put “WPCUSTOM.JPG” file to show the custom background image.
Note 1. Please do not operate any files during a connection
Note 2. The following procedure is not open to the public.
Please handle with care.
Direction of file transfer by ftp
ftp xxx.xxx.xxx.xxx (PCS-TL33/TL30’s IP address)
User: sonypcs
Password: (administrator password, or blank if no password is set)
ftp> put WPCUSTOM.JPG
*Please reboot the system.
The image file for background is stored at a directory named “IMAGE”
IMAGE/WPCUSTOM.JPG Custom background image
Note: As long as a WPCUSTOM.JPG file in IMAGE directory, the
PCS-TL33/TL30 will show the custom background image in any modes
(Normal/KIOSK/Skeleton).
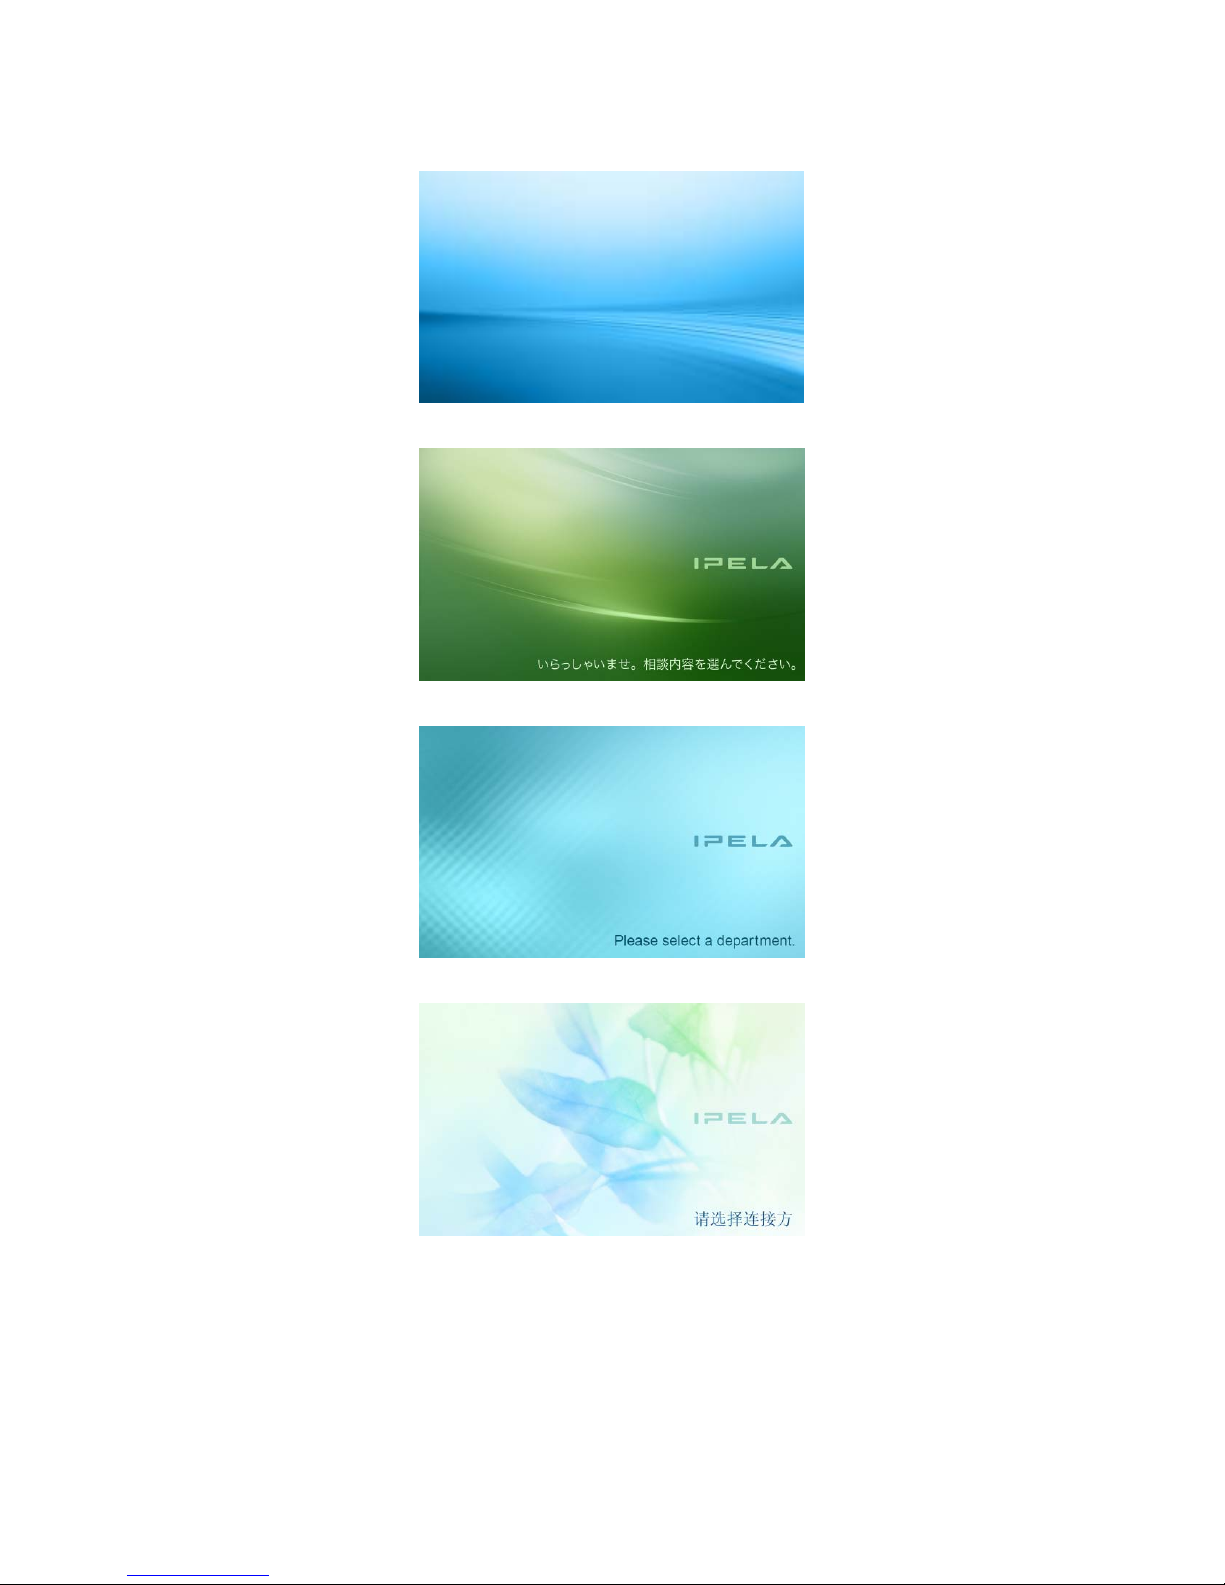
2. To restore the default background
Connect to the PCS-TL33/TL30 by TELNET
Then delete “WPCUSTOM.JPG” file to show one of pre-installed background
images out of Default and Patterns 1/2/3.
5

TL33 KIOSK Mode Manual_E_071023.pdf
Direction of file transfer by ftp
telnet xxx.xxx.xxx.xxx (PCS-TL33/TL30’s IP address)
login: sonypcs
Password: (administrator password, or blank if no password is set)
pcsdb> cd IMAGE
pcsdb> del WPCUSTOM.JPG
*Please reboot the system.
Note: Please do not execute any other file management other than
described on this manual
Section 5. Custom background image file format
The custom background image file name must be “WPCUSTOM.JPG”. The file size
has to be "1280 x 768", and should be JPEG file format. If the image size is larger,
the image size will be reduced. If the file size is larger, it takes longer time to reboot.
The recommended file size is under 300K Bytes.
Section 6. Custom message API in the Skeleton mode
Please use the command by TELNET.
1. Connect TELNET to the PCS-TL33/TL30, and input “cntr” to start external
control mode.
2. Input “smes /desired character strings to display/POSITION/DURATION/”
to show custom message.
POSITION 0:upper position, 1:middle position, 2:lower position
DURATION 0:eternally, n:n seconds, -1:turn off the message
Example) show “12345abc” at lower position for 5 seconds.
telnet xxx.xxx.xxx.xxx (PCS-TL33/TL30’s IP address)
login: sonypcs
password: (administrator password or blank)
pcsdb> cntr
ok
smes /12345abc/2/5/
(note: if the last “/” is missing, the message is displayed eternally)
6

TL33 KIOSK Mode Manual_E_071023.pdf
Section 7. Mode comparison
Launcher mode Normal mode KIOSK mode Skeleton mode
One-touch dial Yes (up to 30) Yes (up to 30) No
Disconnect GUI MENU button No
Volume control GUI and Volume
buttons Volume buttons Volume buttons
MIC on/off GUI and MIC
button No (WEB only) No (WEB only)
PC/VC mode PC/VC button No (WEB only) No (WEB only)
DSM (PC data
sending) Yes (GUI and
WEB) No (WEB only) No (WEB only)
Power on/off Power button Power button Power button
DTMF tone sending MENU button (3
seconds) MENU button (3
seconds) No
Camera adjustment,
Phonebook edit,
Setup configuration
Yes (GUI and
WEB) No (WEB only) No (WEB only)
Background image Default Default
Pattern 1/2/3 Default
Pattern 1/2/3
Custom background
image Yes* Yes* Yes*
Custom message No No Yes (from API)**
* See Sections 4 and 5.
** See Section 6.
Section 8. KIOSK mode comparison
Vender
Model Sony
PCS-TL33/TL30
Ver2.0
Polycom
VSX Tandberg
MXP
One-touch dial Yes (up to 30) Yes Yes
Hide information (IP
address, Phonebook) Yes No No
Restrict operations
(Phonebook edit, Setup
configuration)
Yes No No
Custom background
image Yes No No
Operation Mouse Remote
commander Remote
commander
Control API Yes (Telnet,
RS-232C) Yes Yes
7
Other manuals for IPELA PCS-TL33
5
This manual suits for next models
1
Table of contents
Other Sony Webcam manuals

Sony
Sony VAIO VGP-UVC100 User manual

Sony
Sony IPELA PCS-TL33 User manual

Sony
Sony EVI-D100P (PAL) User manual

Sony
Sony CMU-BR100 User manual

Sony
Sony CMU-BC1 User manual

Sony
Sony EVI-D70 User guide

Sony
Sony VAIO VGP-UVC100 User manual

Sony
Sony CMU-BR100 User manual

Sony
Sony CMU-BR100 User manual

Sony
Sony CMU-BR100 User manual