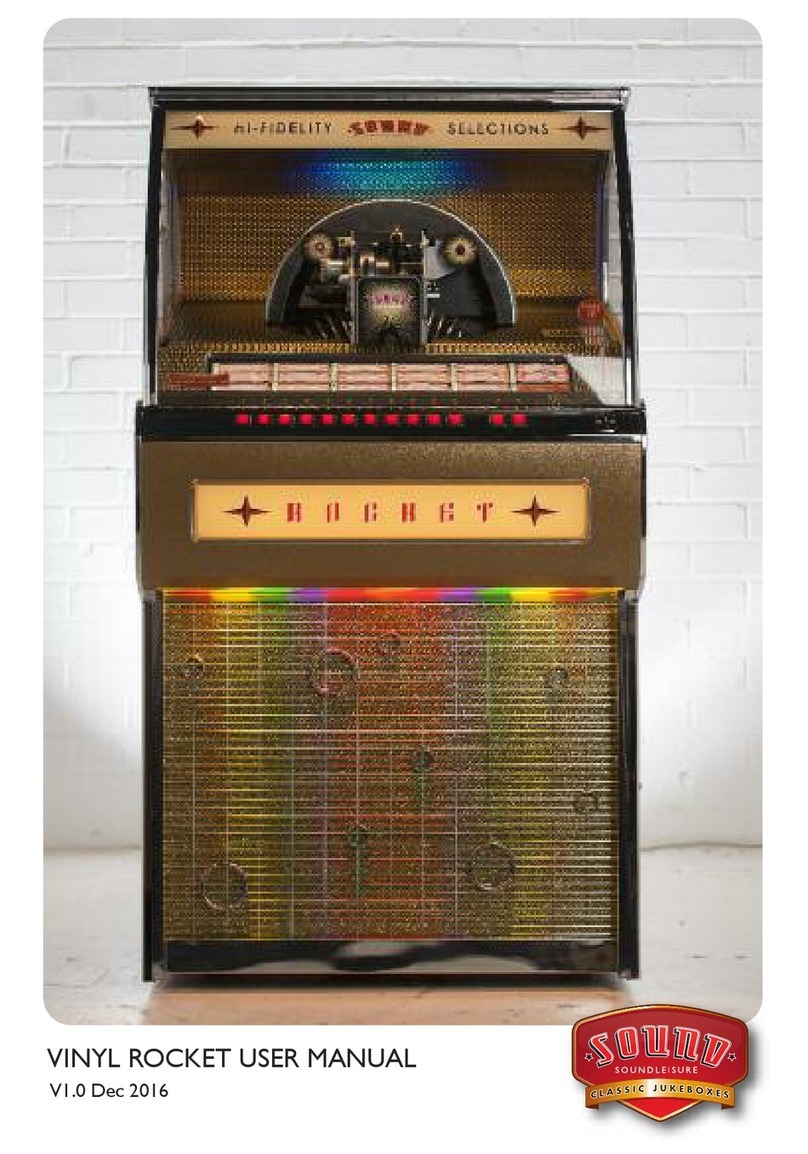
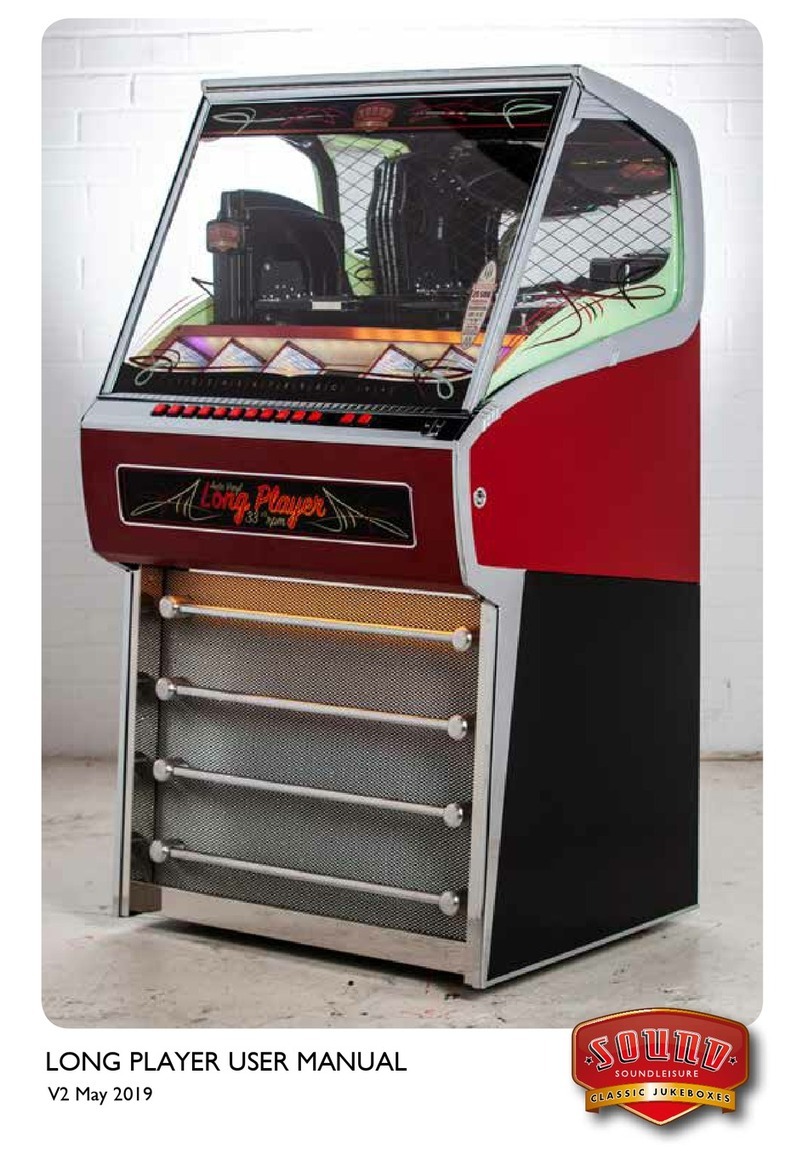
Sound Leisure Gazelle User manual

Vinyl Gazelle / Manhattan Jukebox
User Manual
Series 3 Unity : Build 7.0

2
Contents
1. Introduction Pg 3
2. Important safety instructions Pg 4
3. Taking delivery / Transit mode Pg 7
4. Label magic Pg 11
5. Inserting title cards Pg 12
6. Loading Records Pg 14
7. Playing the Jukebox Pg 18
8. Connecting external audio devices Pg 22
9. Adding additional speakers Pg 24
10. Adjusting amplifier settings Pg 26
11. Jukebox lighting/bubble tube adjustment Pg 29
12. Bluetooth Pg 32
13. Troubleshooting and error codes Pg 34
Please note that the images of jukeboxes in this manual may differ slightly from your exact model.

3
Introduction
Thank you for purchasing a Classic Jukebox from Sound Leisure, the world’s
premier Jukebox manufacturer. This product has been designed and built to give
you many years of enjoyment and trouble free use.
This owner’s guide provides all the information you will need to install and
operate the Jukebox safely.
About Sound Leisure
Sound Leisure have been manufacturing Jukeboxes in Leeds, UK since 1978.
The family owned and run business was originally formed by Alan Black and
three generations of the family now work alongside a team of skilled craftsmen
and women, all dedicated to manufacturing the finest Jukeboxes in the world.

4
Important Safety Instructions
• Read these instructions.
• Keep these instructions.
• Heed all warnings.
• Follow all instructions.
• Do not use this apparatus near water.
• Clean only with a dry cloth.
• Do not block any ventilation openings. Install in accordance with the
manufacturer’s instructions.
• Do not install near any heat sources such as radiators, heat registers, stoves
or other apparatus (including amplifiers) that produce heat.
• Do not defeat the safety purpose of the polarized or grounding-type plug.
A polarized plug has 2 blades with one wider than the other. A grounding
type plug has two blades and a third grounding prong. The wide blade
or the third prong are provided for your safety. If the provided plug does
not fit into your outlet, consult an electrician for replacement of the obsolete
outlet.
• Protect the power cord from being walked on or pinched particularly at
plugs, convenience receptacles, and the point where they exit from the
apparatus.
• Only use attachments/accessories specified by the manufacturer.
• Use only the cart, stand, bracket or table specified by the manufacturer, or
sold with the apparatus. When a cart is used, use caution when moving the
cart/apparatus combination to avoid injury from tip-over.
• Unplug this apparatus during lightning storms or when unused for long
periods of time.
• Refer all servicing to qualified service personnel. Servicing is required when
the apparatus has been damaged in any way, such as if a power-supply
cord or plug is damaged, liquid has been spilled or objects have fallen into
the apparatus, the apparatus has been exposed to rain or moisture, does
not operate normally or has been dropped.
Bubble Tubes
The bubble tubes in the top & side pilasters must only be handled by
trained personnel. They contain small amounts of the harmful chemical
DCM (dichloromethane). In the event of accidental leakage the chemical

5
will generally evaporate. However please take the following precautions.
Ventilate the room immediately by opening doors & windows. Vacate the
room until any residual odour disperses. Extinguish any source of ignition.
Avoid breathing vapours & contact with skin. If skin contact occurs wash
immediately with soapy water, remove contaminated clothing & wash
before reuse.
Additionally
• This Jukebox contains high voltage & high temperature parts. Do not attempt
to carry out any work that is not specifically instructed in this manual. If the
Jukebox fails to operate correctly, switch off the machine and contact Sound
Leisure.
• This Jukebox is heavy. DO NOT attempt to lift the unit.
• DO NOT attempt to move the Jukebox with the front glass/door open. The
Jukebox is top heavy and may tip forward if moved with the front glass/
door open.
• This appliance must be connected to a mains socket with a protective earth
connection.
• The mains plug is the designated ‘disconnection device’ and as such should
be readily operable.
• ‘WARNING’ To reduce the risk of fire or electric shock, do not expose this
apparatus to rain or moisture.
• Fuses should be replaced like for like at all times.
• Terminals marked with the symbol above are considered hazardous live
and external wiring connected to these terminals requires installation by an
instructed person or the use of ready made contact leads.
• Jukebox contains transmitter module FCC ID : T9J-RN52
• Refer to Bluetooth section for more information.
• This Jukebox is approved for operation :
below 2000m elevation
between 0°C and 40°C

6
Main cabinet lock is on
the left hand side of the
cabinet.
Rear cabinet door lock
Mains power socket
and switch
Audio Out
sockets and
RESET button
FIG1 :
Lock locations & rear panels
Earth bond

7
Taking Delivery / Transit Mode
Once the Jukebox has been positioned in its designated space the following
instructions will allow you to prepare it for use. The keys to open the Jukebox
will be found attached to the rear of the cabinet. The keys will open the side
locks and the rear cabinet lock. See opposite page FIG1.
Transit Mode
Upon delivery the Jukebox player mechanism will be locked in “Transit Mode.”
The following pages explain how to remove the transit foam, and prepare the
Jukebox for use. Please work through this guide in order.
When removing the transit parts, to reduce the risk of accidental damage to the
Jukebox mechanism, it is recommended to do so with the Jukebox powered off.
Retain all transit parts for future use.
How to remove the transit retaining foam
• Locate the transit foam under the playing arm shown in FIG2.
• Gently hold the playing arm and slide the foam out horizontally.
• Carefully remove the foam from around the disc basket. Note : Foam will
only be located in this area if transported pre loaded with discs
Playing arm retaining foam.
Gently hold playing arm
and slide foam to the side to
remove.
FIG2 :
Mechanism in transit mode showing retaining foam

8
FIG4 : Mechanism retaining wingnuts (underside)
FIG3 : Retaining transit bolt locations (mechanism)
Retaining bolt and wing
nut shown in position upon
delivery.
Location of 4 x retaining bolts and wingnuts.
Remove wingnut, gromet
and washer. Retain these for
future use.

9
The Jukebox player mechanism will be locked into position by 4 wing nuts that are
located under the play deck. These must be loosened before initial operation. The
loosening of the wingnuts allow the mechanism to float freely and dampen any
vibrations which may effect the vinyl playback.
How to locate and loosen the retaining bolt wingnuts
• Locate the retaining bolts and wingnuts. Two are located at the front of the
mechanism and two at the rear as shown in FIG3.
• Carefully loosen and remove the wingnuts, gromets and washers as shown in
FIG4. Retain these for future use.
• Once the wingnuts have been removed, close the front door of the Jukebox.
• Power on the Jukebox. The location of the
mains power switch is shown in FIG1.
The Jukebox will show “TRANSIT.”
• At the rear of the Jukebox press the RESET
button once. The location of this button is
shown in FIG1.
The Jukebox mechanism will rotate to its playing position. The display will no
longer show “TRANSIT.”
The Jukebox is now ready for operation.

10
How to place the Jukebox into transit mode.
If the Jukebox is to be moved any distance, where the mechanism is in danger
of moving, it is recommended that the Jukebox be placed into Transit Mode.
You will require the retaining foam that was delivered with your Jukebox. The
location of the following items listed is shown in FIG2 and FIG3.
• With no discs playing, press and hold the RESET button on the rear of the
Jukebox for 5 seconds. The location of this button is shown in FIG1.
The mechanism will park in the transit position and the display will show
“TRANSIT.”
• Power OFF the Jukebox using the switch on the rear of the Jukebox. The
location of the mains power switch is shown in FIG1.
• Open the door of the Jukebox and locate the 4 wingnuts secured to the
retaining bolts of the Mechanism.
• Tighten the wingnuts against the washers so that they securely hold the
mechanism down to the shelf.
• Replace the retaining foam under the playing arm by carefully holding the
playing arm and sliding the foam in from the side.
• Close and lock the front door of the Jukebox.
The Jukebox can now be safely moved.

11
Label Magic
Sound Leisure has developed the
Label Magic title card printing
software to facilitate the easy design
and printing of title cards for your
Sound Leisure Jukebox.
Included in the welcome pack
supplied with your Jukebox is a FREE 12 month subscription to Sound Leisure’s
Label Magic title card printing software.
To get started creating your cards, download your free copy of Label Magic
from:
www.label-magic.com/sl
Once you have installed Label magic, use the code printed on the postcard
included in your welcome pack to activate your free 12 month subscription.
Once you have printed your title cards follow the steps overleaf for how to insert
these in the Jukebox.
jukebox title card printing software
included free with every sound leisure jukebox.
check your welcome pack for your 12 month subscription card

12
Inserting title cards
Title Cards
Perforated blank title cards and Sound Leisure’s Label Magic printing software
are included in your Jukebox welcome pack. For further details on installing
your software and your FREE 12 month subscription code please see the
postcard included in the welcome pack or visit :
soundleisure.com/classic-Jukeboxes/accessories/label-magic-title-card-software
This will assist you in designing and printing title cards. Additional cards are
available to purchase through our website.
soundleisure.com/classic-jukeboxes/accessories/title-card-labels-45rpm-vinyl
The title cards start at selection no. 100 and finish at 169.
How to remove the title rack mechanism
• Unlock and open the jukebox door. On the inner side of the door you will
find the title rack holder.
• Gently release the wiring from the title rack wiring clips shown in Fig5
• Unscrew and remove the retaining screws denoted in Fig5. It is advisable to
support the title rack as the screws are loosened.
• Unclip the title rack cable from the title rack wiring clips and remove the title
rack from the Jukebox as shown in the lower image of Fig5, allowing the
cable to trail.
• The mechanism can now be supported on a chair or the floor.
• Insert the title cards into the retaining clips of each page of the mechanism.
• To move to the next page use the title rack “flip”button as located in Fig5.
DO NOT ROTATE THE TITLE RACK BY HAND AS THIS CAN
DAMAGE THE TITLE RACK MECHANISM.
• Once all the title cards are inserted, replace the mechanism back into the
Jukebox, securing into place using the retaining screws. Then ensure all
cables are neatly replaced in the wiring clips.

13
FIG5 : Title card mechanism
located on inside of Jukebox door.
Retaining screws
Title rack “flip” button Title rack holderTitle rack wiring clips
Title rack mechanism
removed from the door.
Insert the title cards
into retaining clips.

14
WARNING: IF YOU ARE USING THE JUKEBOX WITHOUT A FULL BASKET OF
RECORDS PLEASE SPACE THE RECORDS EVENLY AROUND THE BASKET AS
AN UNBALANCED BASKET MAY CAUSE MECHANICAL FAULT.
CAUTION! MOVING PARTS! THE MECHANISM OF THE JUKEBOX
CONTAINS MOVING AND ROTATING PARTS. PLEASE BE VERY CAREFUL
WHEN LOADING OR OPERATING WITH THE FRONT DOOR OPEN. ENSURE
THAT LOOSE CLOTHING, JEWELERY, LONG HAIR ETC ARE KEPT AWAY FROM
THE VINYL MECHANISM AND ROTATING BASKET.
Loading Records
The Jukebox holds 70 vinyl records and can play both sides (A&B). Each record
has a number to play side A and another number for side B. Side A numbers
run from 100 - 169. Side B numbers run from 200 - 269.
The Jukebox selects a chosen record by rotating the mechanism to the chosen
number and then offering that record to the stylus. It is therefore important to
make sure the records are inserted in the correct basket number and facing the
correct way.
The following pages will instruct you how to load discs into your Jukebox
mechanism.

15
Record basket -
slots numbered
Mousehole containing reject /
rotate mechanism button
Belt drive / grasp
and rotate to the left LOAD RECORDS FROM THIS SIDE
FIG6 : Jukebox vinyl mechanism
Vinyl Mechanism as seen from the front.
Grasp
belt and rotate
to left

16
• When the Jukebox is not playing.
Rotate the record mechanism by
grasping the belt drive and rotating to
the left (anticlockwise)
How to load records into the Jukebox
Warning : Doing this will rotate the basket. Please ensure there are no items in
the way - such as loose clothing, fingers, jewellery that could become caught as the
basket rotates.
• Release the belt when the required
record slot is aproximately in the
middle of the right hand area of the
mechanism. Each slot is numbered
and the triangular sticker points
towards the specified slot.
GRASP AND
ROTATE
TO LEFT

17
• Slide the record into the slot
Side A should be facing towards
the left of the slot and side B facing
the right. Do not play warped
records as this could damage the
mechanism.
• Continue to follow these steps until the basket is full.
Warning : If you are using the Jukebox without a full basket of records
please space the records evenly around the basket as an unbalanced basket
may cause mechanical fault.
• Each records slot corresponds to a title card selection number. (see page
12) It is important to ensure records are in the correct numbered slot and
facing the right direction.
• When loading records it is advisable to load sections at a time in order to
evenly space and weight the basket.
• Note : the mechanism can play both “dinked” (with a large centre hole)
and normal “non dinked” records.

18
Playing the Jukebox
Making Selections
• When the records and labels are installed, selections can be made using
the keyboard at the front of the Jukebox or via the remote control.
• To “flip” the title rack pages press the red button located on the bottom right
hand side of the button bank or press F3/F4 on the remote. (FIG7)
• To play a record via the Jukebox buttons, select the 3 digit number as
specified on the title card. For instance 124 (side A) or 224 (side B) or play
both sides of the record (side A & B) by pressing 324.
• If you make a mistake while entering a selection press ‘C’ on either the
remote or Jukebox button bank to re-start the selection process.
Ejecting a track or disc
• To eject an entire disc press ‘REJECT DISC’ on the remote.
• To reject a single side press ‘REJECT TRACK’ on the remote.
Display
• The display will show the current playing record. After 10 seconds the
display will switch off. Pressing the ‘C’ button will show which disc/track is
currently playing.
Using the remote control
When using the remote control, aim the remote at the Jukebox display as this is
where the remote sensor is located.

19
Selections and additional functionality of the Jukebox can be controlled via the
remote control supplied with your Jukebox.
Vol 1
(stereo pair)
Jukebox
speakers
Vol 2
(stereo pair)
external speakers
if installed
Mute vol
Sleep mode
(places the Jukebox into low
power standby)
Switches amplifier to
Jukebox input
Switches amplifier to
Bluetooth input
Switches amplifier
to Aux input
Numeric selection keys.
Used to make track
selection
Reject track
Skip Backwards
(Replays current track)
Turn Shuffle Mode ON
Title rack page flip Title rack page flip
Lighting Control
(See lighting section)
Clear playlist
Turn Shuffle Mode OFF
Skip Forwards
(Plays next track if applicable)
Reject disc
Keyboard
cancel
FIG7 : remote control
Bluetooth pairing
Sequential play ON

20
Adjusting Volume
As a precaution against overloading the speakers when switching the Jukebox
on, the volume is preset to a low level.
• To raise the volume to the preferred level, select a track, wait until the disc
is playing, then adjust the volume using the ‘VOL 1’ volume keys on the
remote control.
• The display will briefly show the volume level as ‘L -’. The number will vary
dependant on the volume level with 0 for off and 50 for full volume.
• The ‘VOL 2’ volume keys (on the remote) are used to adjust the volume of
the spare amplifier channels, please refer to page 24 “Adding additional
speakers”.
• Pressing the ‘MUTE’ key on the remote, will instantly mute the amplifier and
the display will show ‘L —‘, to return the volume to the previous level press
any of the volume keys.
Powering Off the Jukebox : Sleep Mode
It is recommended that the Jukebox is powered off using the standby procedure
and then to “full off” at the mains switch if required. This ensures that discs are
ejected and the mechanism is in a safe position. Failure to power the Jukebox
down in this way could damage the jukebox mechanism.
To power off the Jukebox
• Press the ‘POWER’ button on the remote control. (FIG7) If a disc is playing
it will be returned to its position in the mechanism. “Sleep” will show on the
Jukebox display.
NOTE : Sleep mode is useful if you are going to be using your Jukebox within a
day or so. This will conserve power but still “wake’ the Jukebox quickly should
you wish to use it.
If you are not going to use the Jukebox for a few days then it is recommended to
use sleep mode followed by a full power off using the power switch on the back
of the Jukebox.
This manual suits for next models
1
Table of contents
Other Sound Leisure Jukebox manuals

Sound Leisure
Sound Leisure Vinyl Beat User manual

Sound Leisure
Sound Leisure vinyl rocket User manual

Sound Leisure
Sound Leisure PEACOCK SL45 User manual

Sound Leisure
Sound Leisure SL33 User manual

Sound Leisure
Sound Leisure Rocket User manual

Sound Leisure
Sound Leisure Classic LONG PLAYER User manual

Sound Leisure
Sound Leisure 1015 User manual

Sound Leisure
Sound Leisure VenueHub User manual

Sound Leisure
Sound Leisure SL15 User manual

Sound Leisure
Sound Leisure VINYL POP User manual