Product Overview
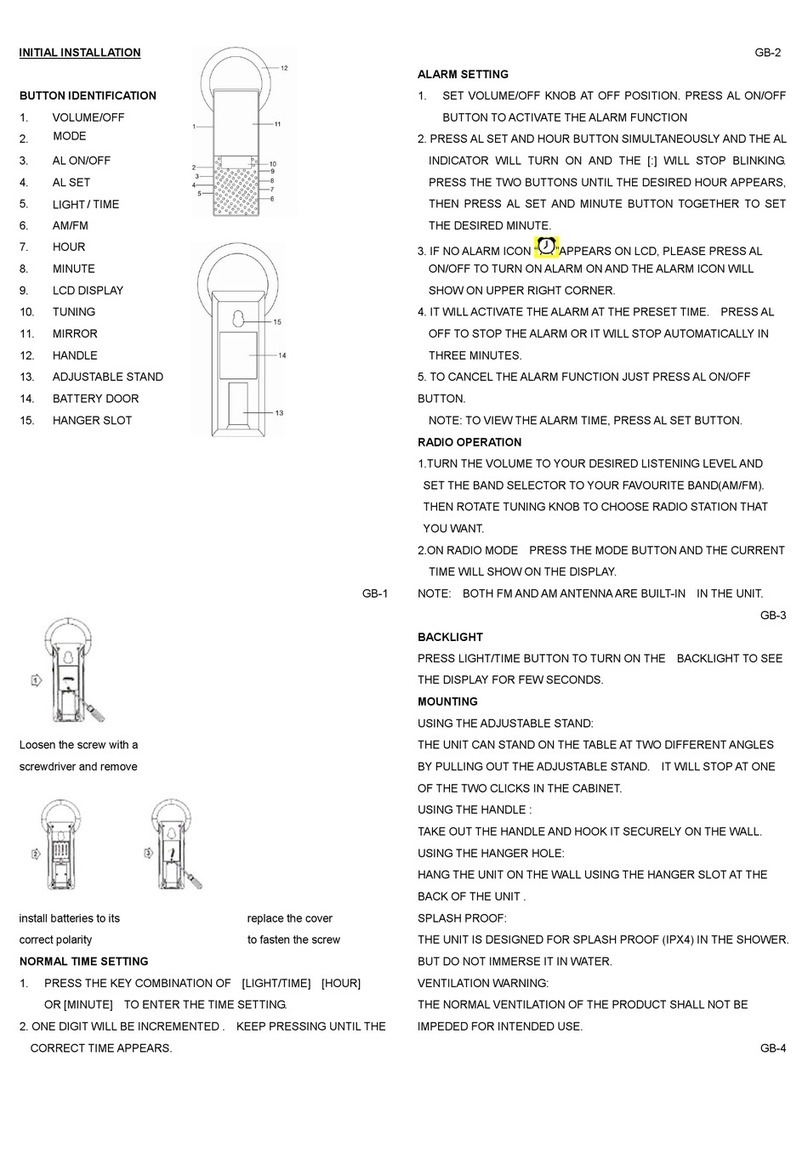
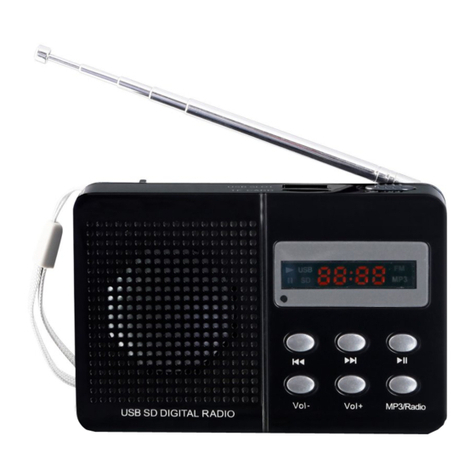
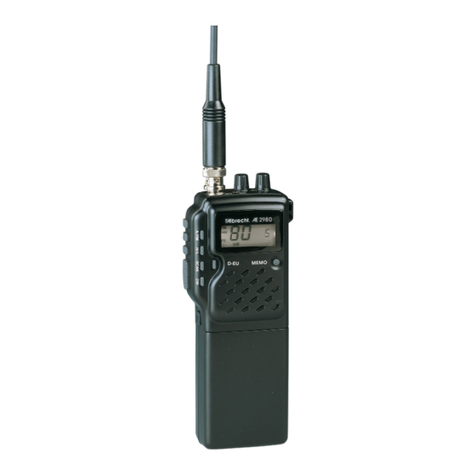
1.BandSelector(FM/MW/SW1-8)
2.Telescopic Antenna
3.VolumeControlDial
4.Hand Strap
5.BatteryCompartment
6.AlarmSetButton
7.AlarmOn/OffButton
8.HourButton
9.MinuteButton
10.TimeSetButton
11.RadioStationTuner
12.LCDDisplay
13.Earphone Jack
1.FM Display
2.MW Display
3.SW Display
4.Alarm Mode, On/Off
5.Frequency or Time
6.Display for medium Wave
7.Display for FM and Short Wave
8.PM Display
Inserting the Batteries
1. Open the battery cover, and insert 2 x AA 1.5V batteries (not included) into the Battery
Compartment. Make sure the batteries are installed with the (+) and (-) in the correct position.
2. Replace the batteries when the sound becomes weaker or when the reception becomes worse.
Radio Operation
1. To turn on the radio, rotate the Volume Control Dial upward until hear a click and use it to set the
volume.
2. Select the wave range (FM/MW/SW1-8) by sliding the Band Selector, and the selected wave
range (FM/MW/SW) will appear on the LCD display.
3. Use the Radio Station Tuner to tune the stations, and the tuned frequency will be shown on the
LCD Display.
4. Adjust the Telescopic Antenna for optimal reception (see Antennas)
5. Insert an earphone plug into the Earphone Jack to listen privately, and the speaker will
automatically switch off.
6. To turn off the radio, rotate the Volume Control Dial downward until hear a click.
To Set the Time
1. 12:00 is set as the default time after the batteries have been installed.
2. Hold down the Time Set Button, and press the Hour or Minute Button simultaneously until the
correct hour and minute is set.
3. Release all buttons, and the clock will automatically start counting.
4. The clock is operated in 12 hour format, and the PM Display will appear when the clock is
reading PM. Please be sure PM andAM is correctly set for the clock.
5. If you would like to check the time, rotate the Volume Control Dial downward until hear a click
to turn off the radio, and the time will then be shown in the LCD Display.


